fall inside a hole
Tomy Freerail No. 2 Set (circa 1971)
First written February 9, 2025Expanded July 2025
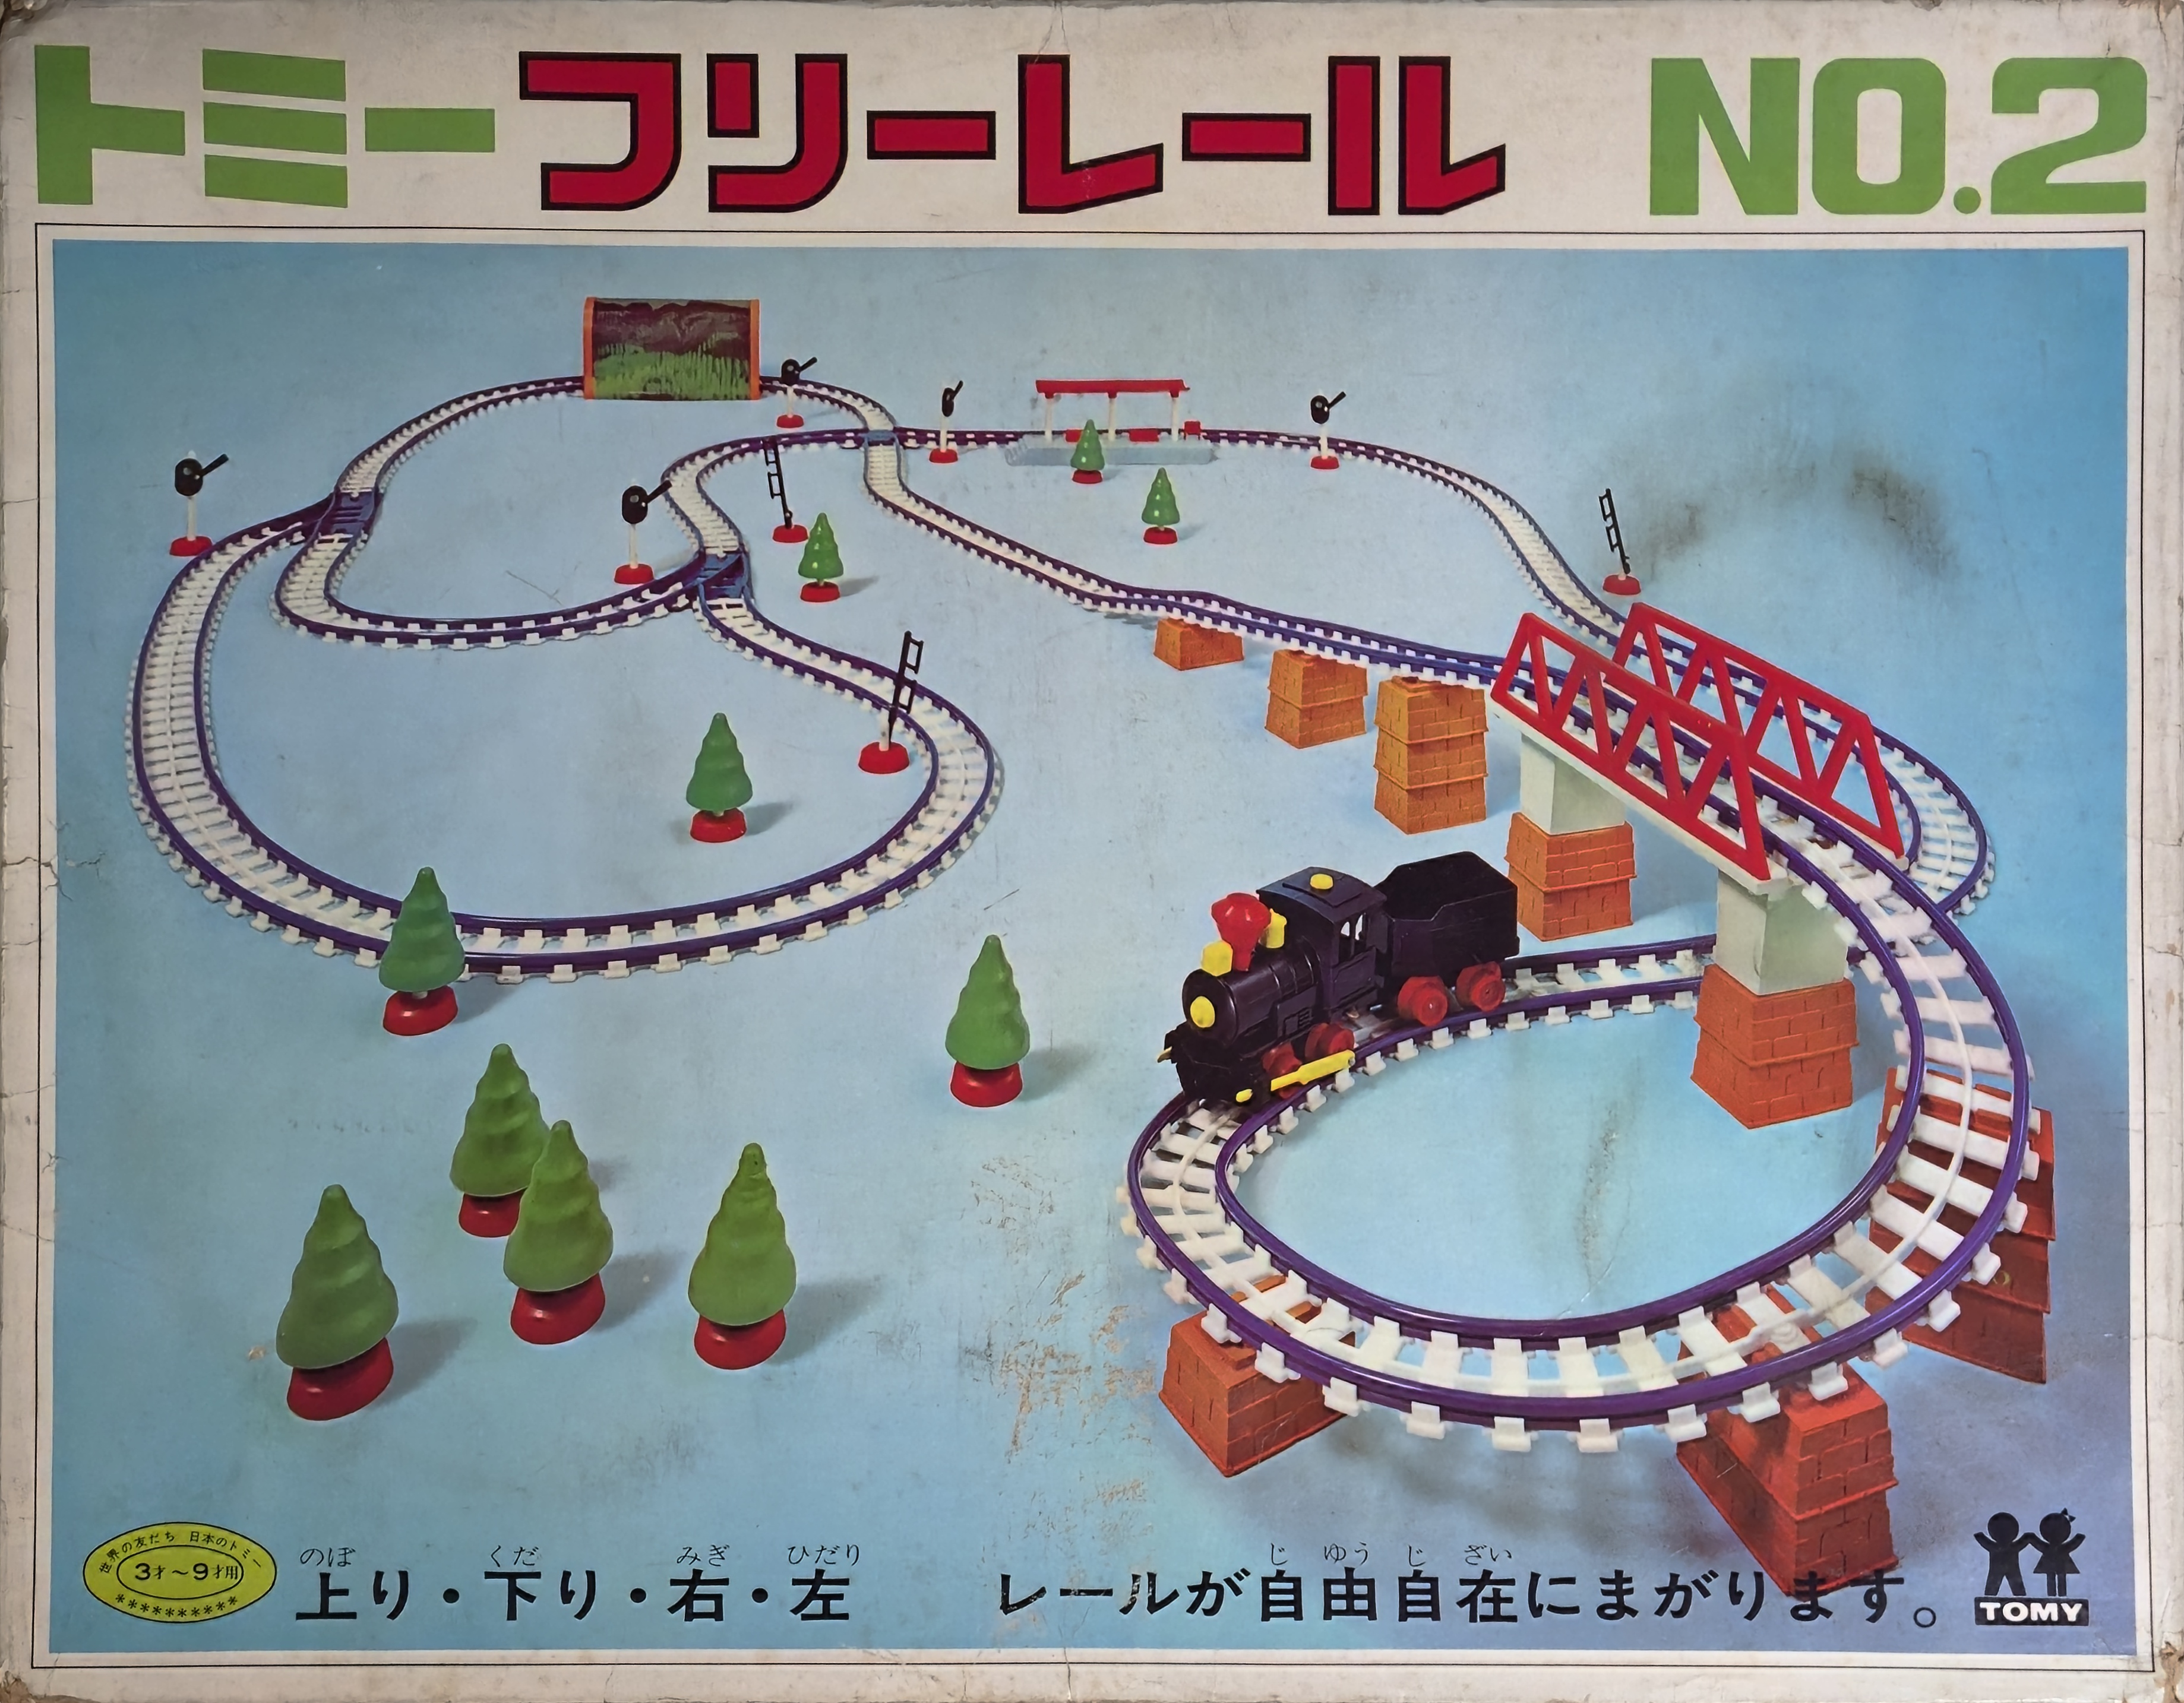
The Freerail No. 2 (フリーレール NO.2) set was one of two Freerail sets released by Tomy around 1971, with the original releases following the format of a smaller No. 1 set and larger No. 2 set pattern of other Tomy toys from the 1960s and 1970s.


The side of the box has several suggested layouts. There is a TP number but none of the other letter series Tomy seems to have used starting around 1972, and it also seems to predate the introduction of the Safe Toy ST marks circa 1972... A Japanese commercial for Freerail can be seen here.
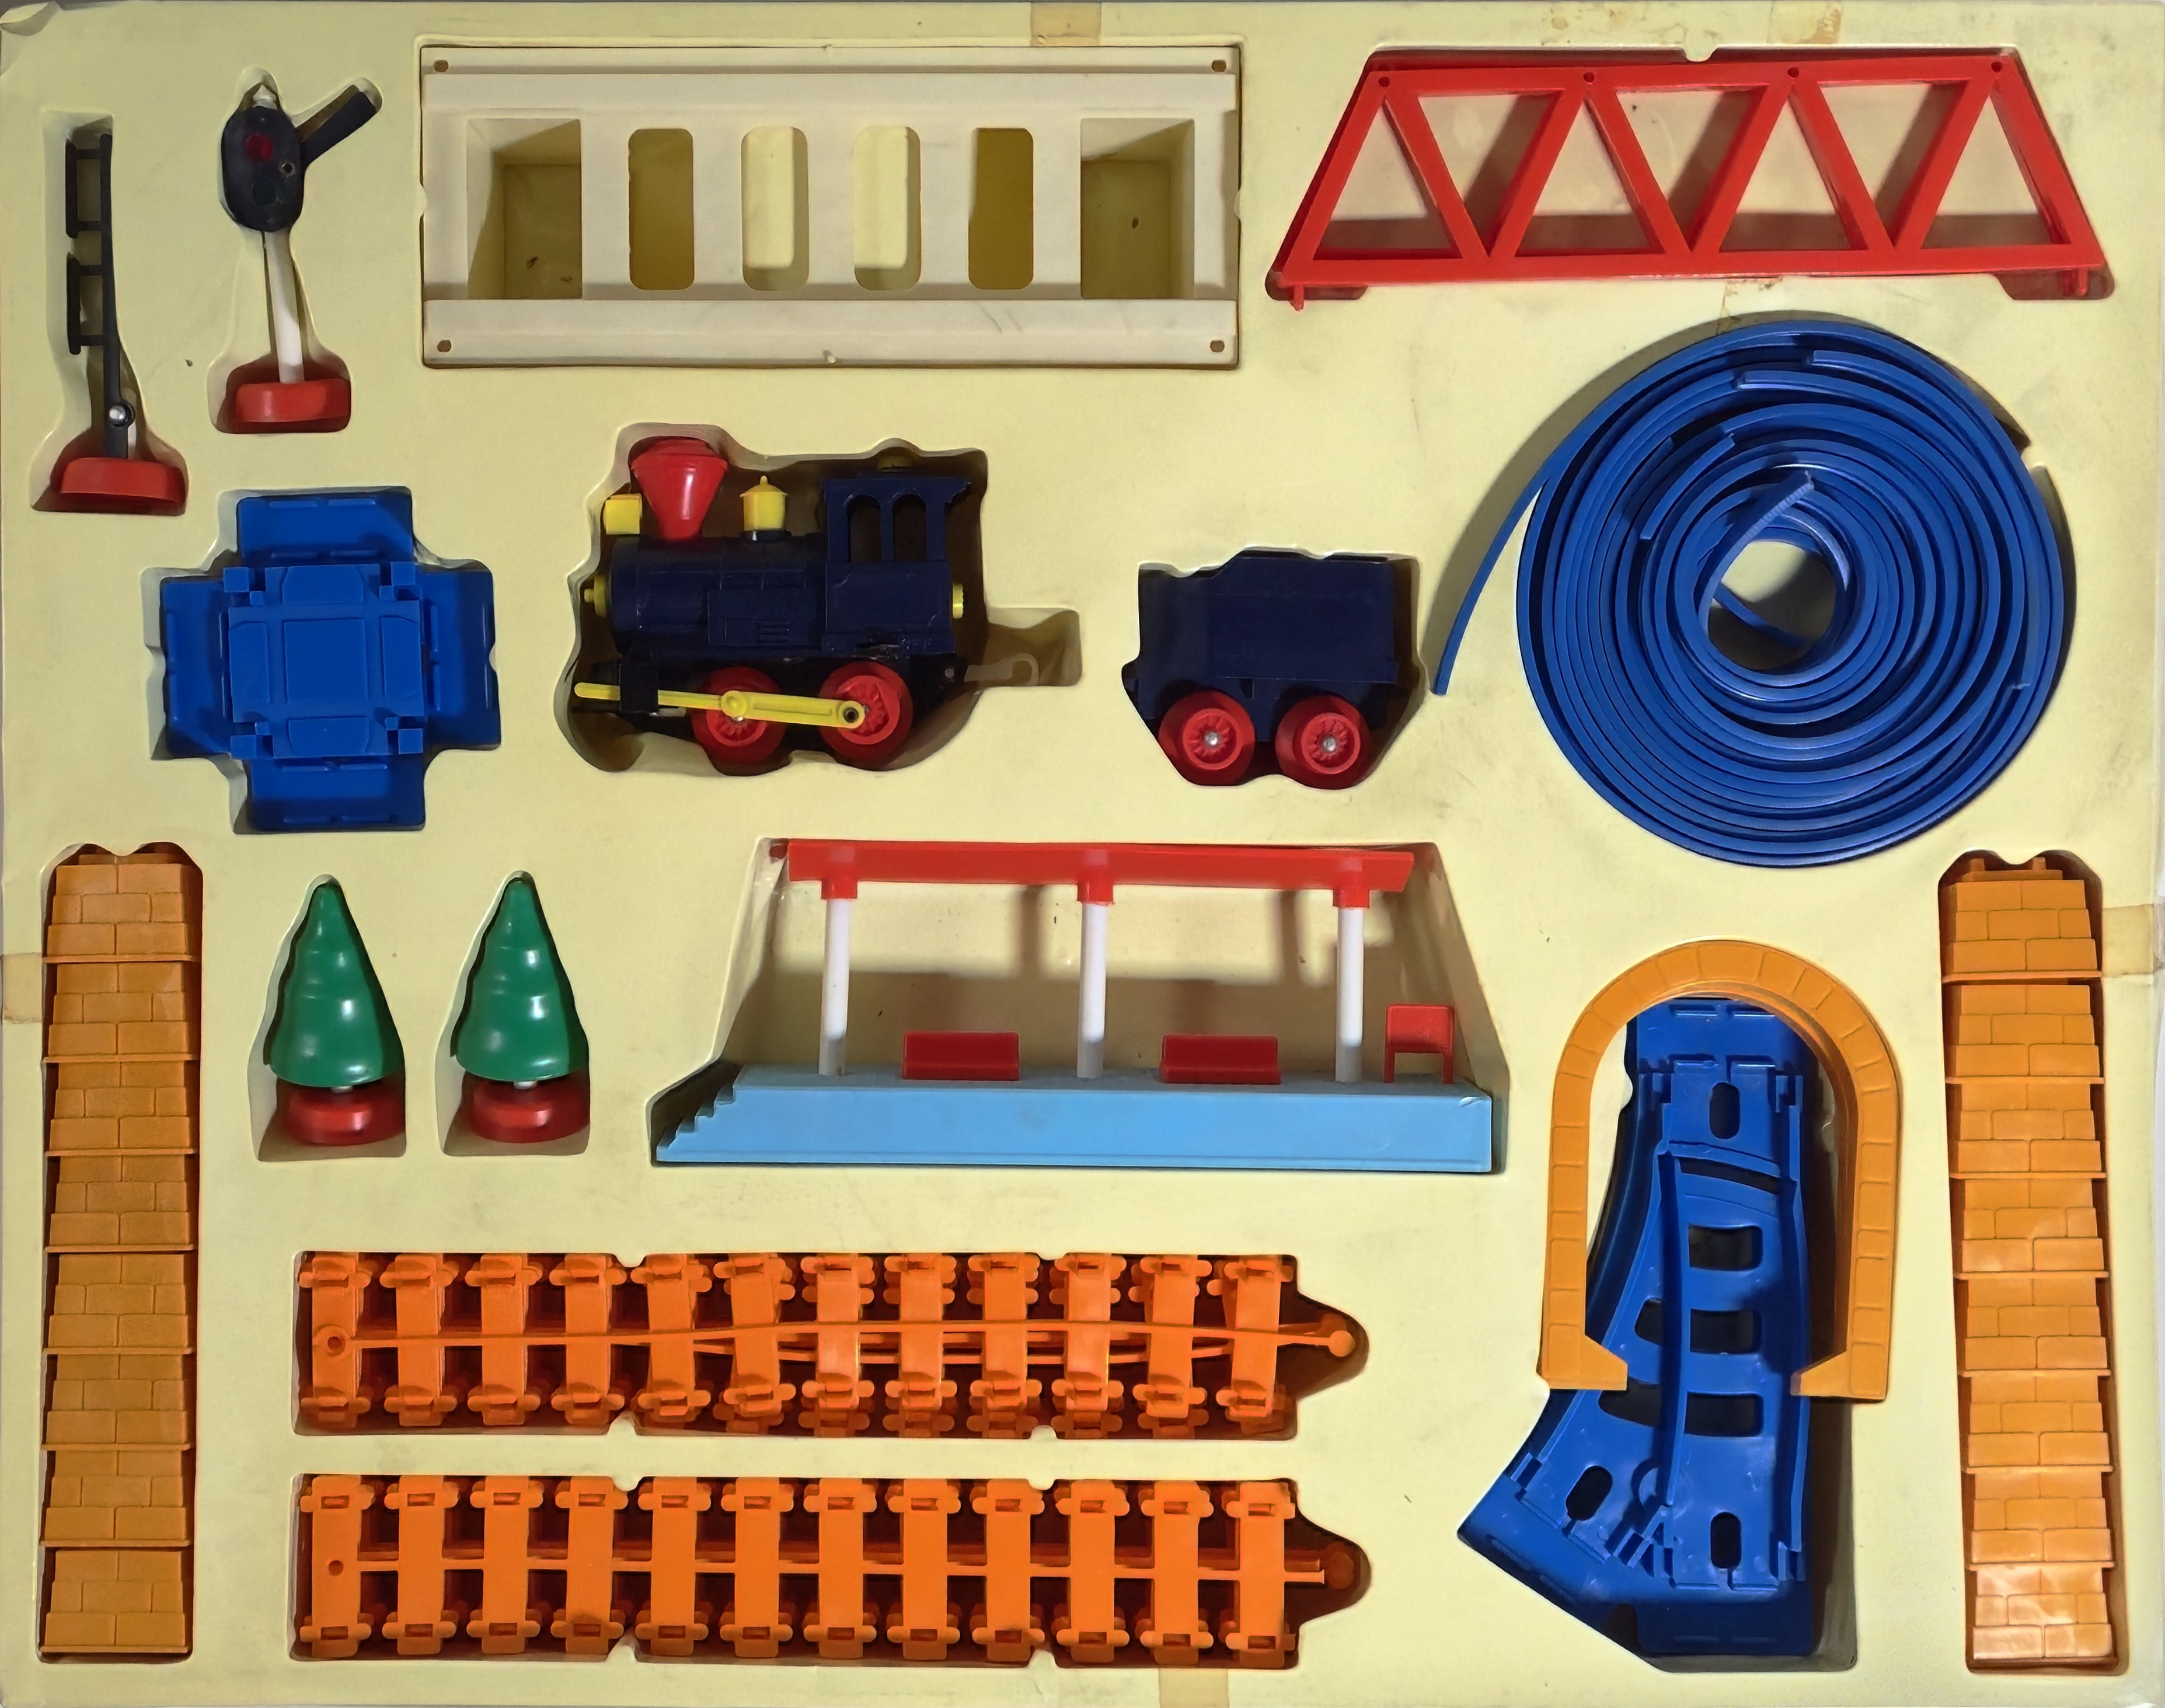
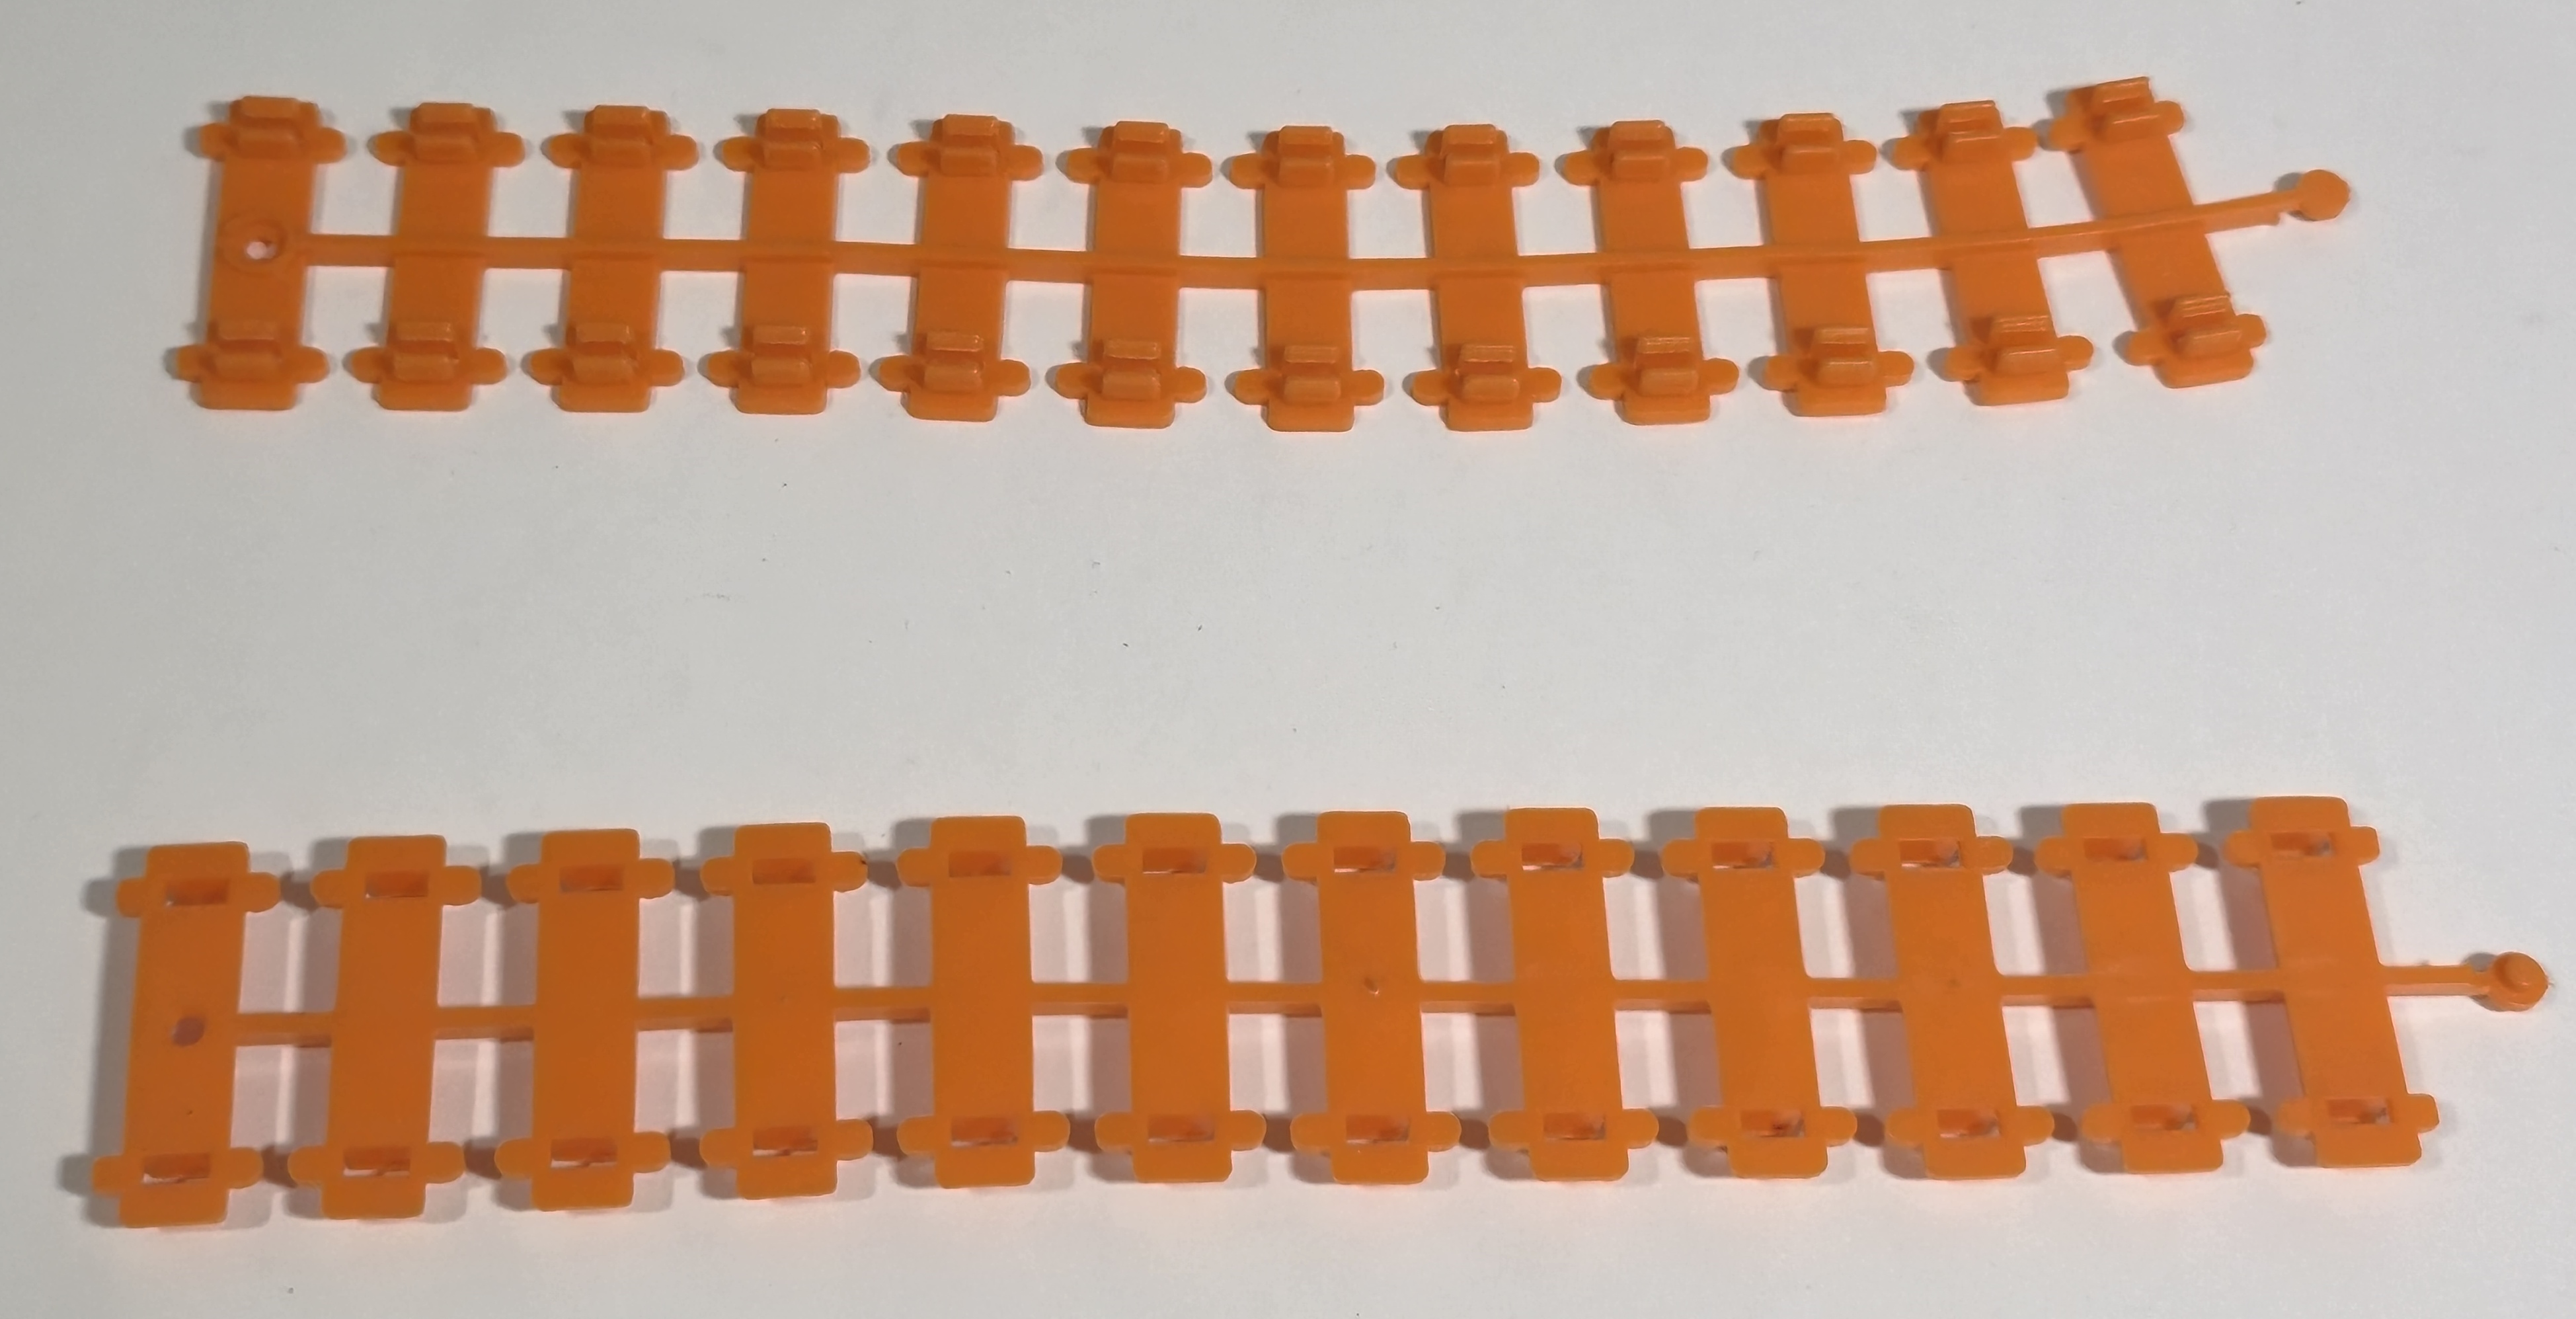
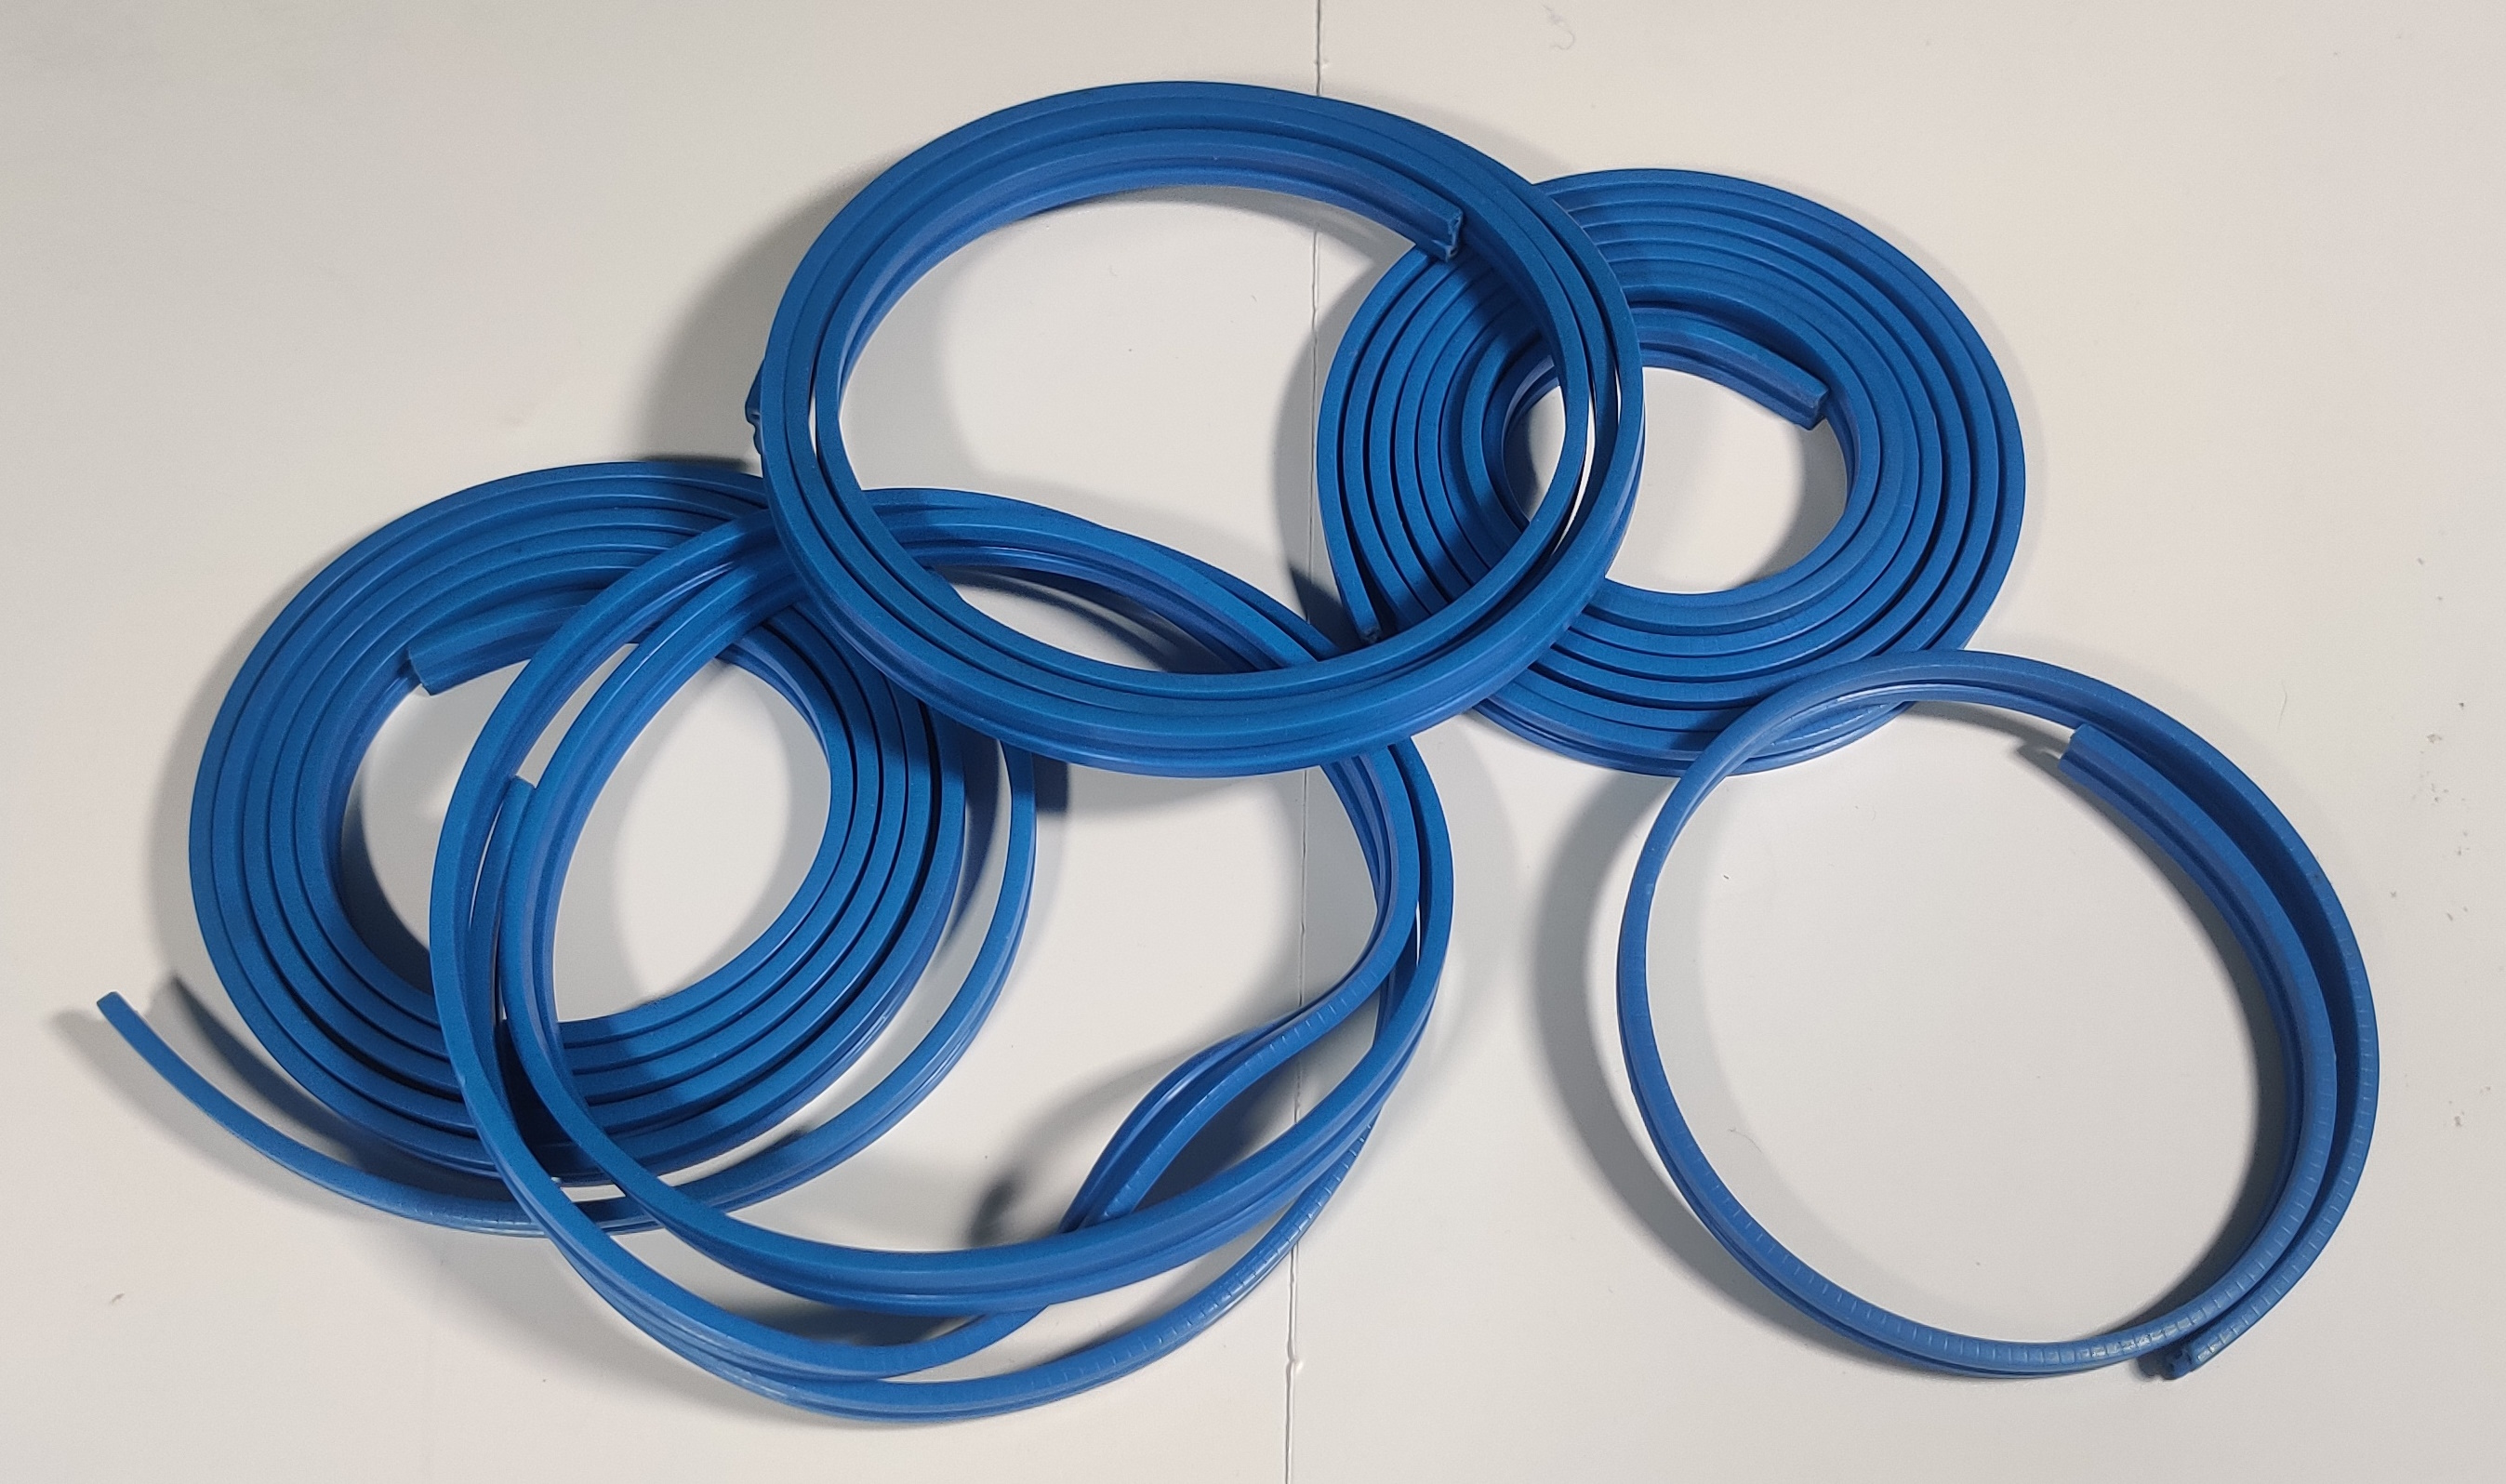
I've come across two copies of Freerail No.2, the second of which curiously has orange flexible sleeper sections... I don't think I have seen these on any other Freerail related product. I am not really sure why they are orange.
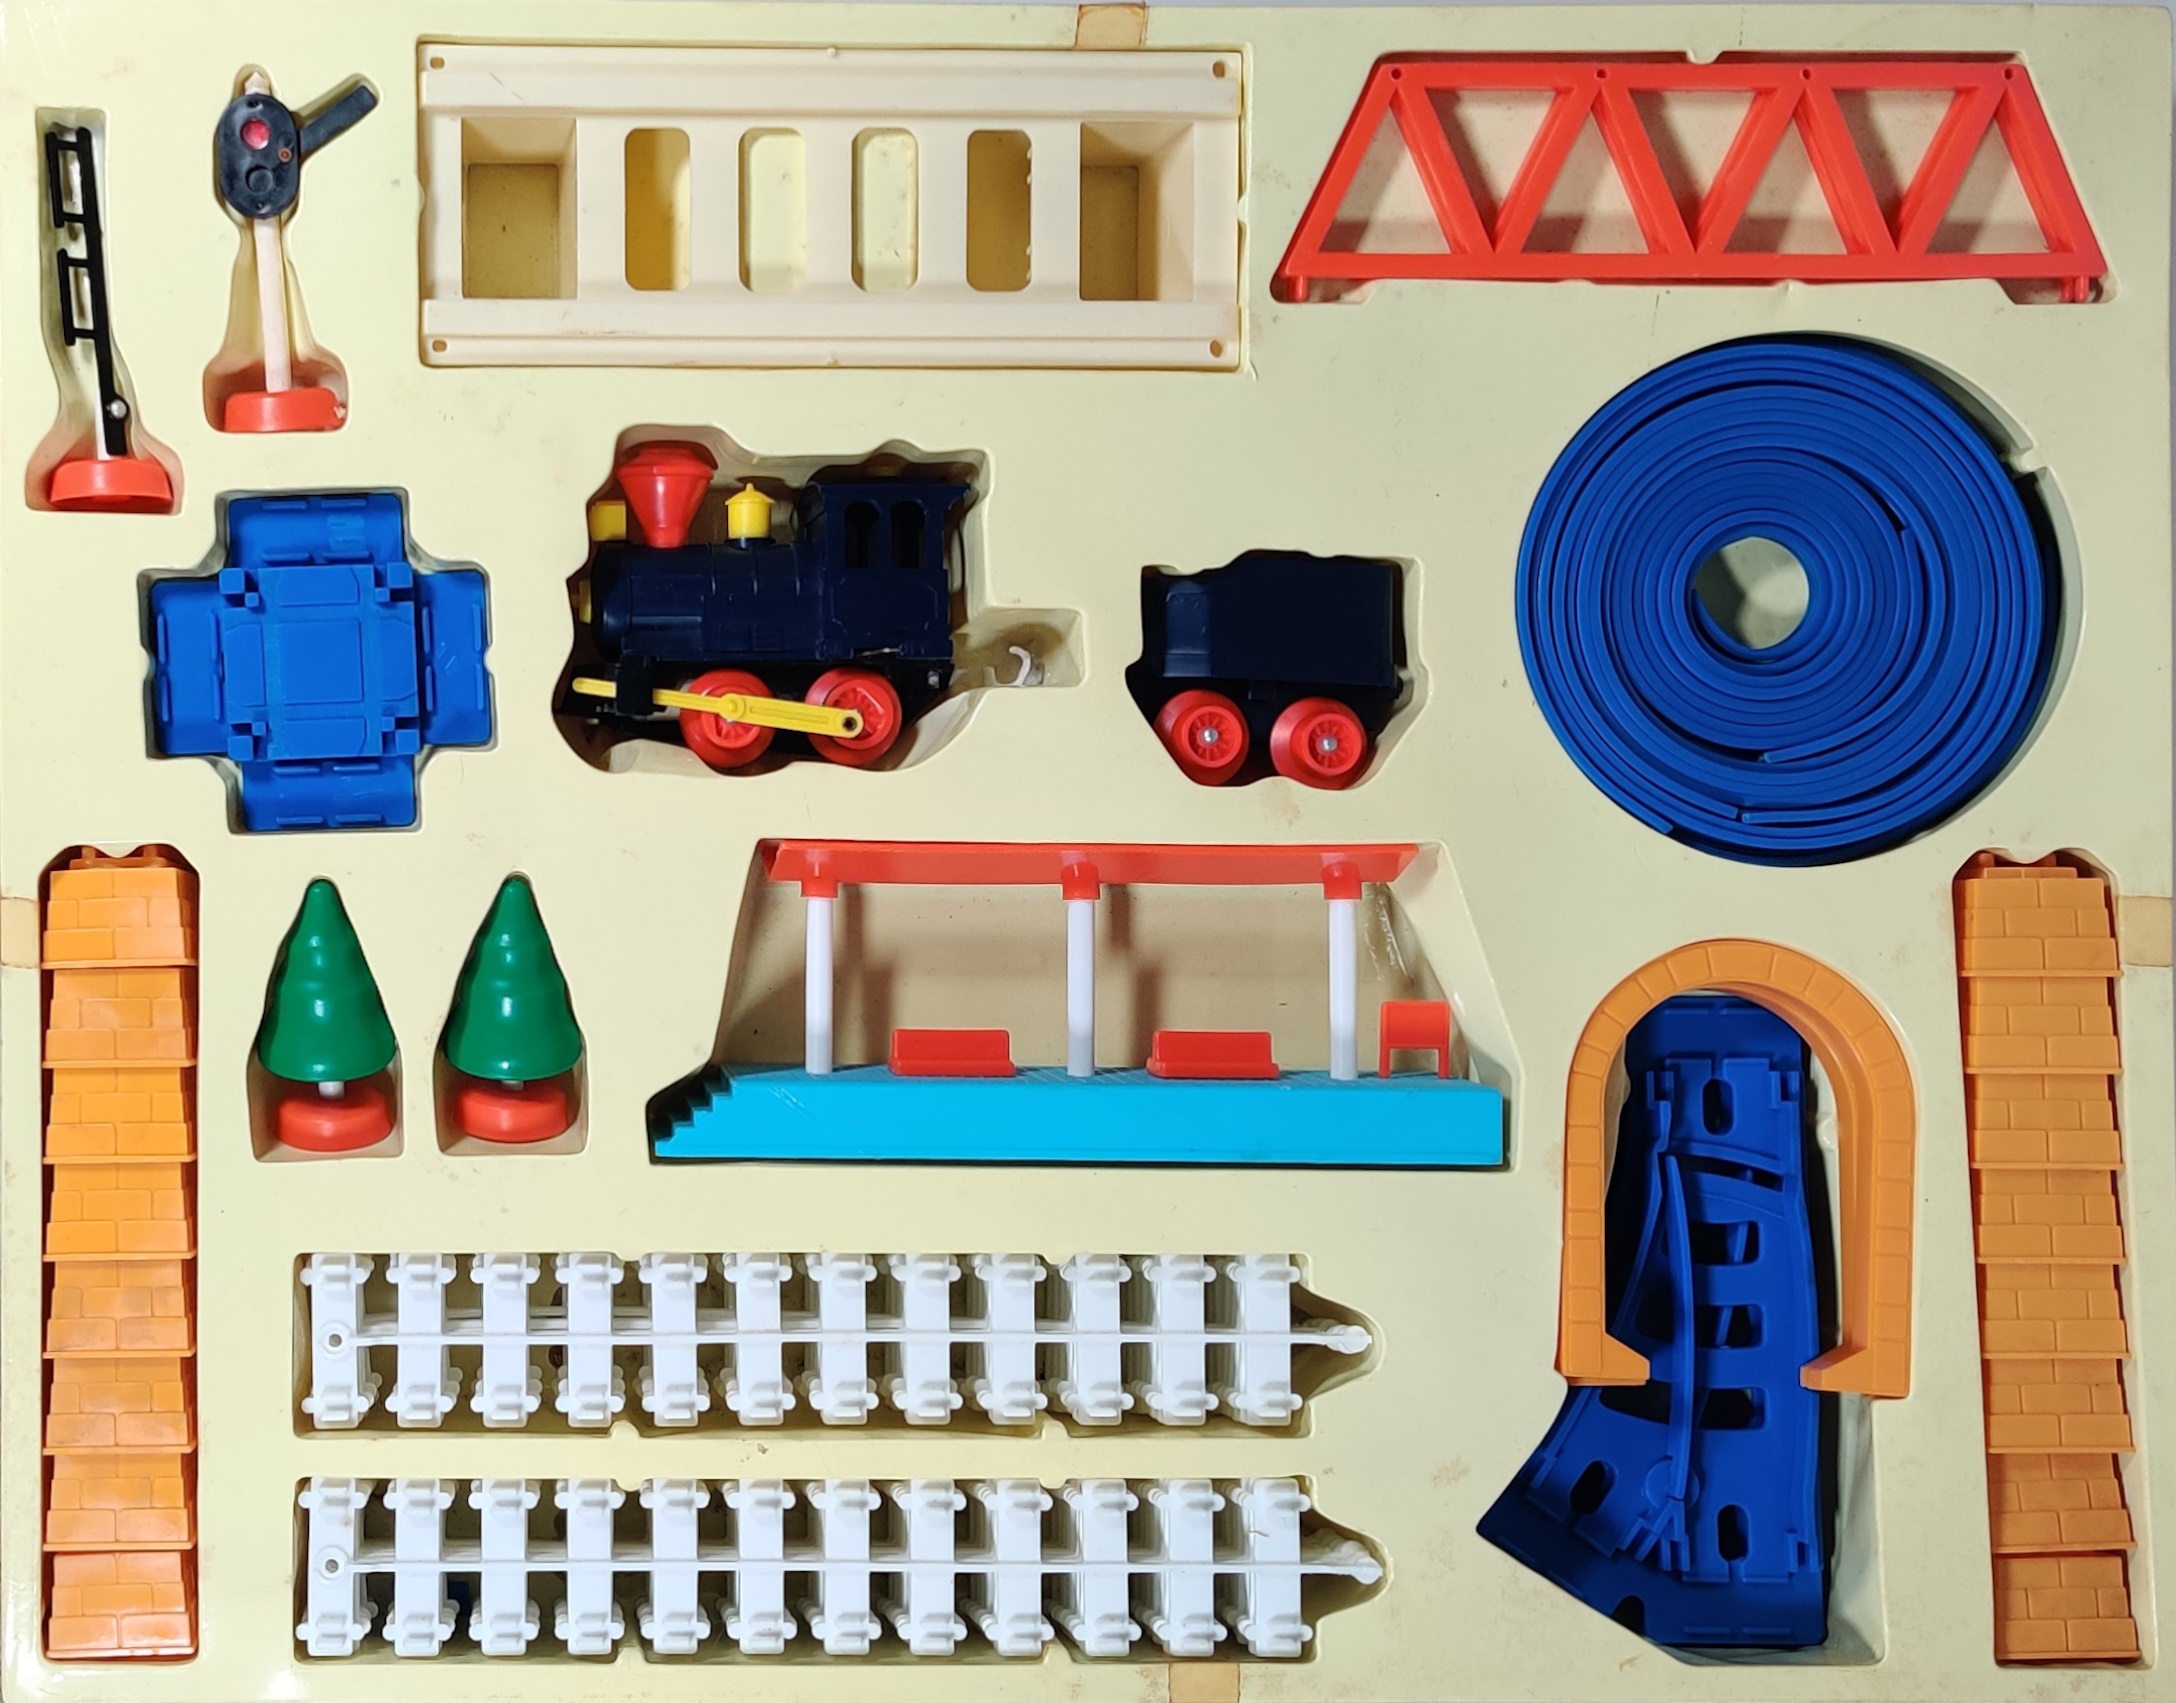
Set contents| Quantity |
Item |
Photo |
|---|---|---|
| 2 pieces | Steam locomotive and tender |
 |
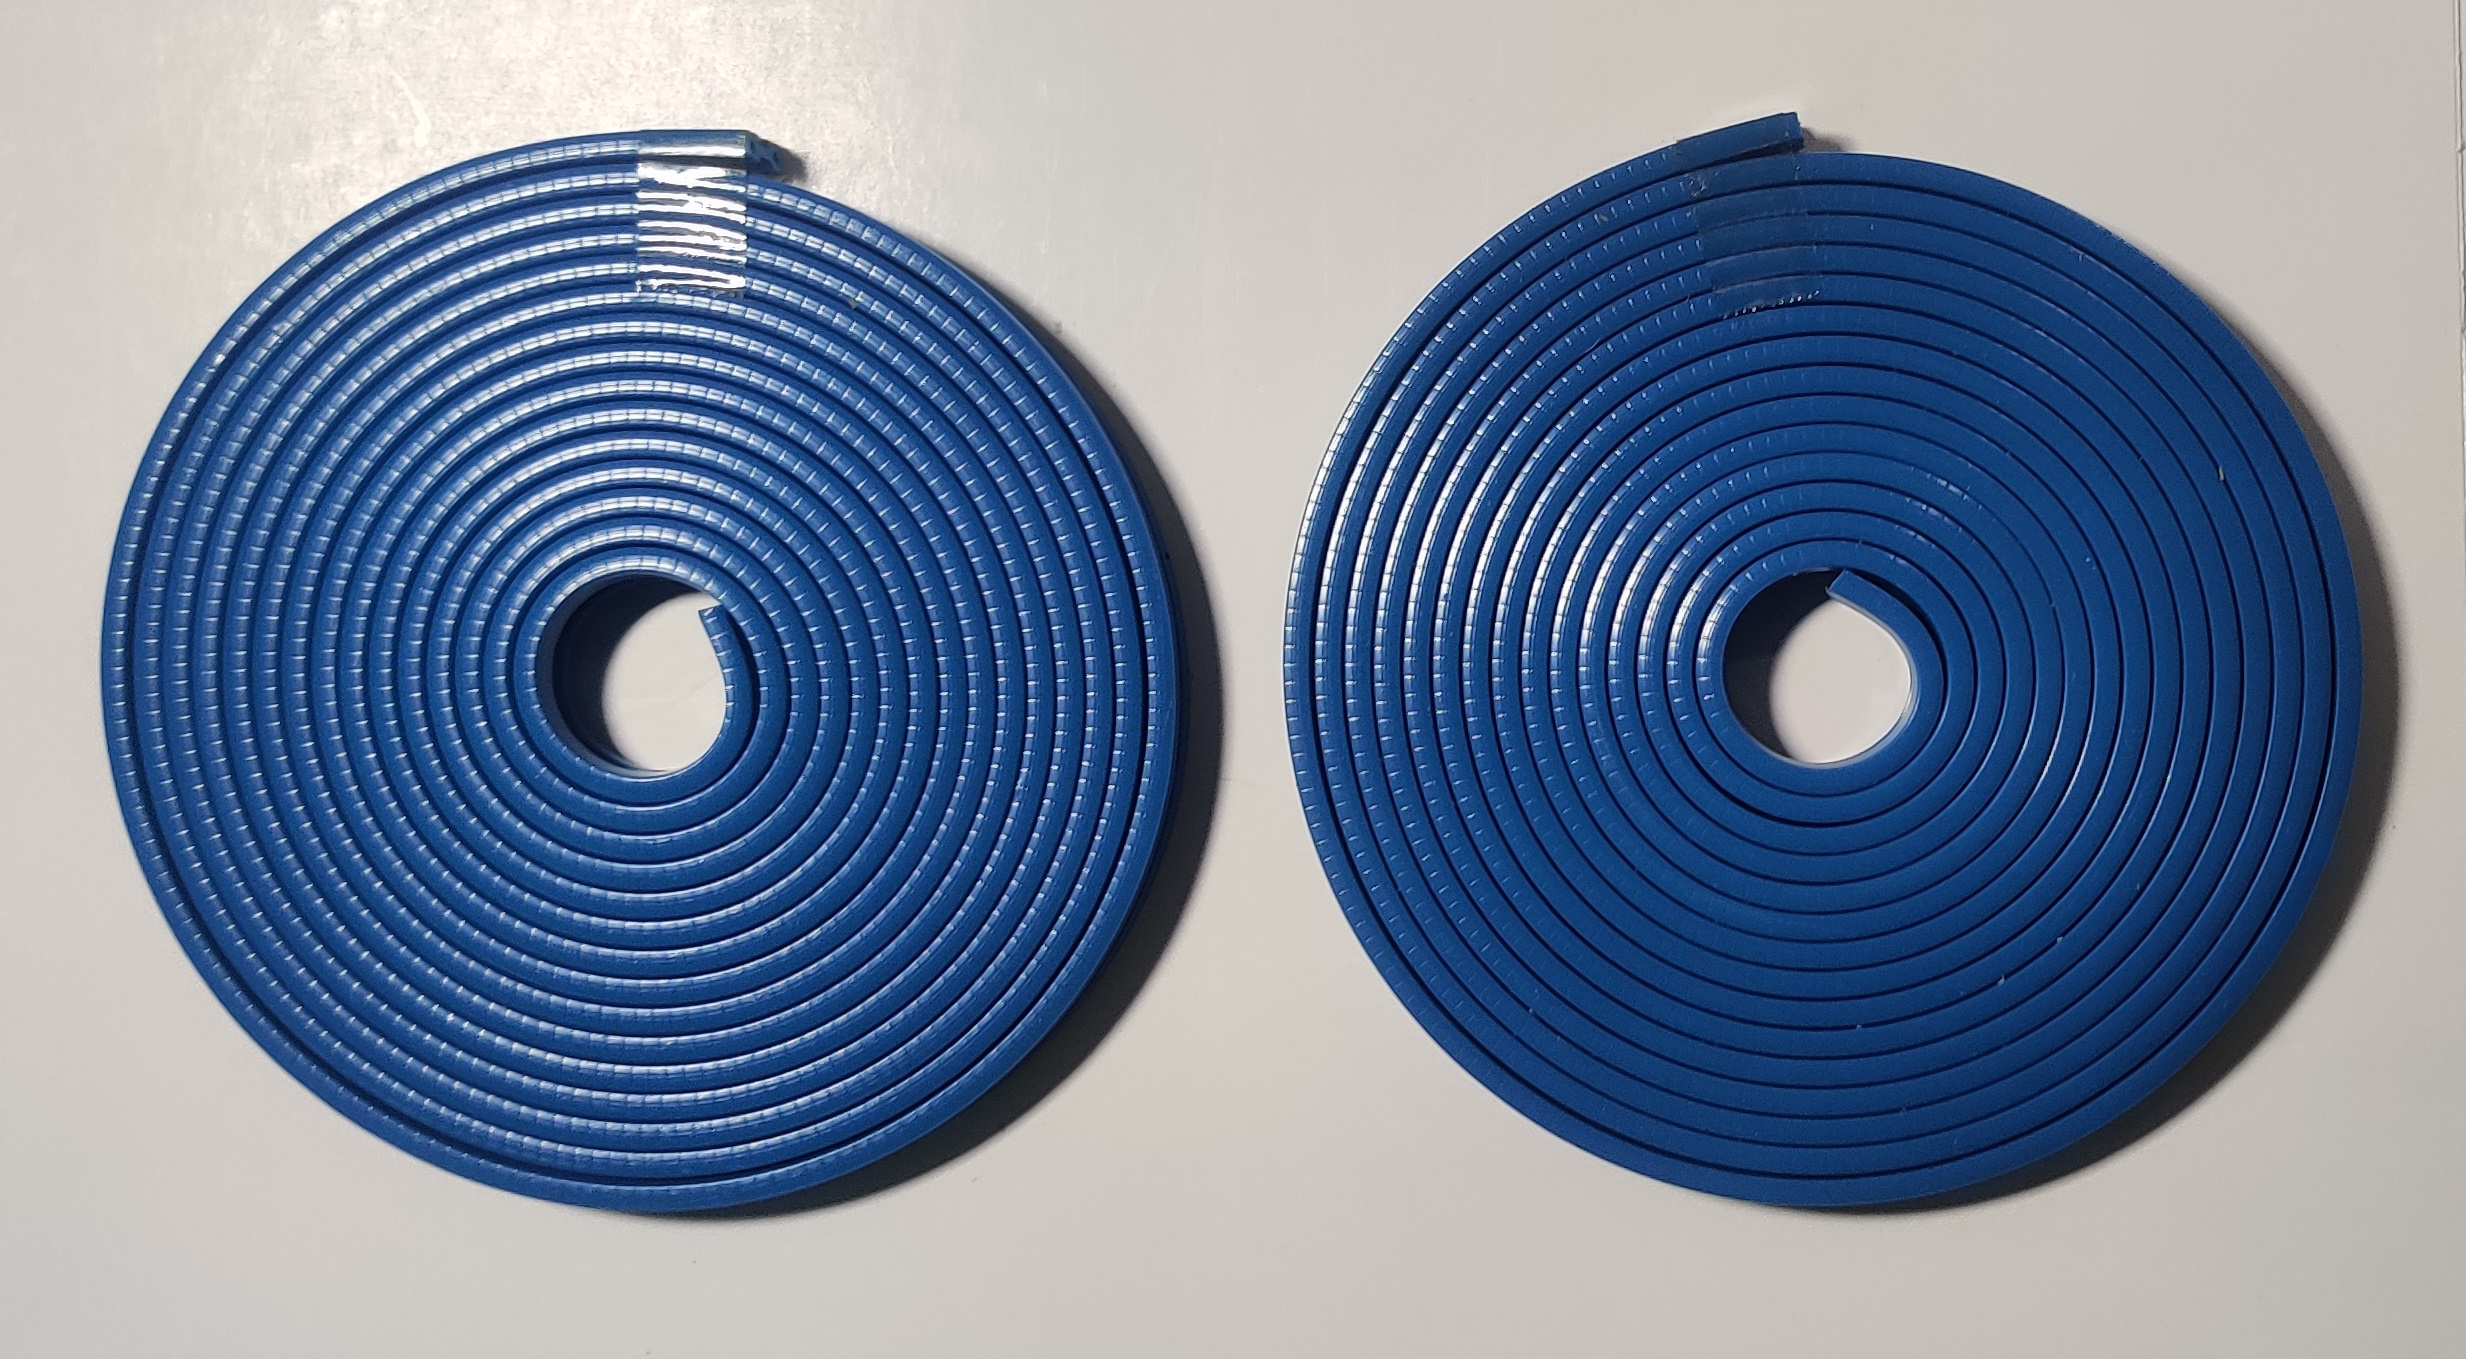
| 2 | Large spools of rail |
 |
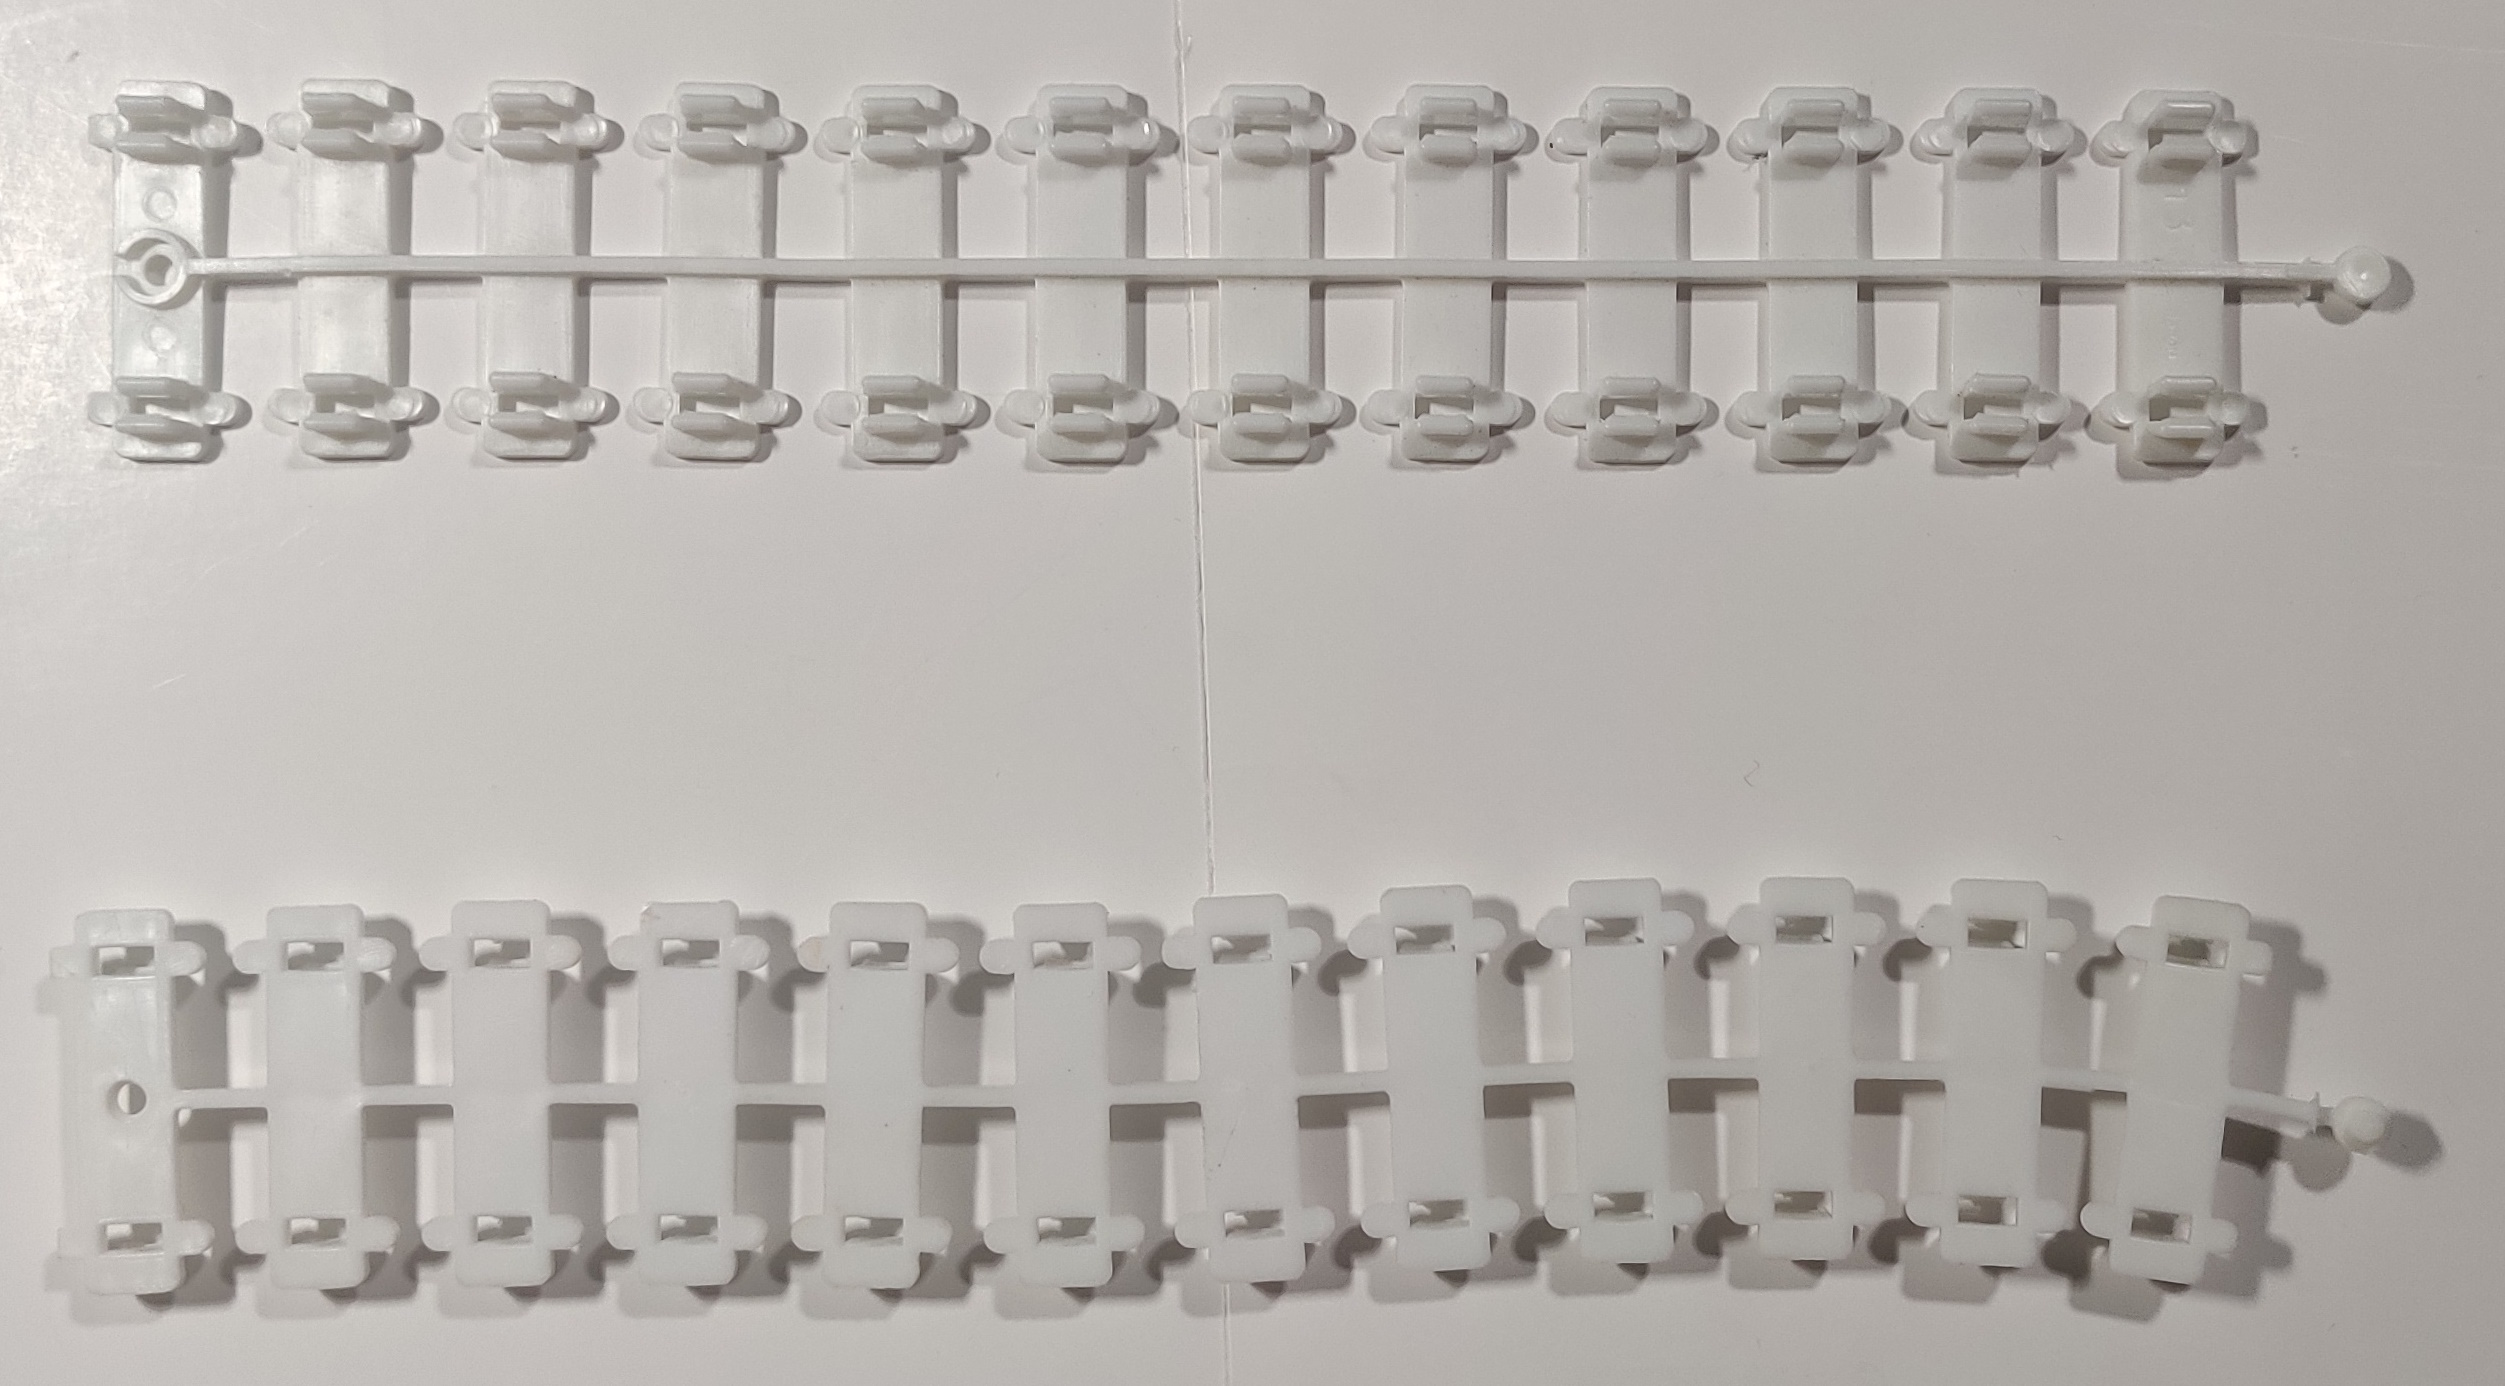
| Track sections |
 |
|
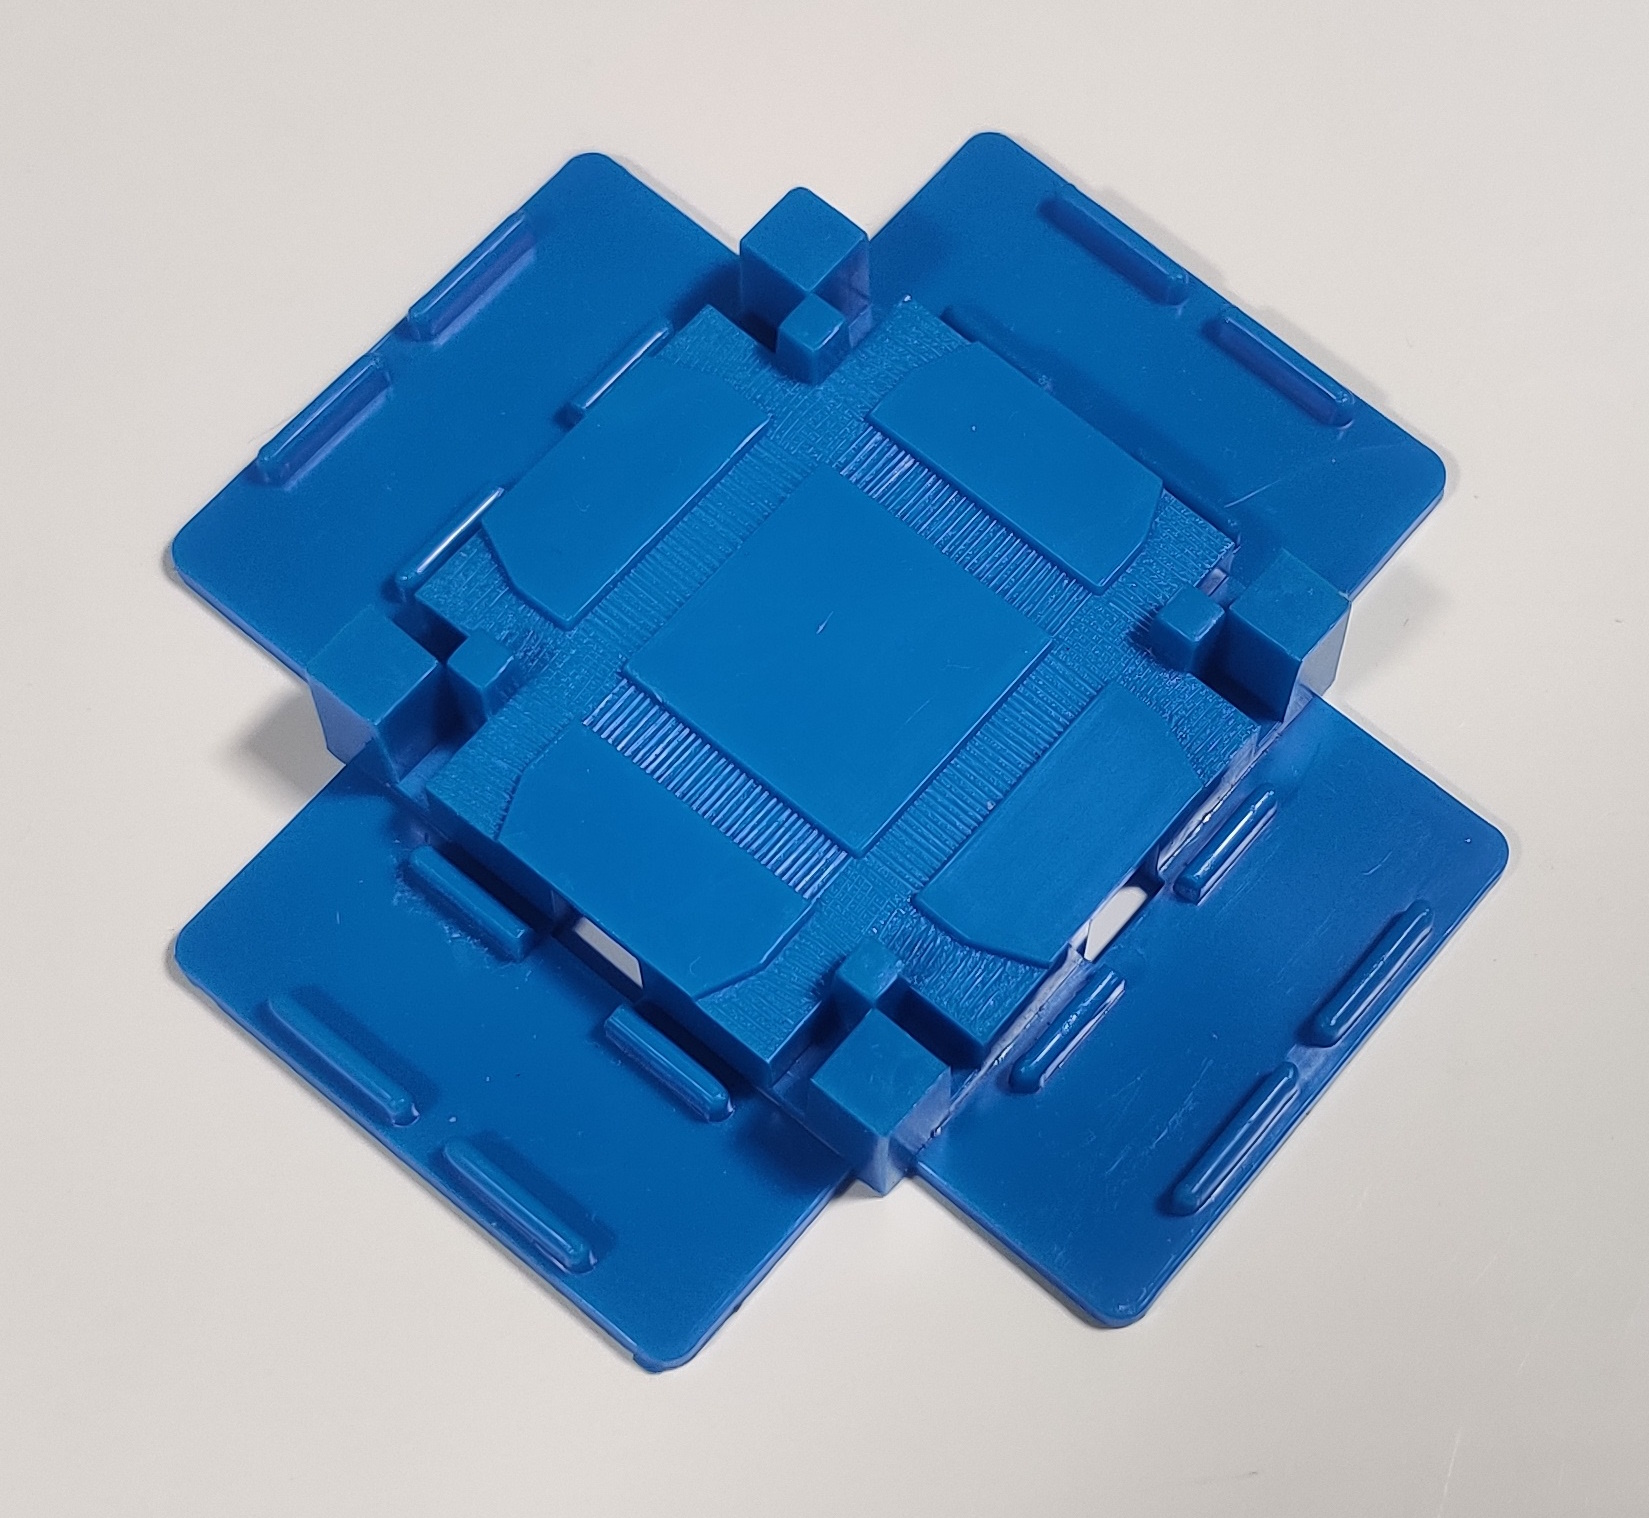
| 1 | Crossing piece |
 |
| 2 | Switches |
 |
| 16 | Track supports |
 |
| 3 pieces | Bridge |
 |
| 5 pieces | Station |
 |
| 3 pieces | Tunnel |
 |
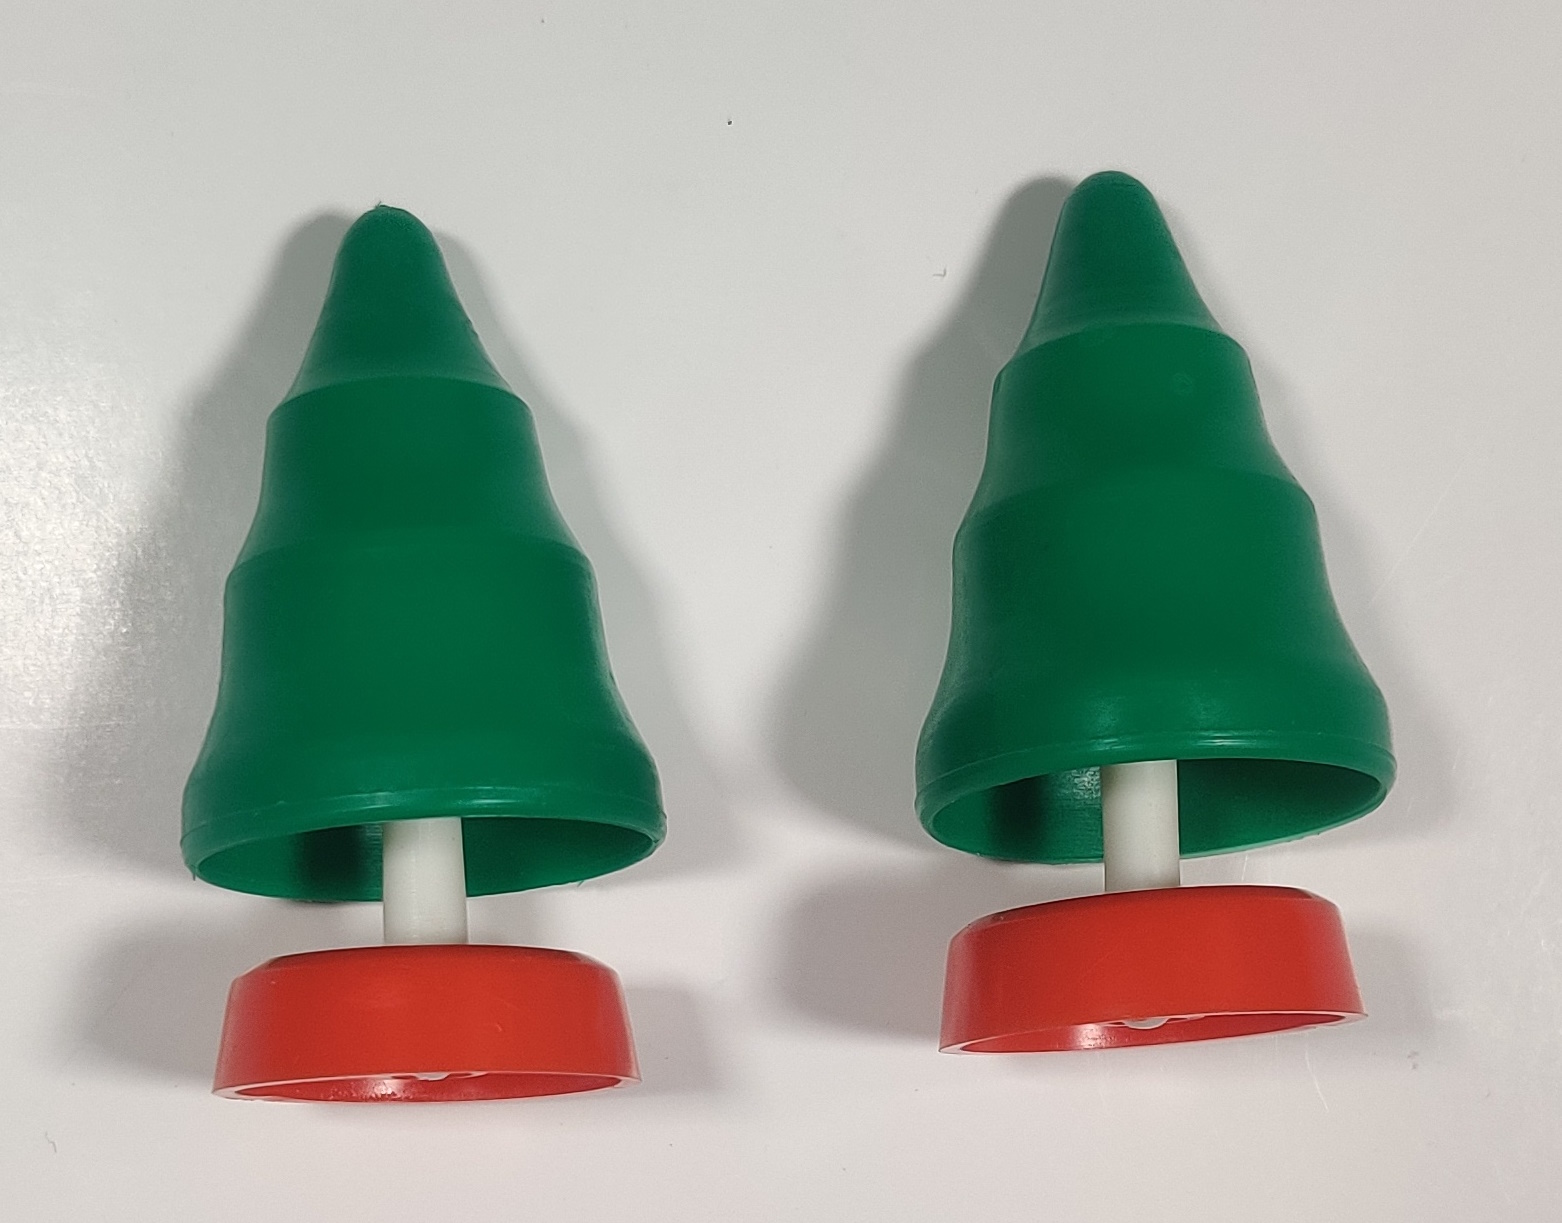
| 2 | Tree |
 |
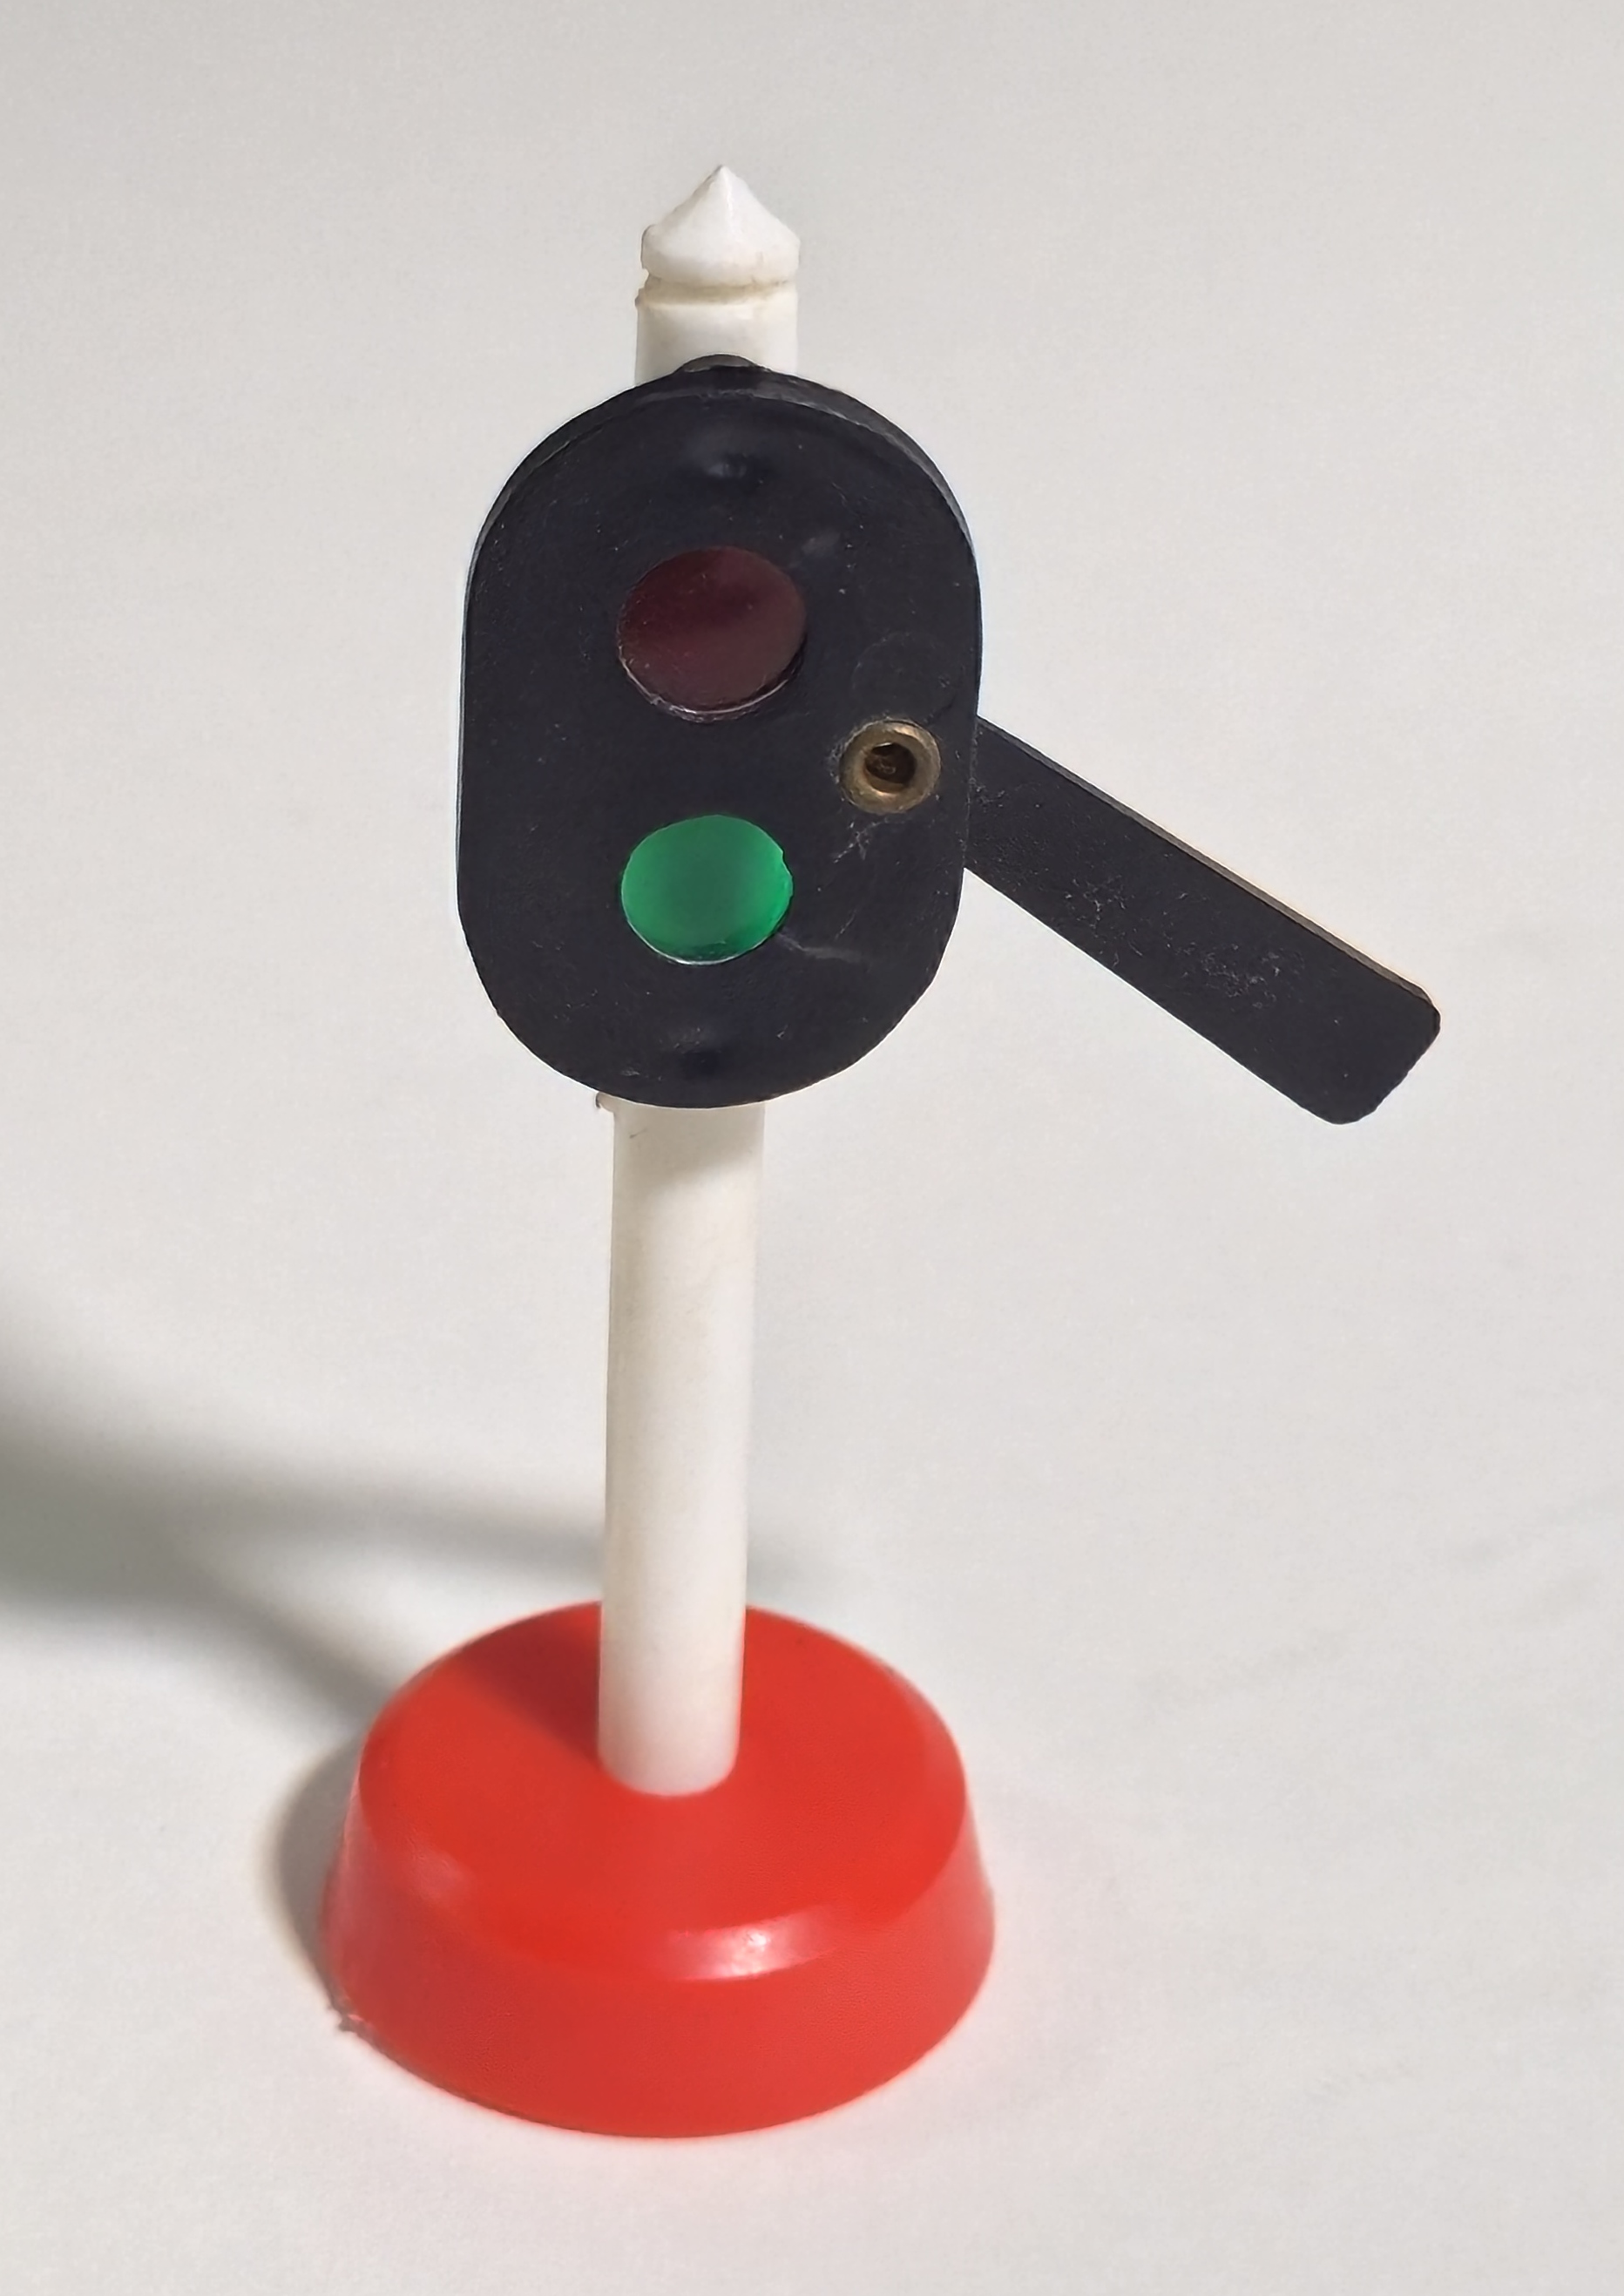
| 1 | Signal |
 |
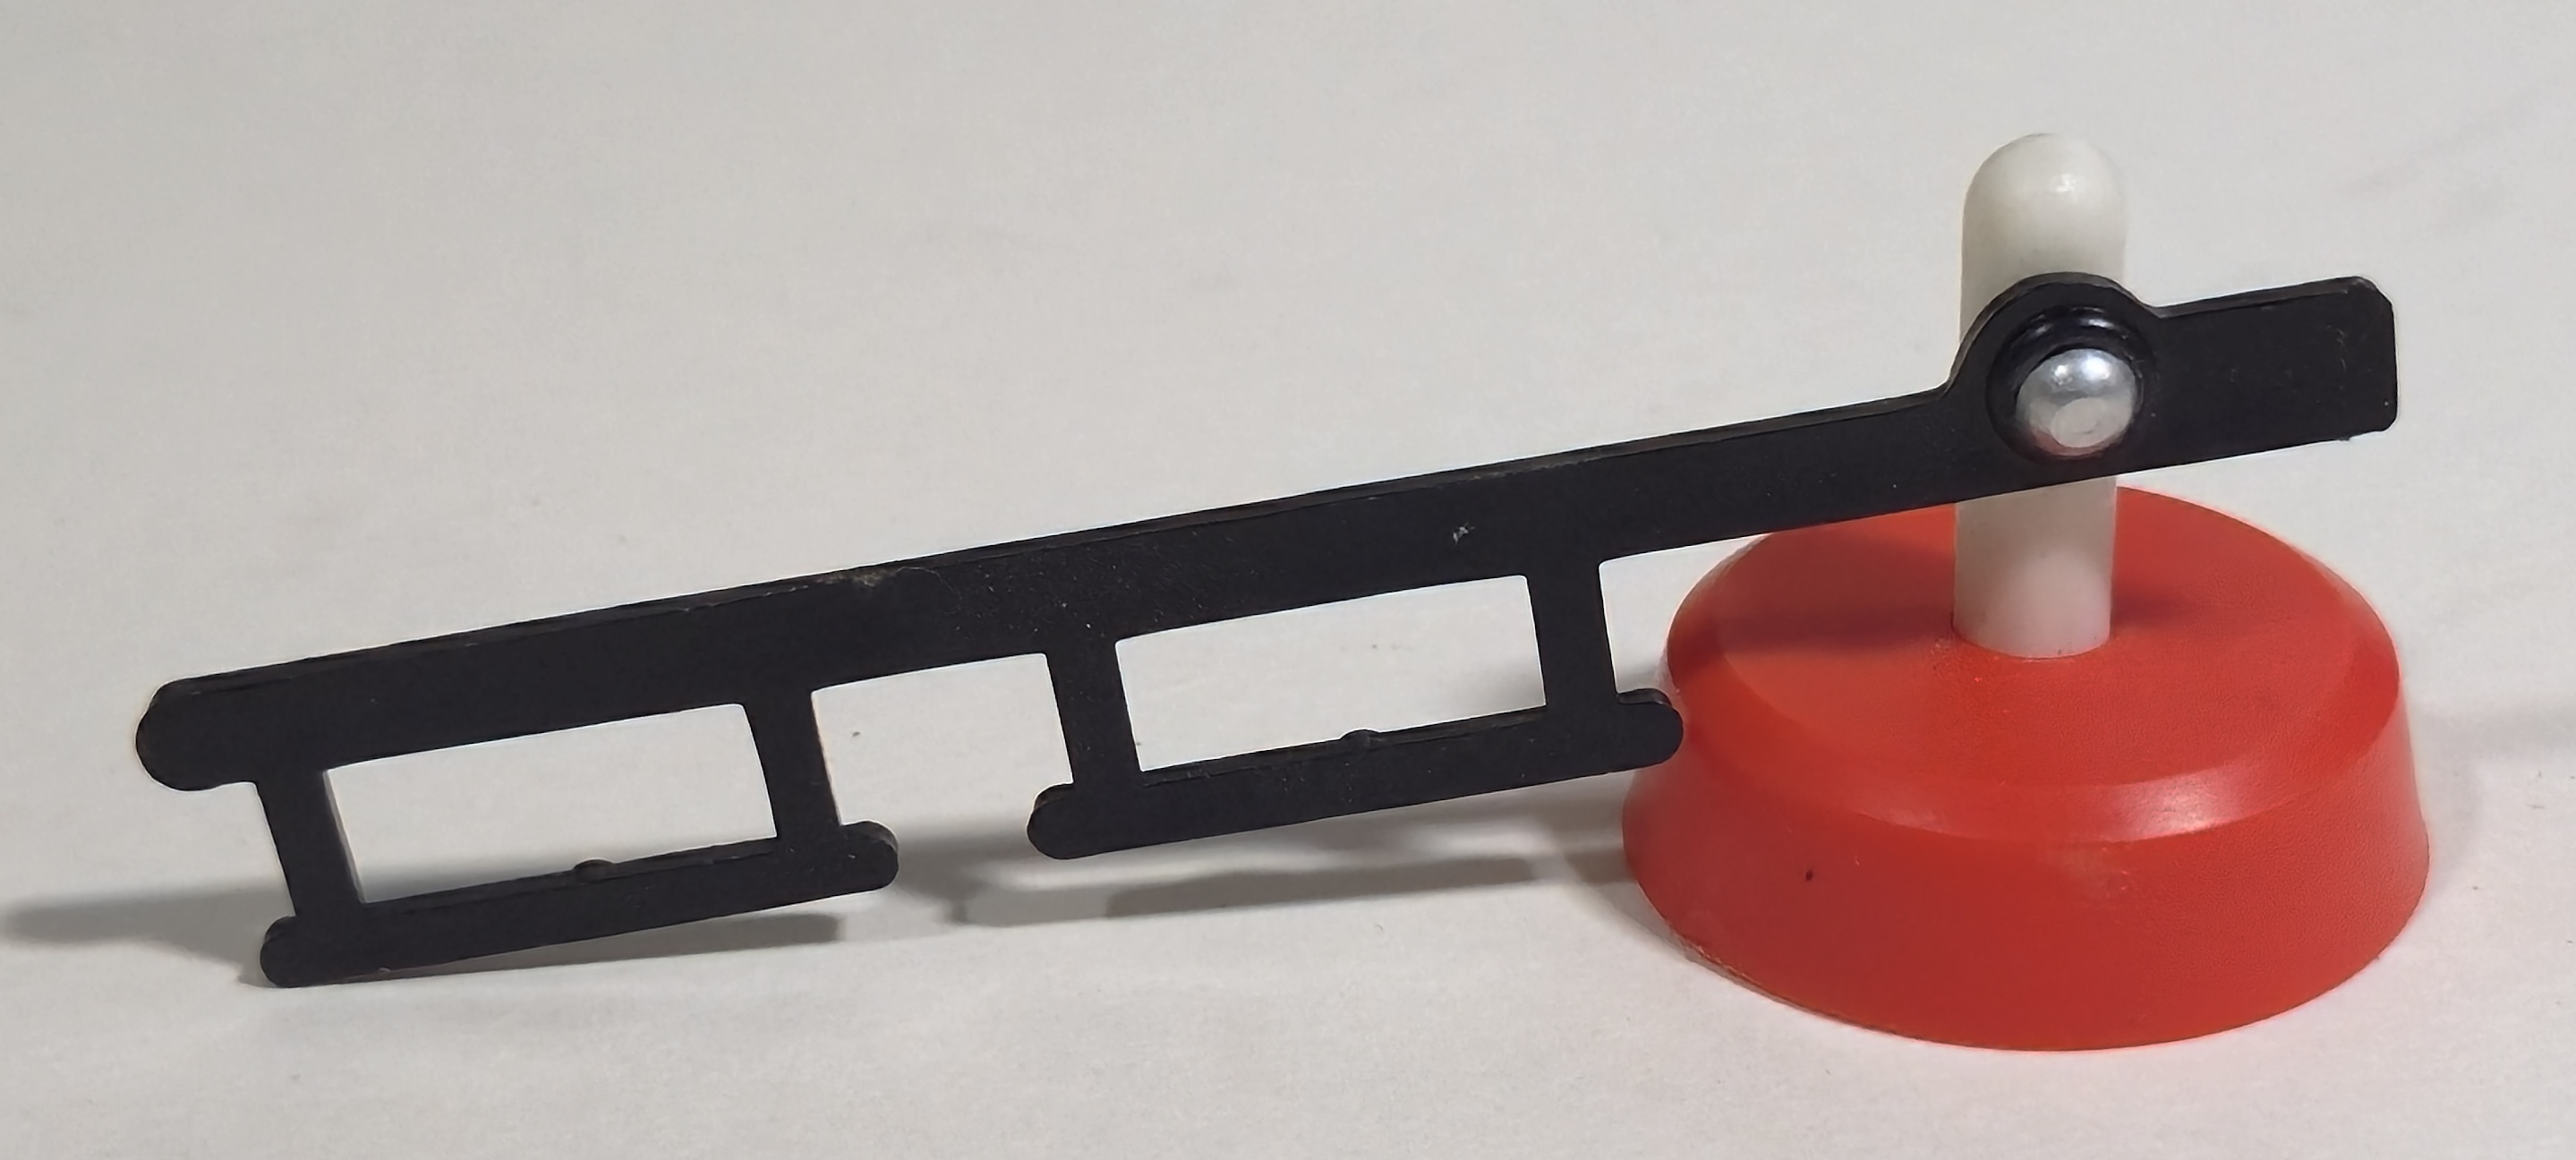
| 1 | Crossing gate |
 |
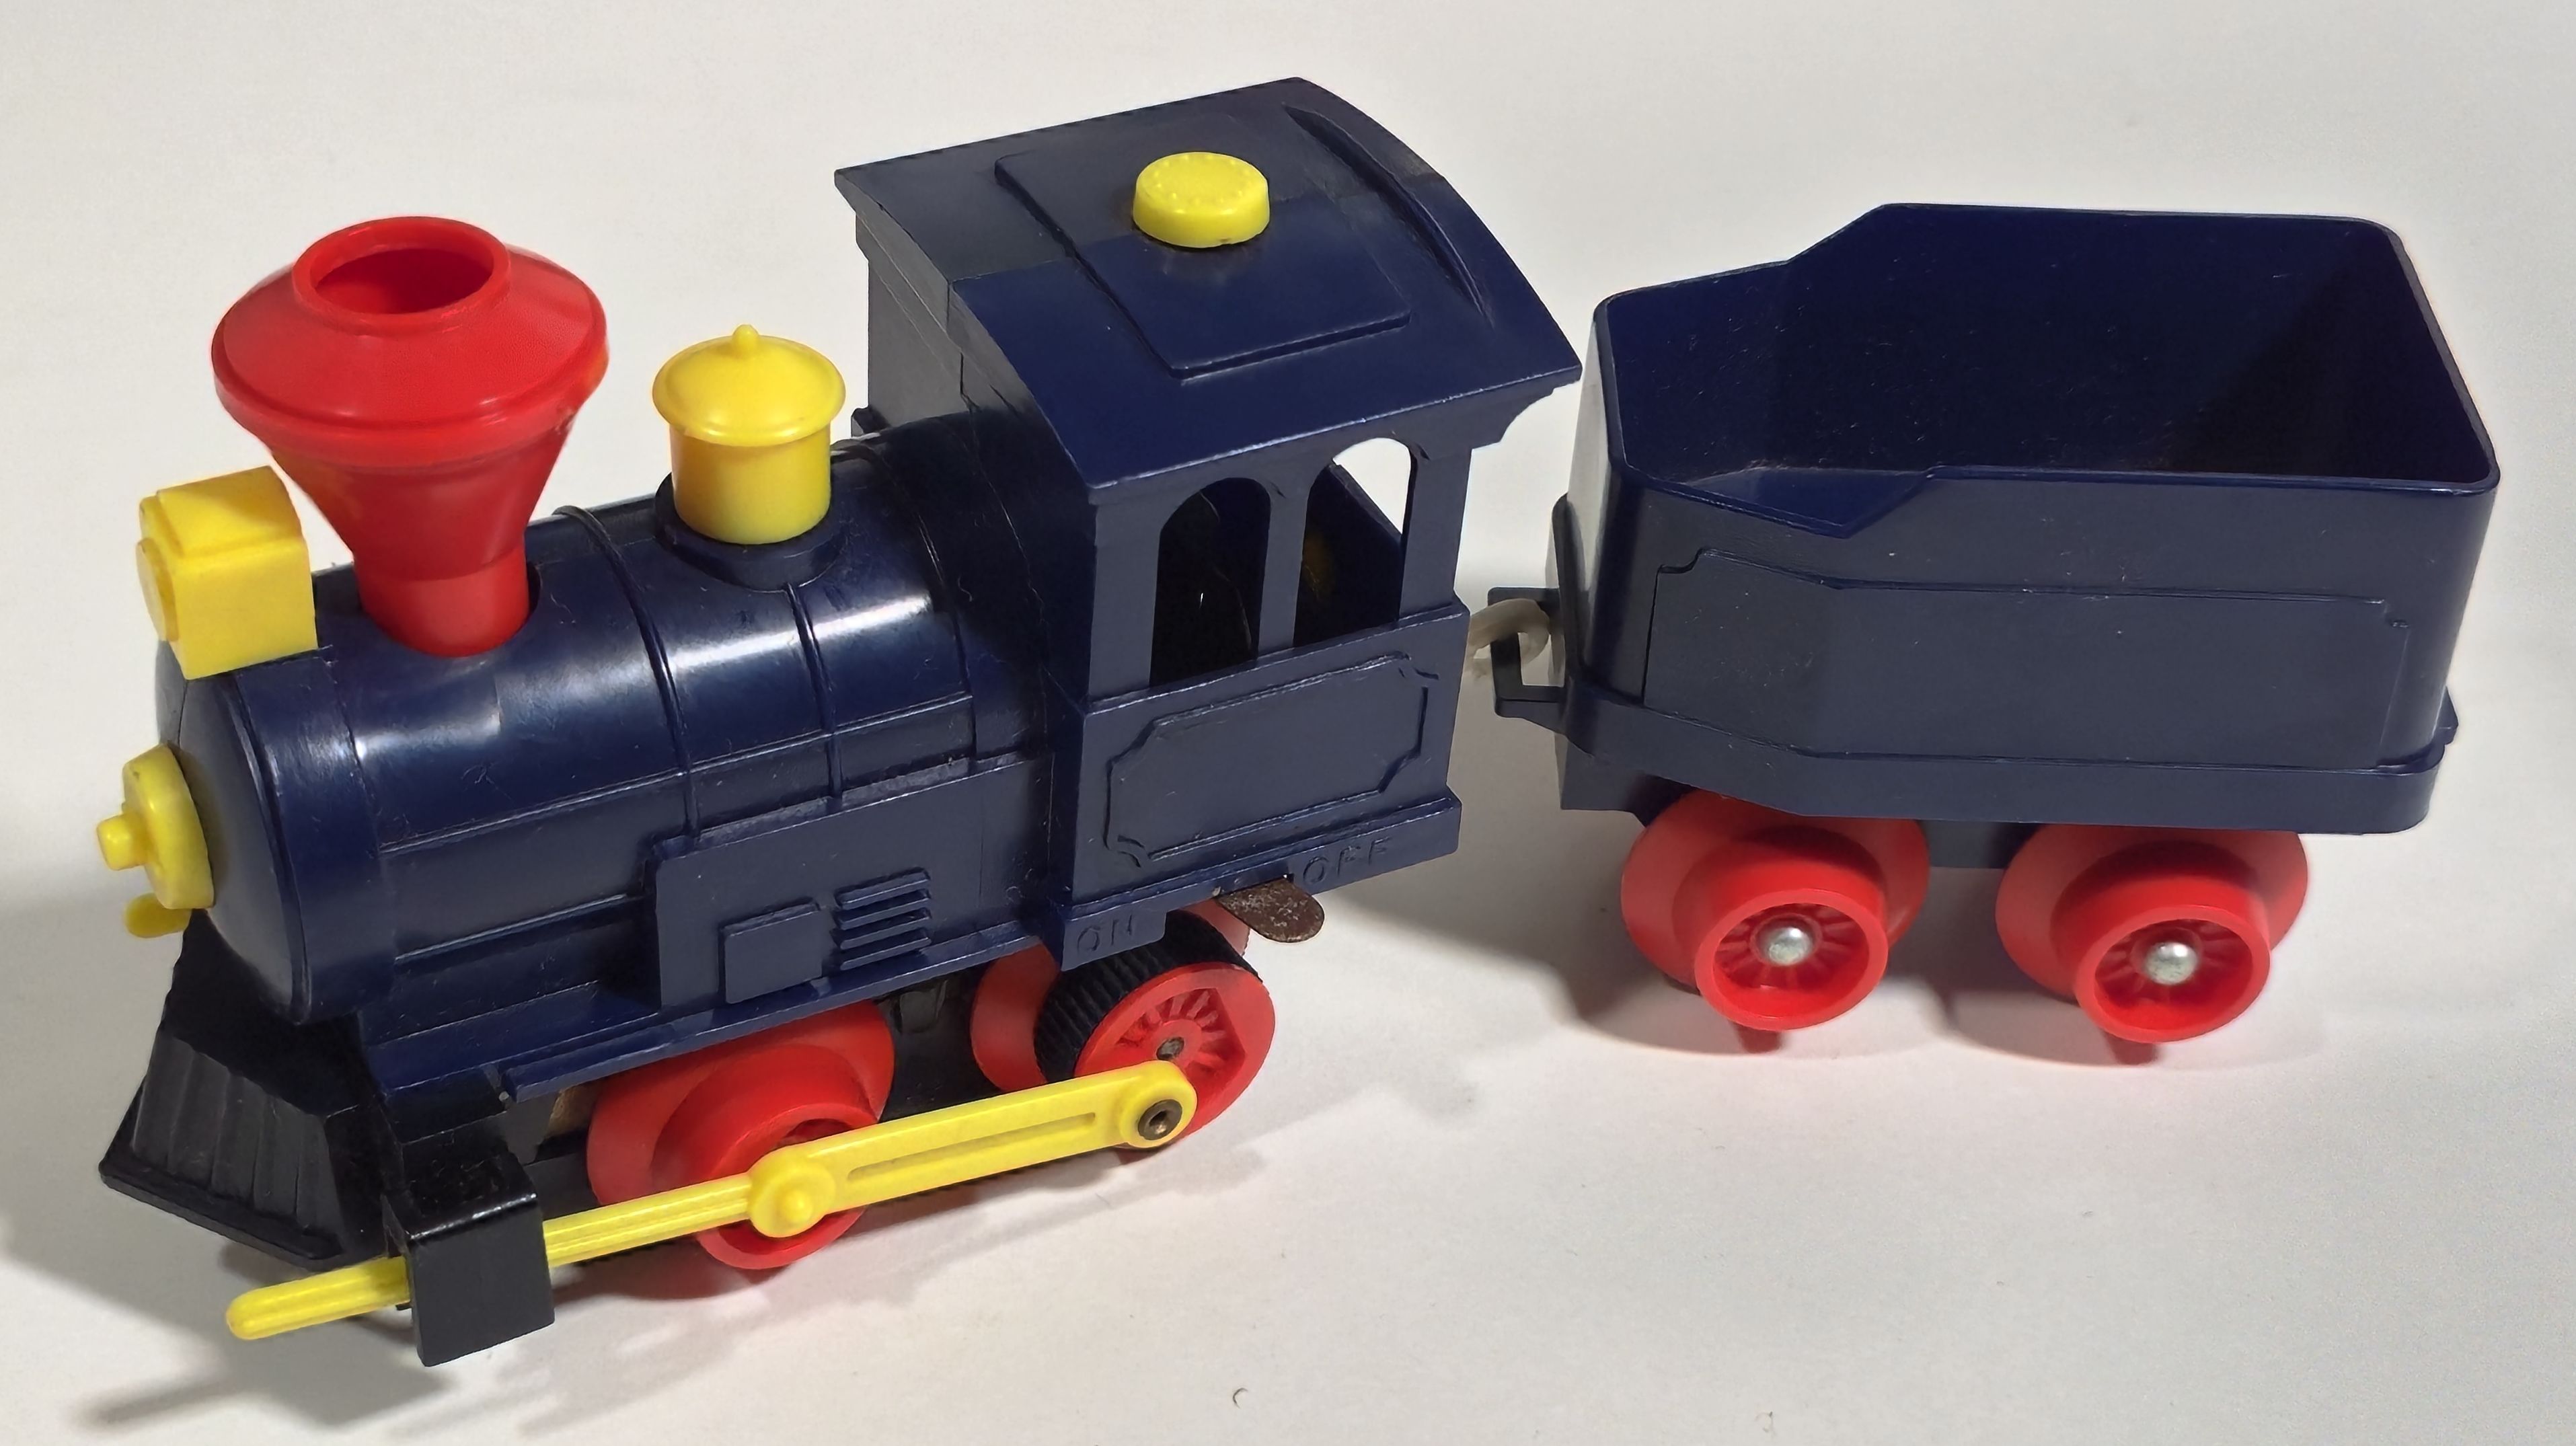
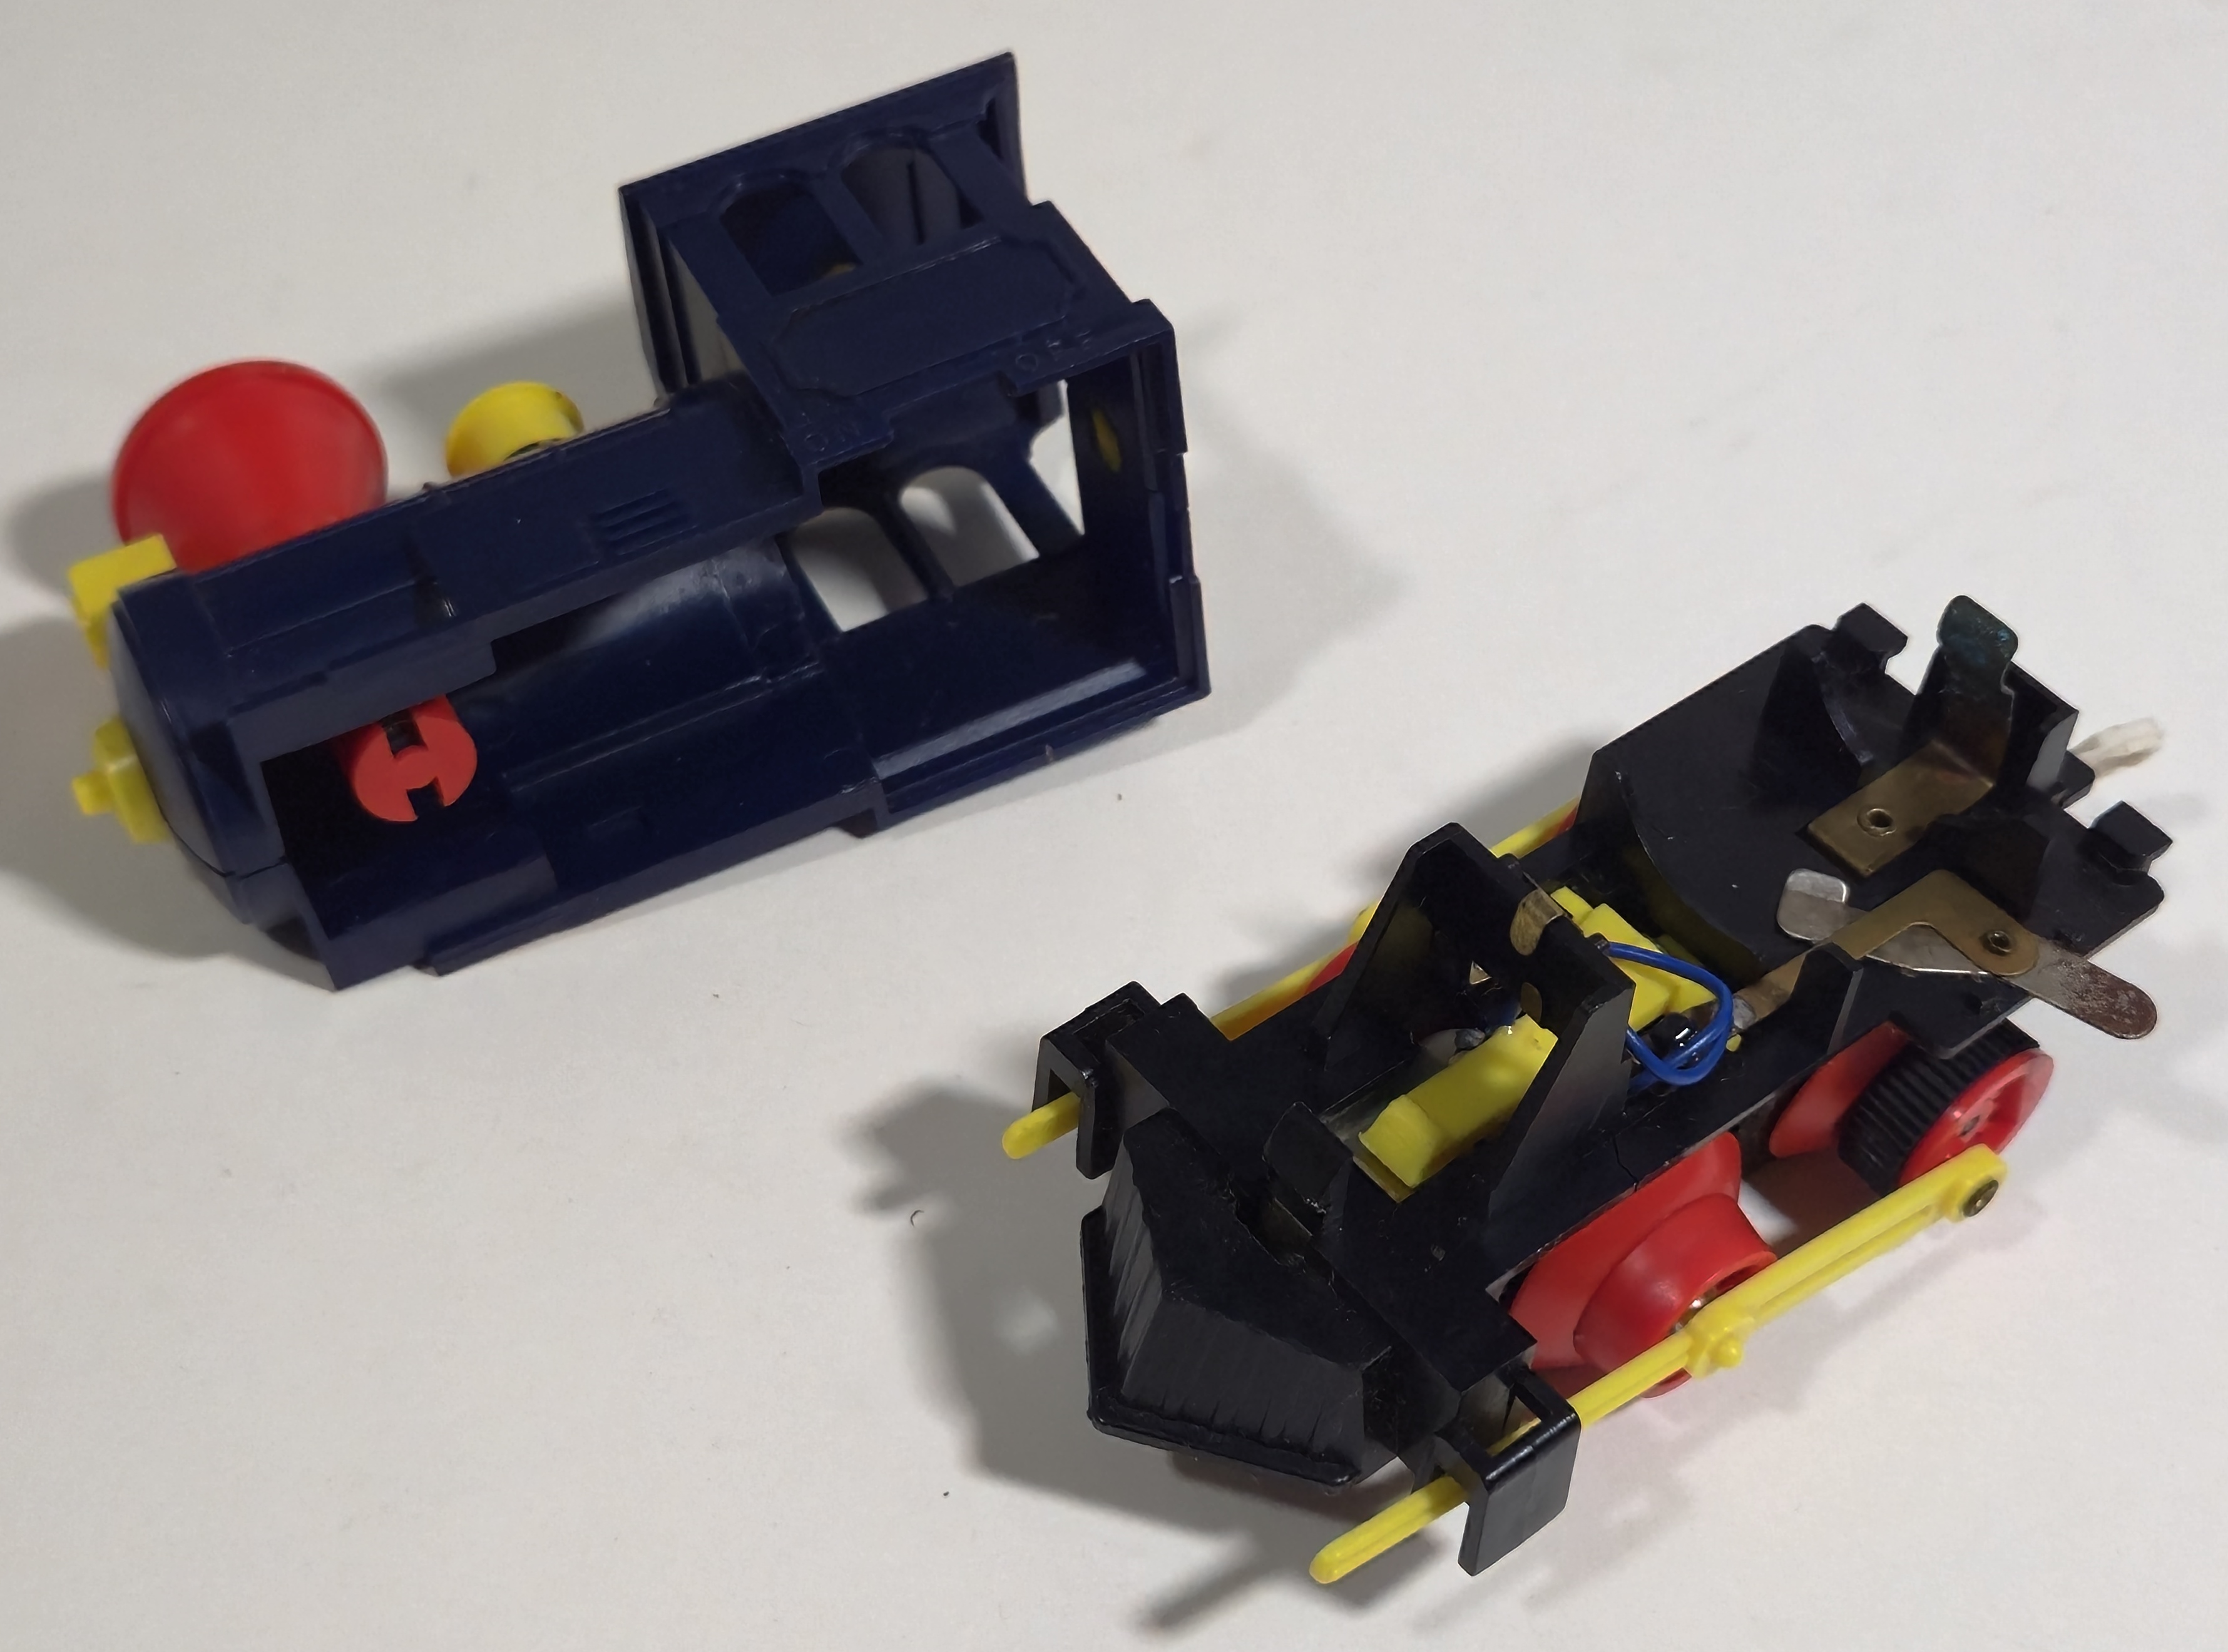
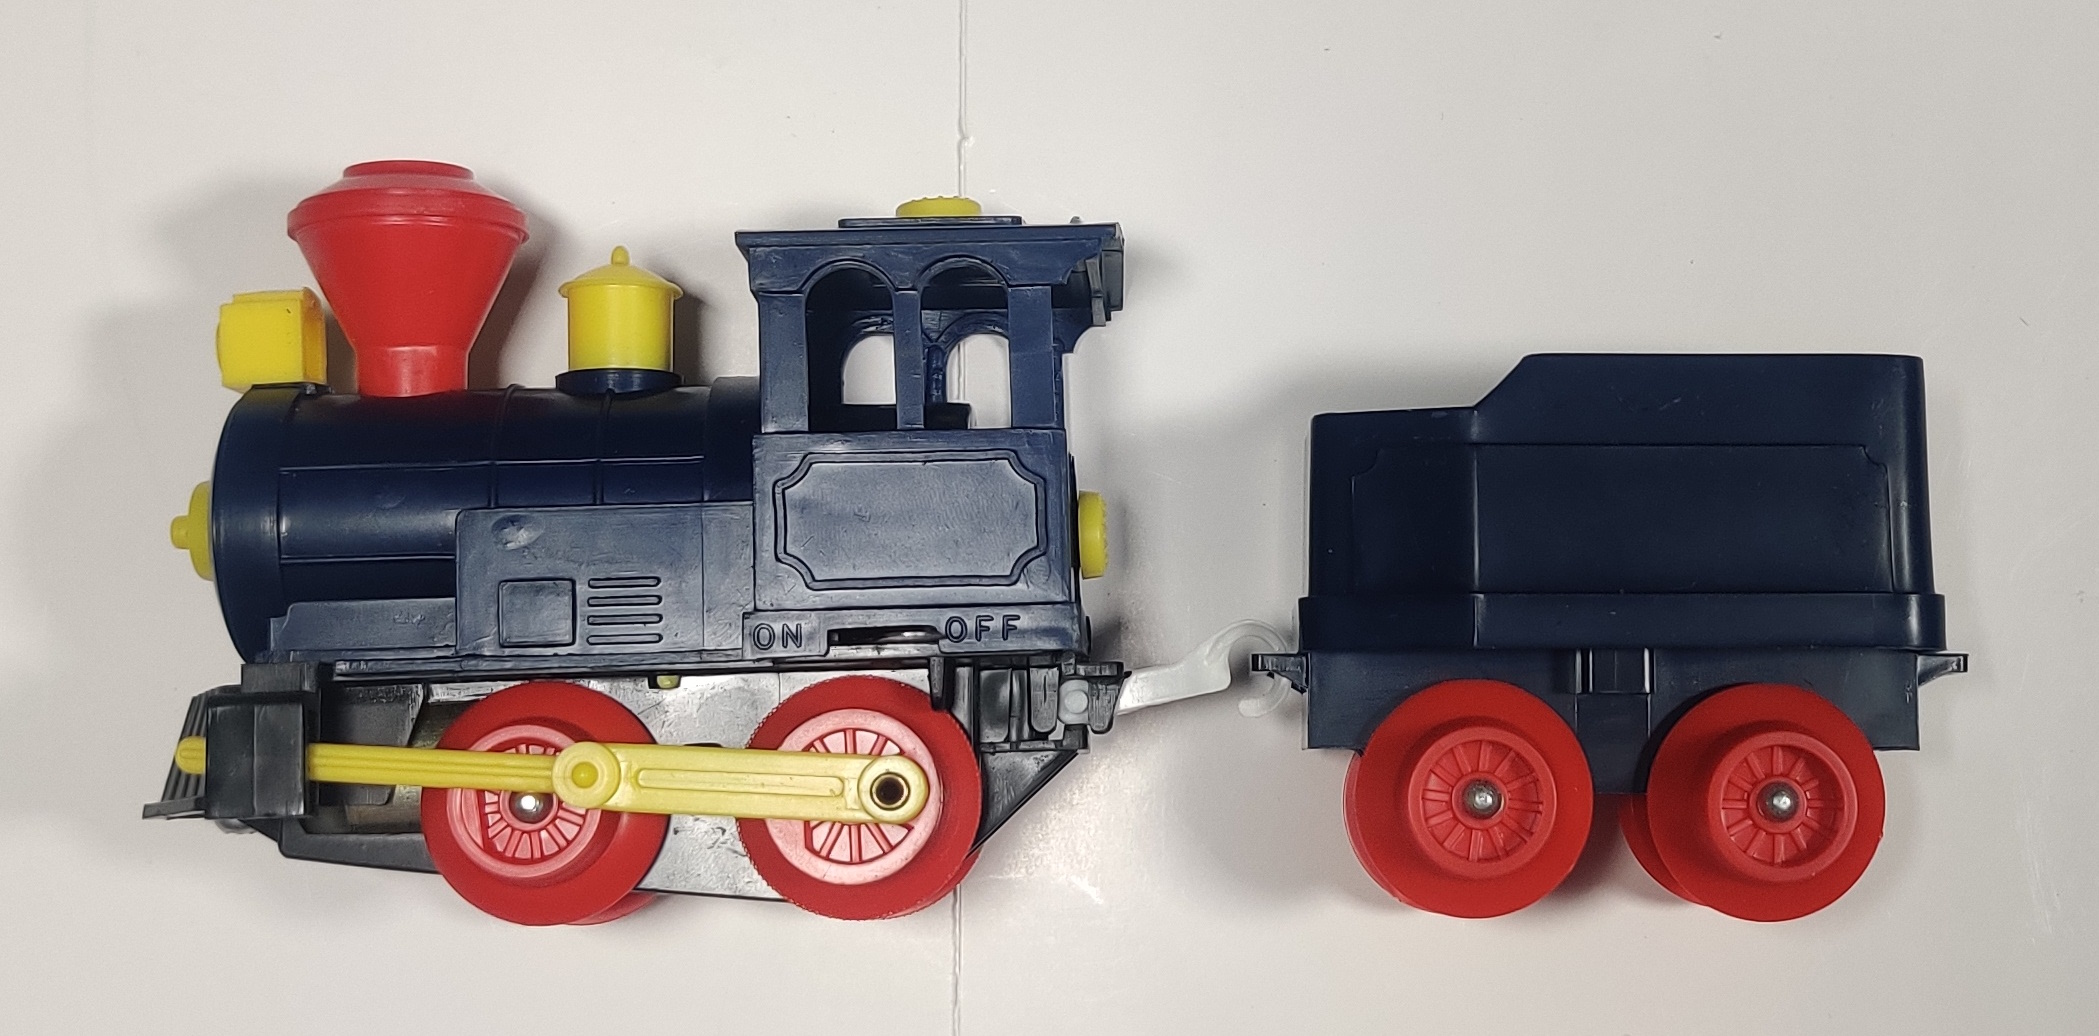
The only train produced for the Freerail standard was this steam locomotive with puffing smokestack and tender. The yellow lever inside pushes the sprung smokestack up as the train runs. The engine has a flexible rear coupler similar to late 1960s Plarail couplings.
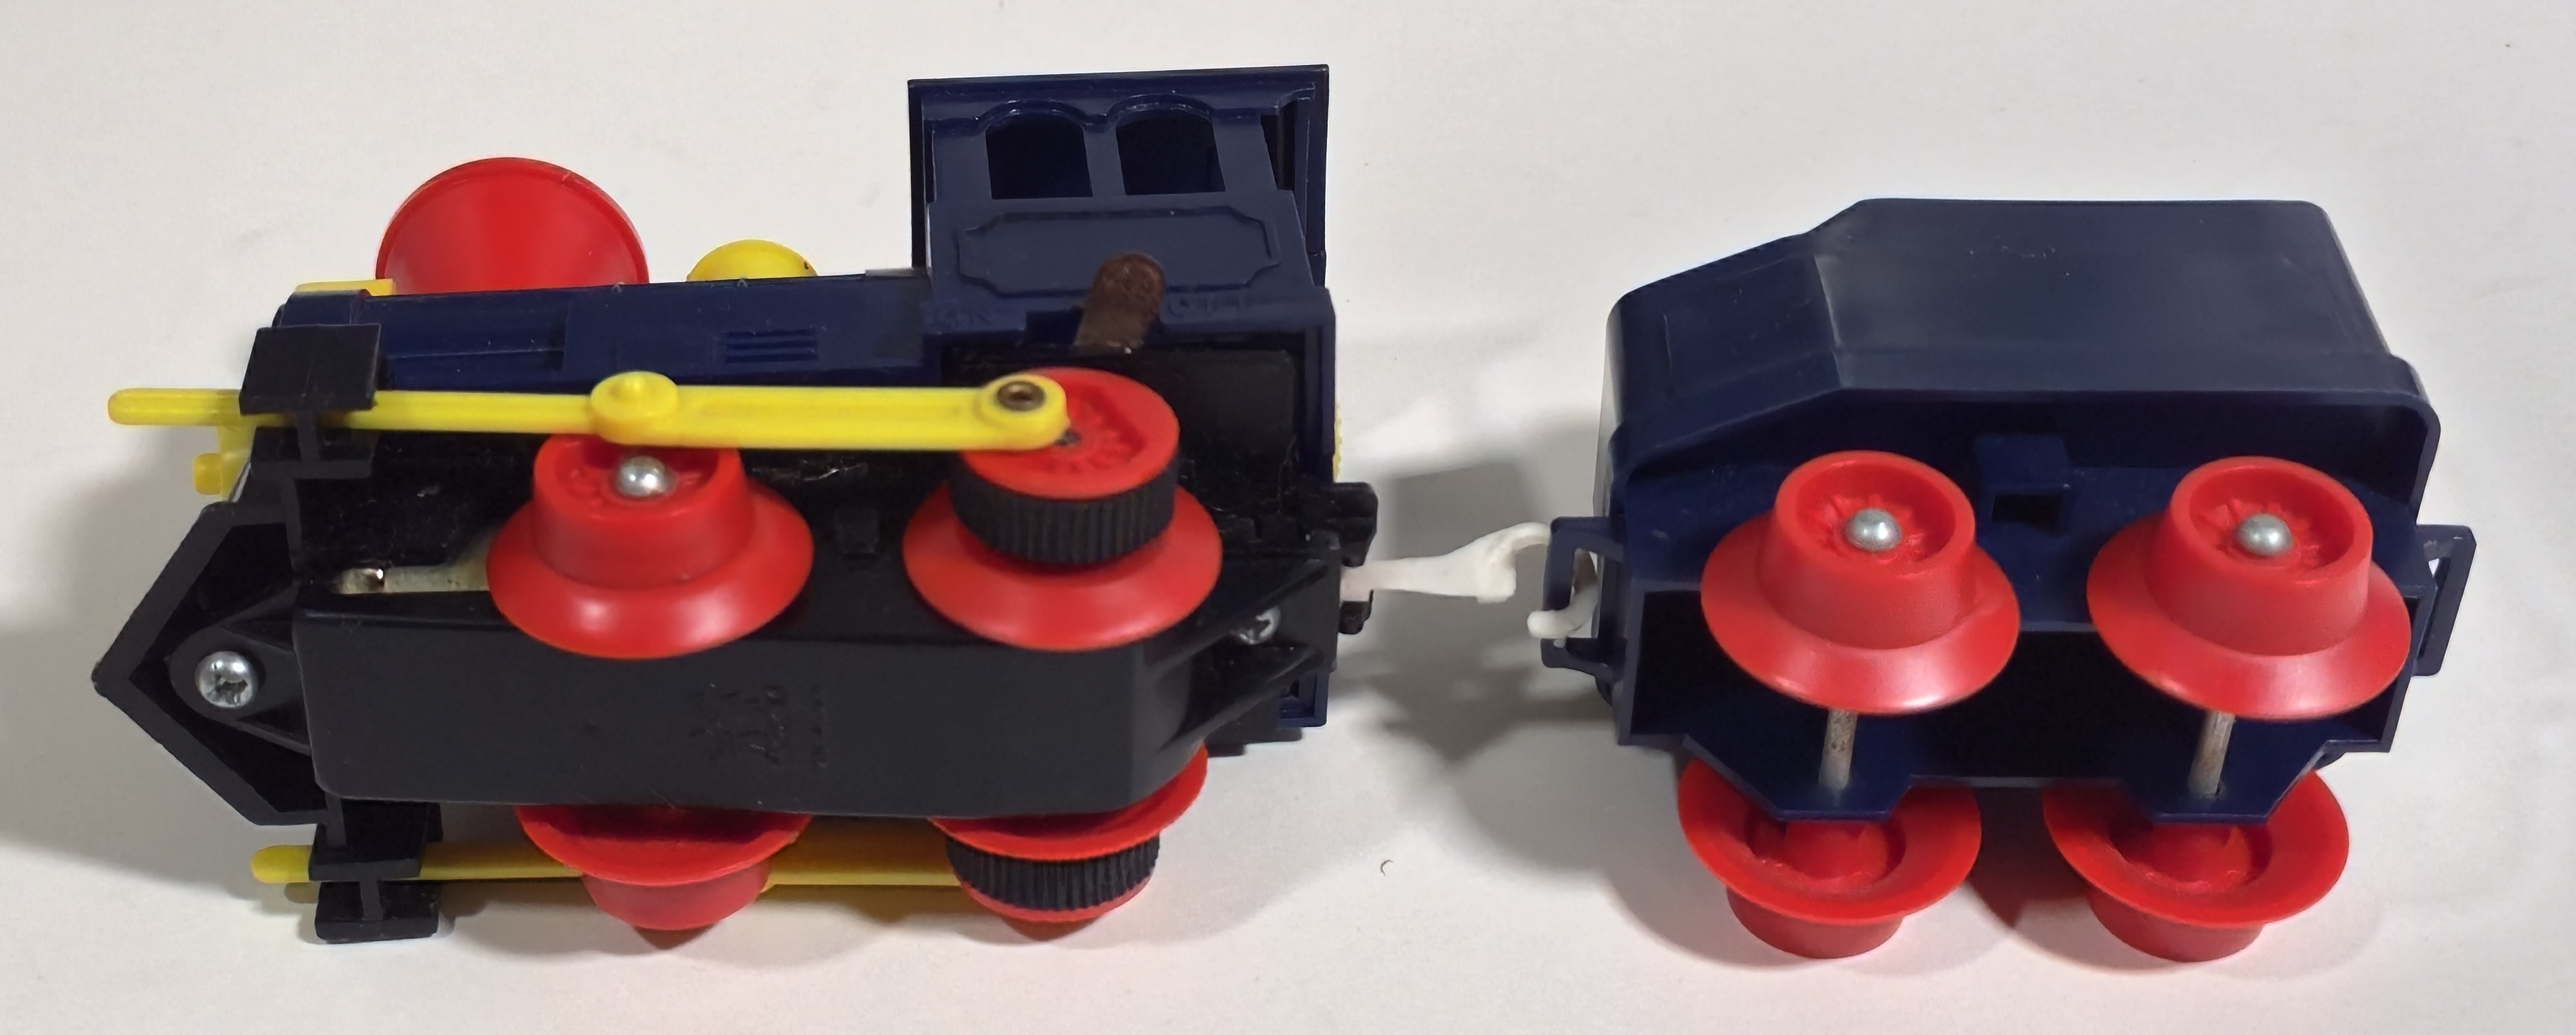
The upper body shell and tender are a dark blue plastic and the chassis is black and has the Tomy logo molded into it. Unfortunately, there was only ever the smaller No. 1 set and this larger No. 2 set released in Japan and one export set, and there were no other pieces of rolling stock produced except for this train. Tomy's Plarail was expanding in this period and Tomy also introduced the Super Rail series in 1972, and Freerail faded into the realm of memories and collectors.
The track system is where Freerail gets its name, with white sleeper sections that can be slotted together to form the roadbed for the blue flexible I-beam rails that can be slotted in. The plastic crossing and switches connect to the white sections and the rail can be cut to fit up against the rail molded into the plastic pieces. A second copy of the set I have come across has orange sleeper sections... I am not exactly sure why.
Because you are encouraged to freely cut the rail, the more different combinations you make the smaller and smaller the rail pieces will eventually be... When I first got this set, many sections of rail were cut fairly short, which is not necessarily that bad as it provides some already-short sections that I can use without feeling bad about cutting up rail, but there was also many unusably-small little nibs... I took some of the useable rail length from a third copy of the Montgomery Wards Little Engine That Could export Freerail set that I picked up around the same time as this Japanese Freerail set.
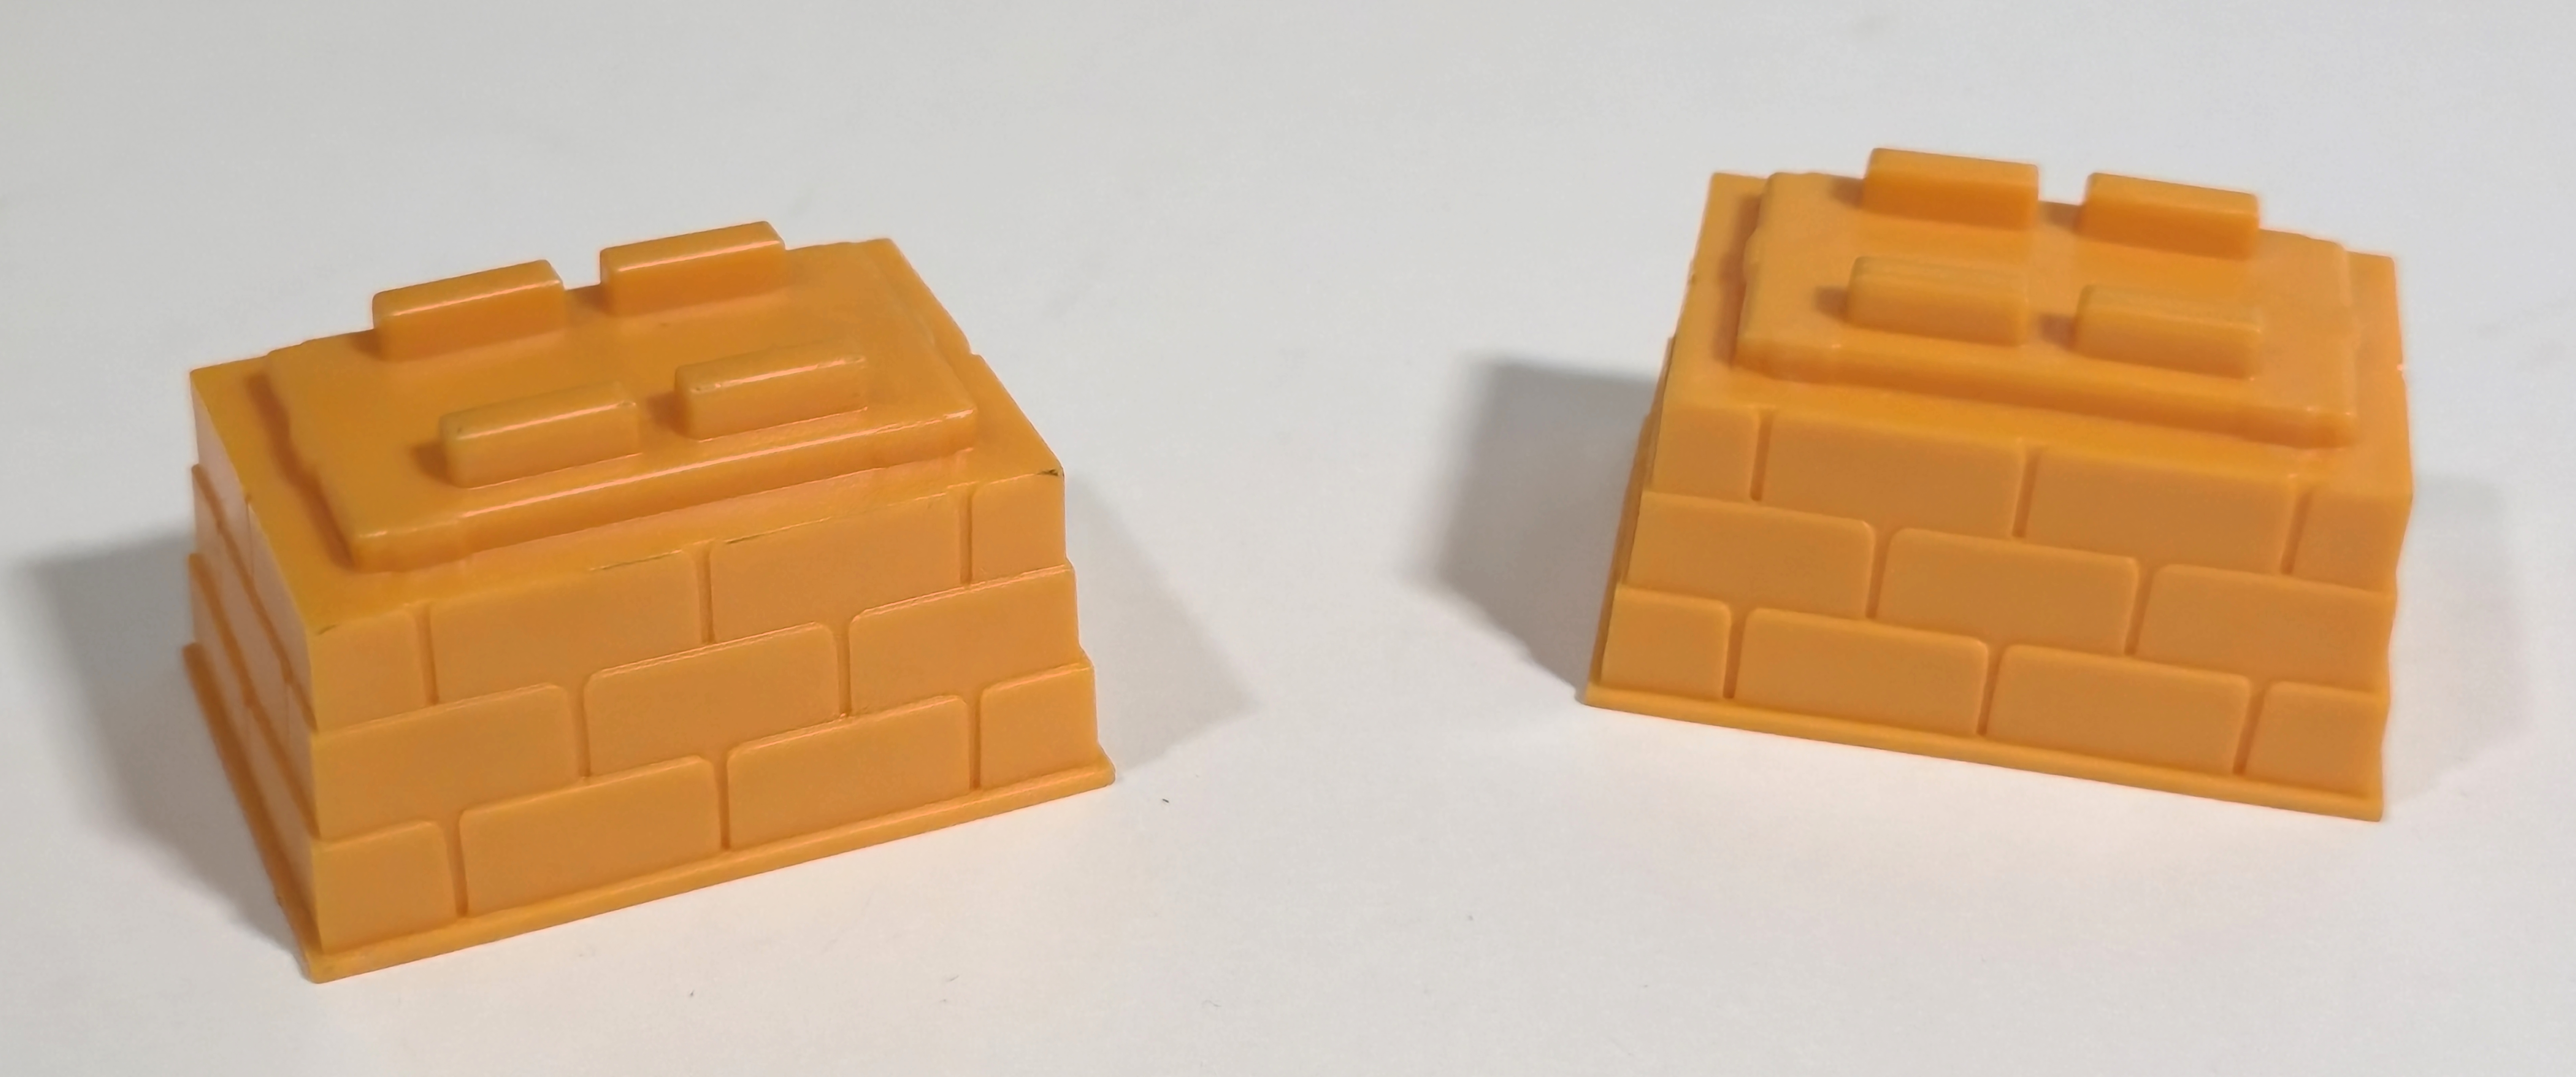
In addition to being bent into any flat layout you want, Freerail can also be lifted up a reasonable grade to go over the included bricks and bridge or other support structures made from other toys or books.
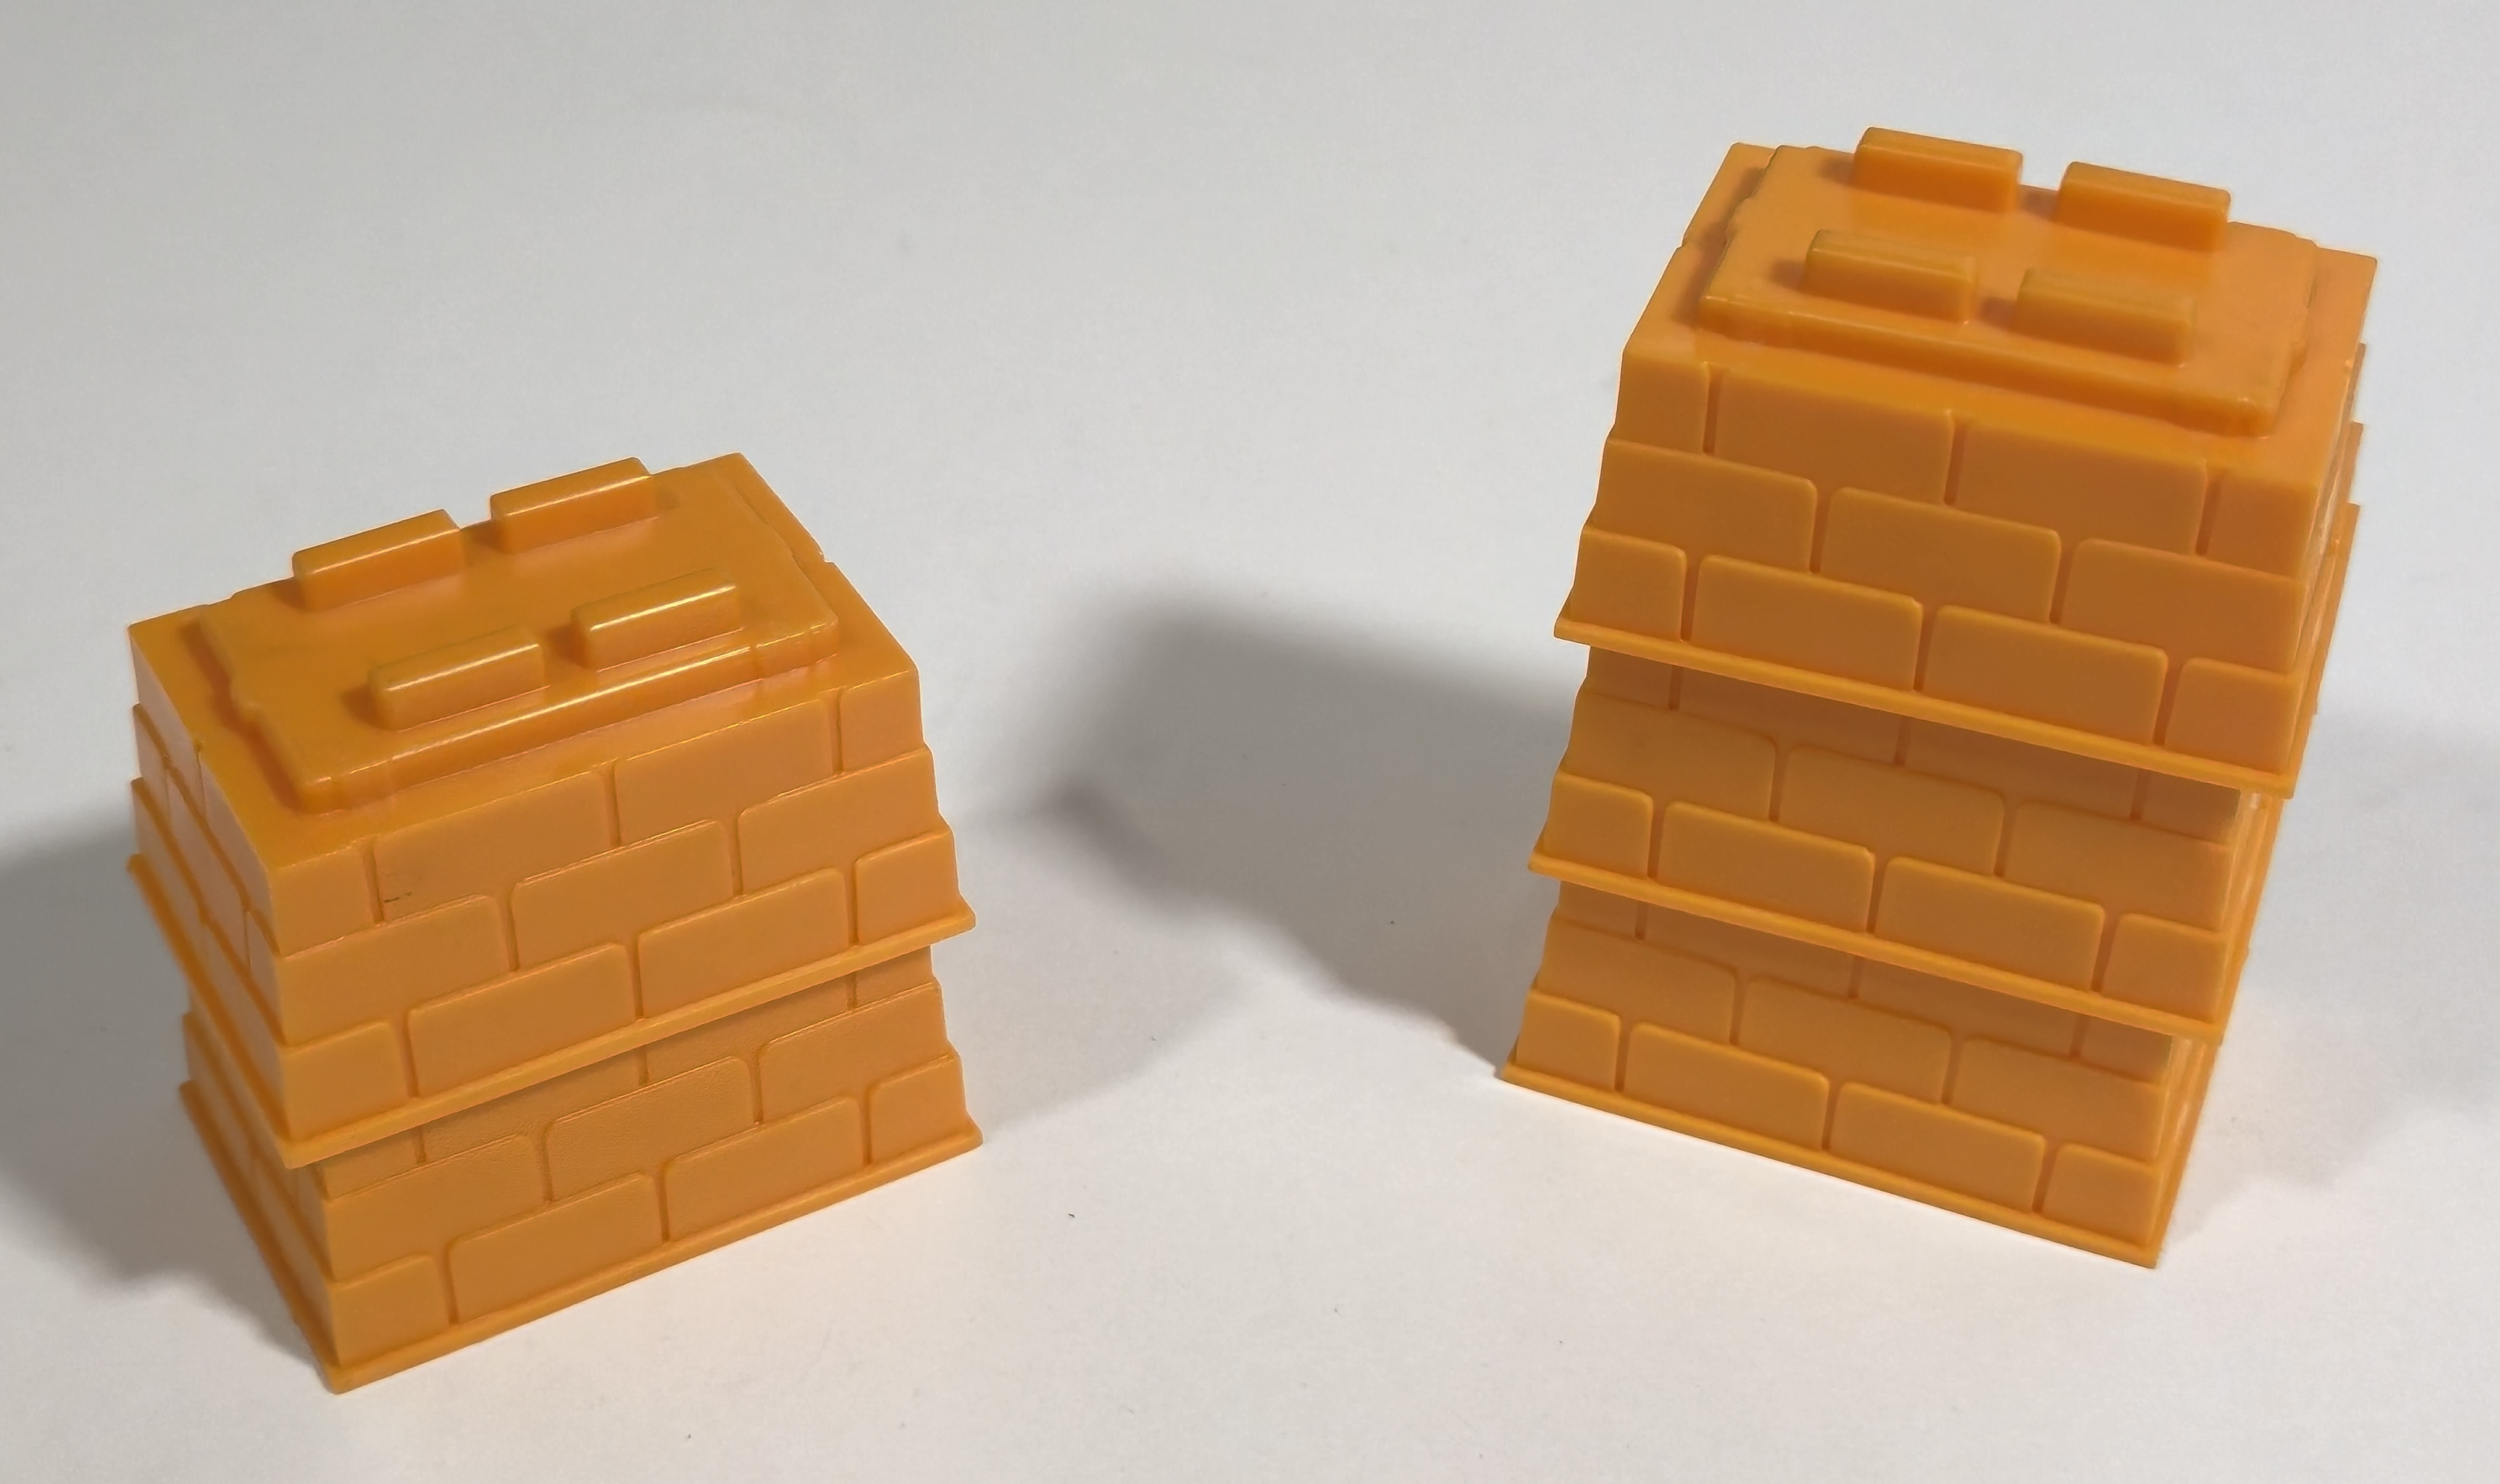
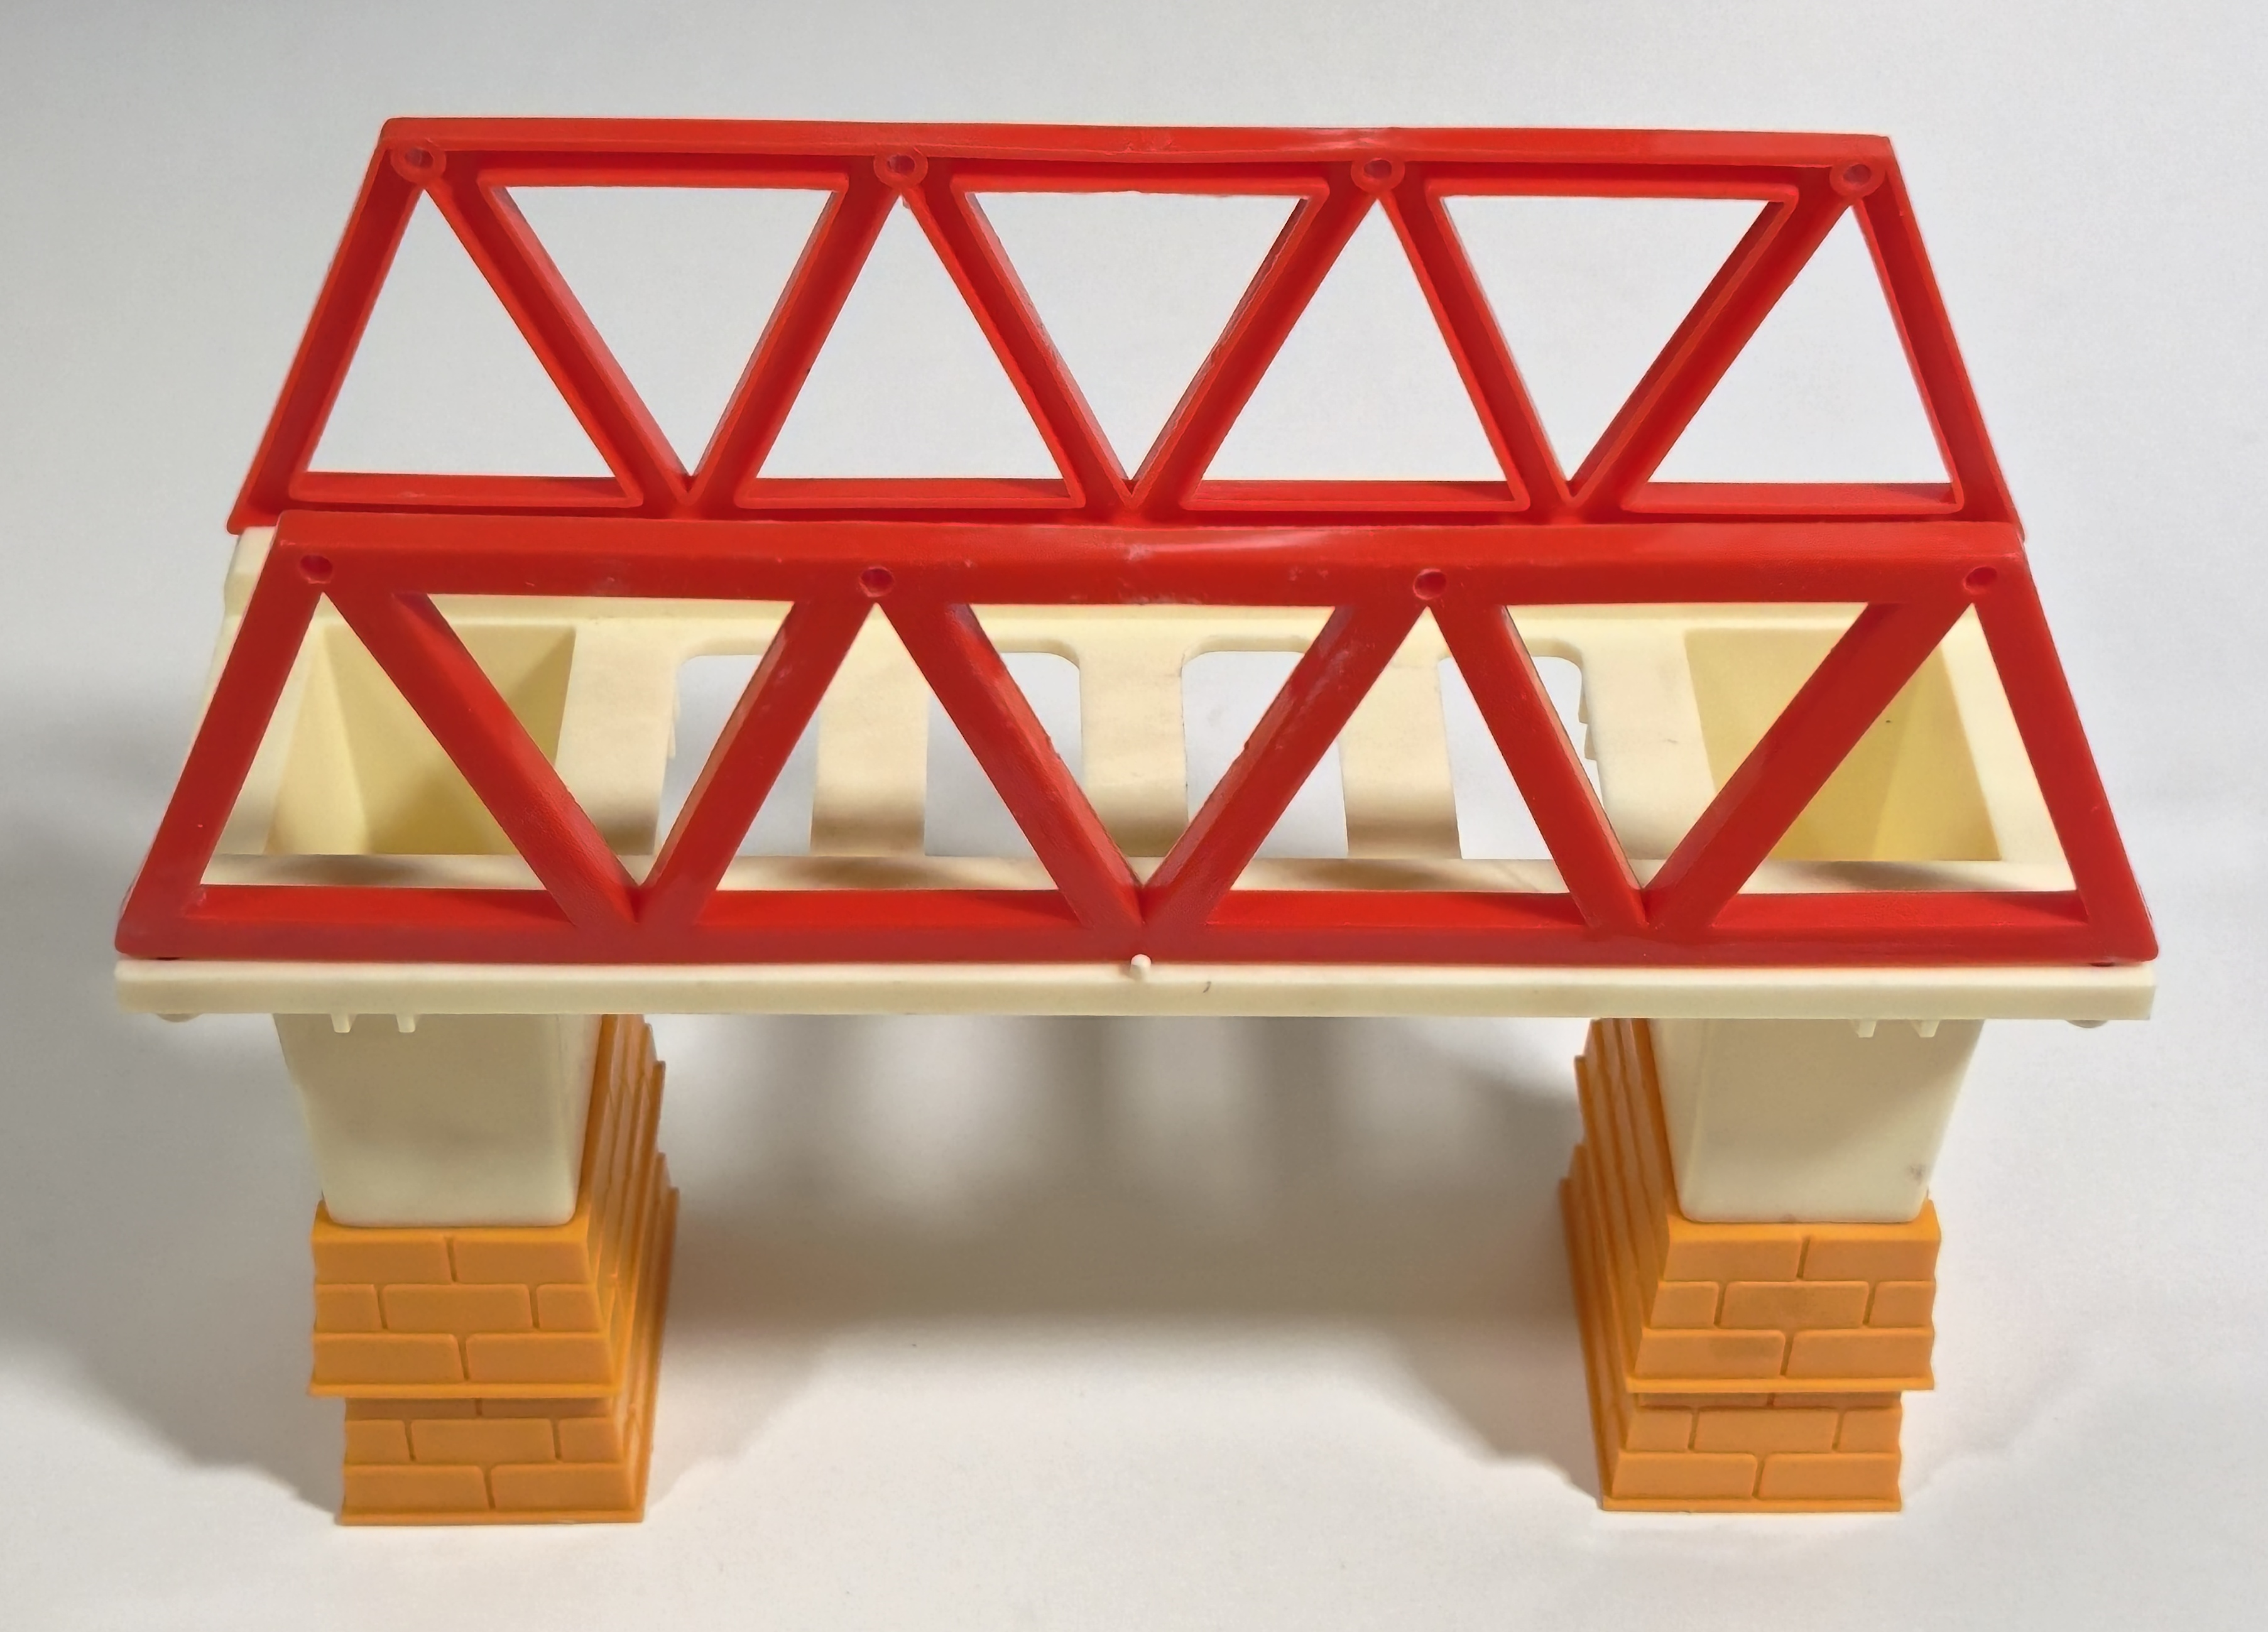
A very generous 16 stackable brick supports are included to make the little train go up and around, and the included bridge can be stacked on top of them high enough for the train to go underneath. I really quite like the look of the white supports and red "iron" sides. These bridge sides are the same tooling as the period Plarail Iron Bridge.
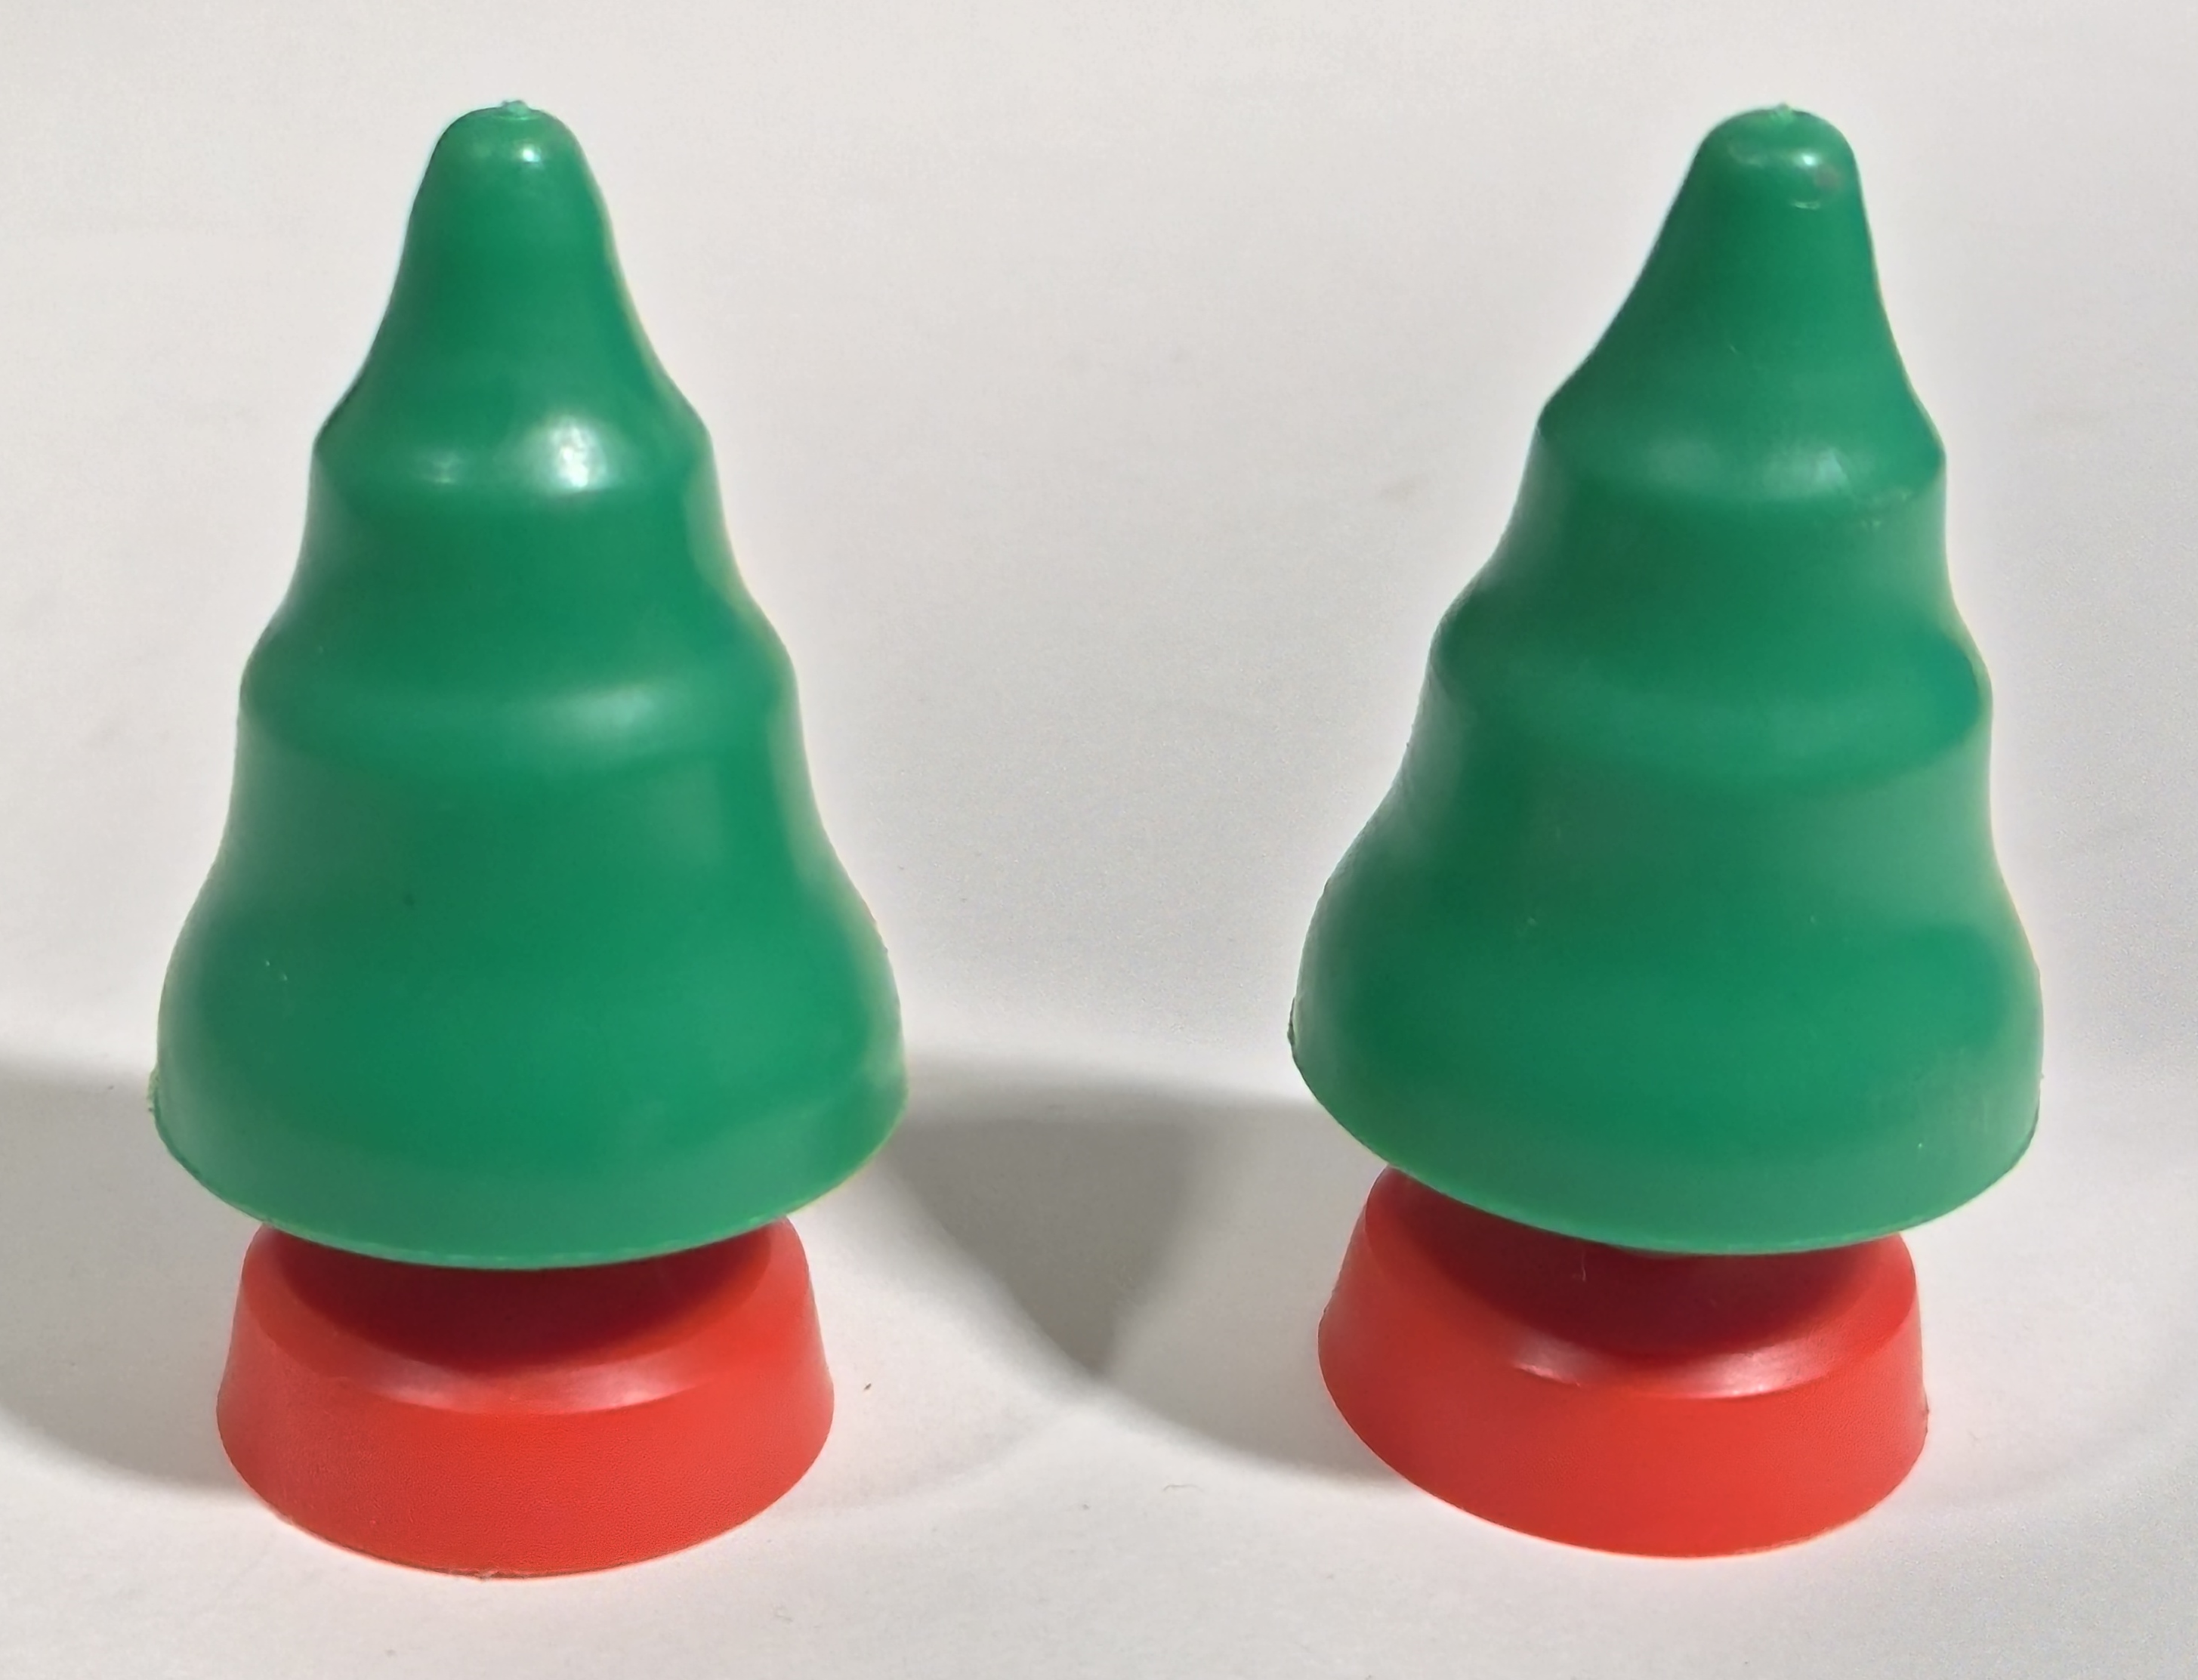
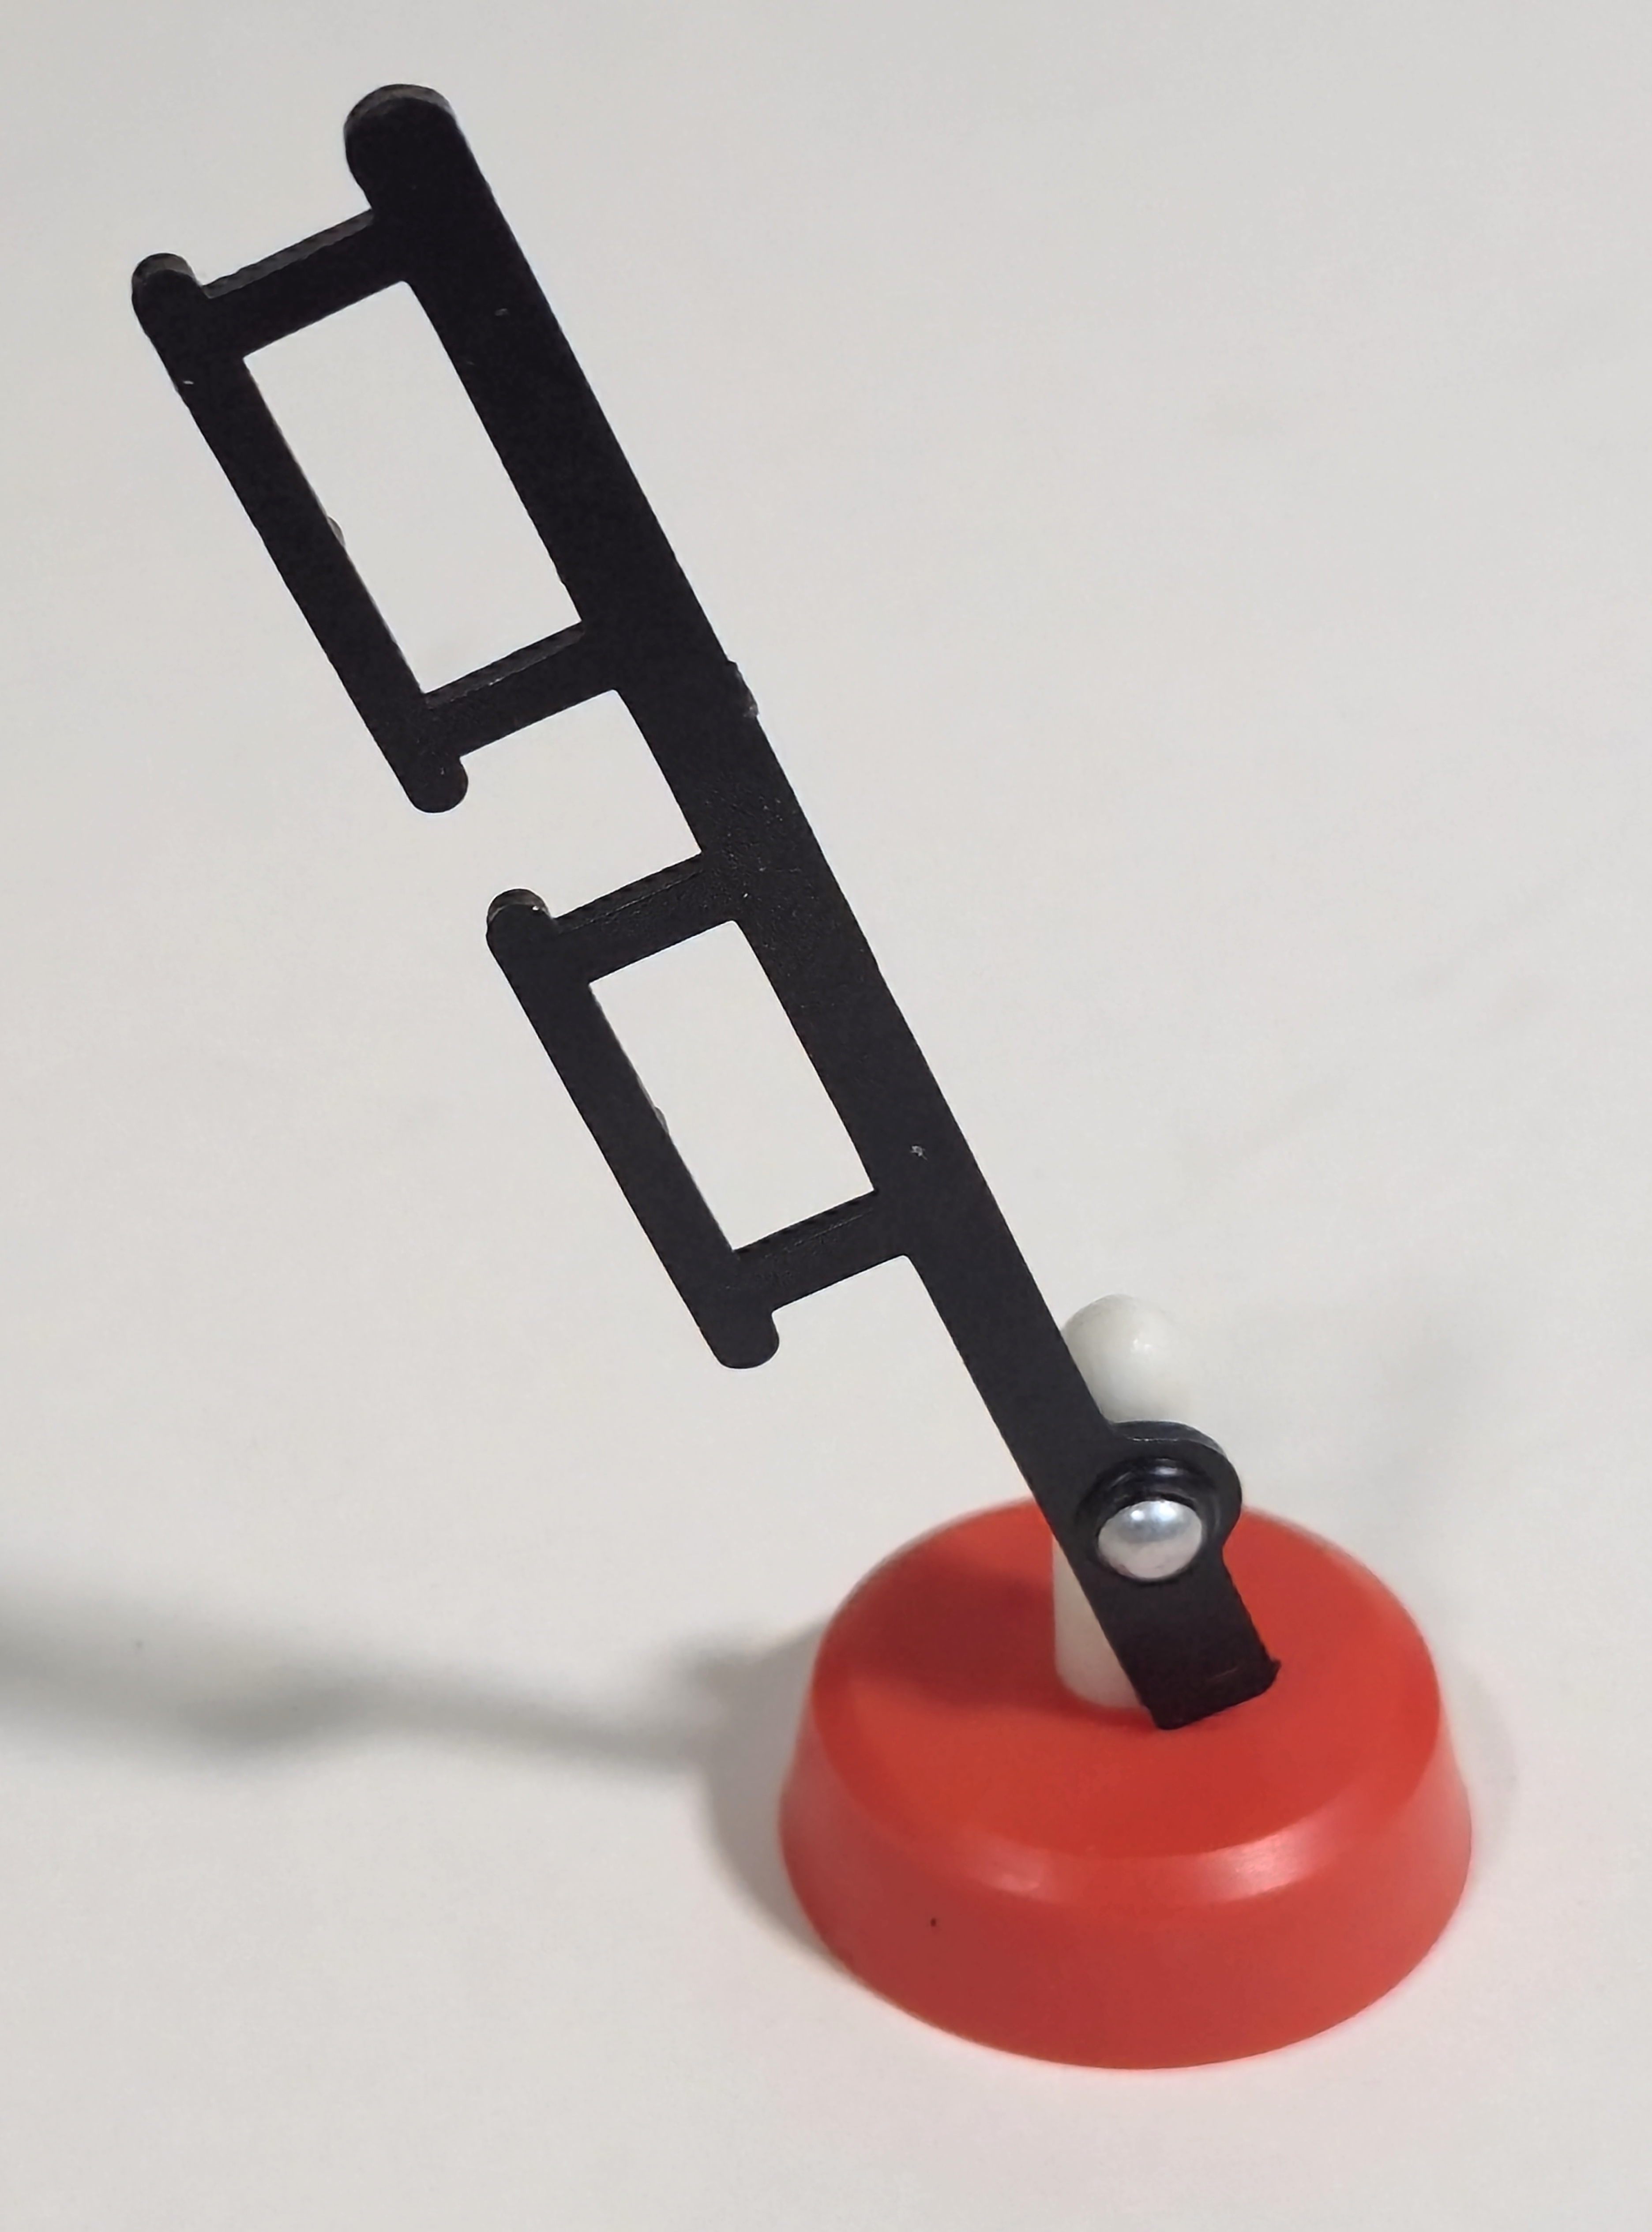
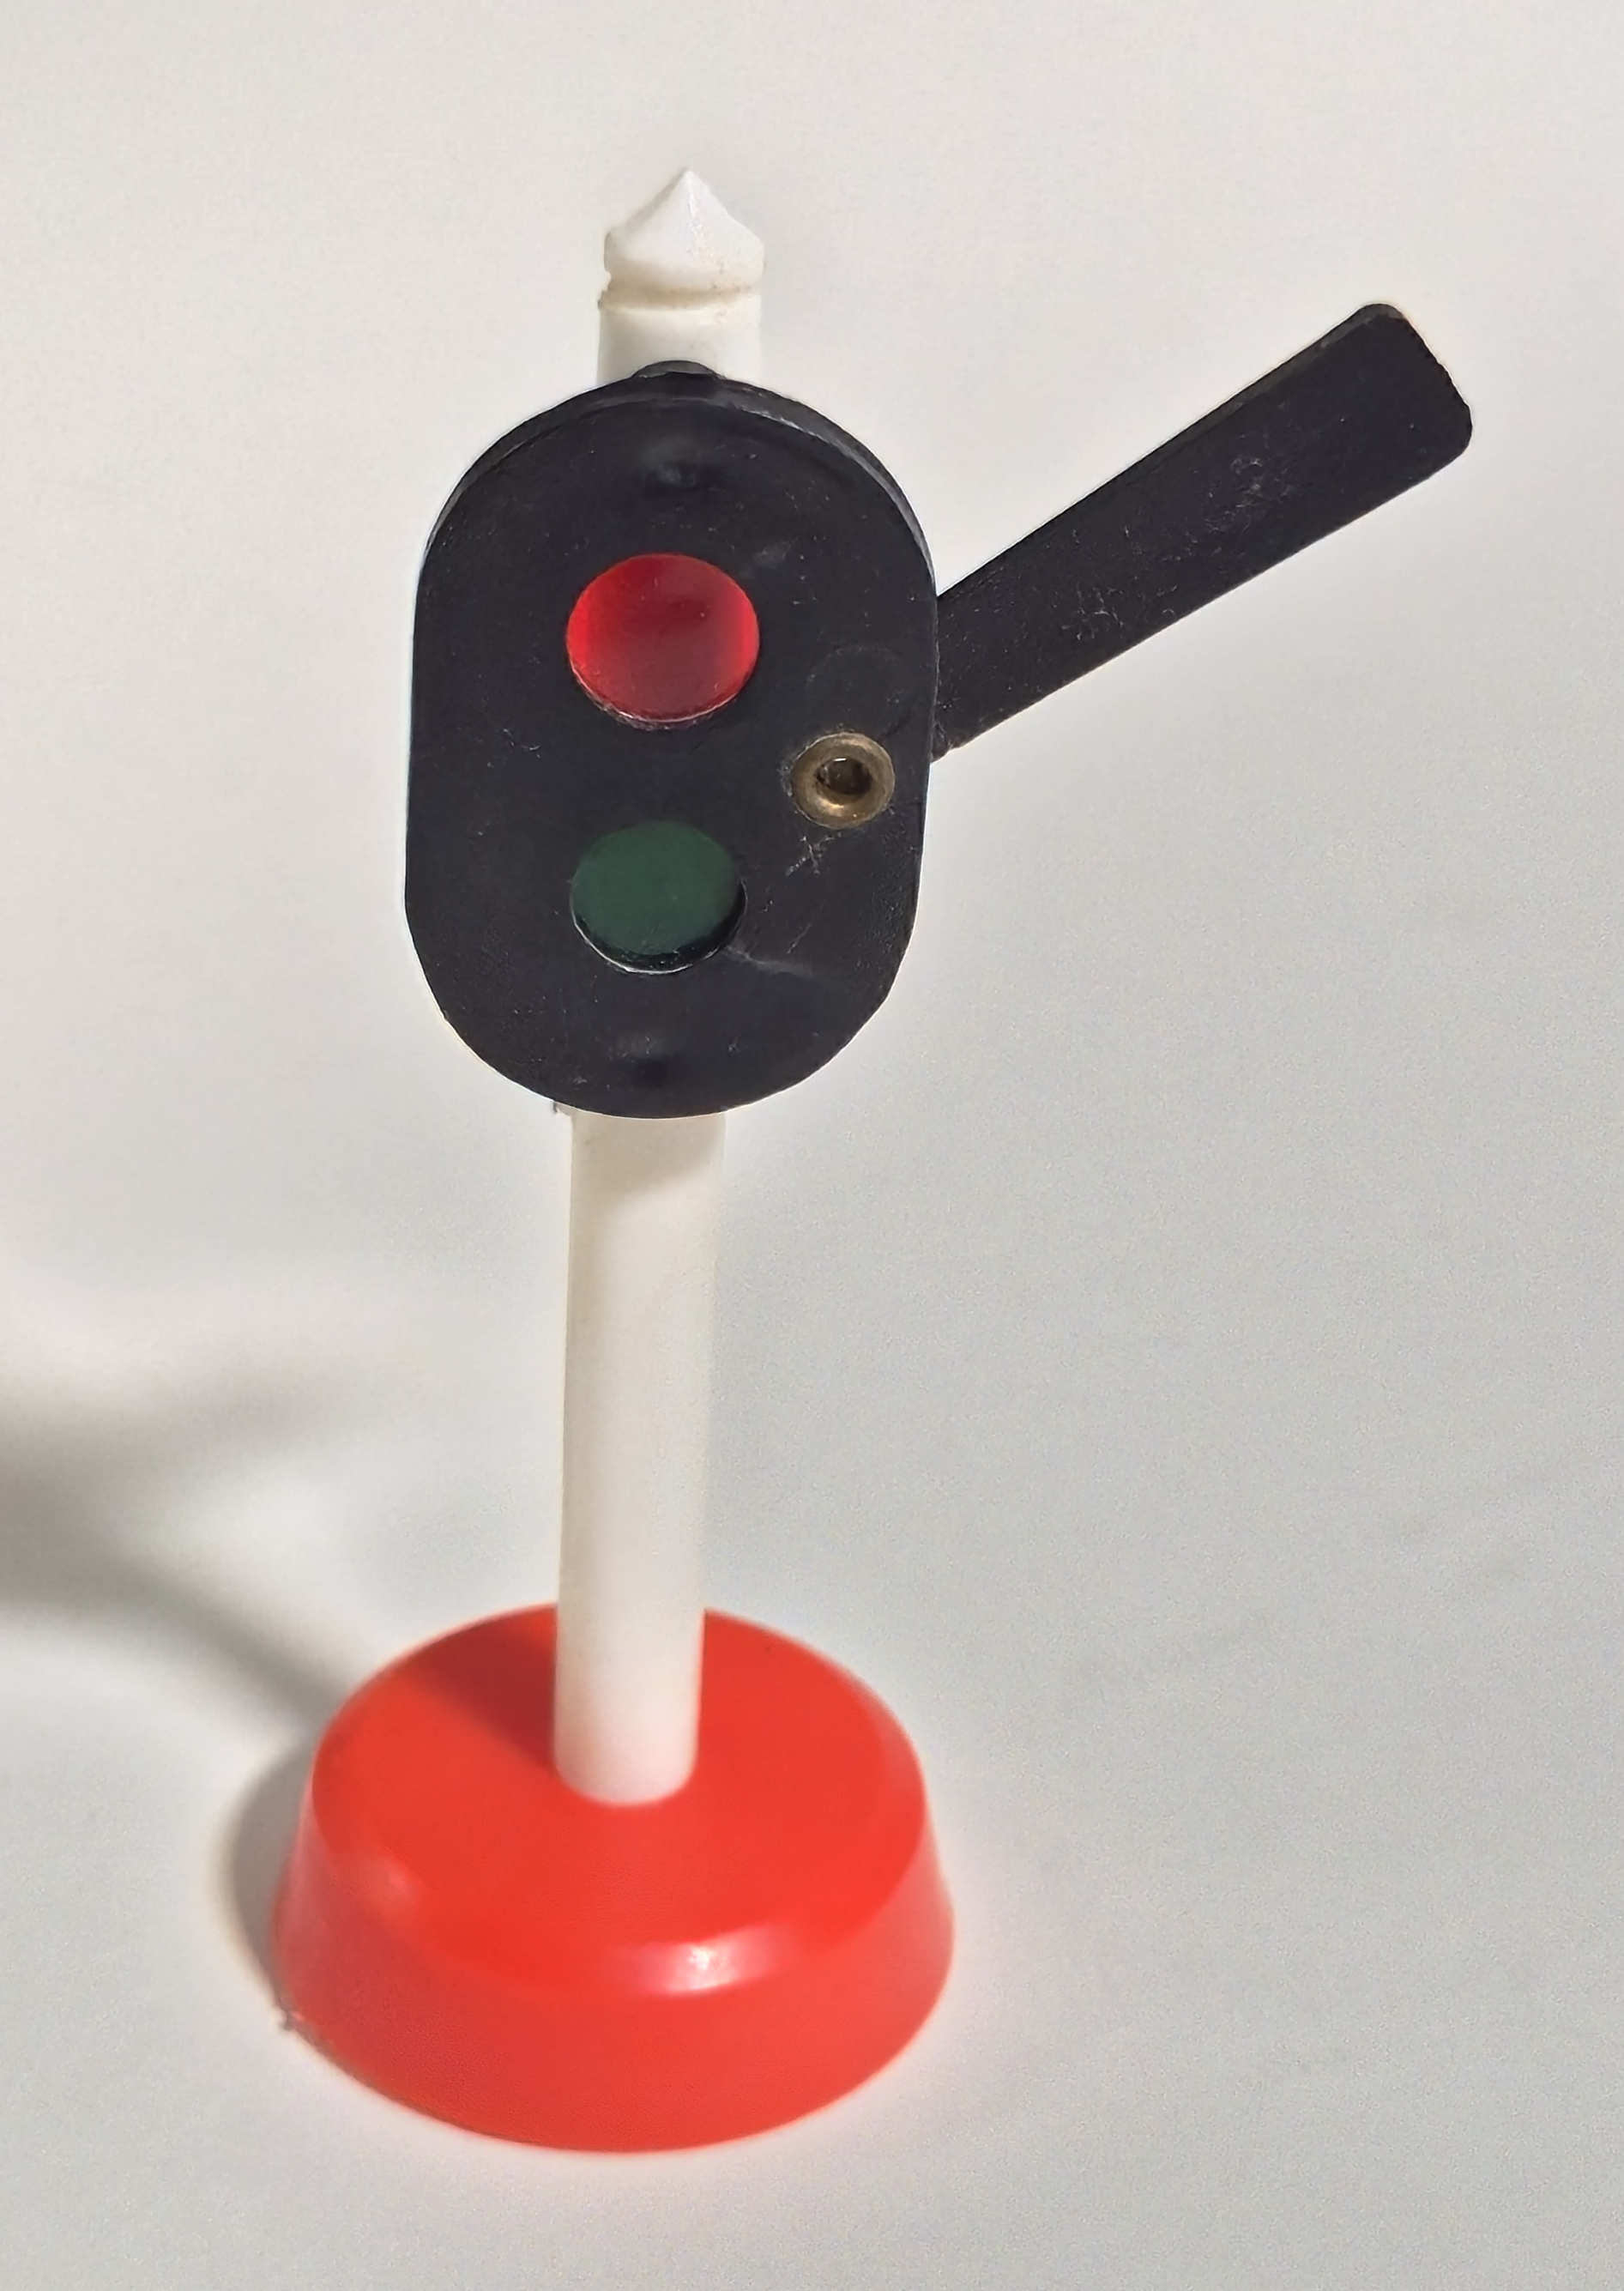
There are also two Plarail-style trees of the era as well as one of the beautiful Plarail lens-type signals and an early crossing gate. The cardboard Freerail tunnel is also included.
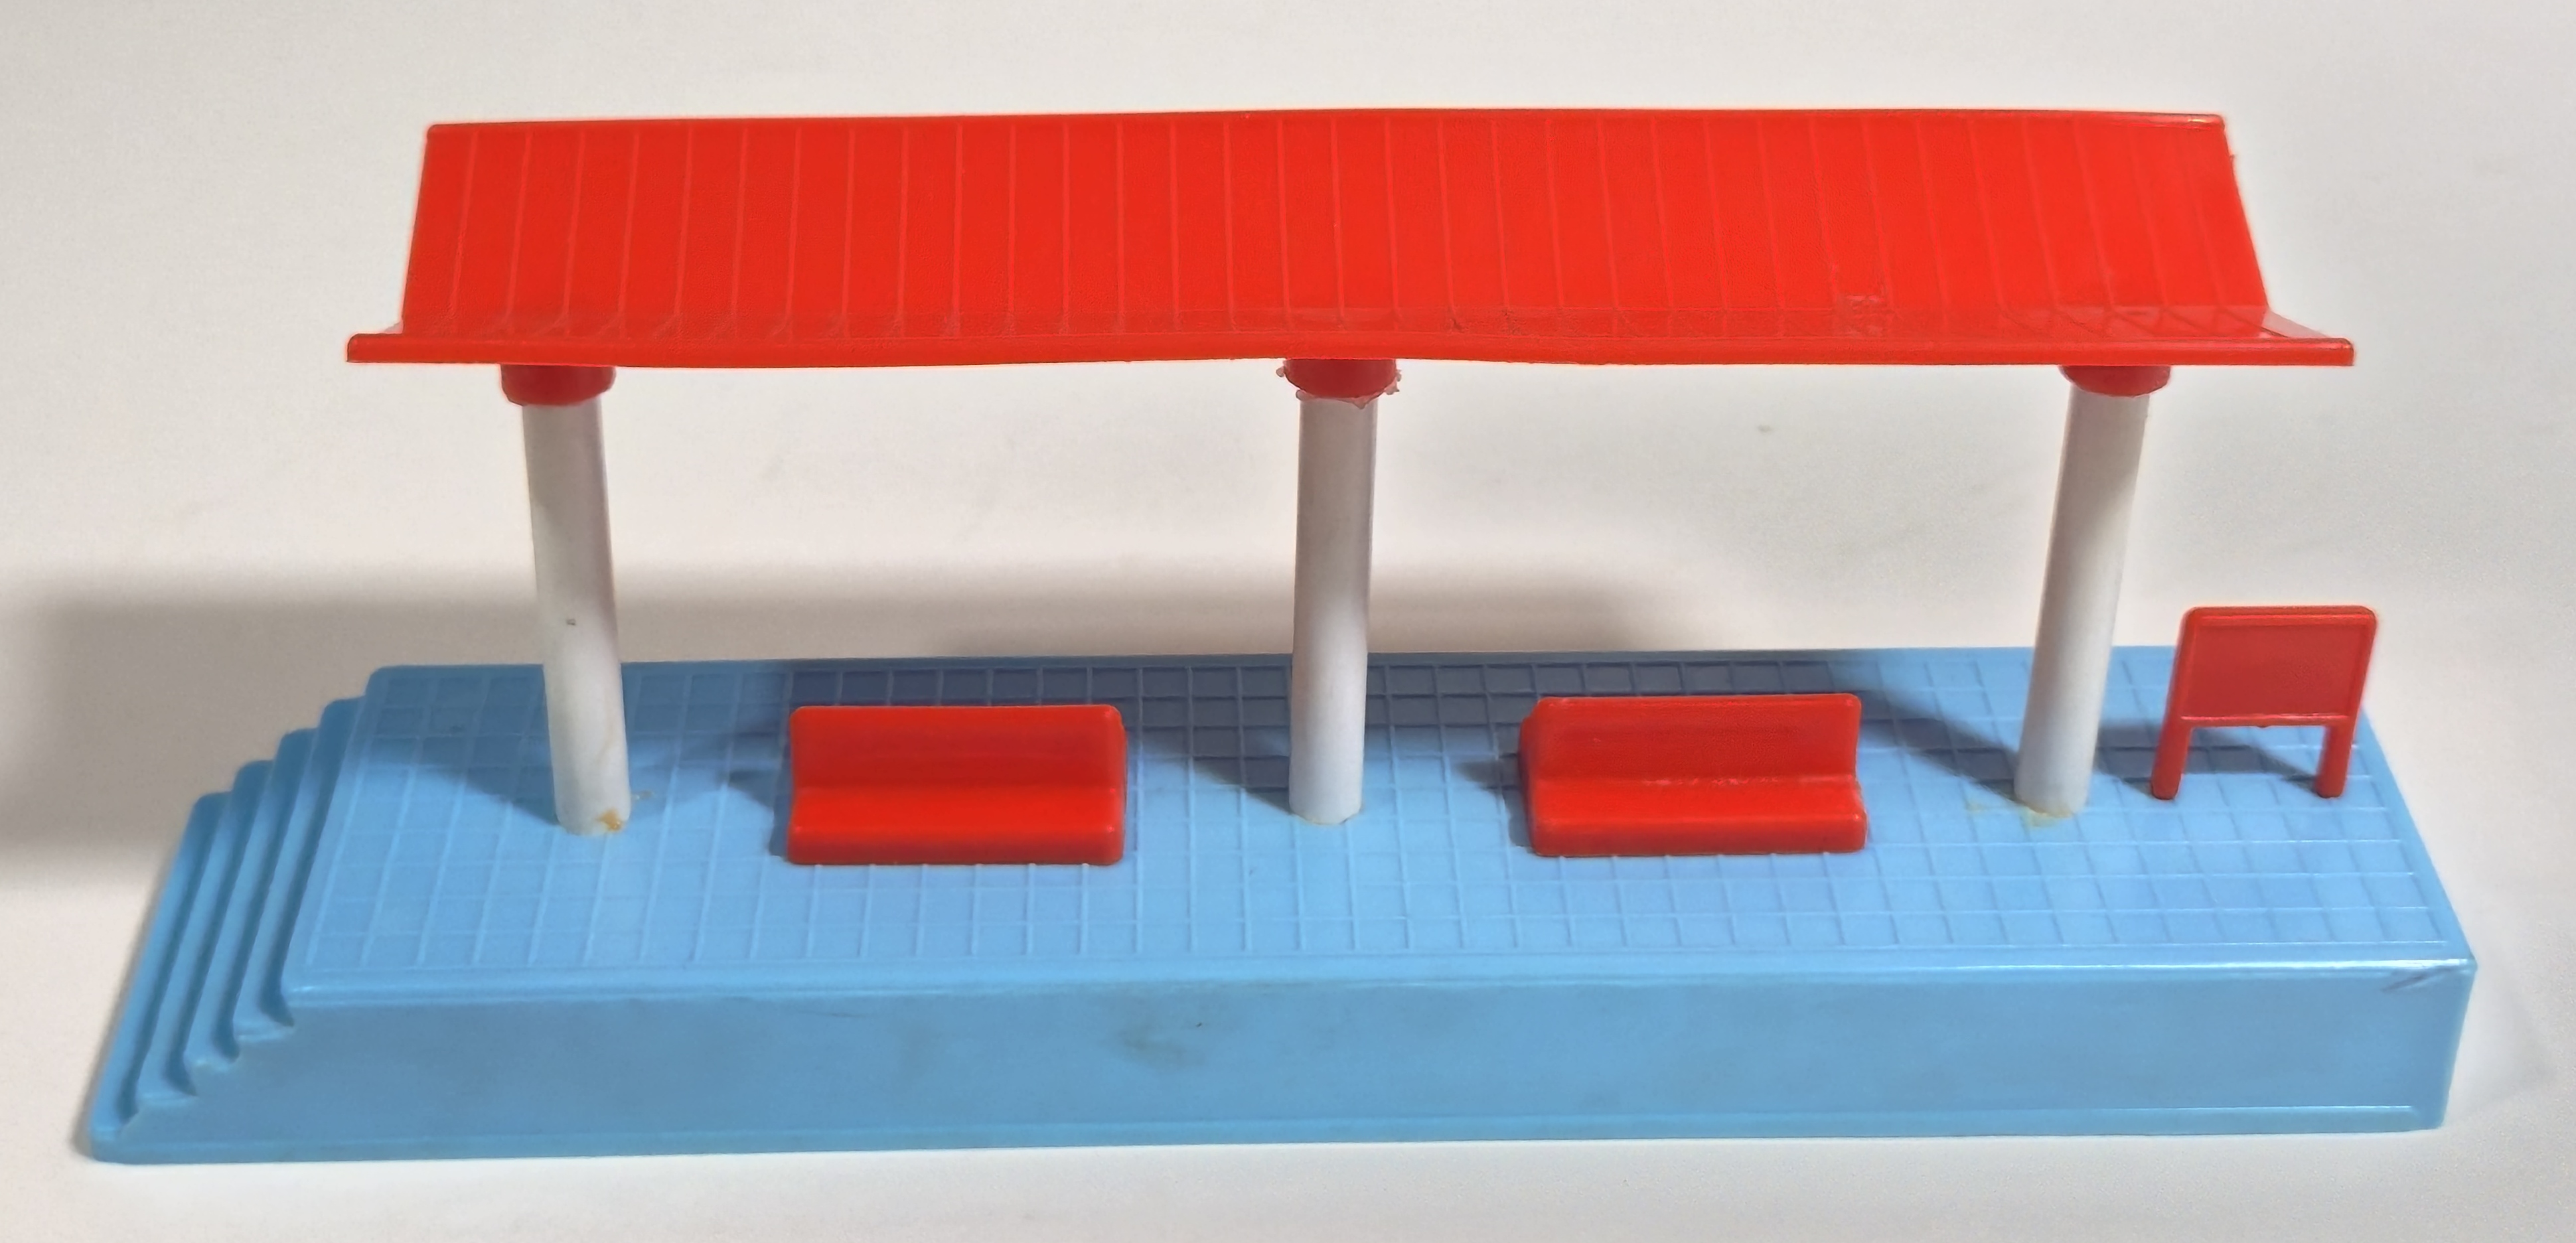
The platform station in this set is the same tooling and color as the mid 1960s Plarail Platform Station. It is a fairly simple representation of a commuter station platform.
The easiest way to set up a layout is to lay out the sleepers and any of the other plastic track components in the approximate shape you want to end up with. Then, starting from any plastic components, add rail into the sleepers, forming the rail into the position you want as you go. If you want elevated sections, it is probably a good idea to form them into the layout before you cut any rail, as the curve will cause it to need more length of rail.