fall inside a hole
"Grain of wheat" lights
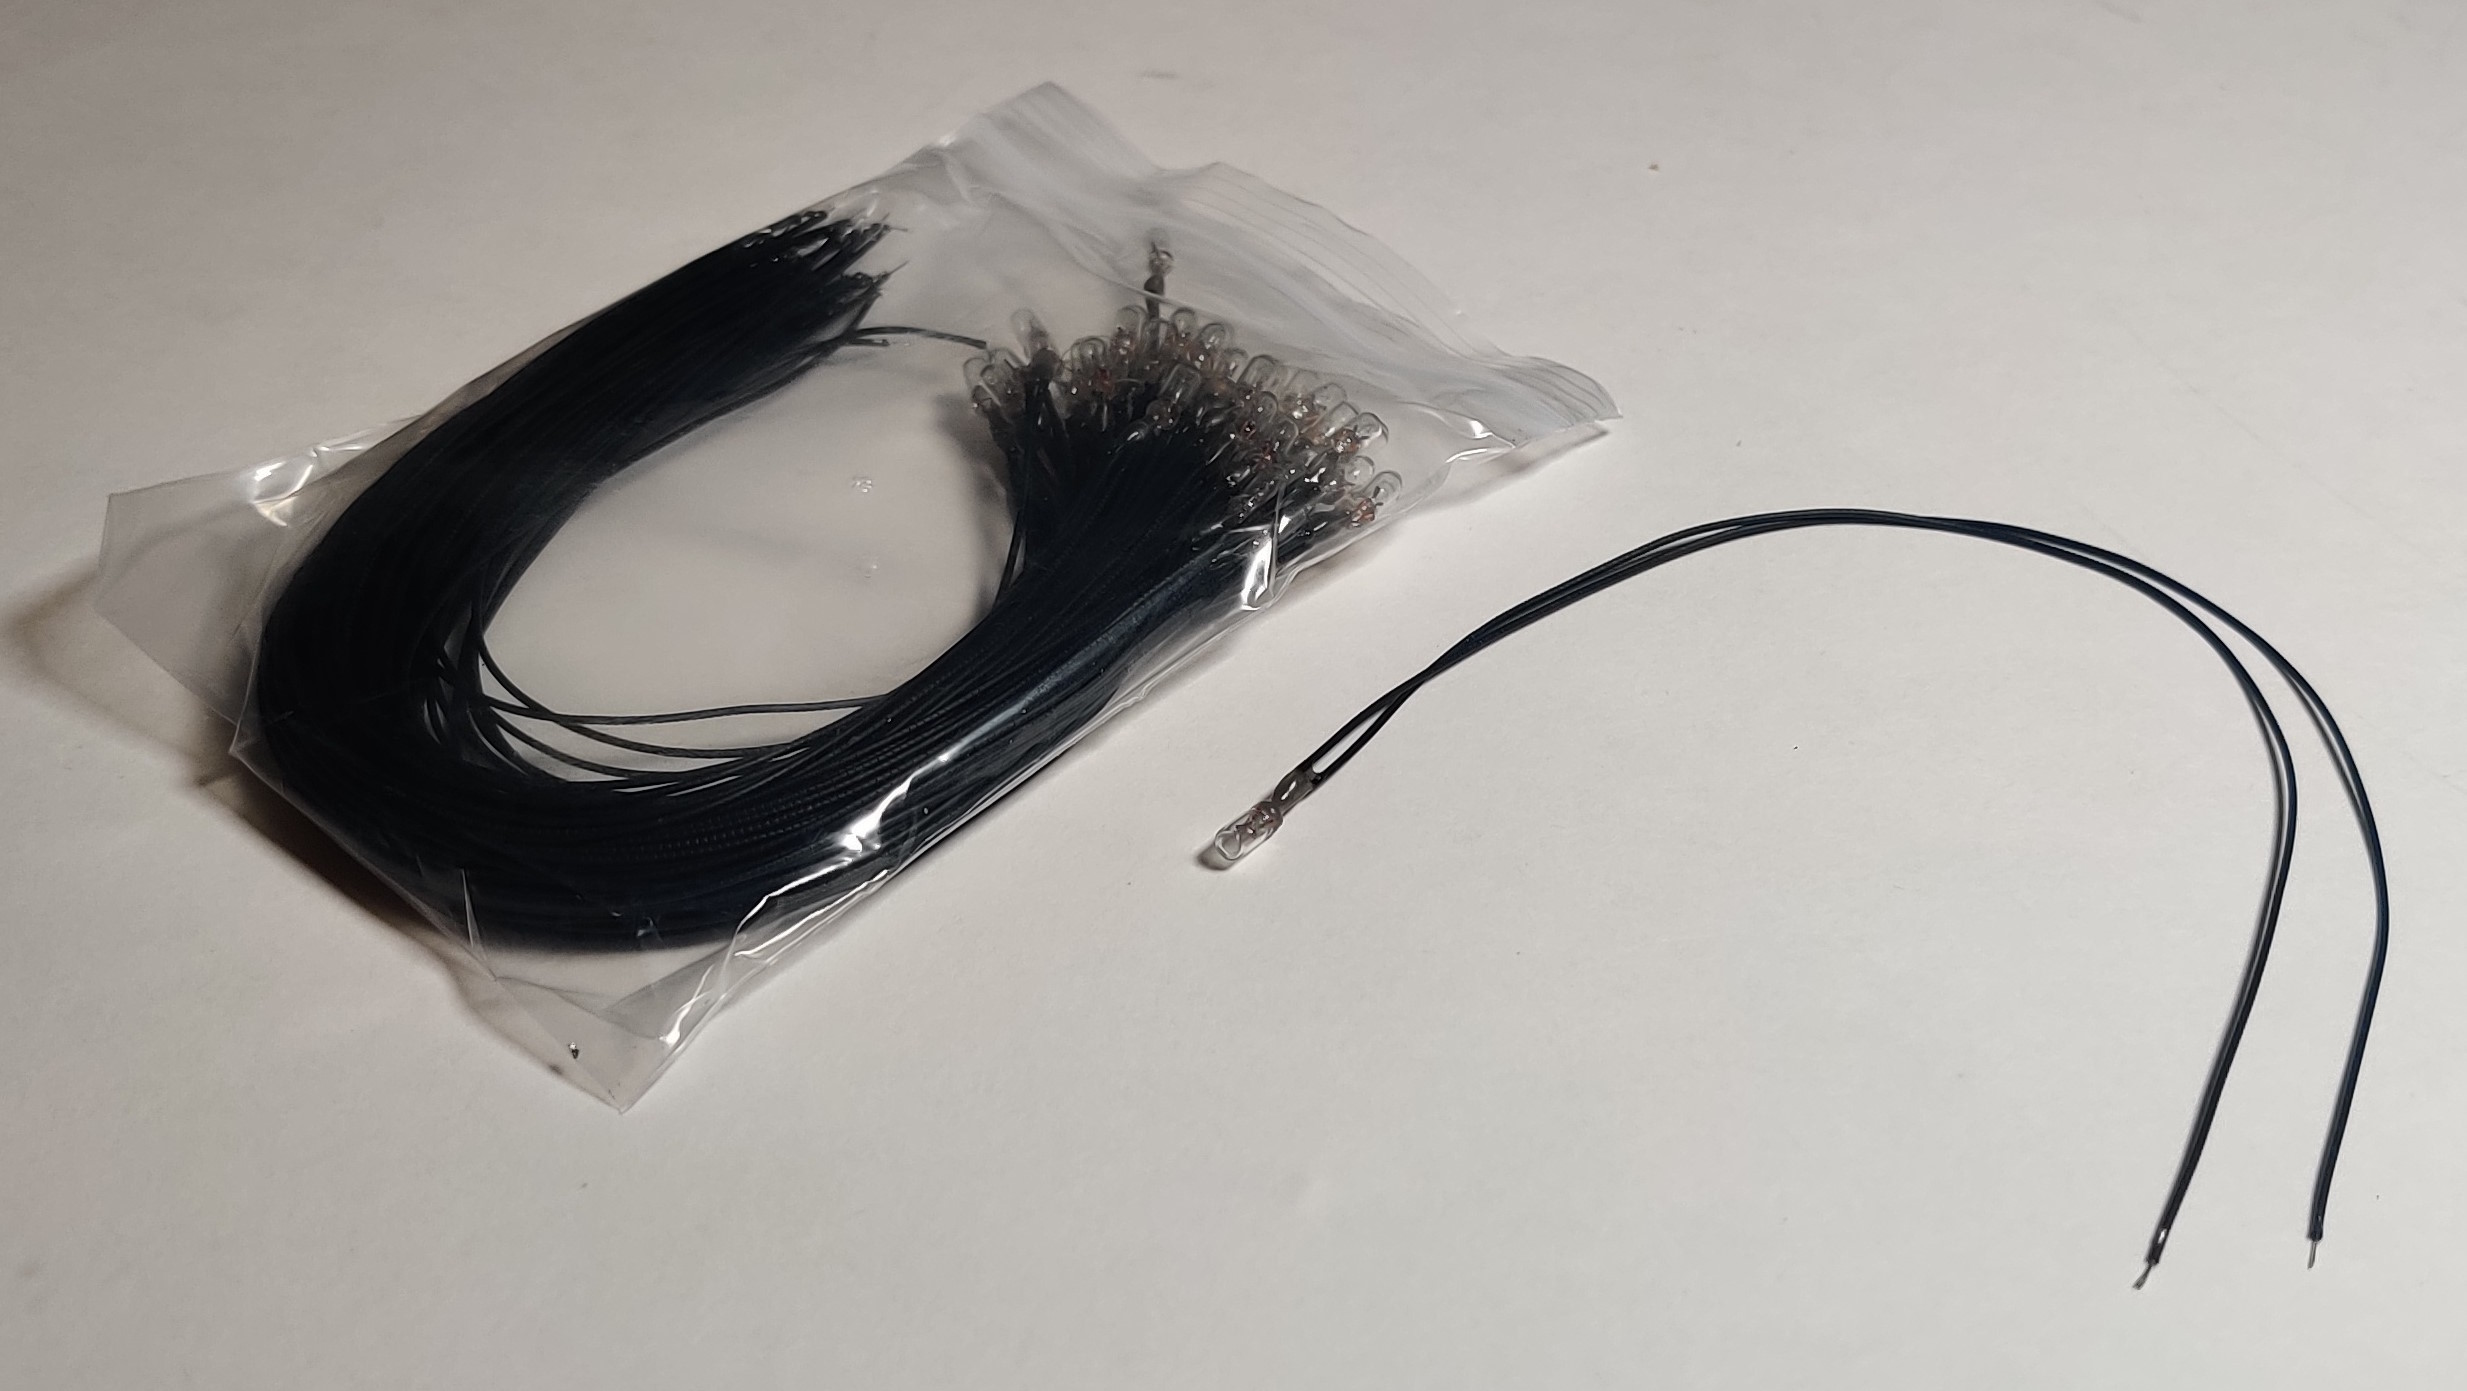
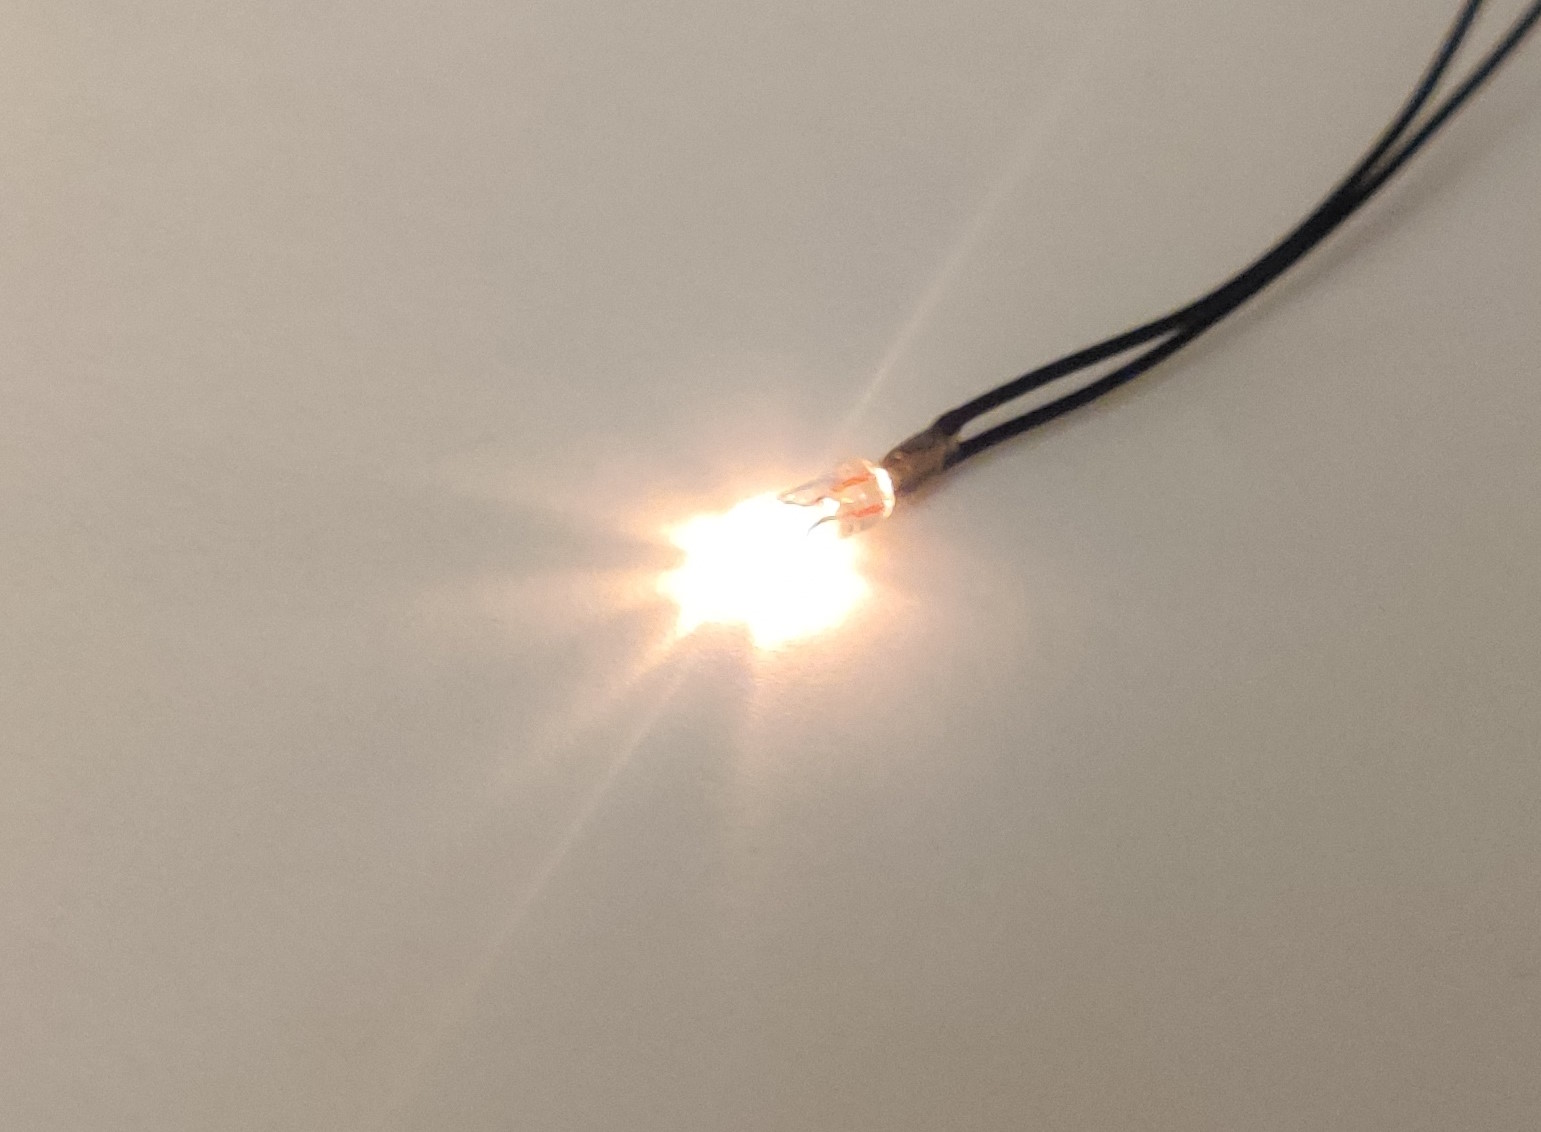
Grain of wheat-type incandescent bulbs have been a staple for lighting model railway and other small model scenery for decades. They are small lamps with attached wires that can be powered directly from a battery and can be found in a range of voltages (typically 3 to 12 volts in 3 volt increments, with 12 volts being a common supply voltage for model railways). 1.5 volt lamps will match the 1.5 volts provided by the C or AA battery in almost all Plarail trains.
Plarail precedent
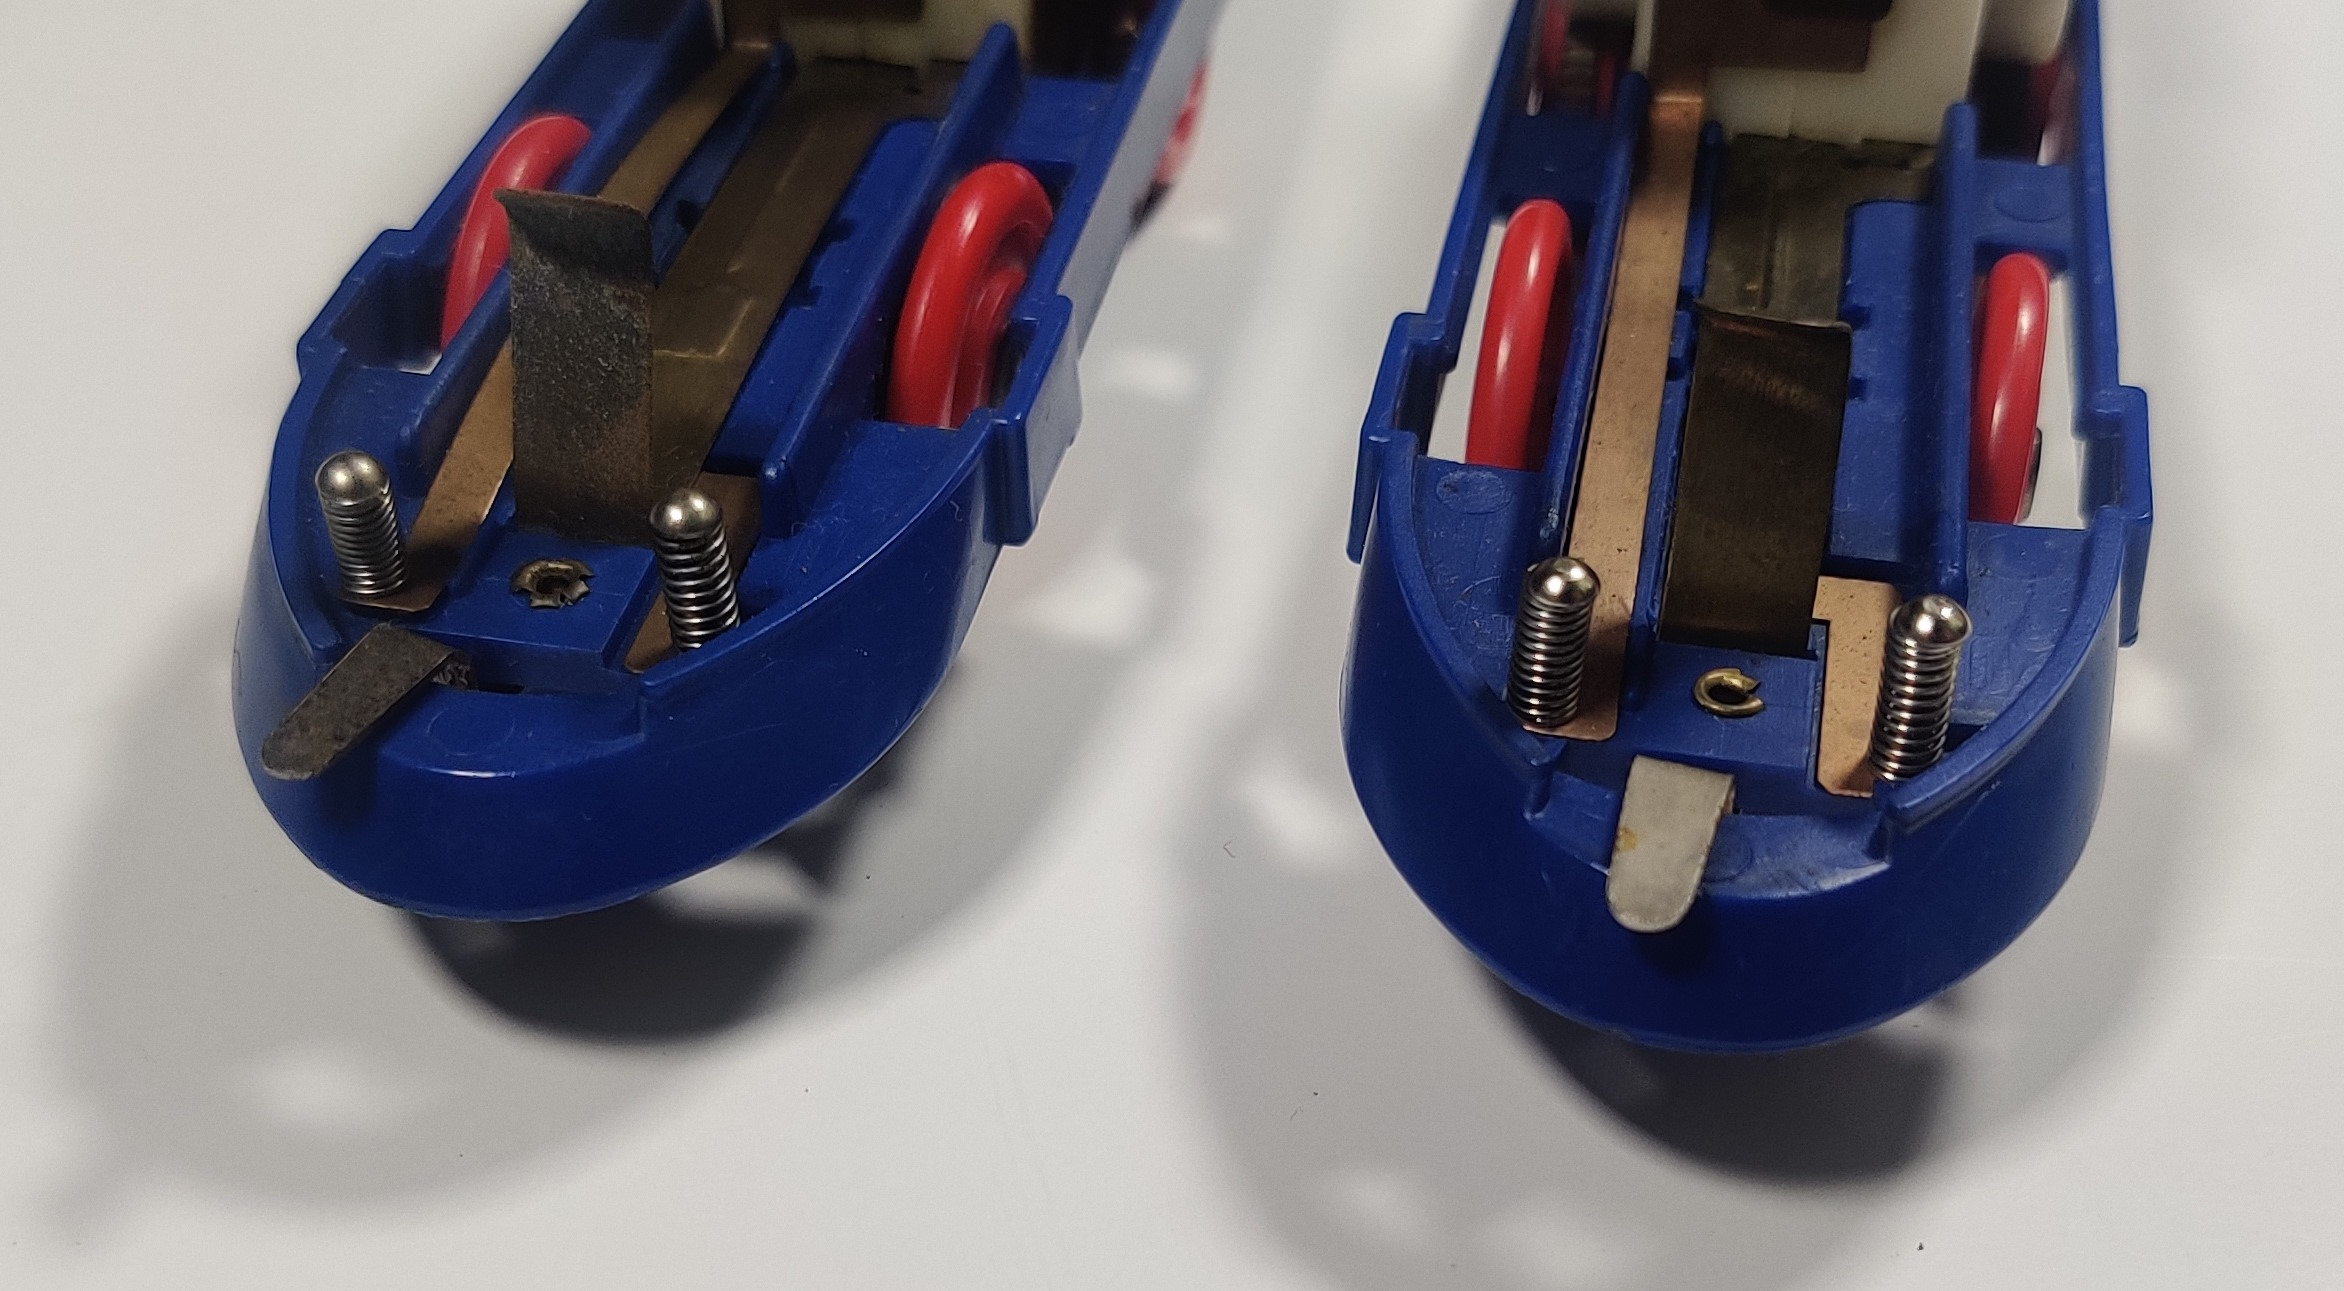
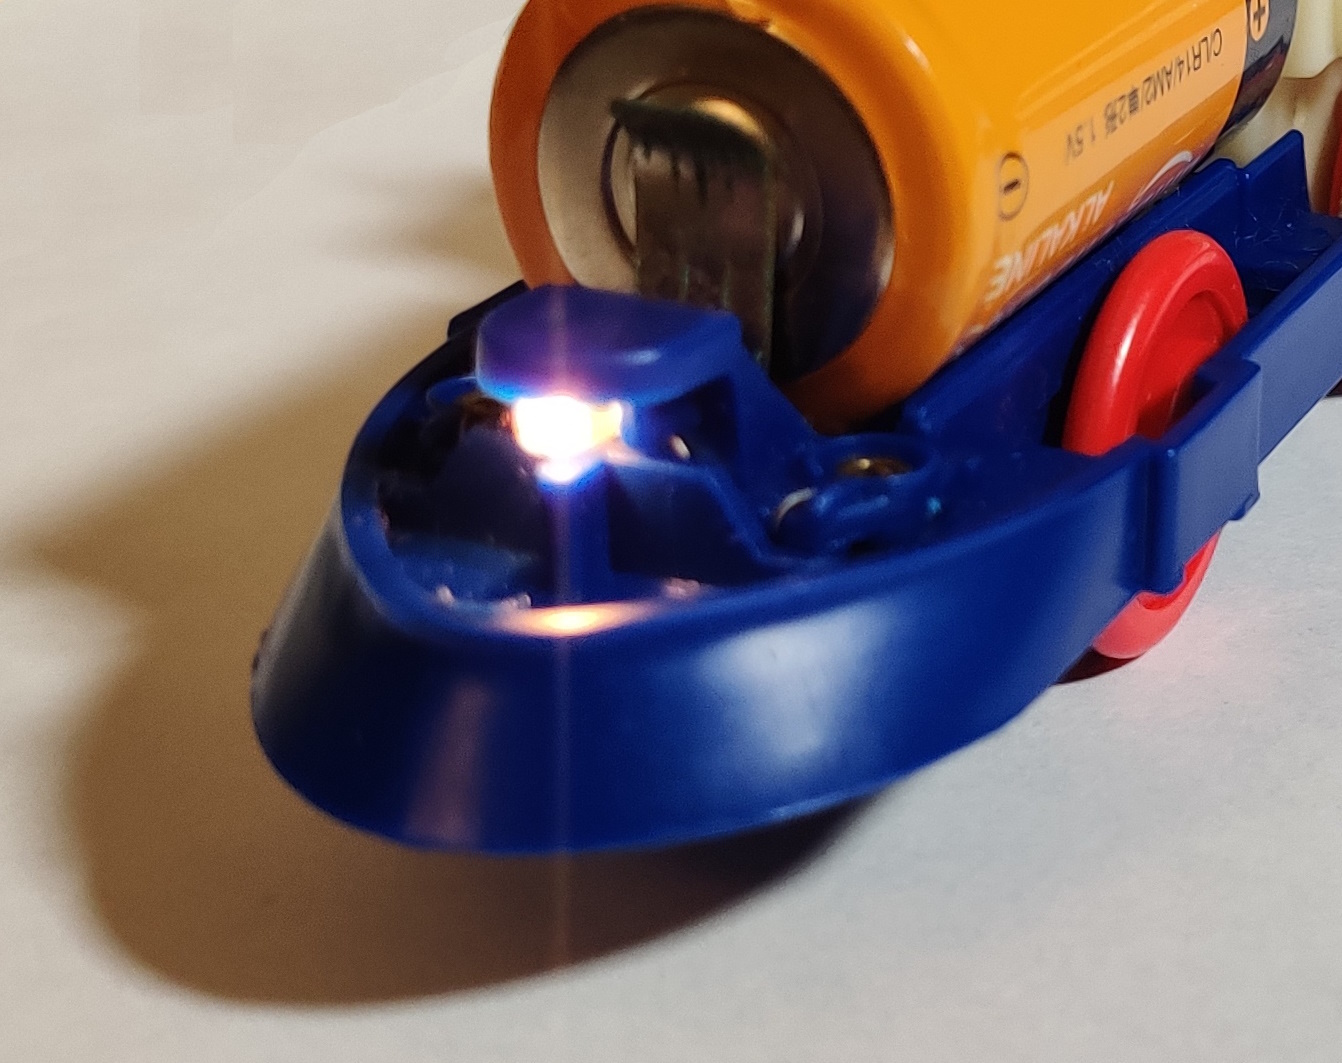
Beginning with the Hikari with Light in 1979 Plarail began to introduce some trains in the 1980s that used small incandescent lamps to add a light feature. At the time power switches were located at the front of locomotives so one contact tapped off of the negative strip downstream from the power switch and an additional contact strip ran back up the chassis that was attached to the positive battery contact, making the light turn on with the motor. Later new power trains with lights tapped off of the negative battery contact and the metal plate in the new power gearbox downstream from the power switch that was now built into the gearbox. Early Hikari with Lights used a spring-loaded pin arrangement with the bulb fitted to the translucent plastic nose piece while the old power D51 with Light and the EF15 in the 1980 Container Loading and Unloading Set have metal contacts fitted to the sides of the front of the chassis that engage with contact strips in the body shell running up to the light. Later Shinkansens like the 200 and early 100 series as well as the new power 0 series have bulbs fit into part of the plastic molding.
Re-illuminating the EF15
The 2001 EF15 Electric Locomotive release is based on the modified EF15 tooling used in one set in 1980 where the EF15 was fitted with a light. EF15s produced after this set in the 1980s also share this molding, although only the set item was fitted with a light. The chassis tooling still contains some of the molding features used to incorporate the metal contact strips between the chassis and body shell.
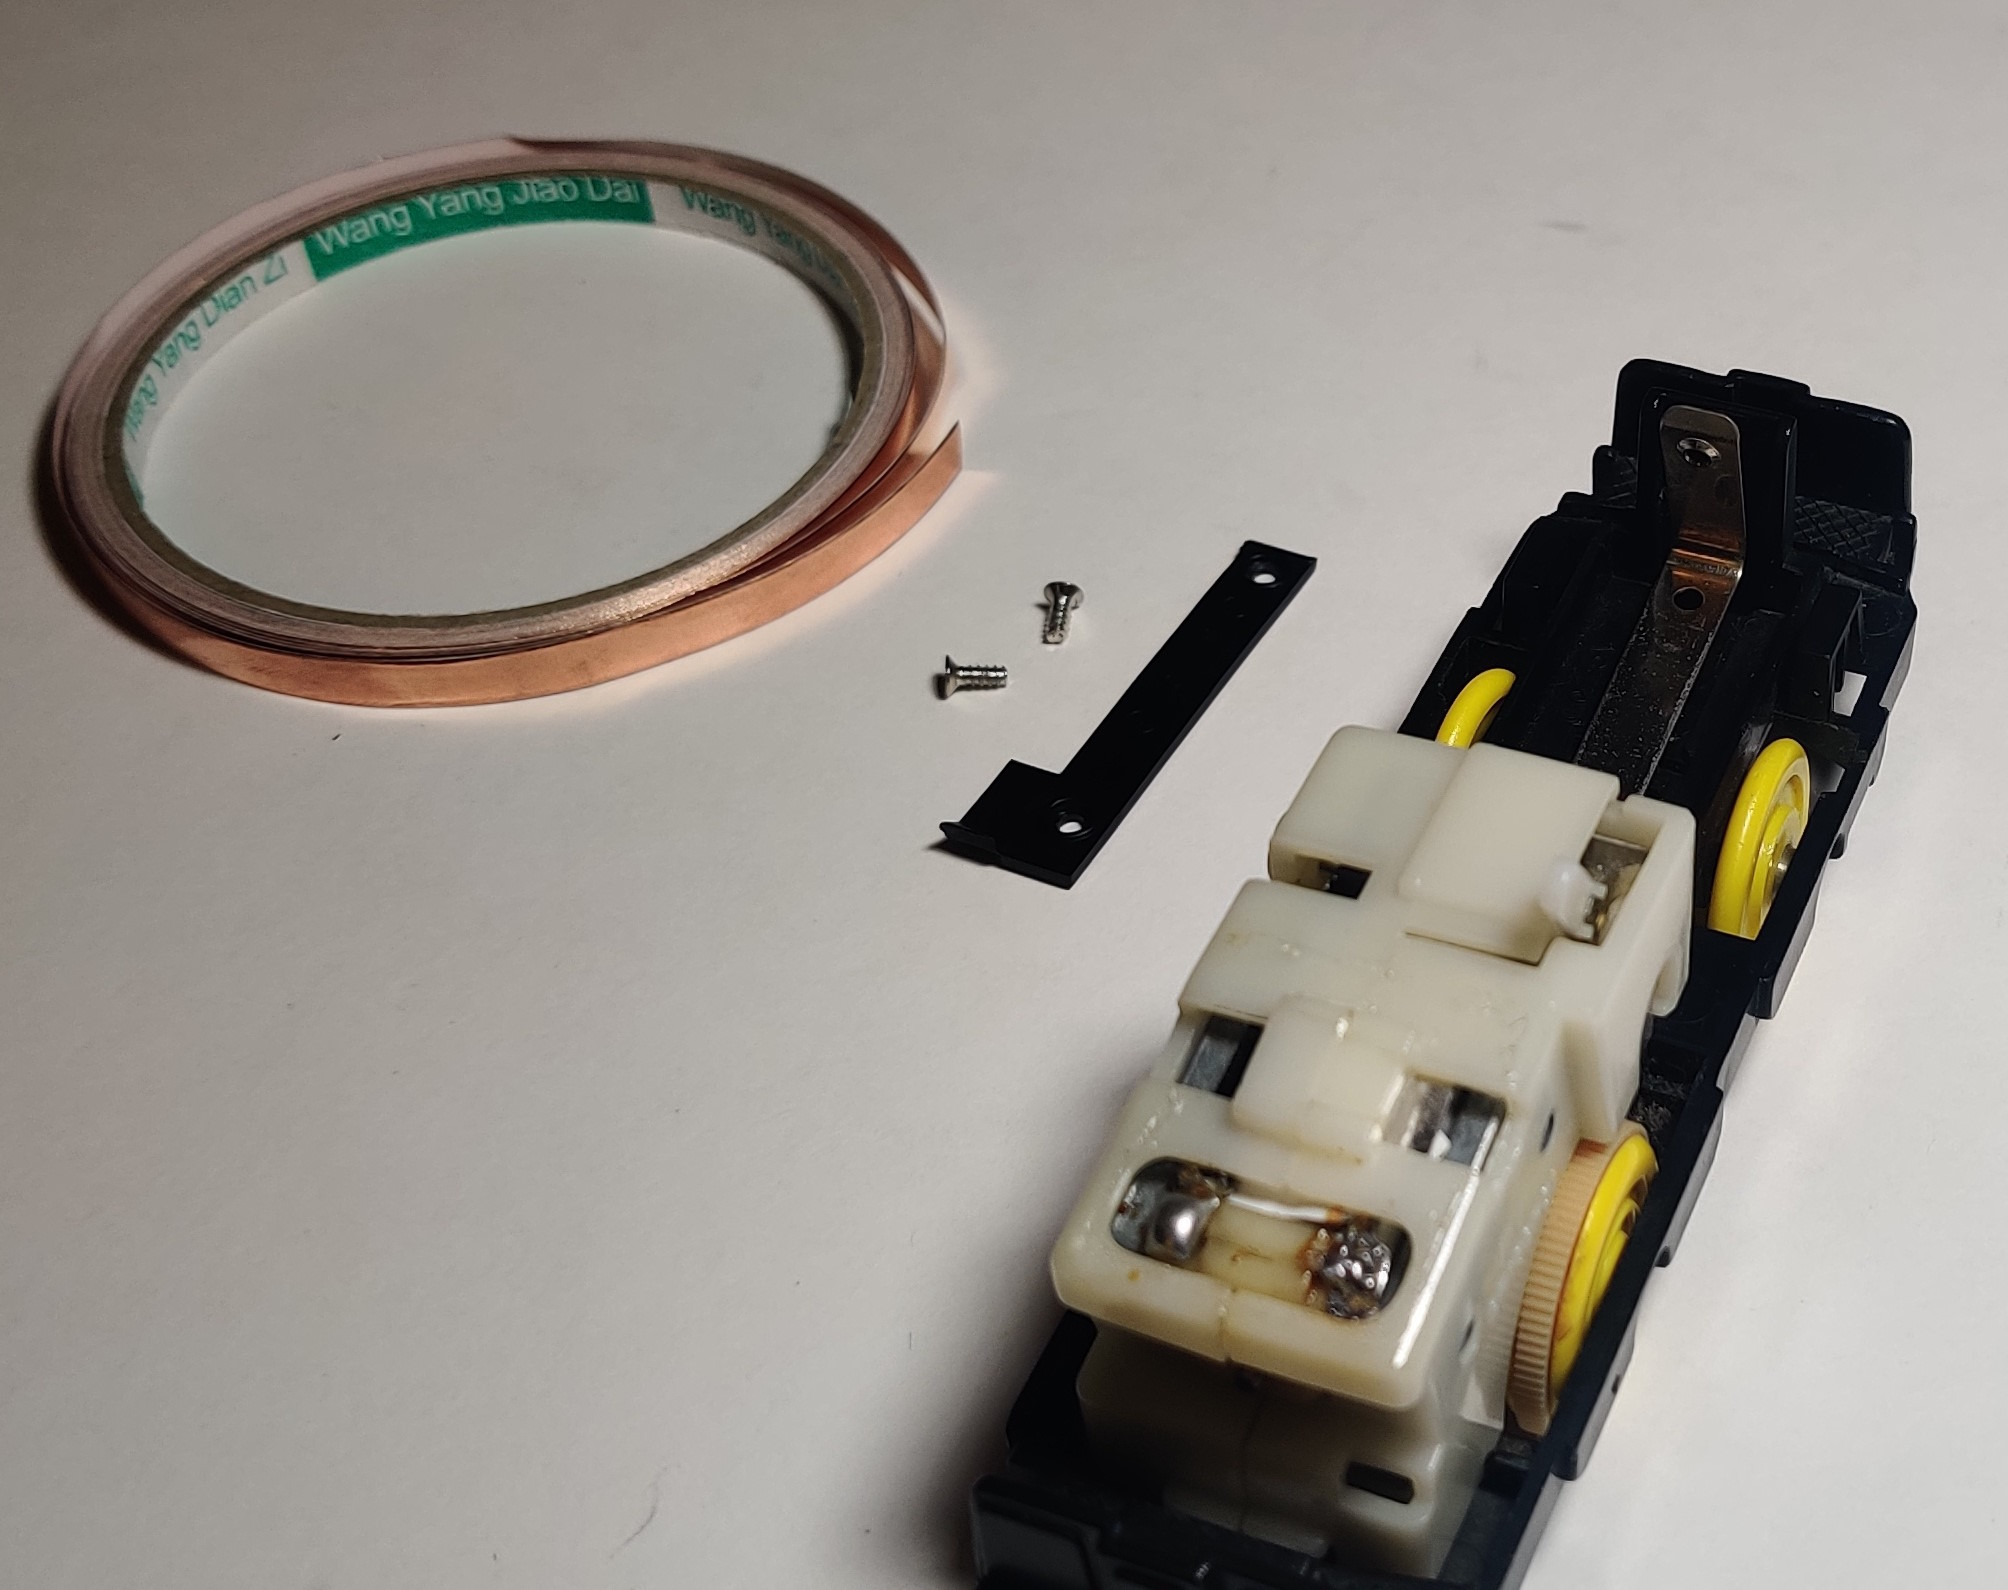
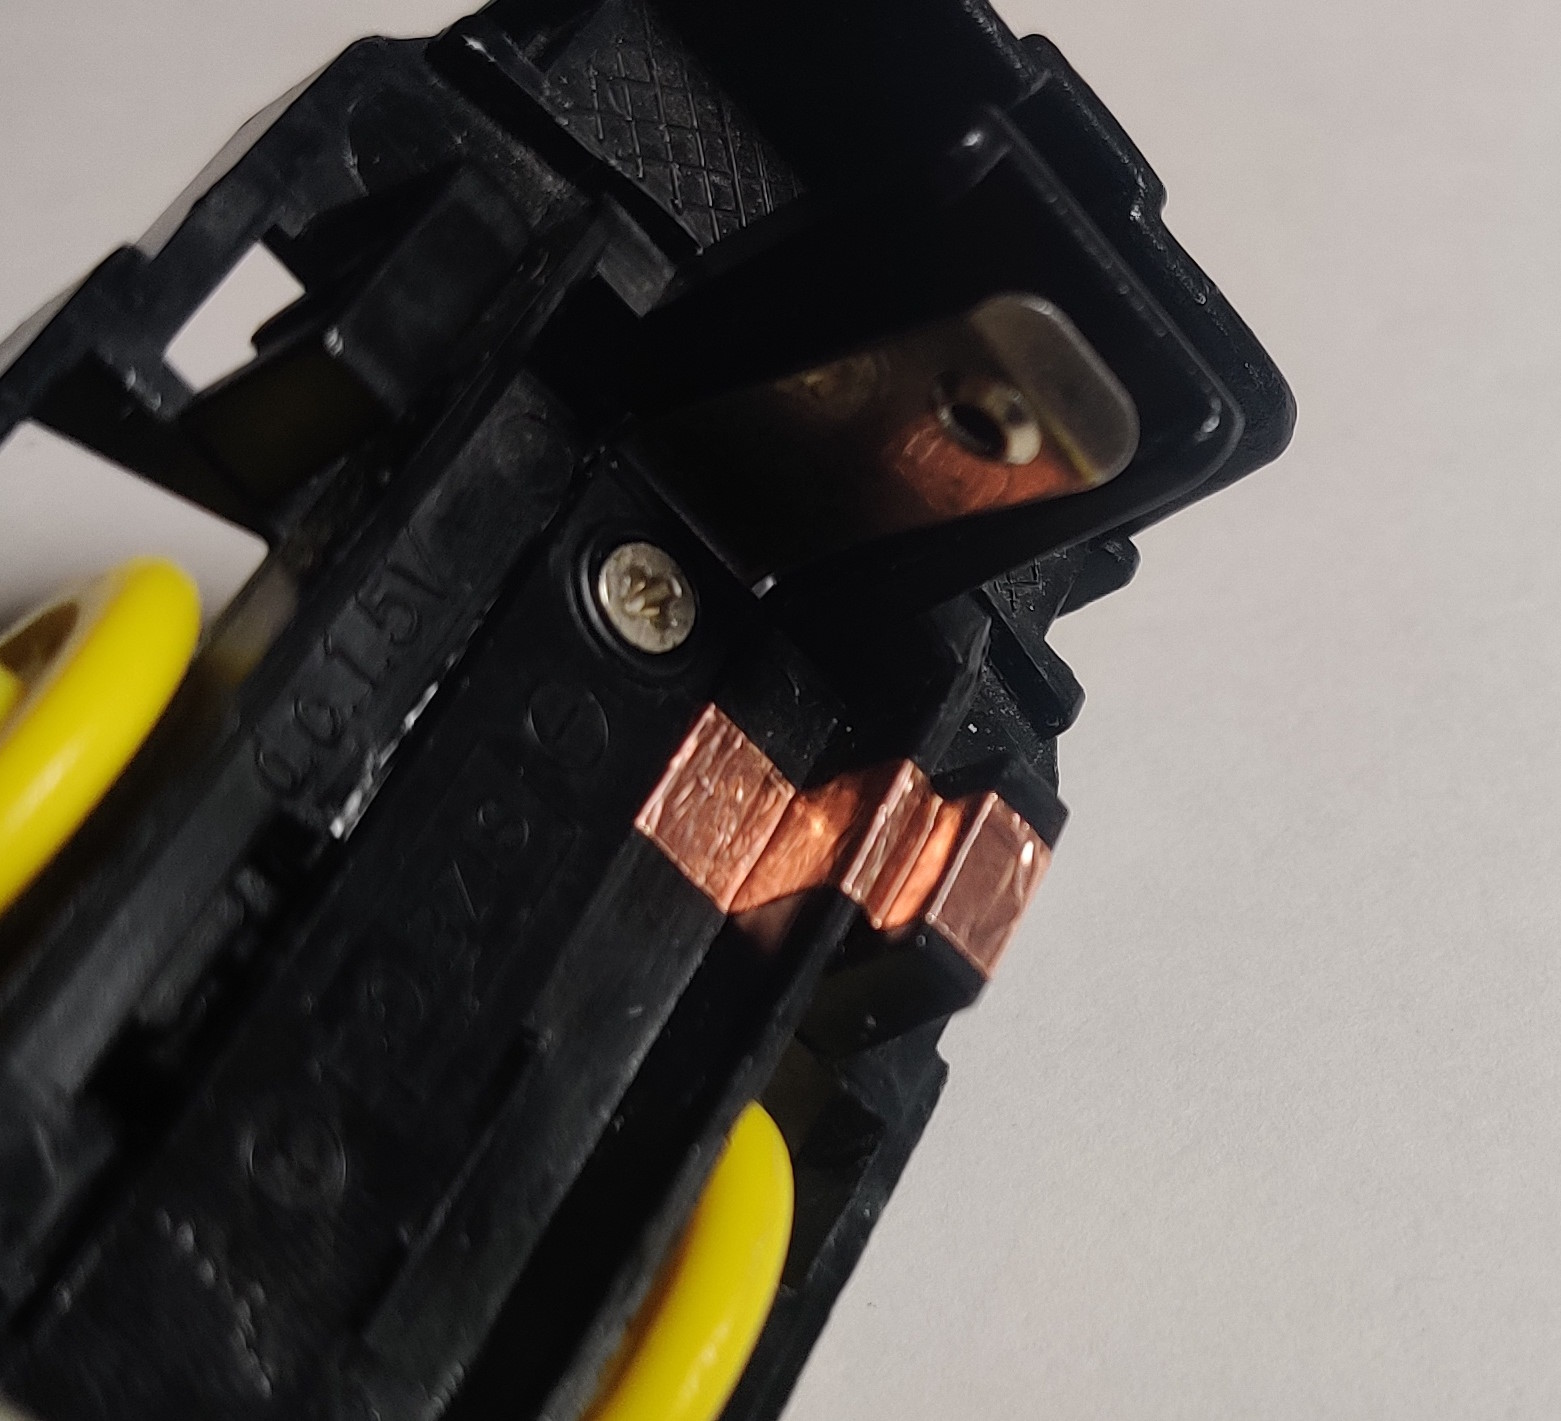
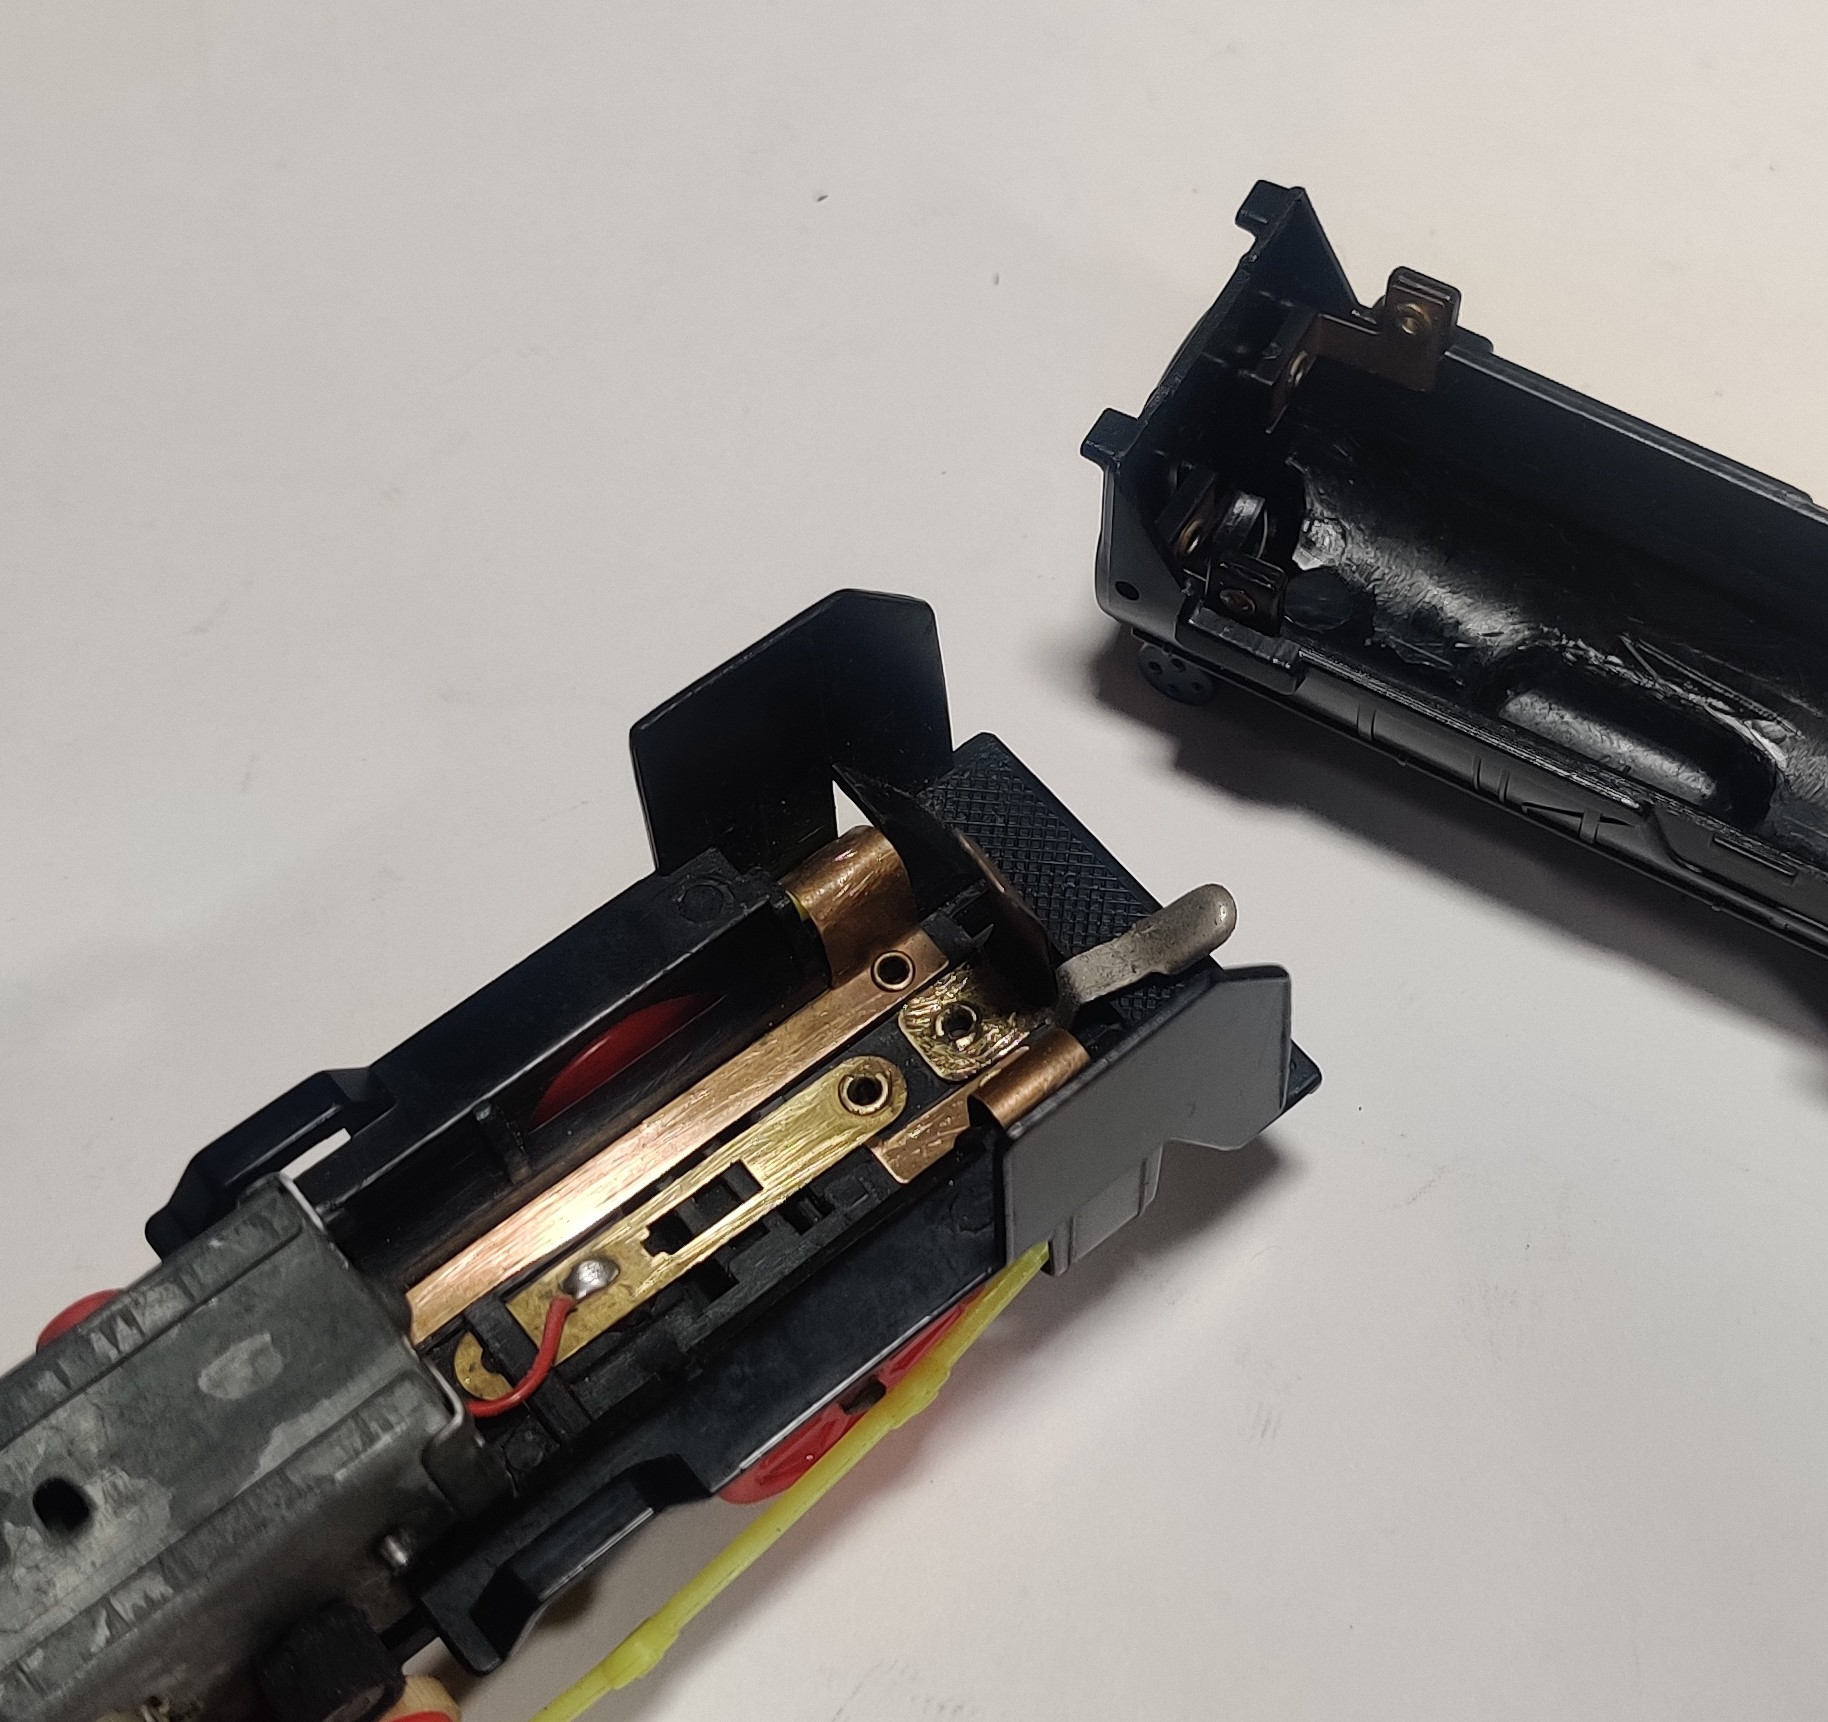
The contacts to connect between the chassis and shell were made up from conductive copper tape and tin foil. It is not the prettiest solution but it works perfectly fine with some adjustment. The first thing I did was look at how the battery strips in the D51 work and unscrew the cover over the negative contact strip to add a strip of copper tape under it, forming the negative contact. I carefully pressed the tape down and into the contours of the body molding and down around under the chassis.
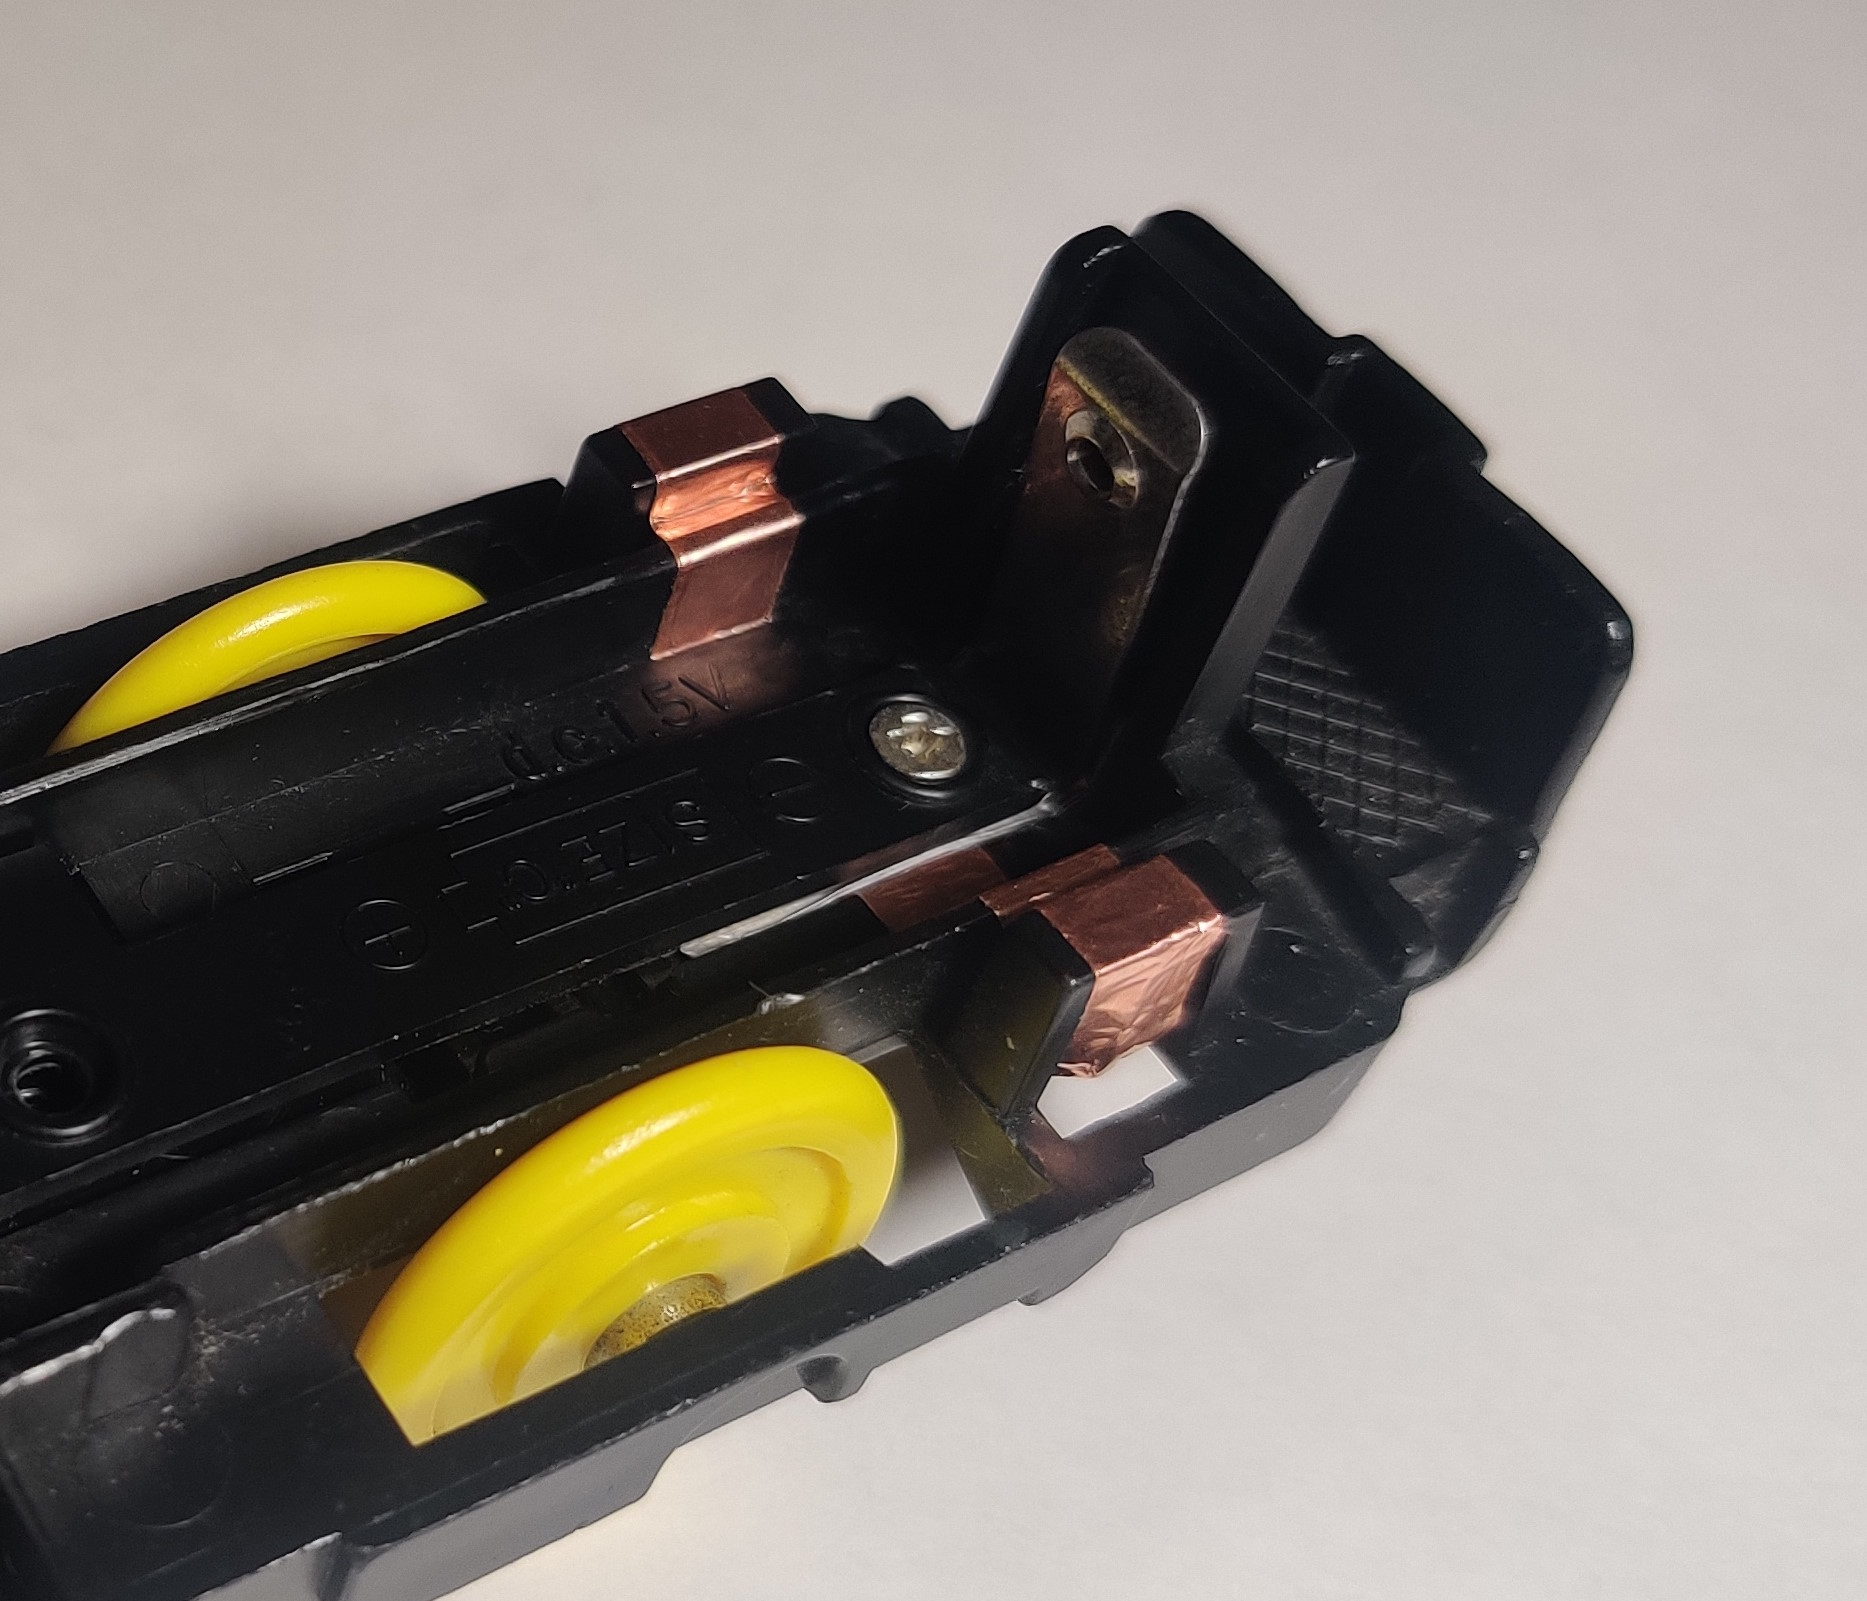

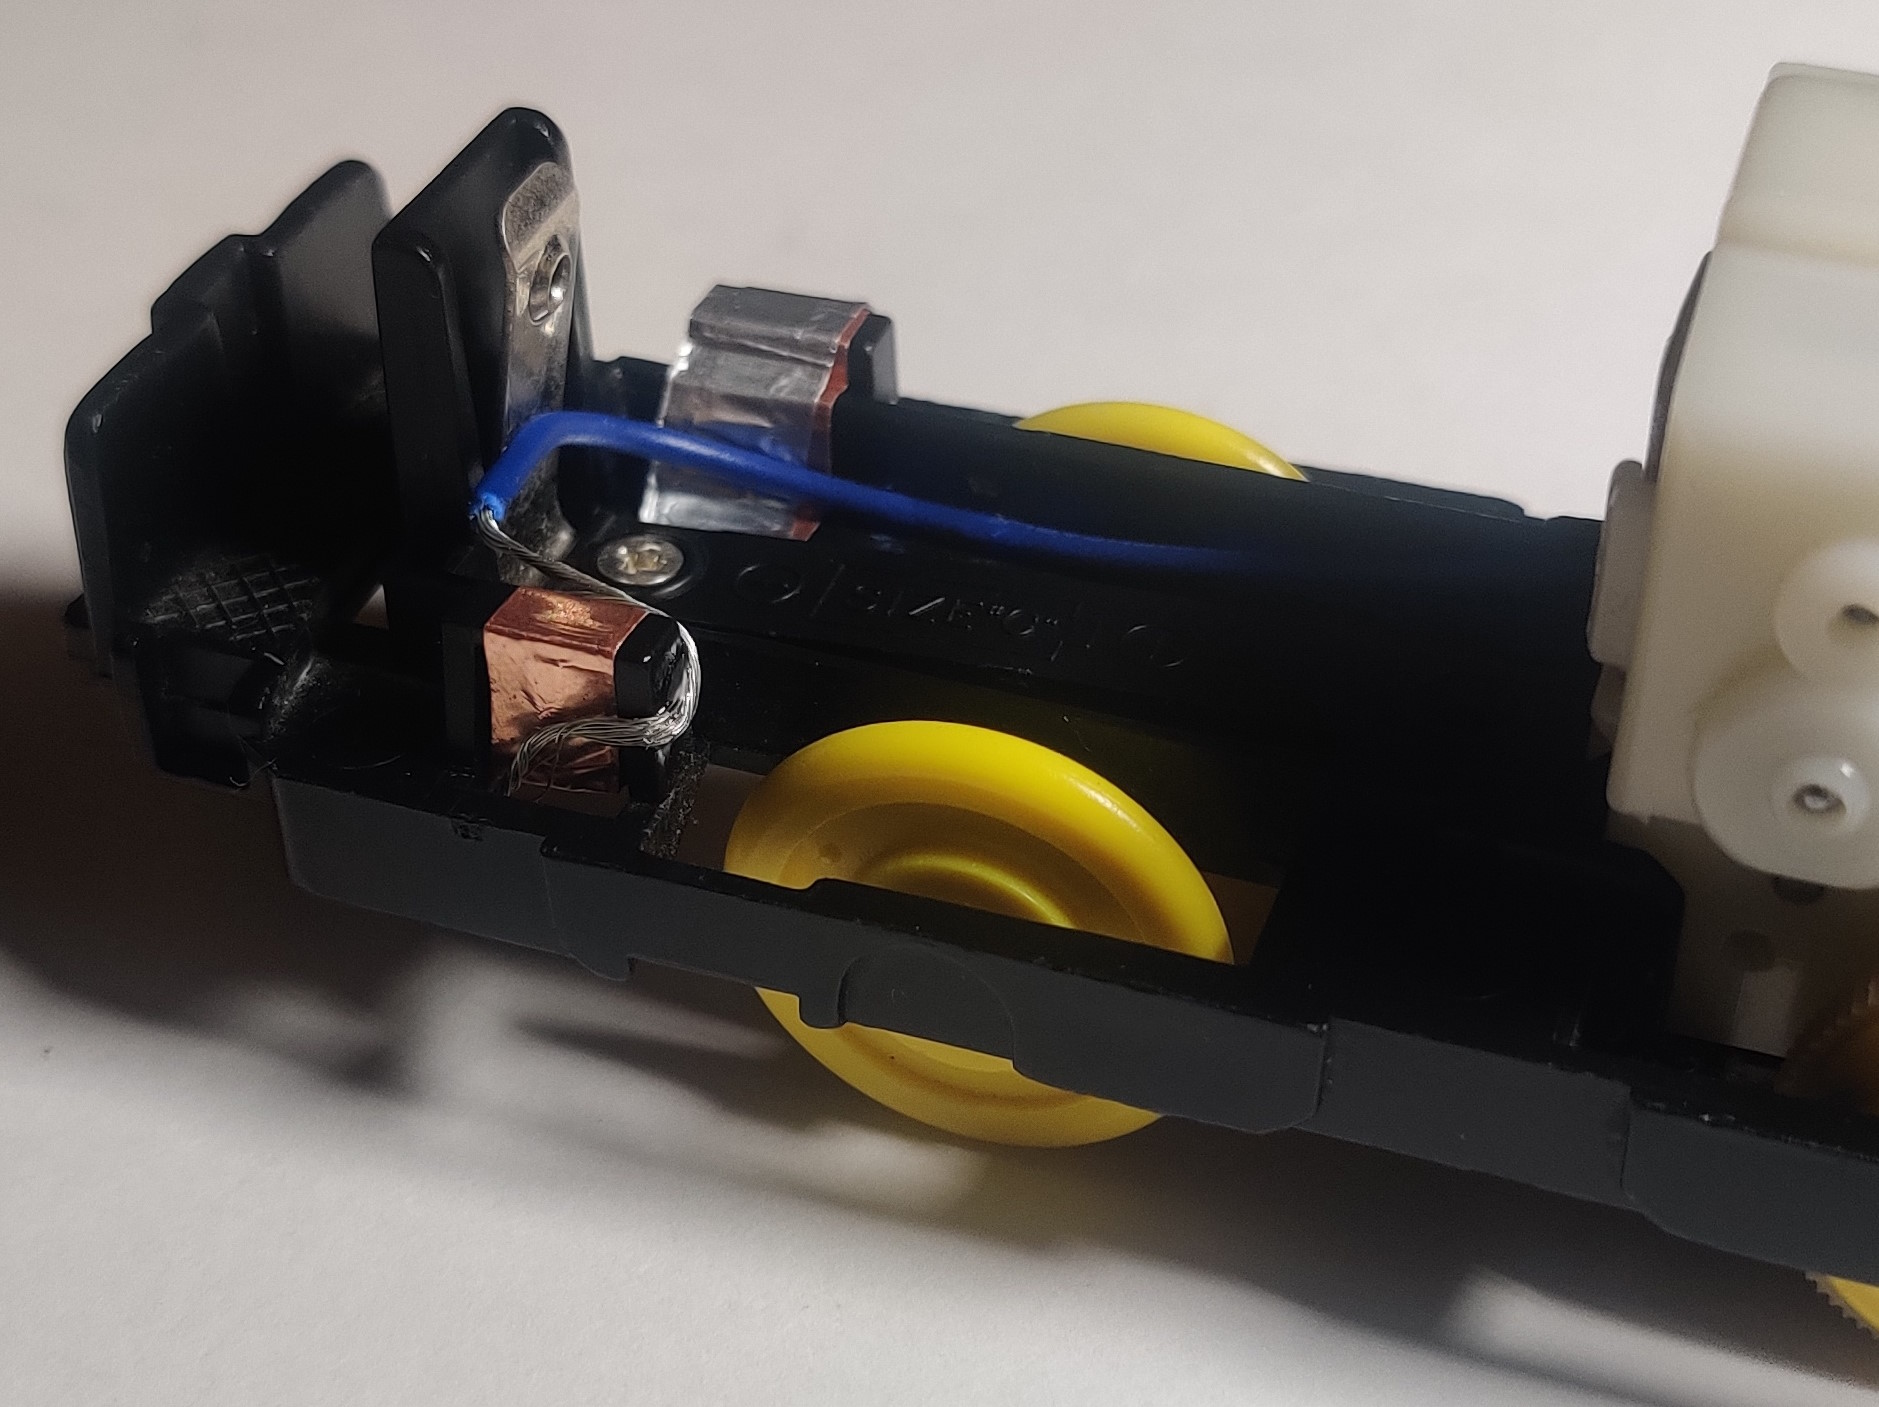
At this point I realized that it would have been more convenient to run the negative contact to the left side of the chassis and run the additional wire up the right side because the new power gearbox has an exposed contact strip right next to the power switch that I needed to tap positive power off of. I ran a wire up the chassis and wrapped it carefully around the copper tape and under the chassis to make contact. Both contacts had tin foil added over the top to make them stick out more.
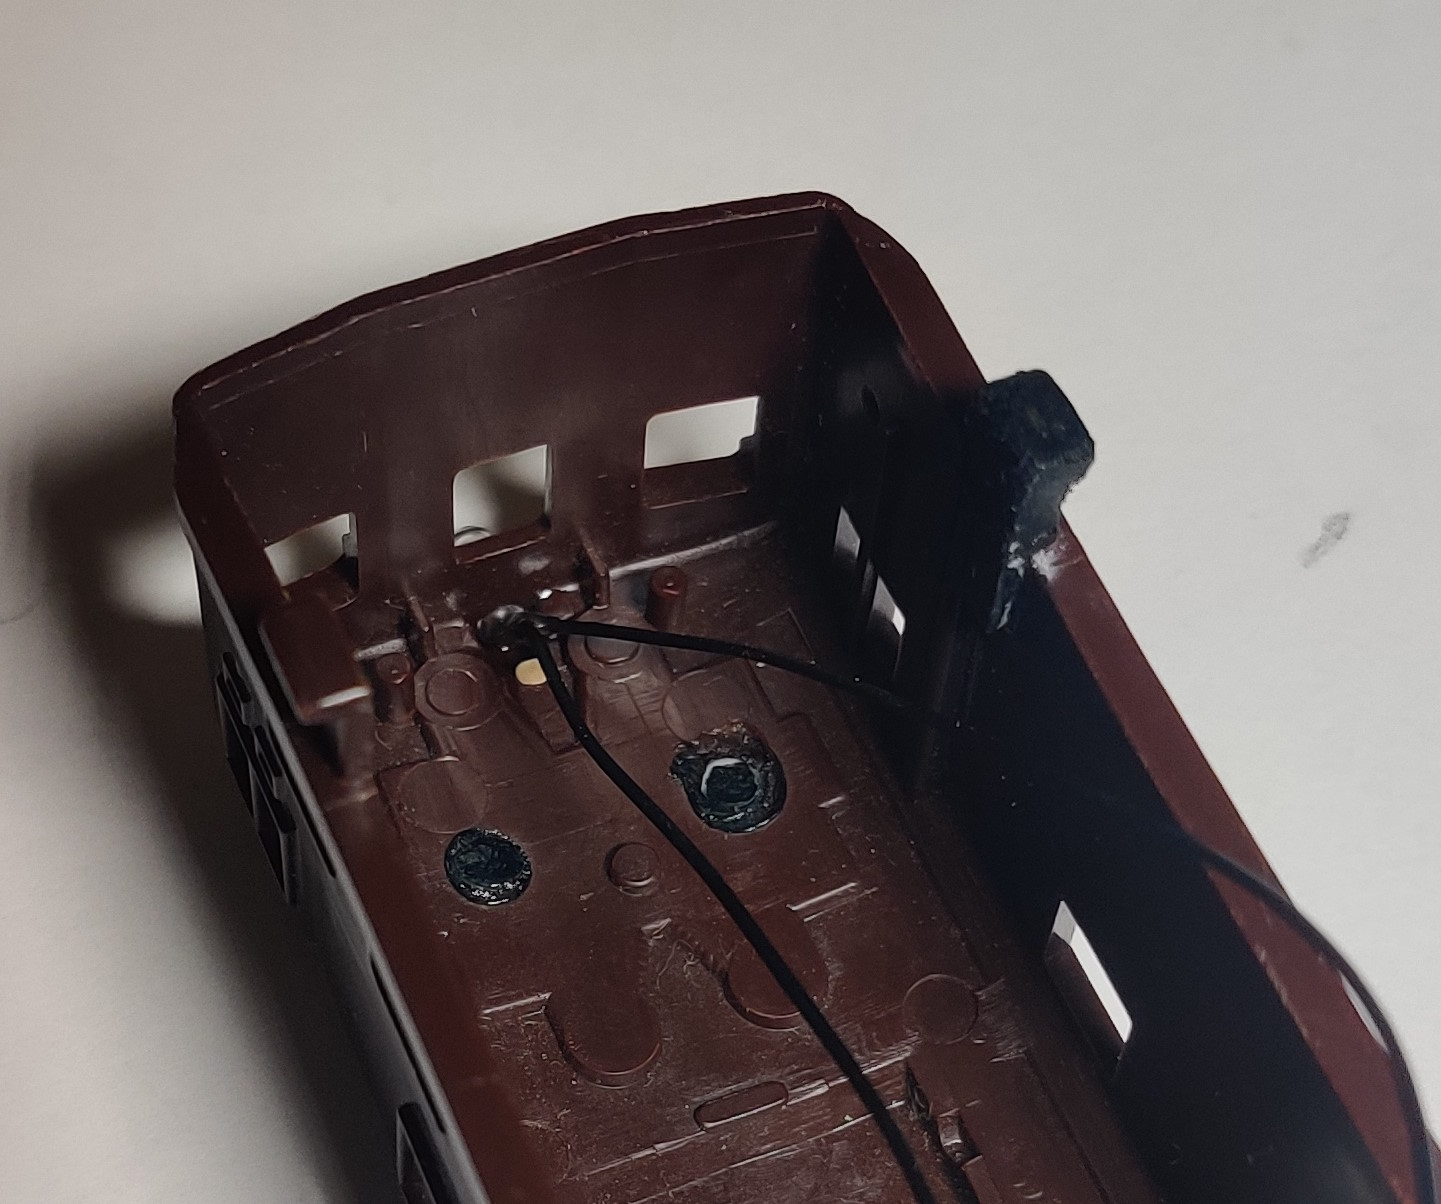
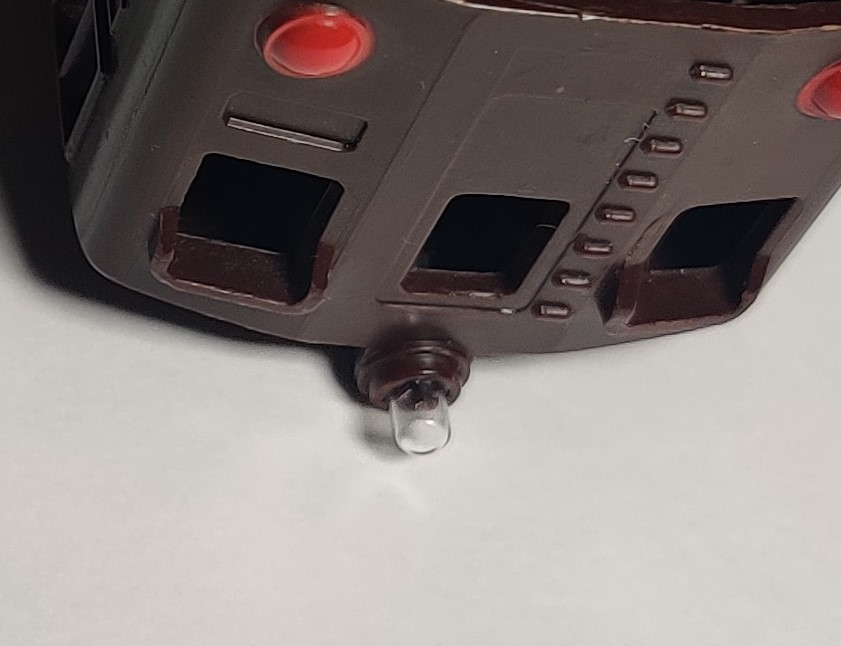
To fit the light in the body shell I bent the wires downwards and then inserted the wires into the already existing hole in the tooling. I glued the light in place when I was satisfied with how it looked, although I think it still sticks out of the body a little bit too far.
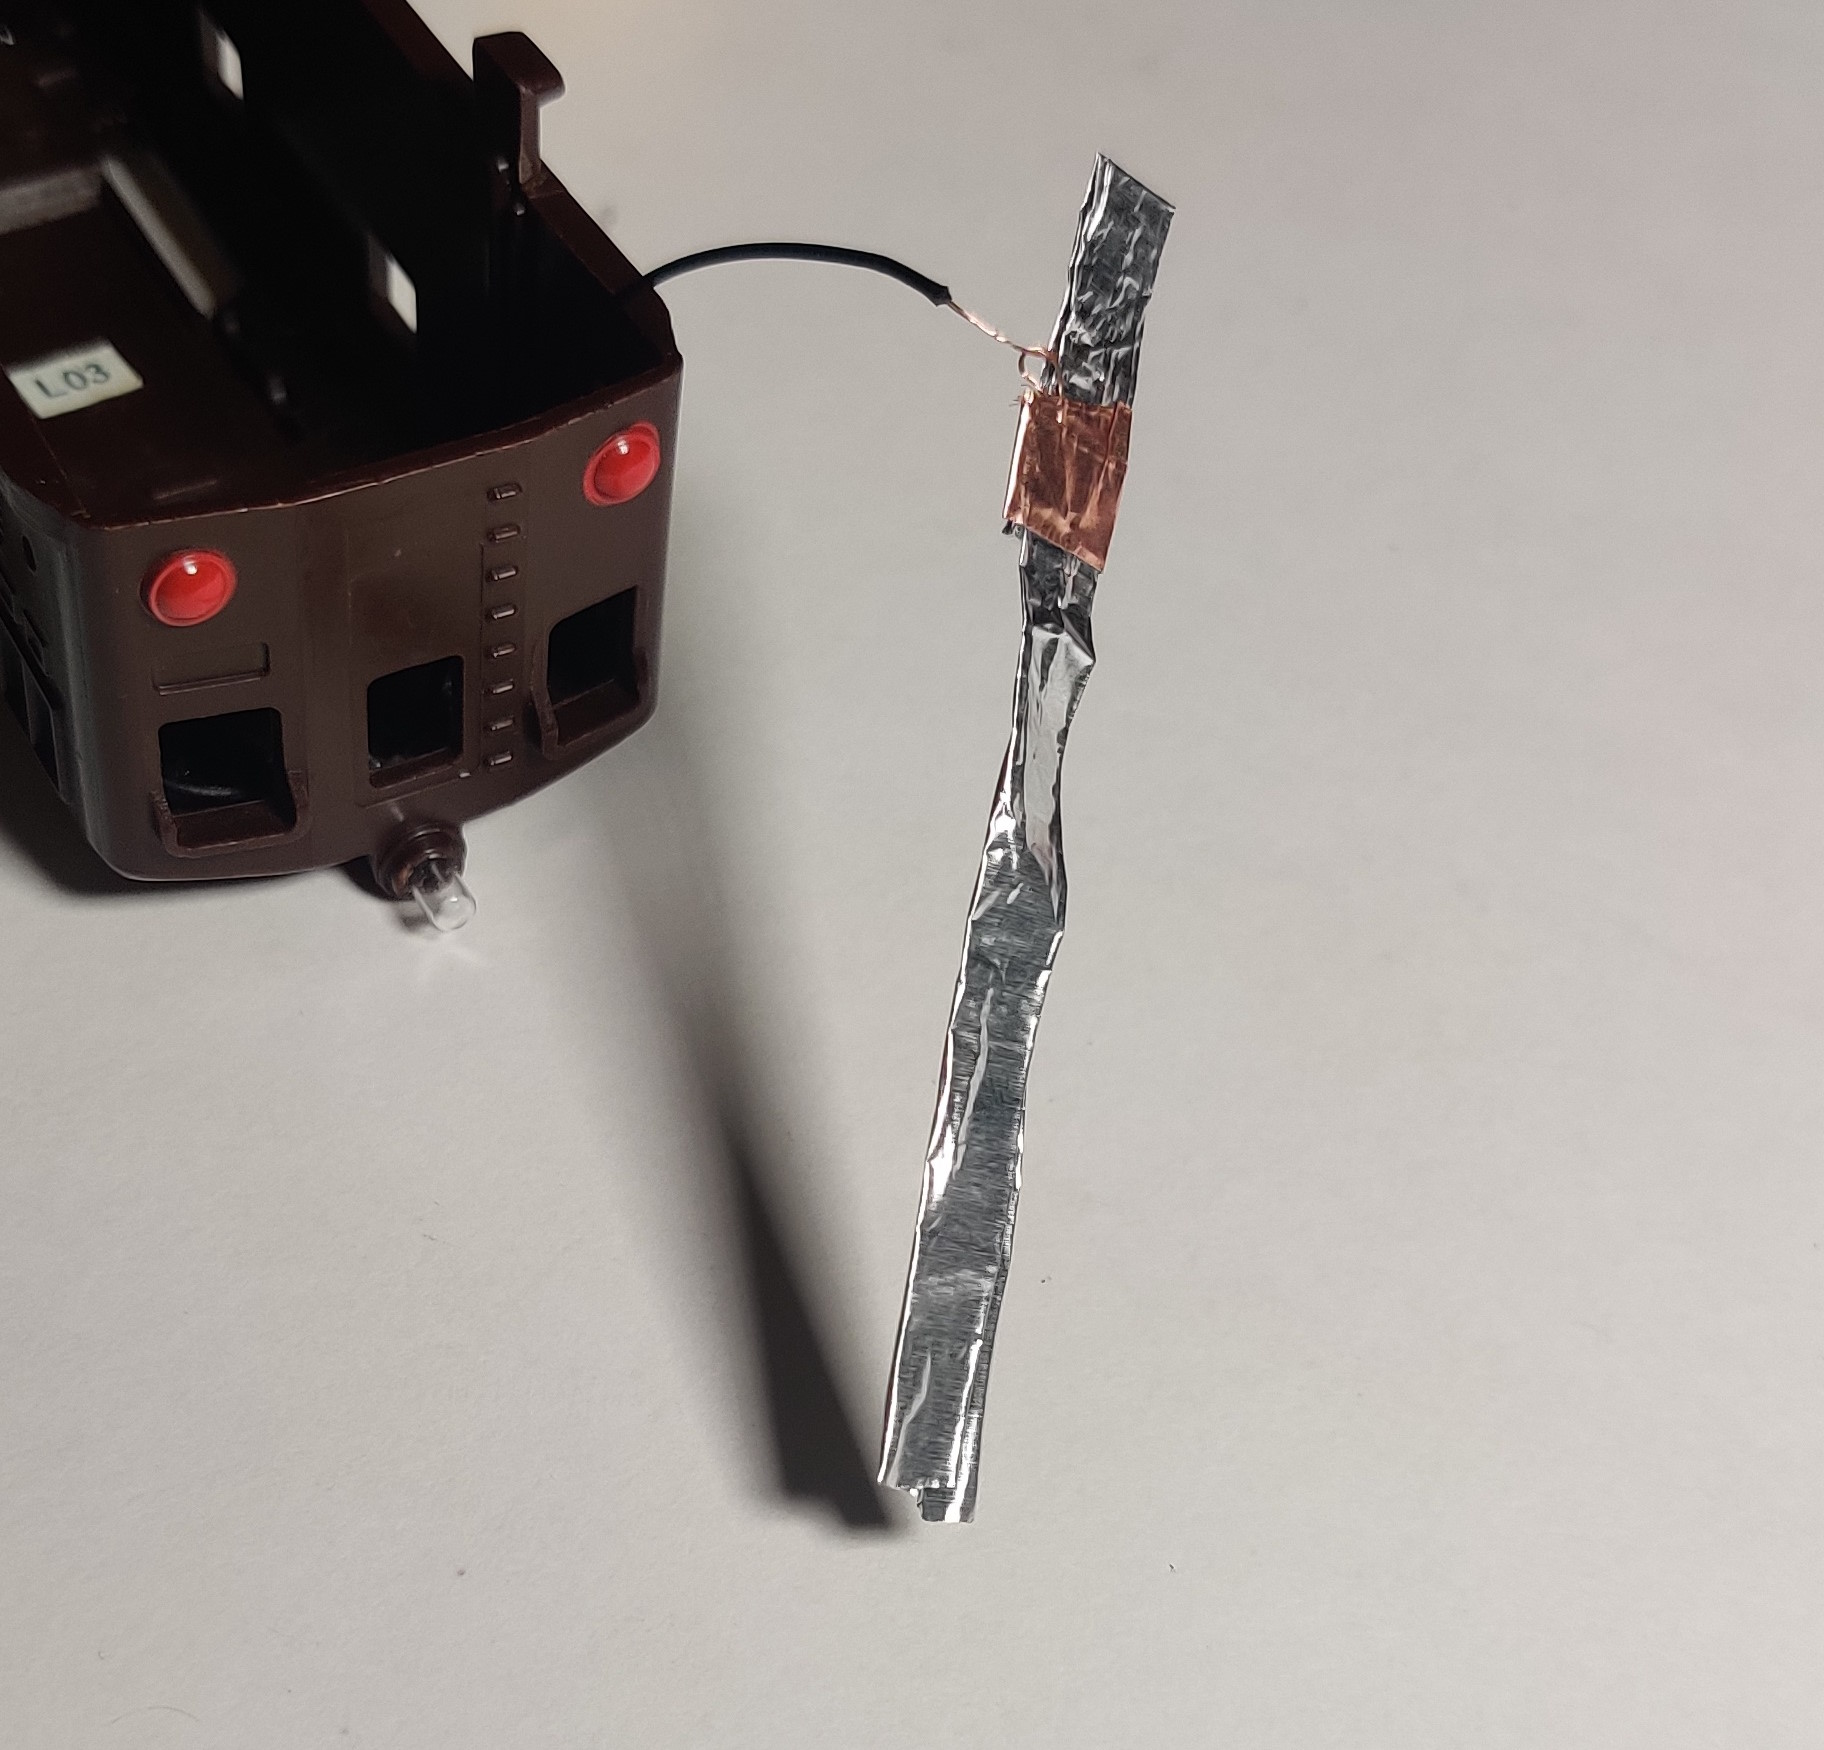
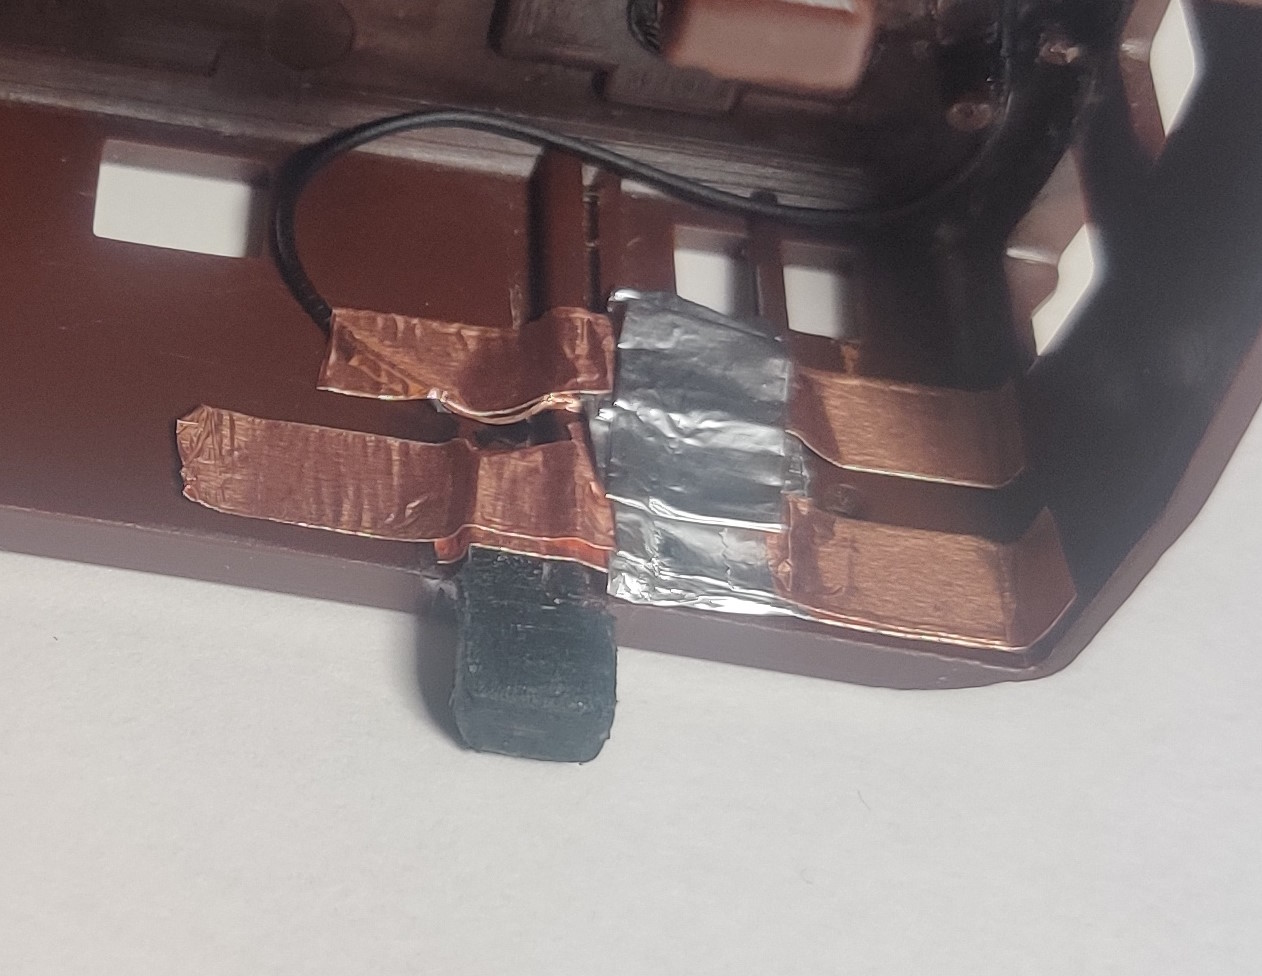
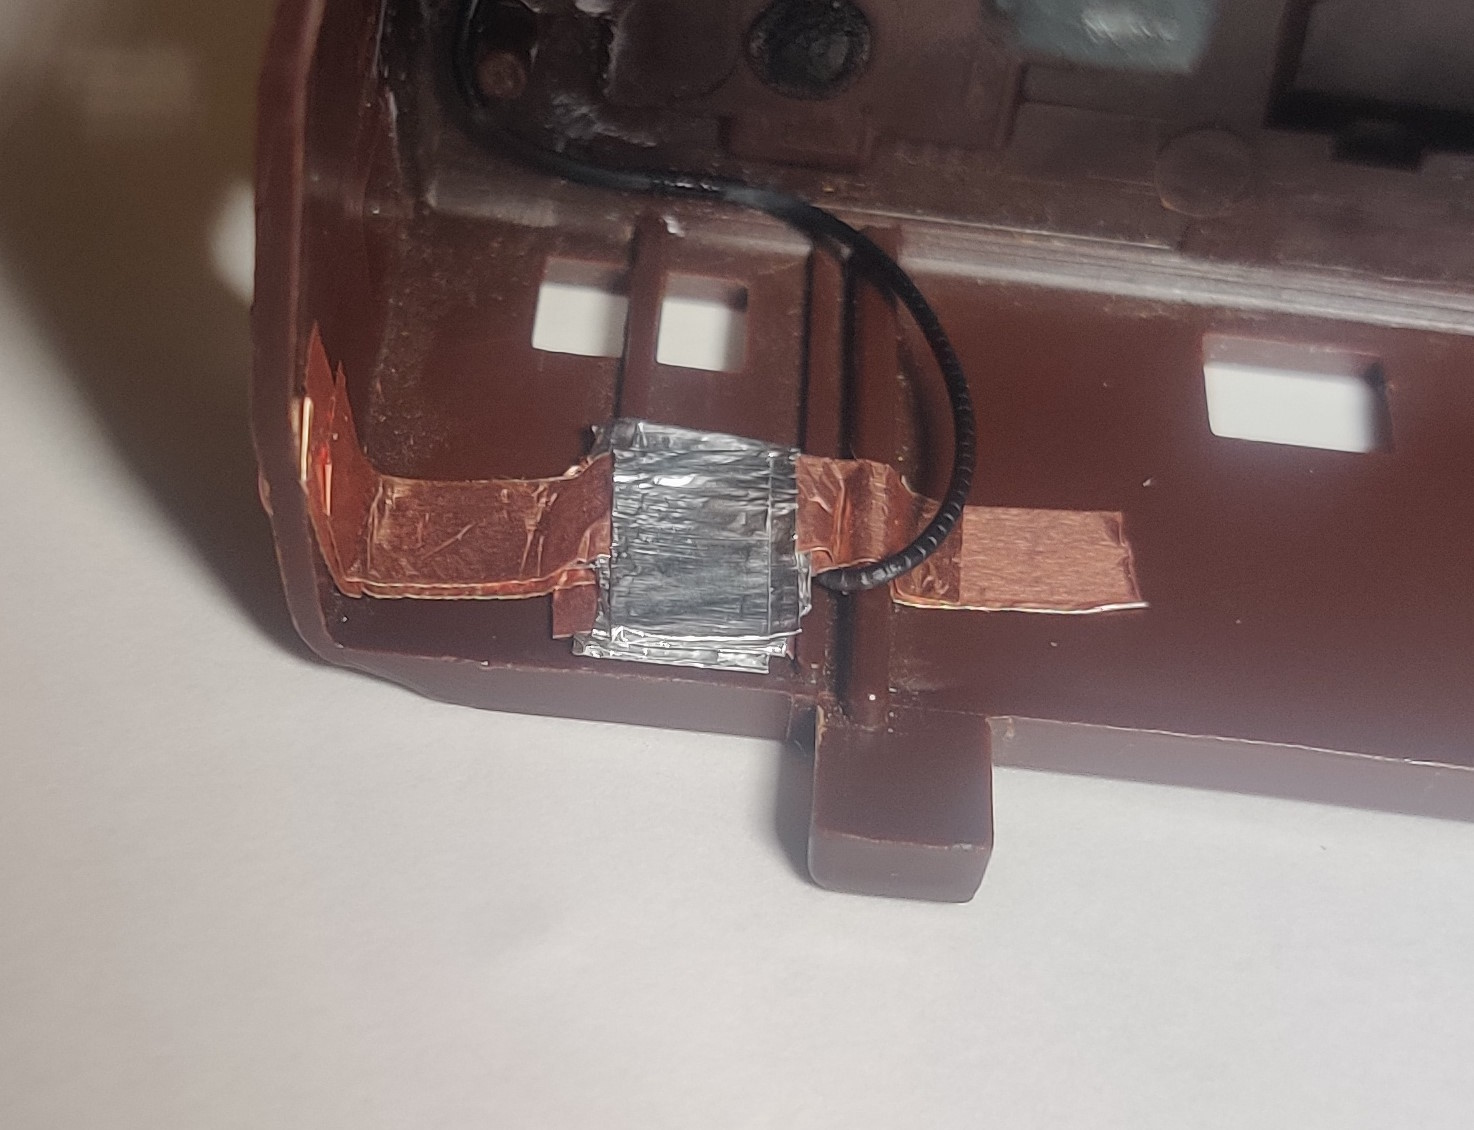
The contacts inside the body shell are strips of folded tinfoil with the wire wrapped and copper-taped to it that were then folded to thicken them out and copper-taped inside the body shell.
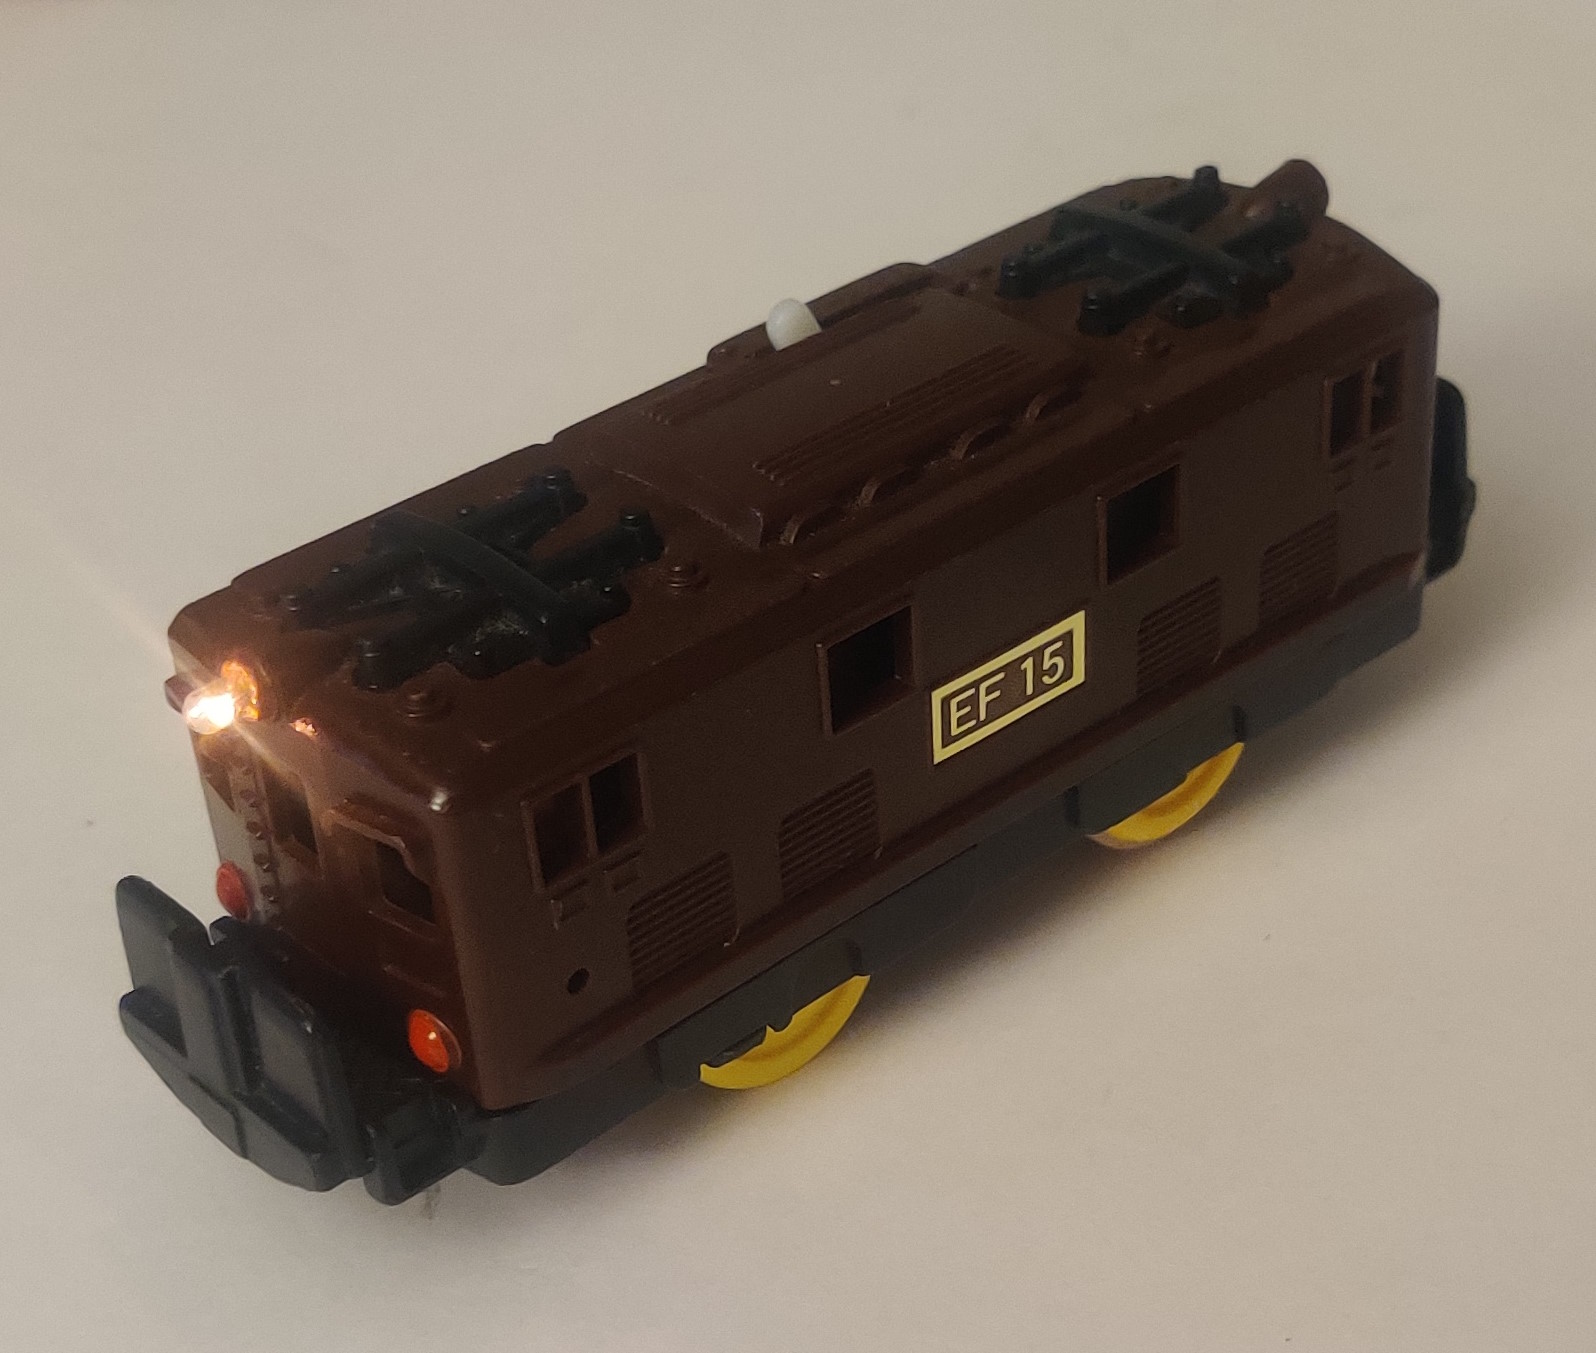
As long as the contacts make a good electrical connection the light should come on whenever the power switch is turned on.
Generalization
One of these bulbs can be fitted to pretty much any Plarail train. As long as the bulb is wired between the positive and negative terminals of the train with the power switch somewhere in the circuit to make sure the light turns on with the motor (otherwise it will be on whenever the battery is inserted) it should be fairly trivial to wire it in place. Old-power trains all have large exposed battery contacts and later direct-drive gearboxes often have an exposed section of contact strip downstream from the power switch. Fitting a light into the body shell instead of the chassis complicates the process, although you do not have to devise a system of power contacts and can instead just run enough wire between the light and chassis where the shell can still be removed to replace the battery. In some trains with the battery in a tender or attached car it may be easier to tap power directly from the motor contacts. Positioning of the bulb itself will depend on the exact train and the effect you want the light to have.
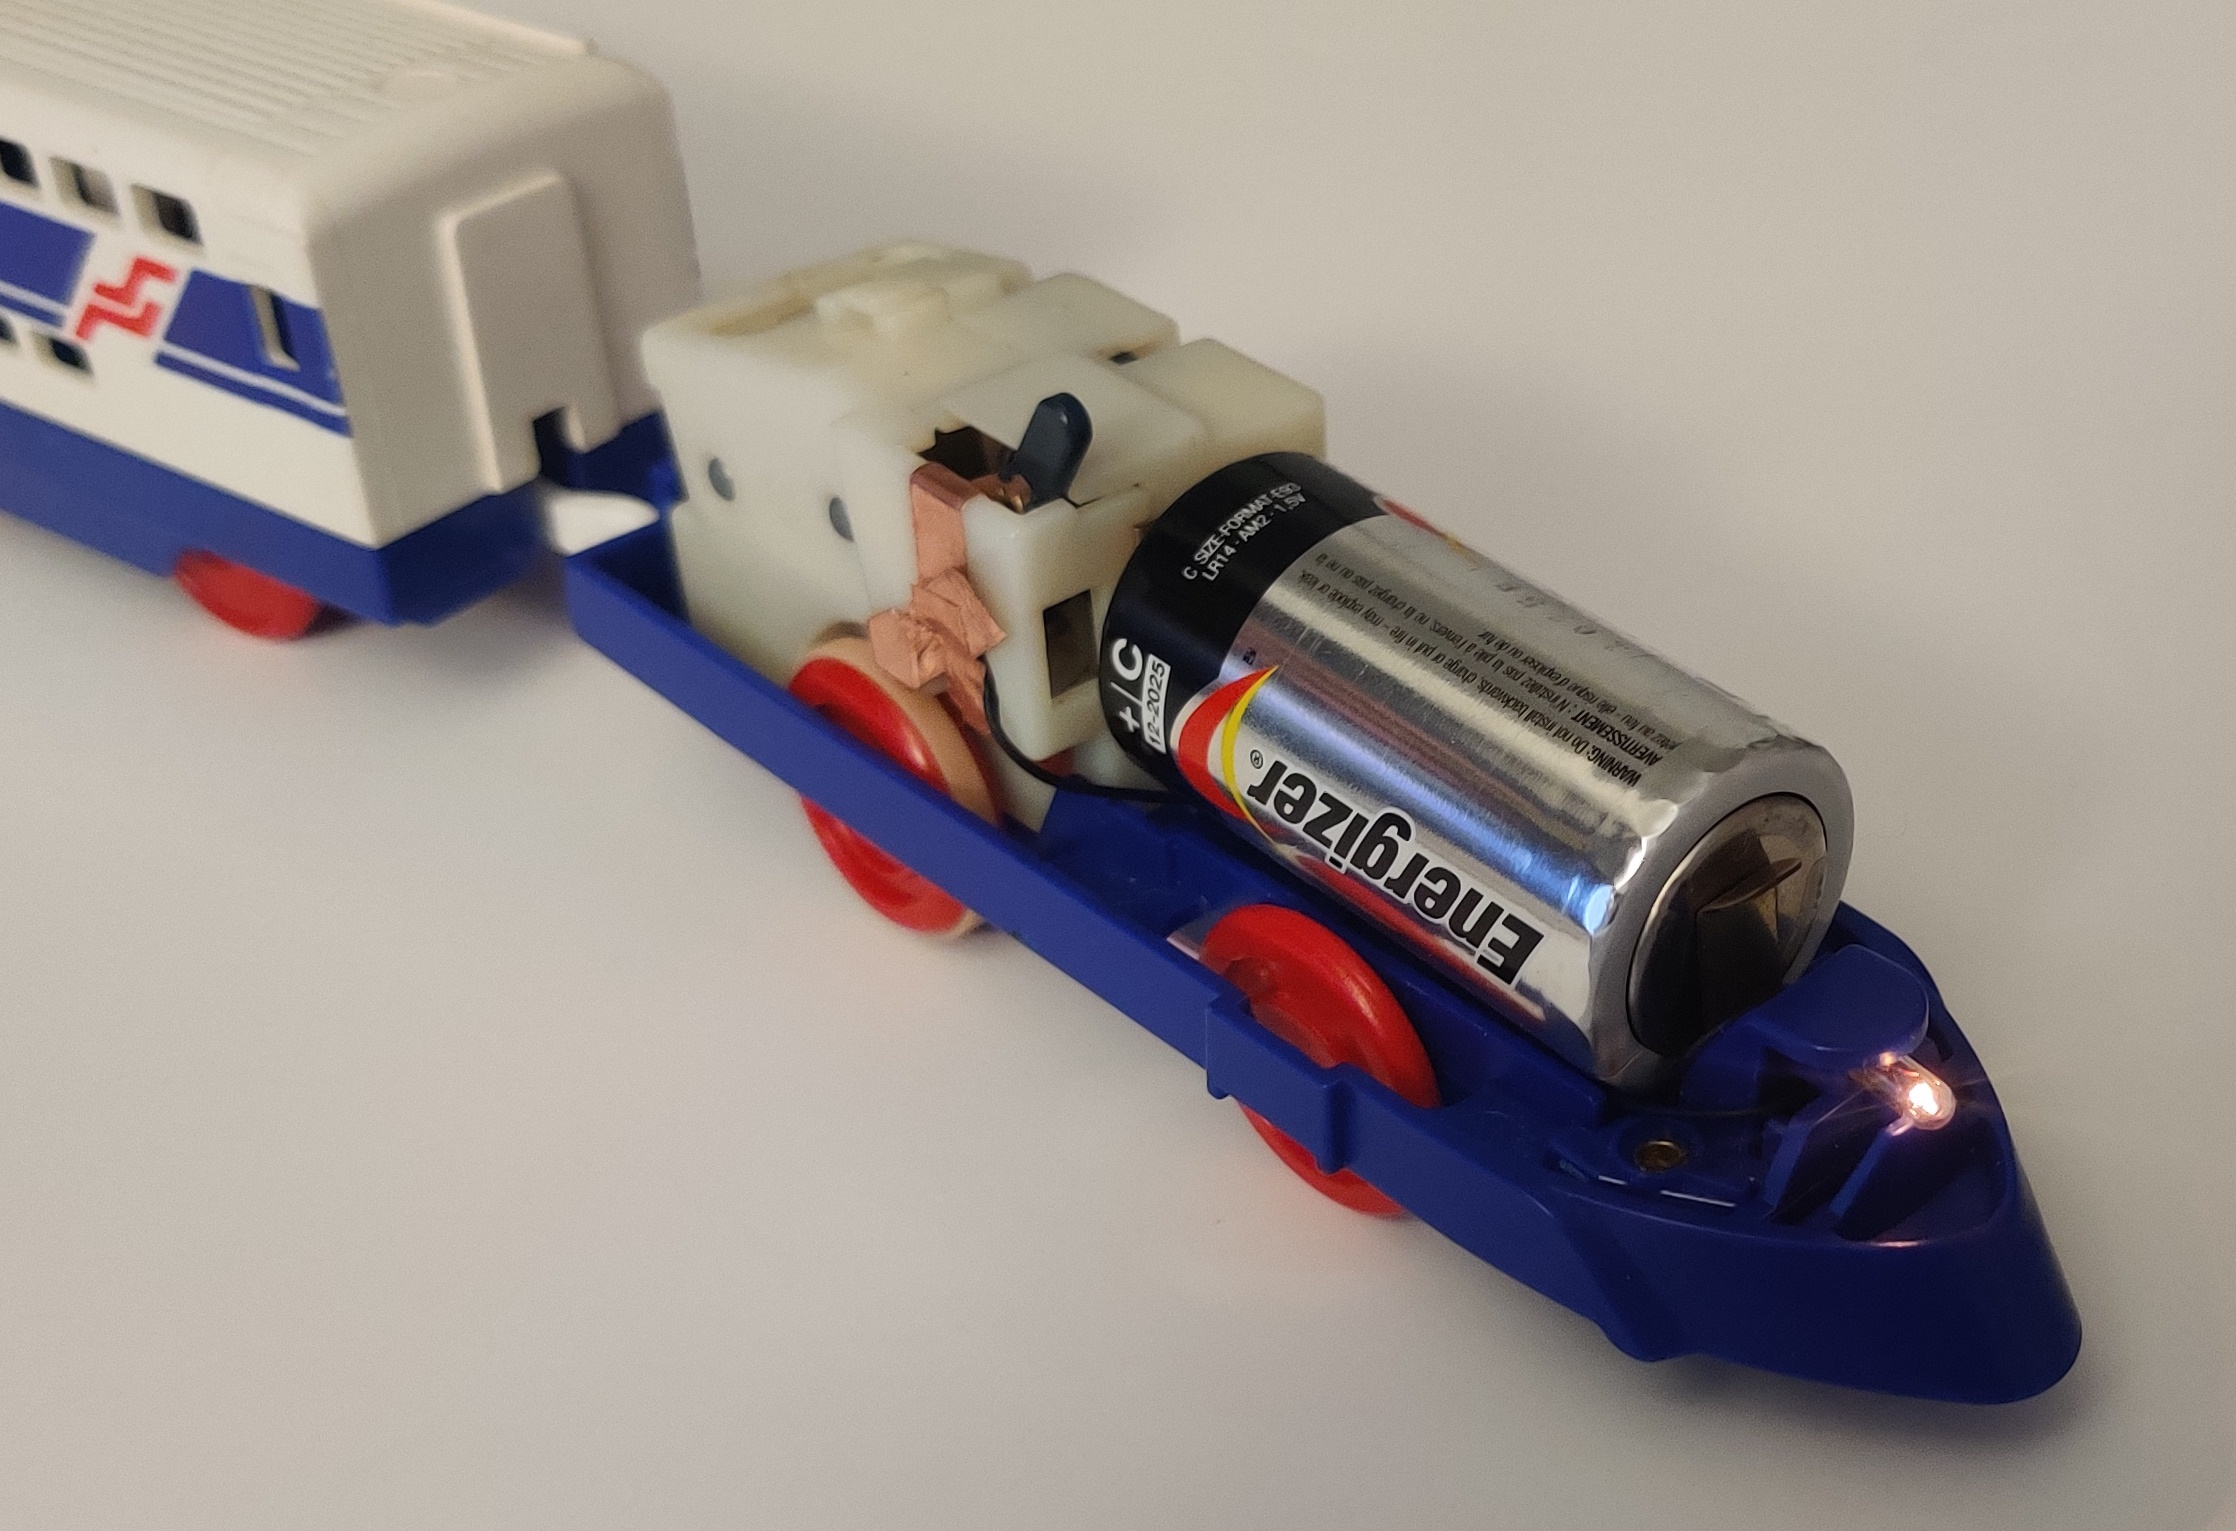
Any train tooling that at one point had a light but later had it removed (such as the new-power 100 series Shinkansen) will probably have left-over tooling features that can help you position the bulb, assuming you install it where it was once intended.