fall inside a hole
Tomiyama Shuttle Train (early 1960s)
First written February 27, 2024
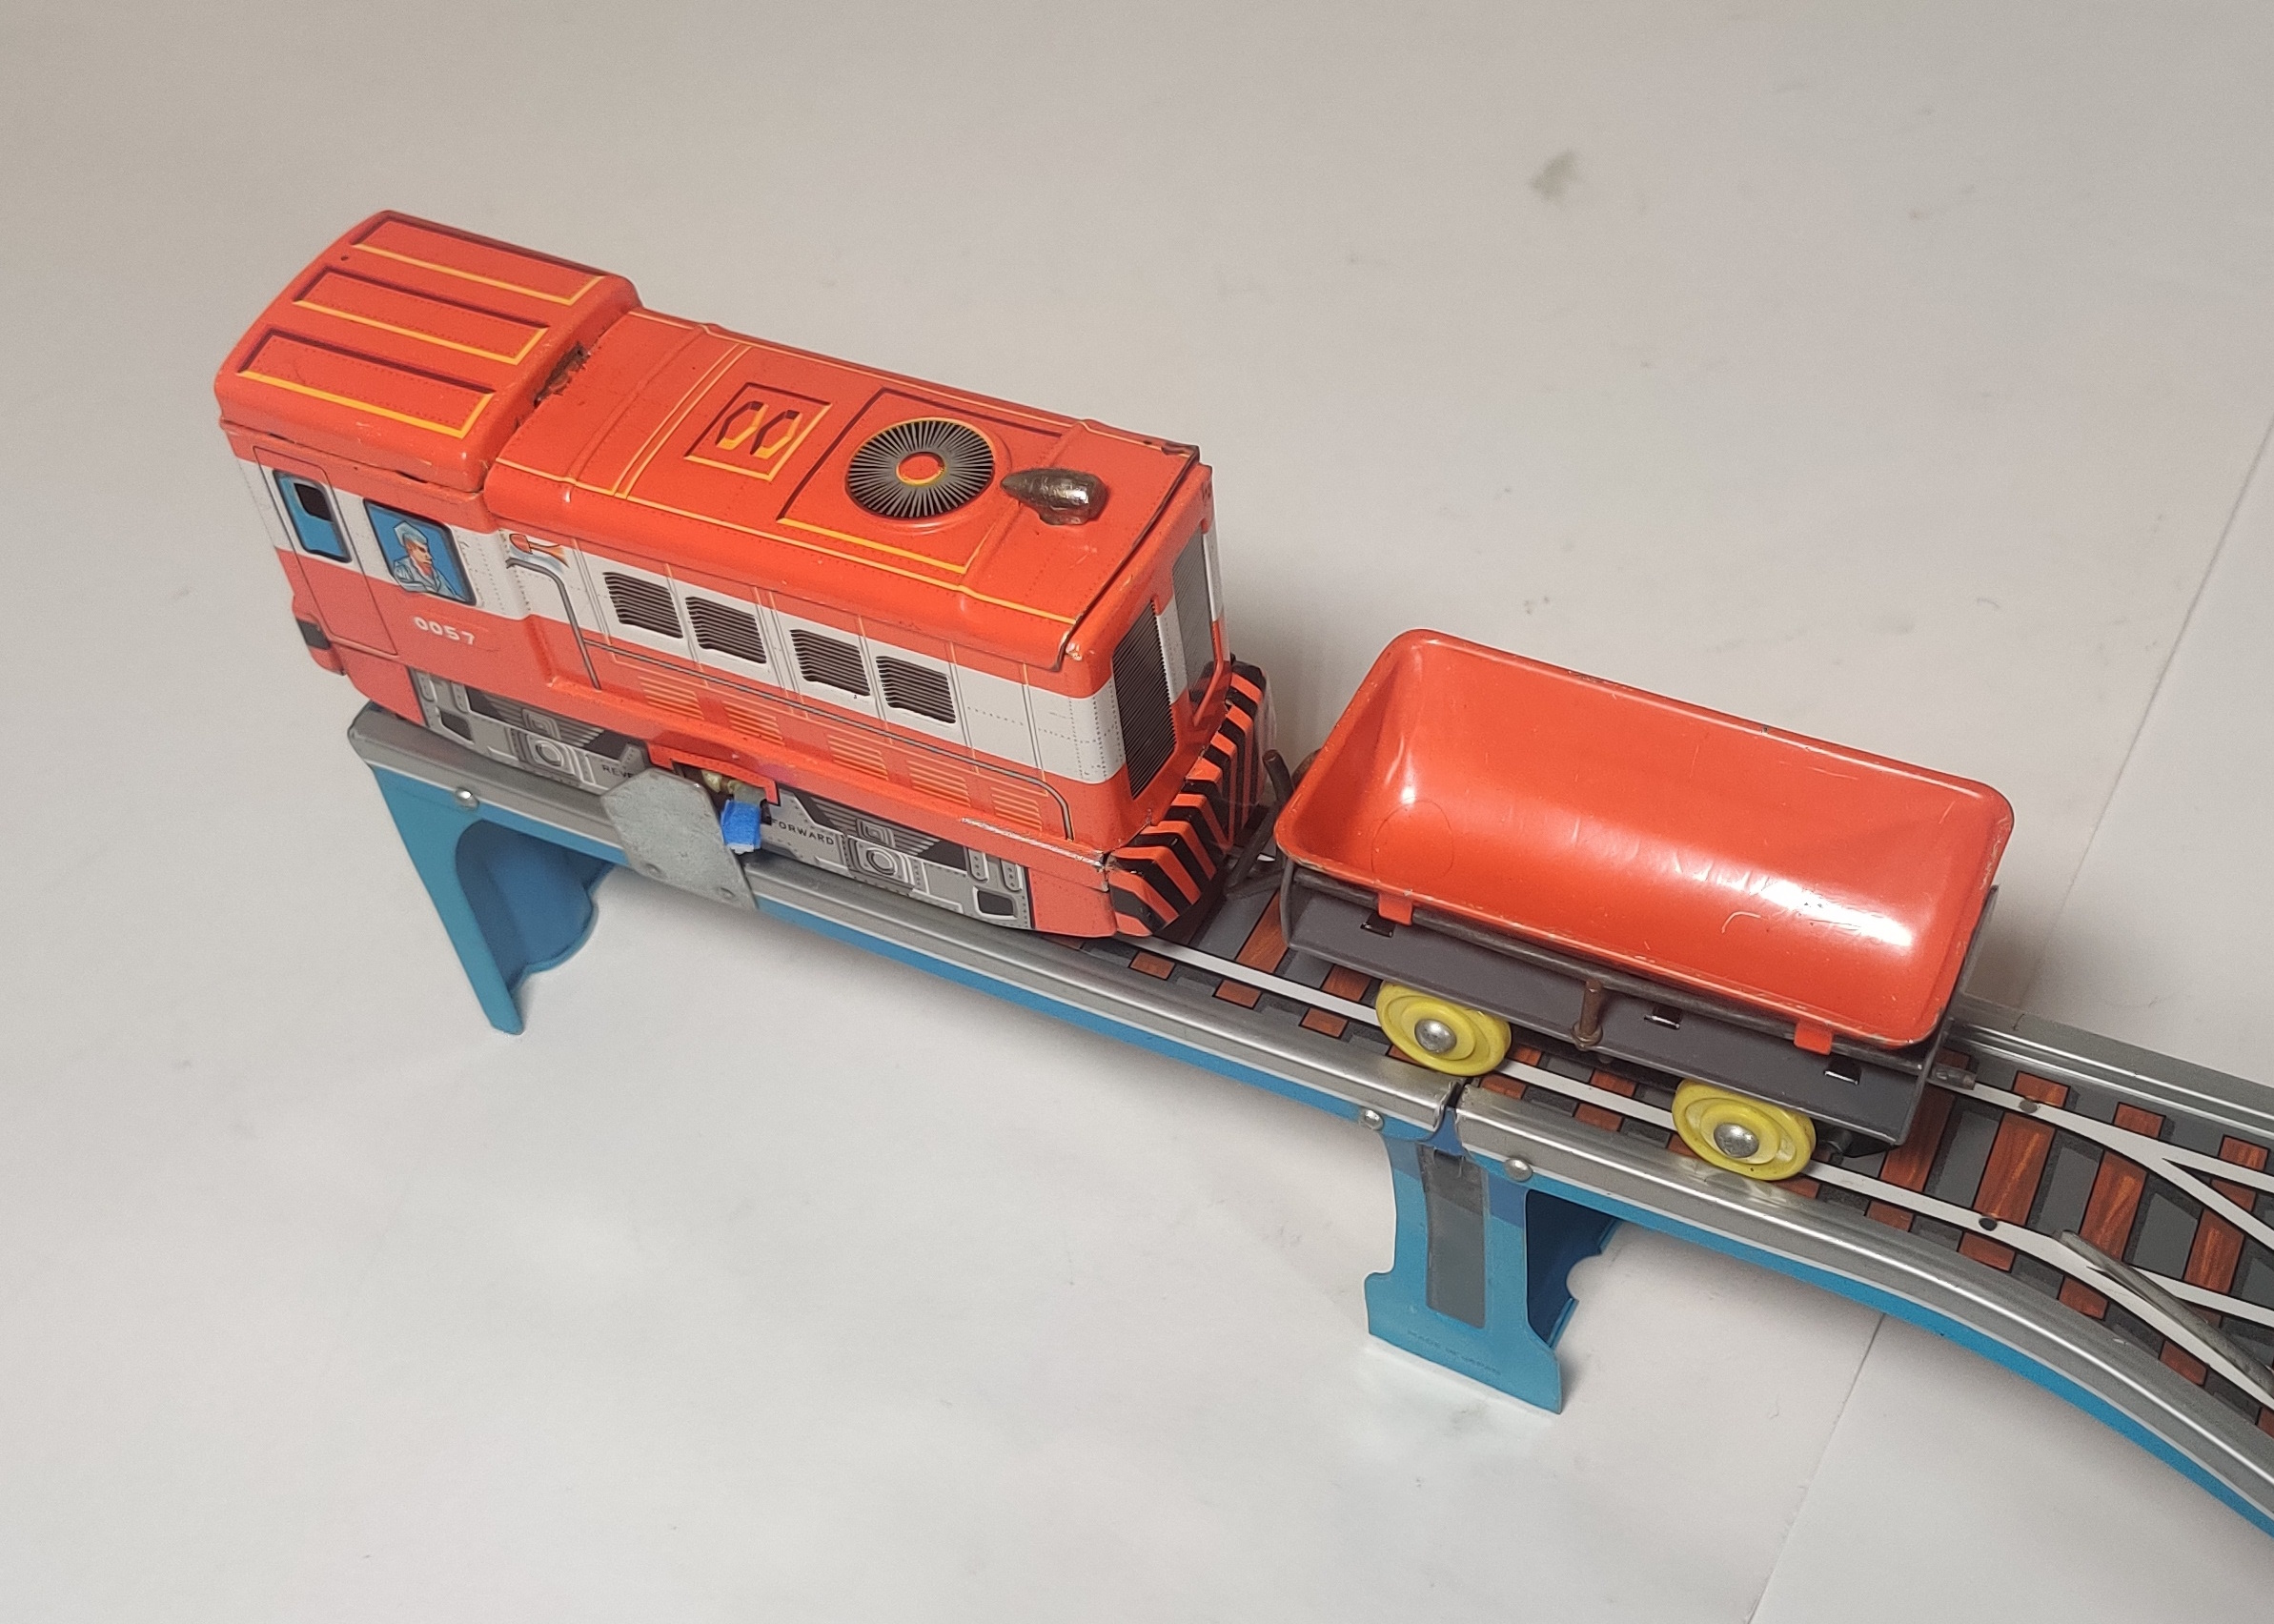
Tomy was founded in 1924 by Eiichirō Tomiyama as Tomiyama Toy Manufacturing Company. Before the adoption of plastic in the late 1950s Tomiyama was primarily known for tin toys with friction drives. At least as early as 1963 Tomiyama produced this battery-powered Shuttle Train toy that was sold in the U.S. under AHI. AHI seems to have imported a few different Japanese companies' tin toys in the 1950s including Naito Shoten and TN Nomura. In Japan this set was sold as 往復電車 Round Trip Train circa 1963. The battery-powered engine switches directions back and forth and pushes the tipper wagon up and down the switchback layout to load and unload coal from the chute.
Set contents
| Quantity |
Item |
Photo |
|---|---|---|
| 1 |
Shuttle
Train |
 |
| 1 | Tipper Wagon |
 |
| 1 | Rail section |
 |
| 1 |
Chute |
 |
|
"Coal" load |
|
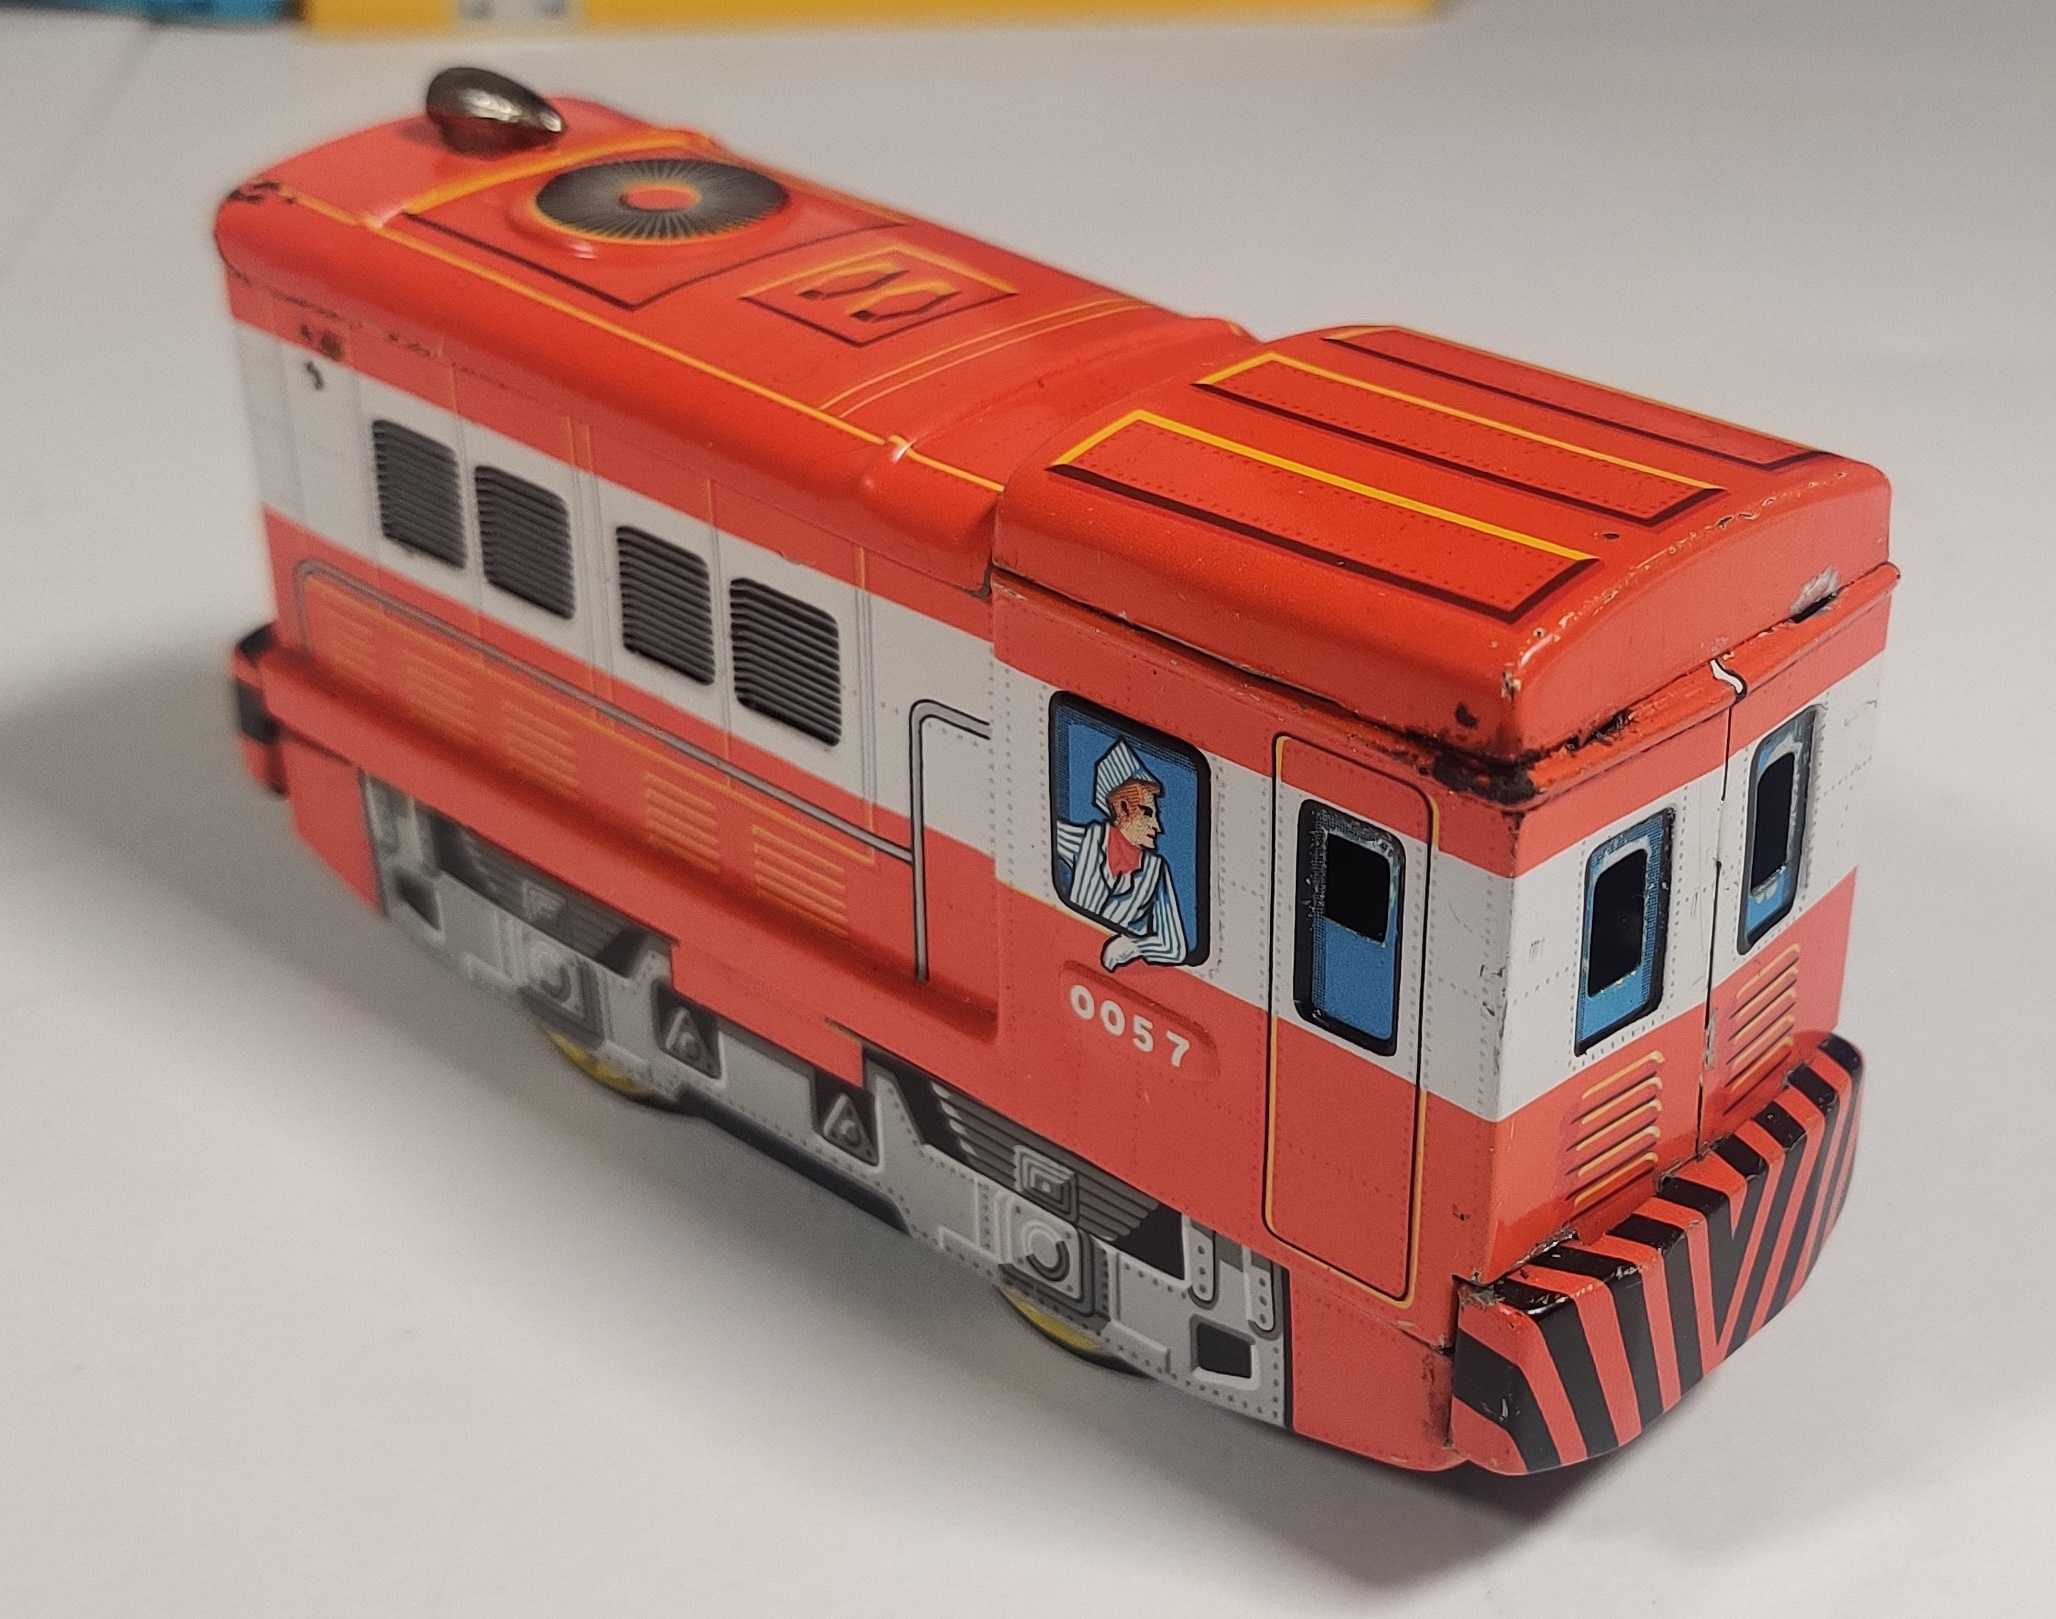
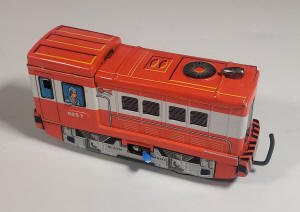
The train in this set has a very nice lithographed tin body. It depicts a smaller diesel locomotive of some type and has an upwards hook coupler to connect to the tipper wagon. The hood ornament rotates to the side to open the battery compartment inside the engine.
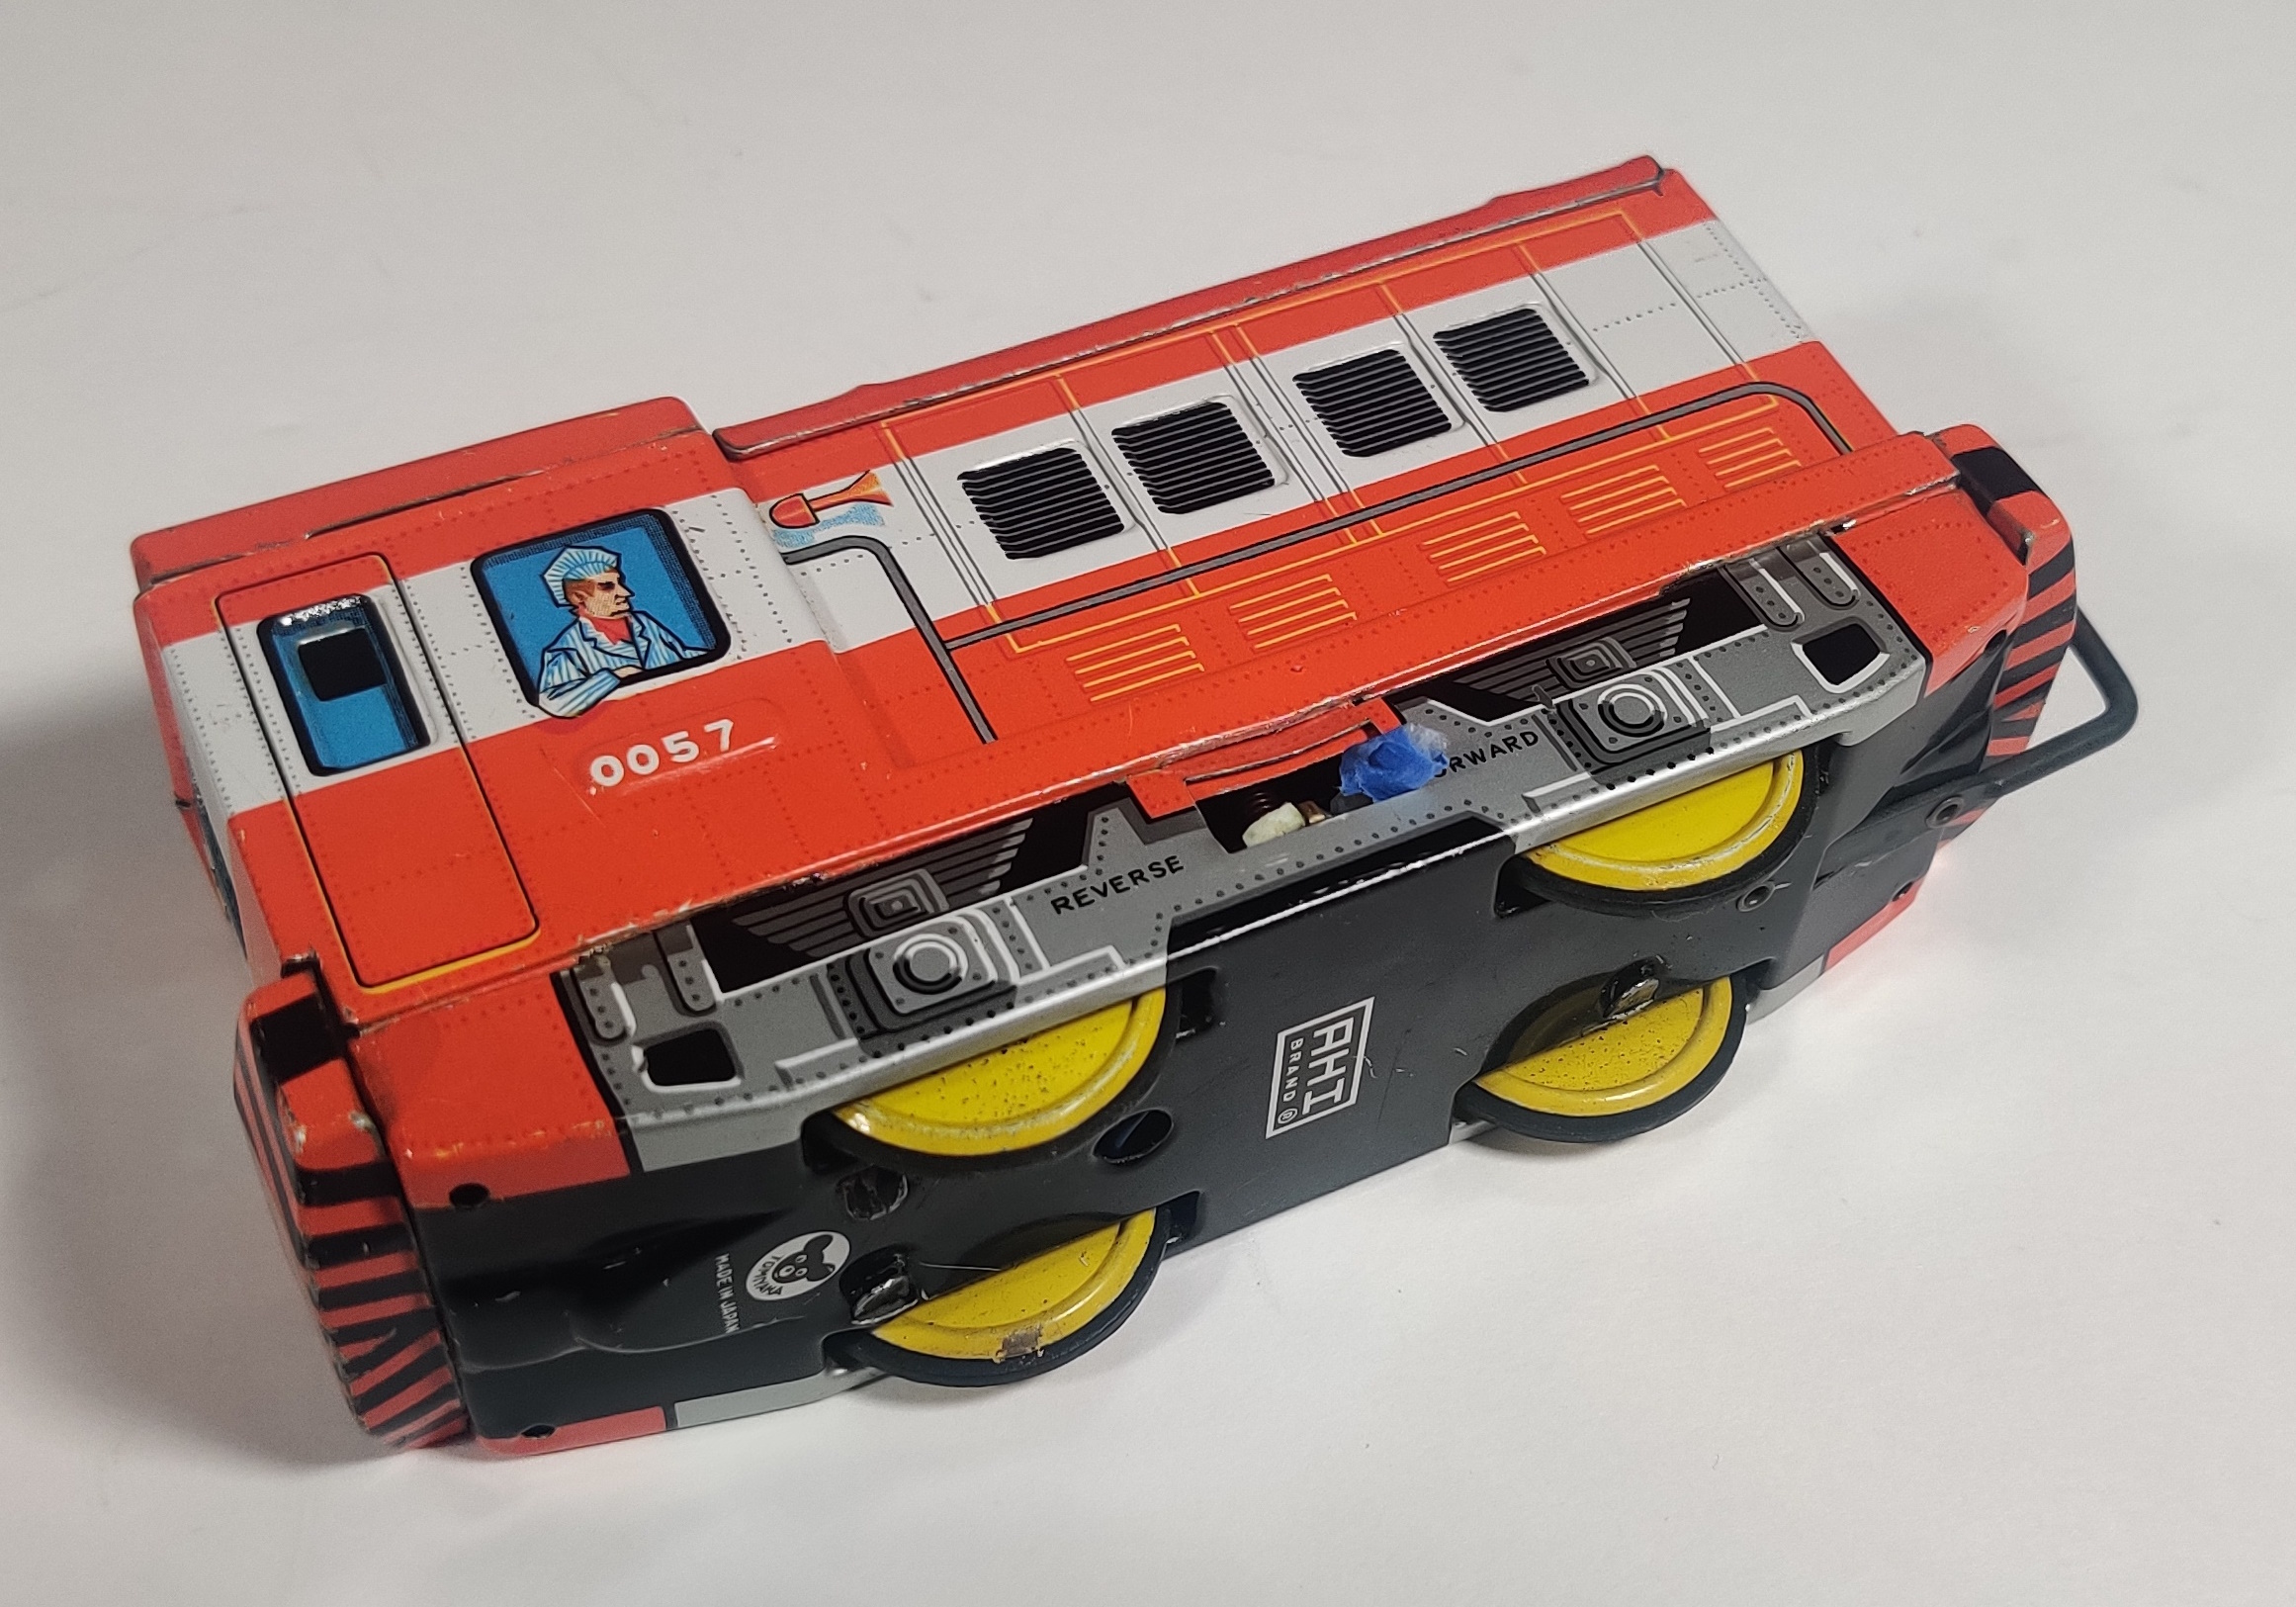
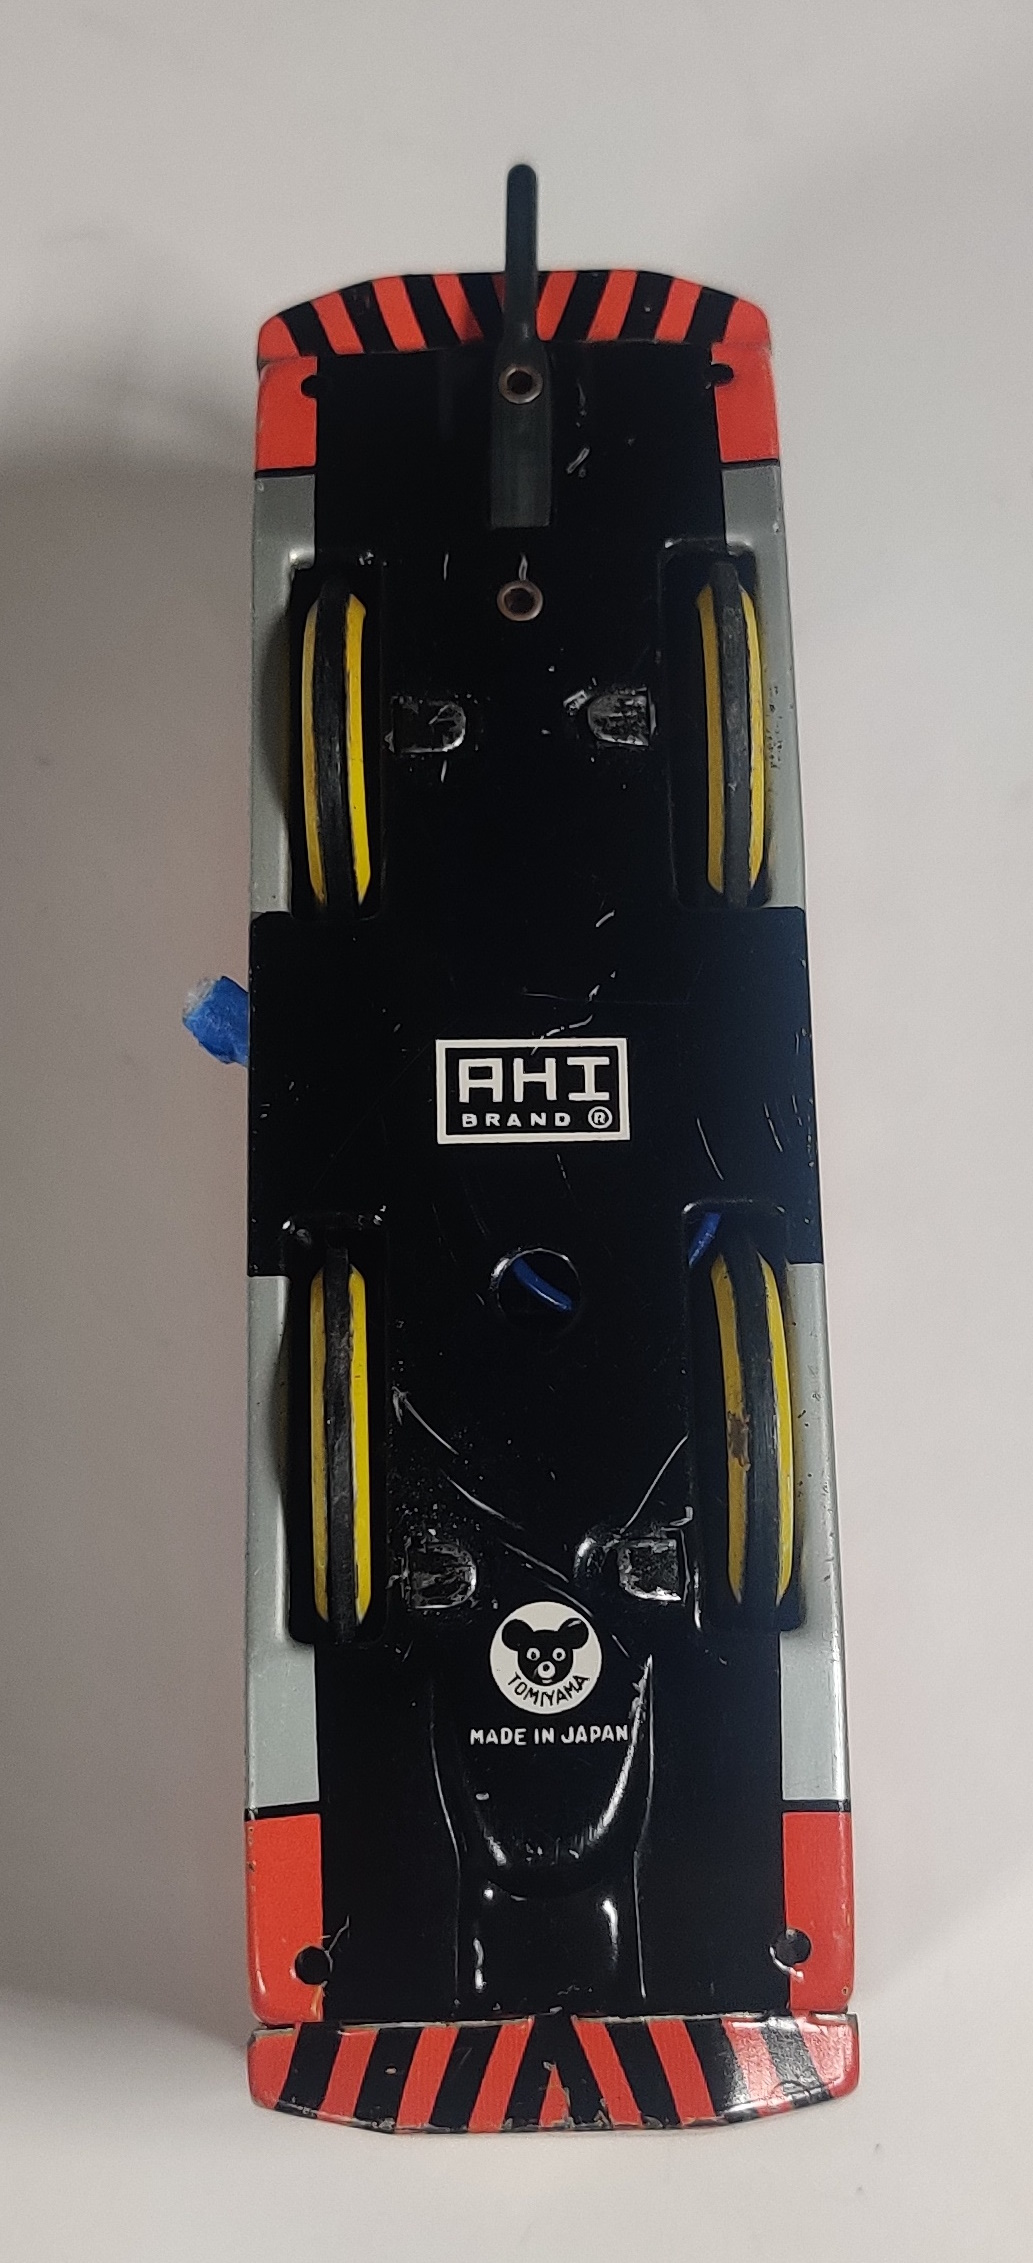
A lever sticks out of the side of the engine to change the direction back and forth when it hits different raised directional-changers around the layout. This is similar to the way many "shuttle train"-type toys operate, including Tomy's later Big Loader and related toys. The bottom of the engine is marked AHI Brand and Tomiyama as well as made in Japan.
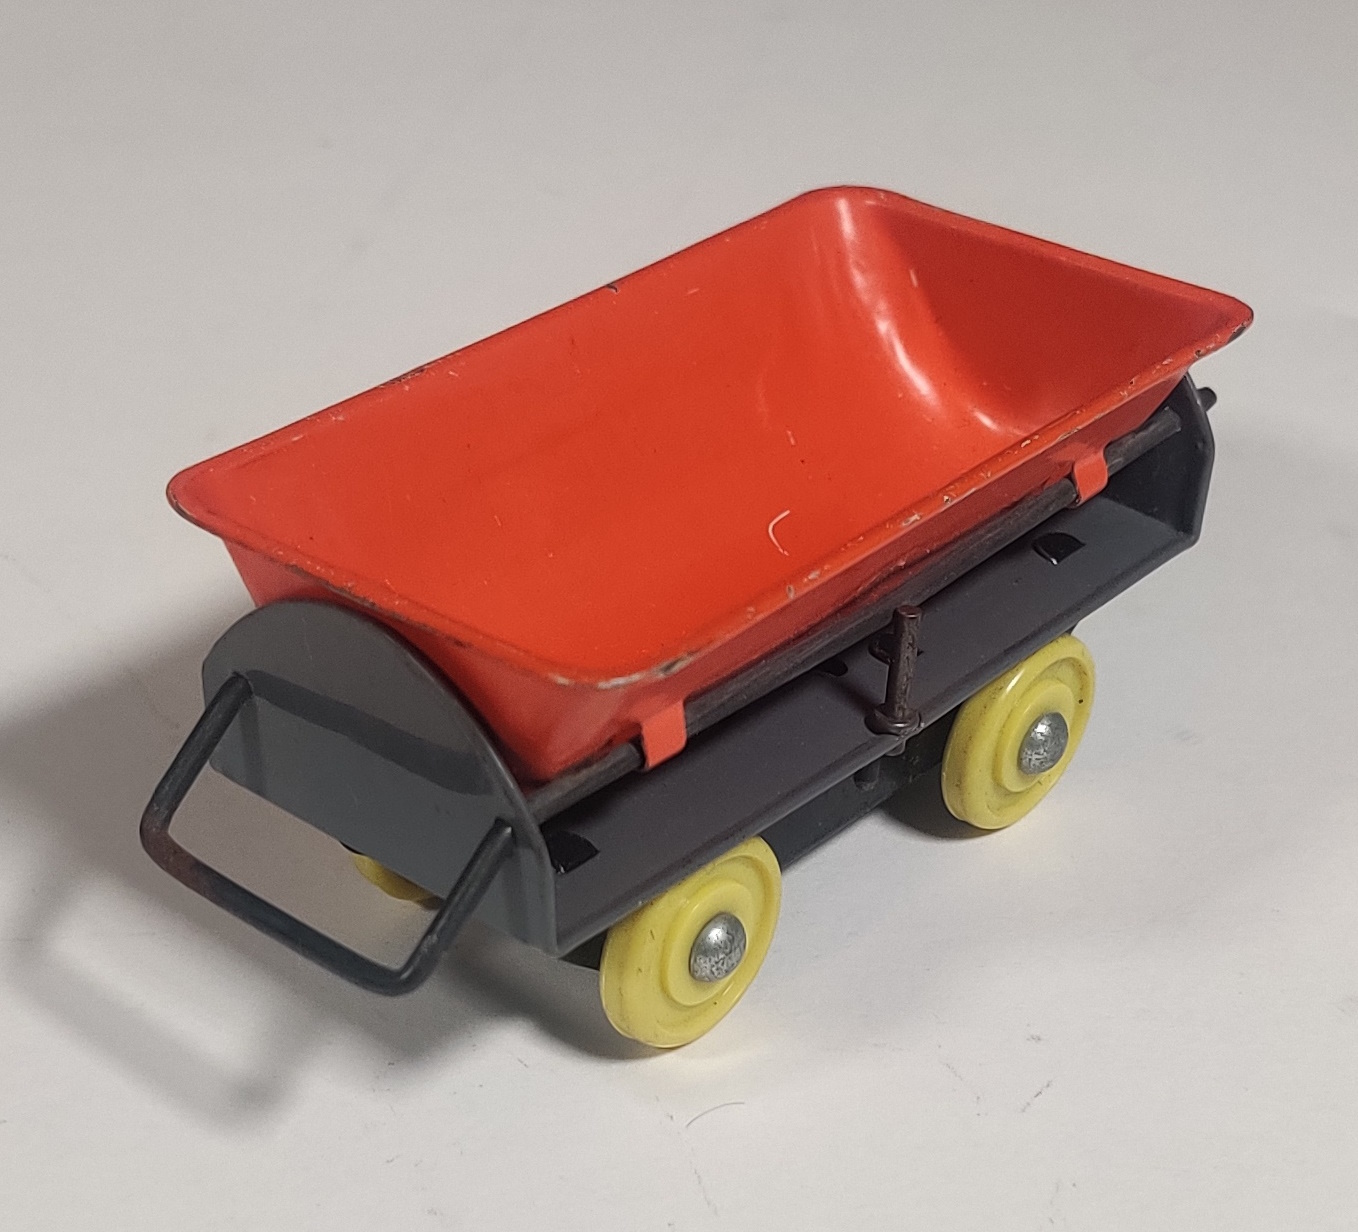
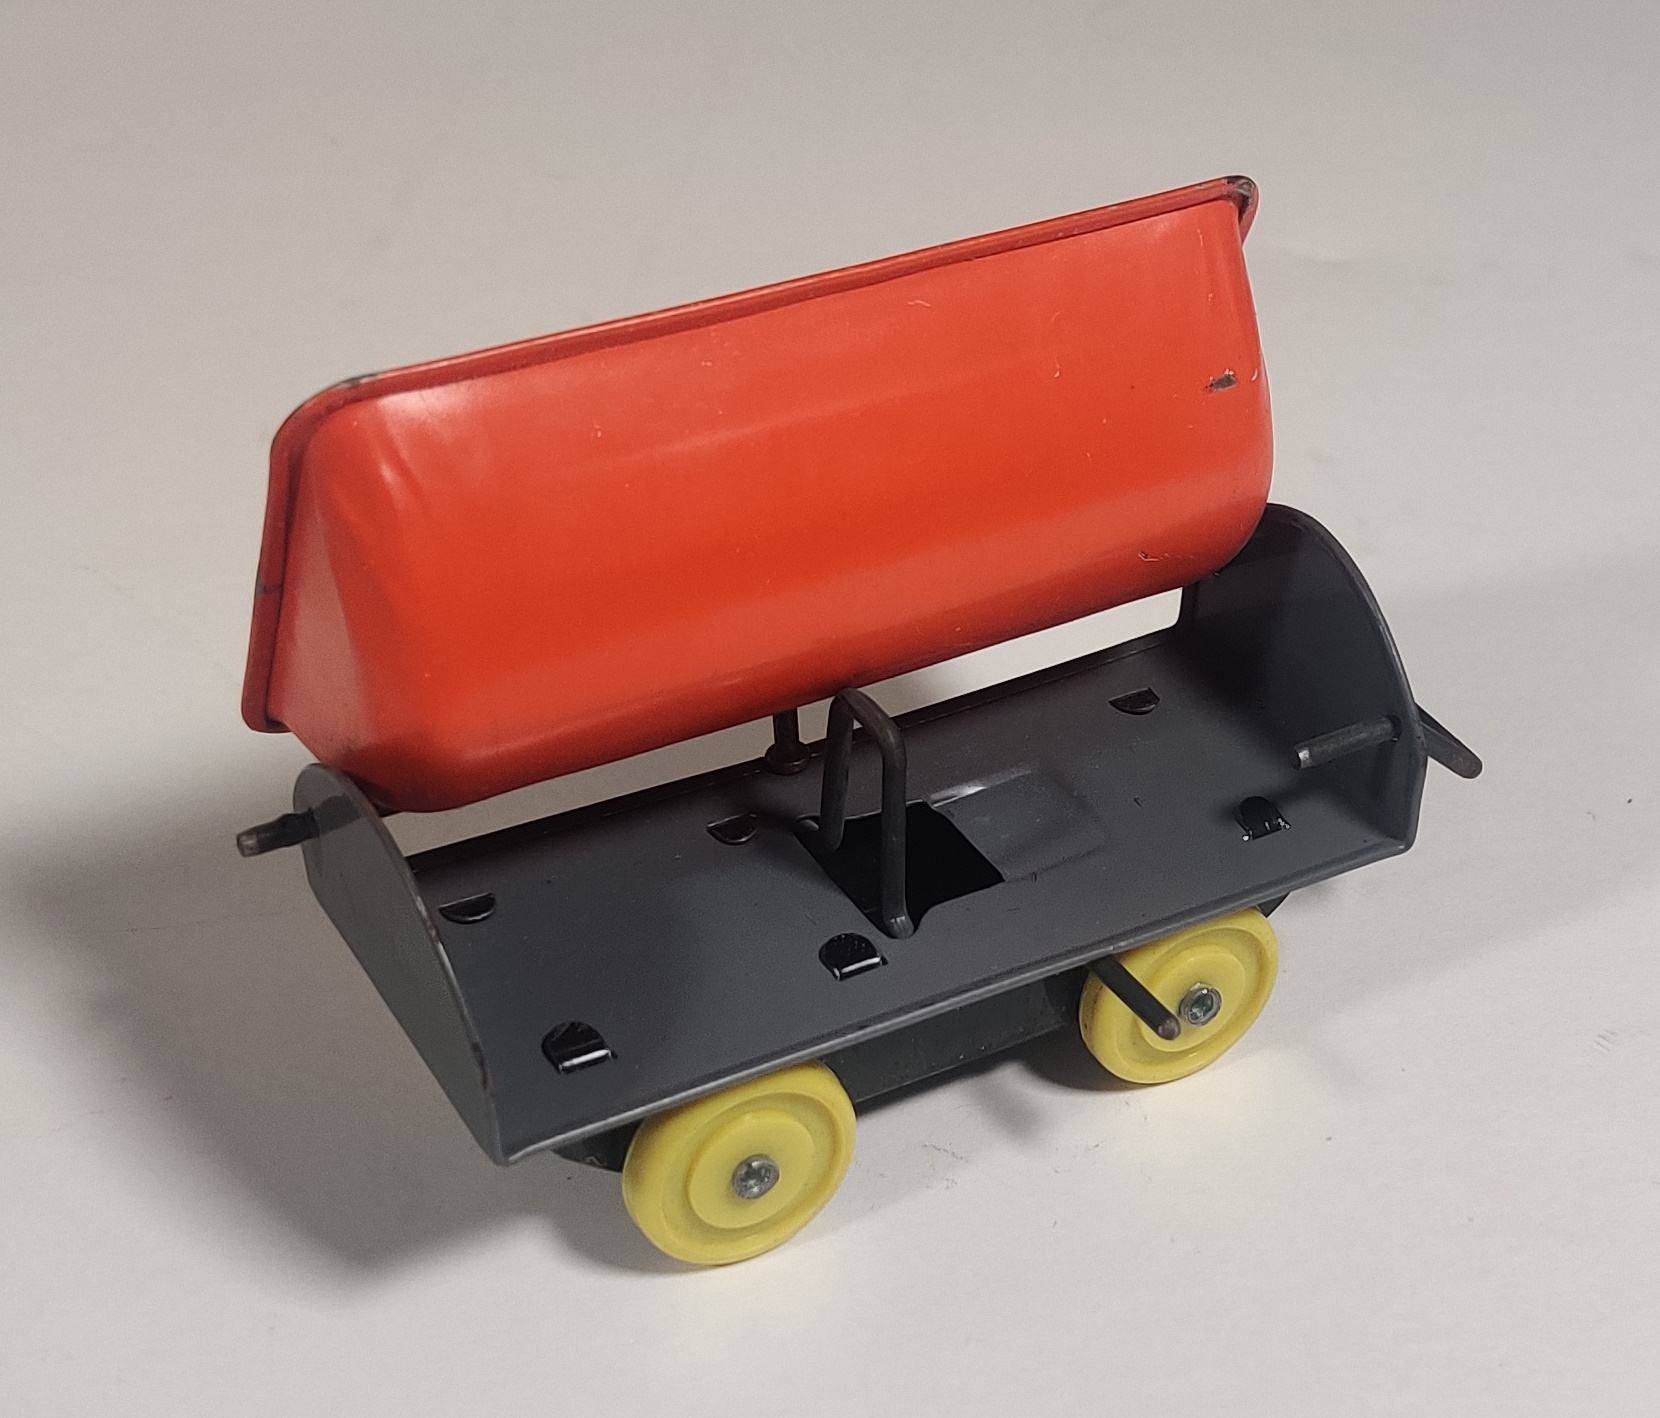
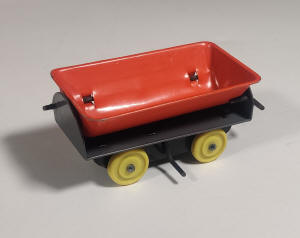
The dumper car has a similar color scheme with plastic yellow wheels but no lithography. A hanging bar on one side of the car engages with the set to make the car tip. These wheels somewhat resemble some of the earliest Plarail push-train wheels, but I do not have any Plarail old enough to compare with.

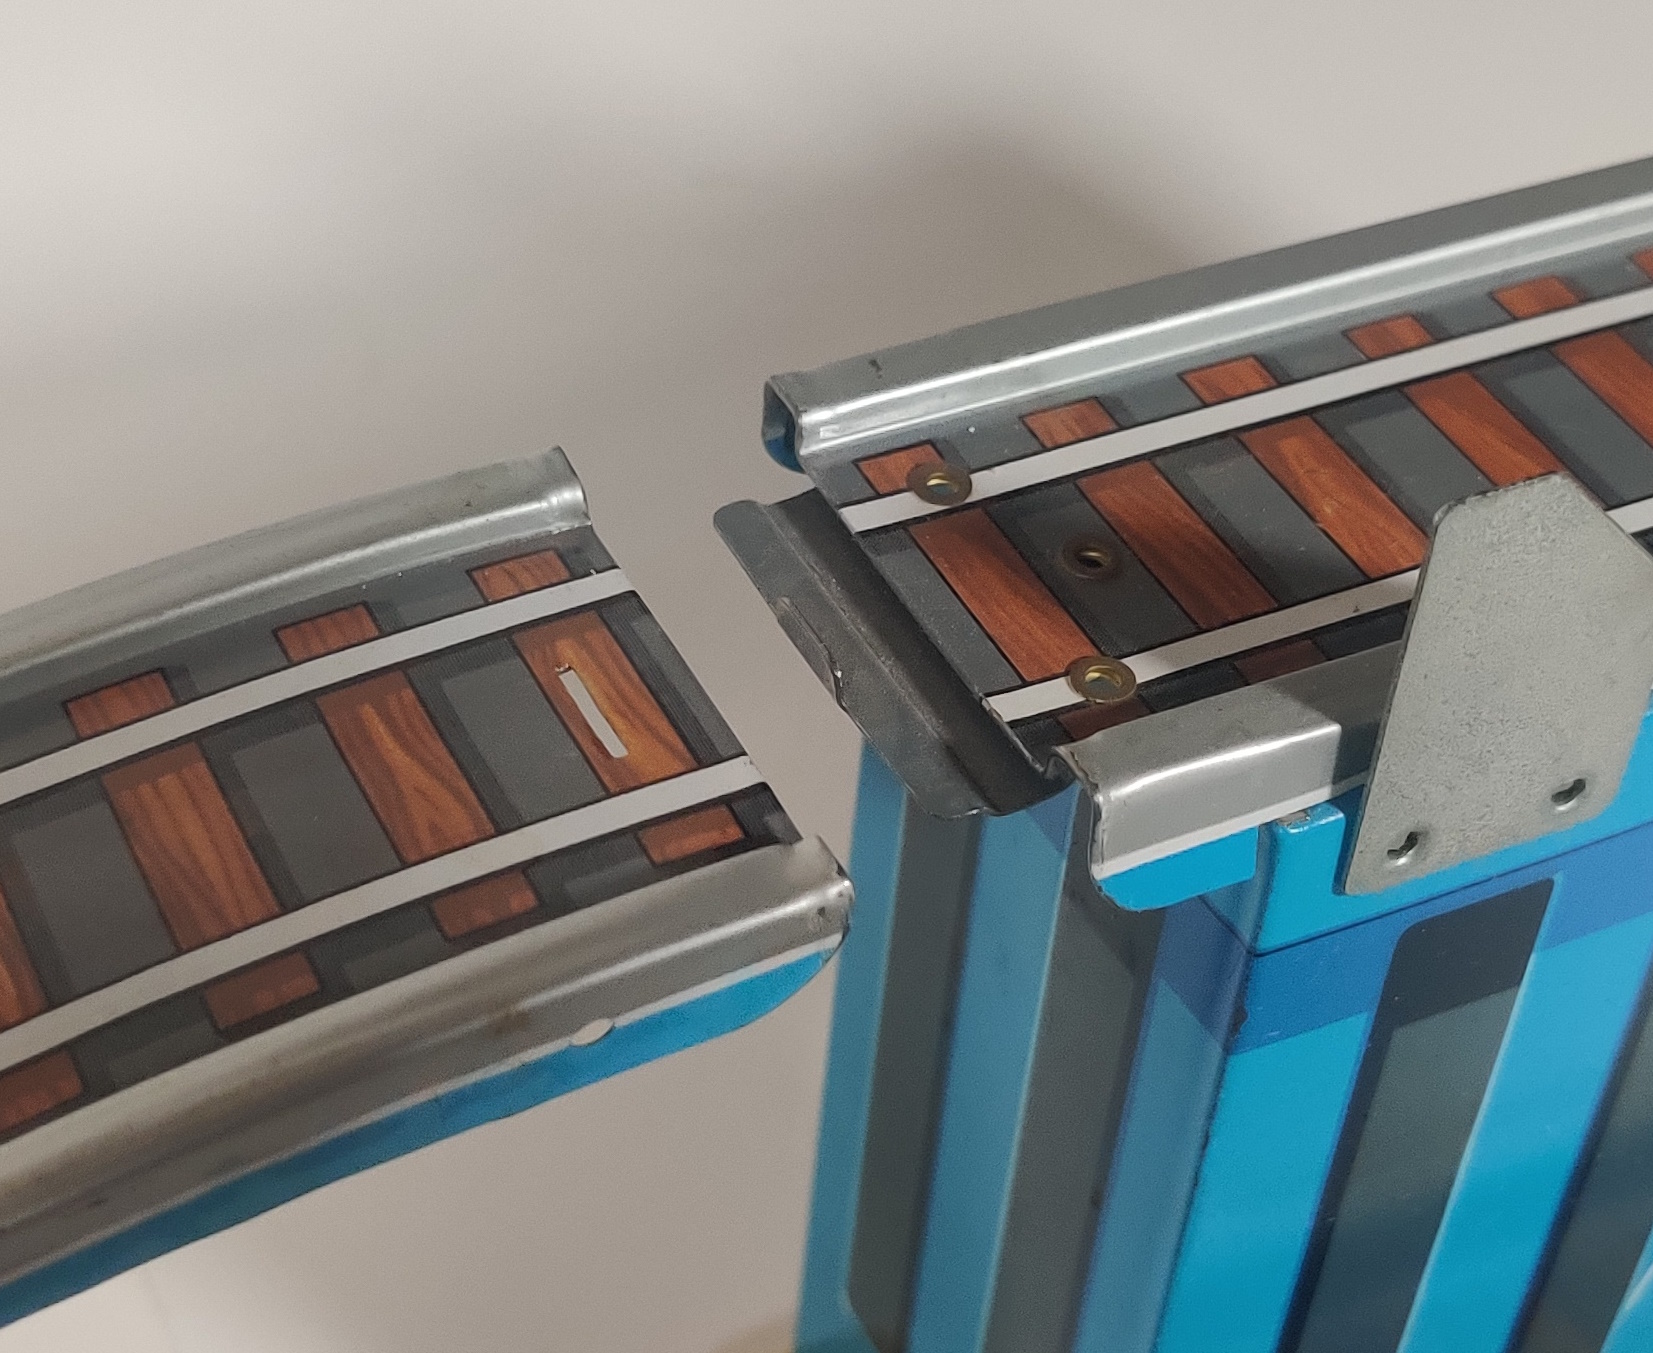
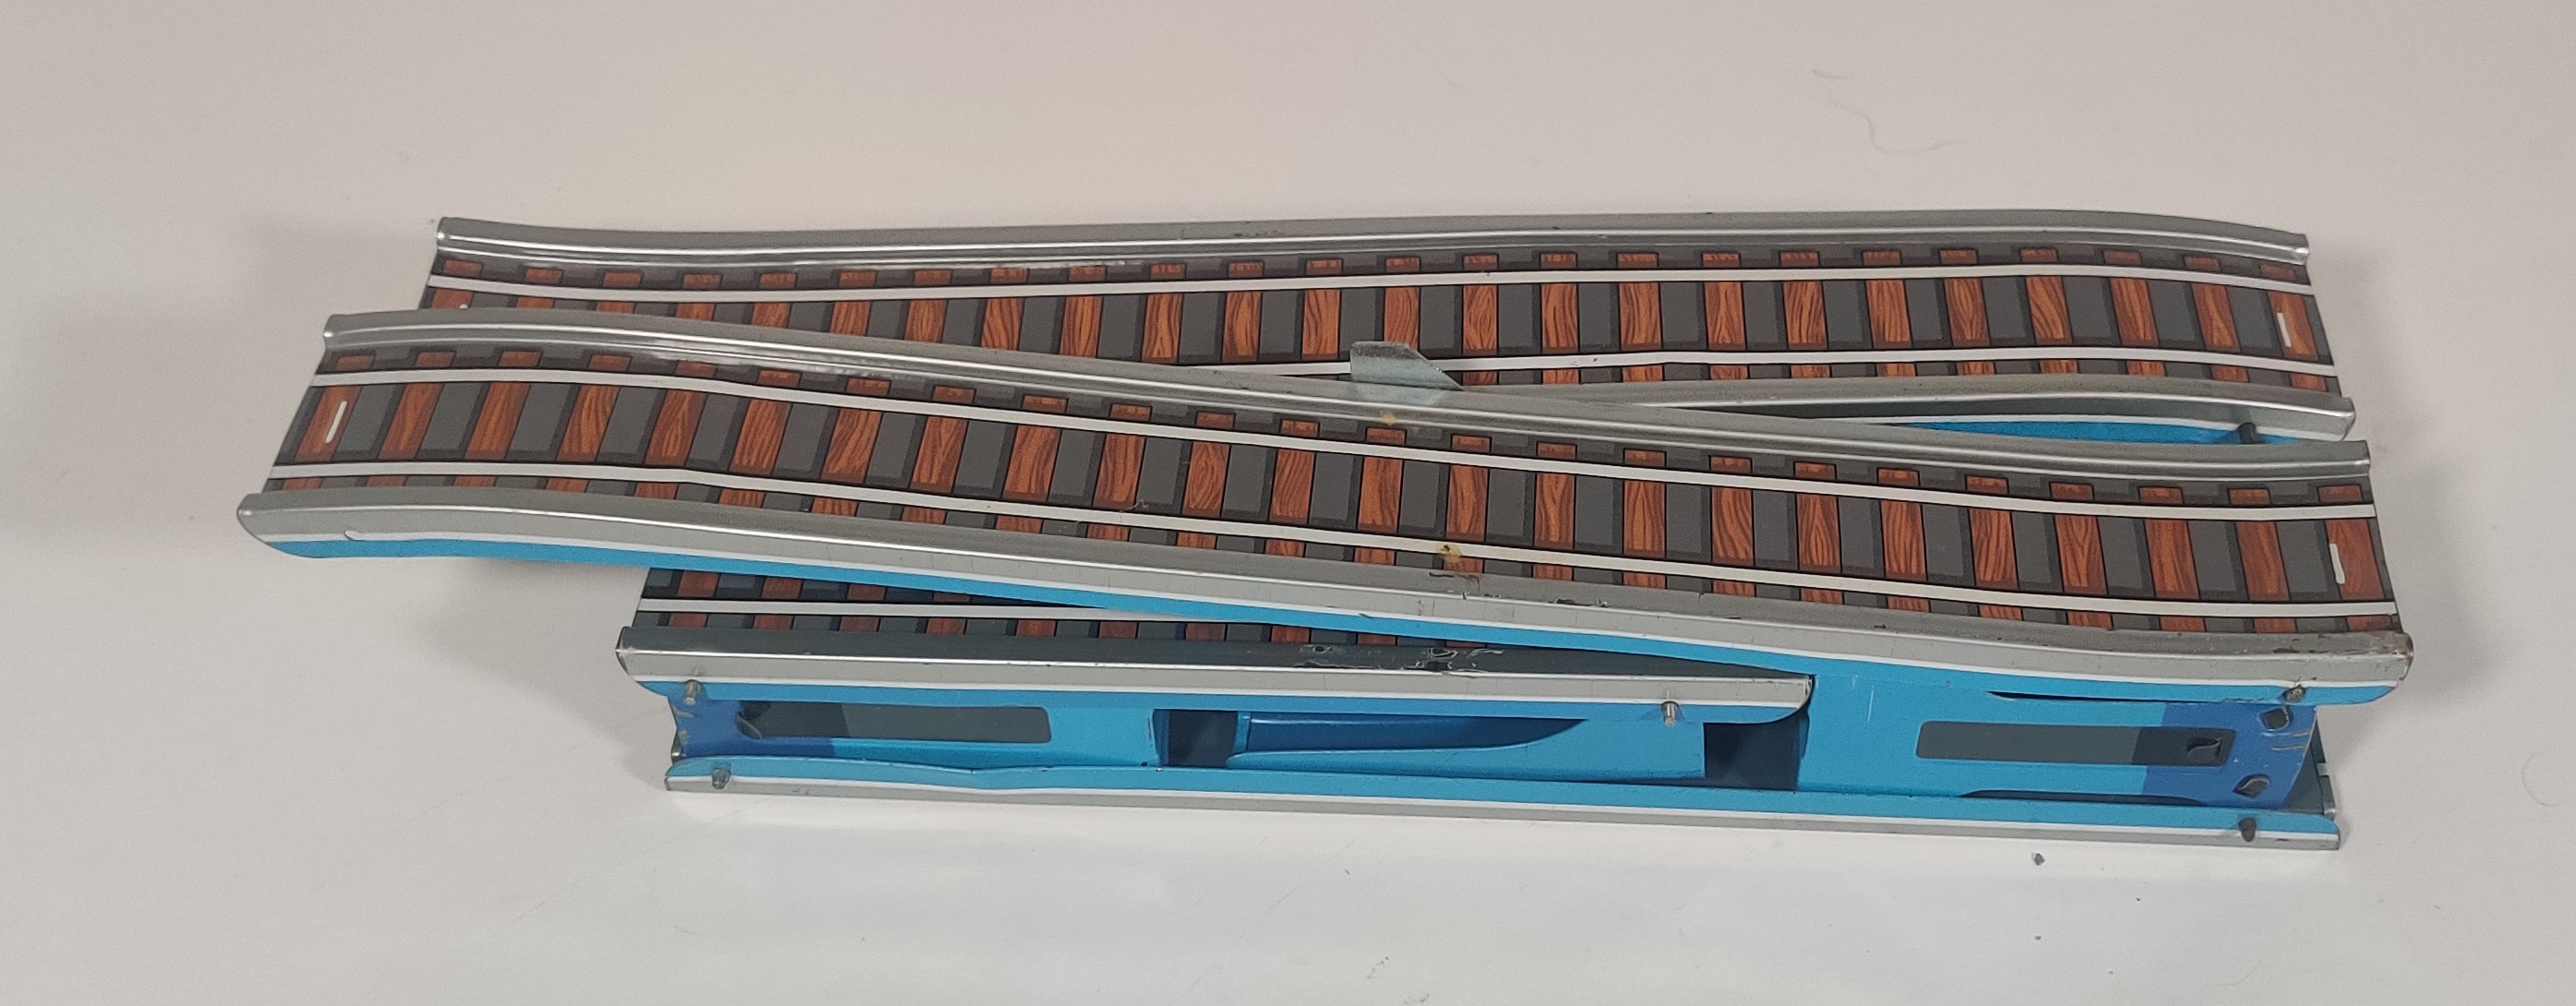
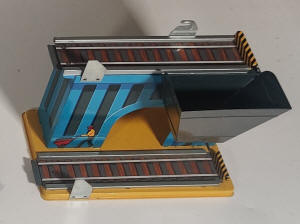
The track section disconnects from the chute and folds up into a compact package and has a nice track pattern lithographed onto it. At the dead end a raised catch engages with the engine and reverses it.
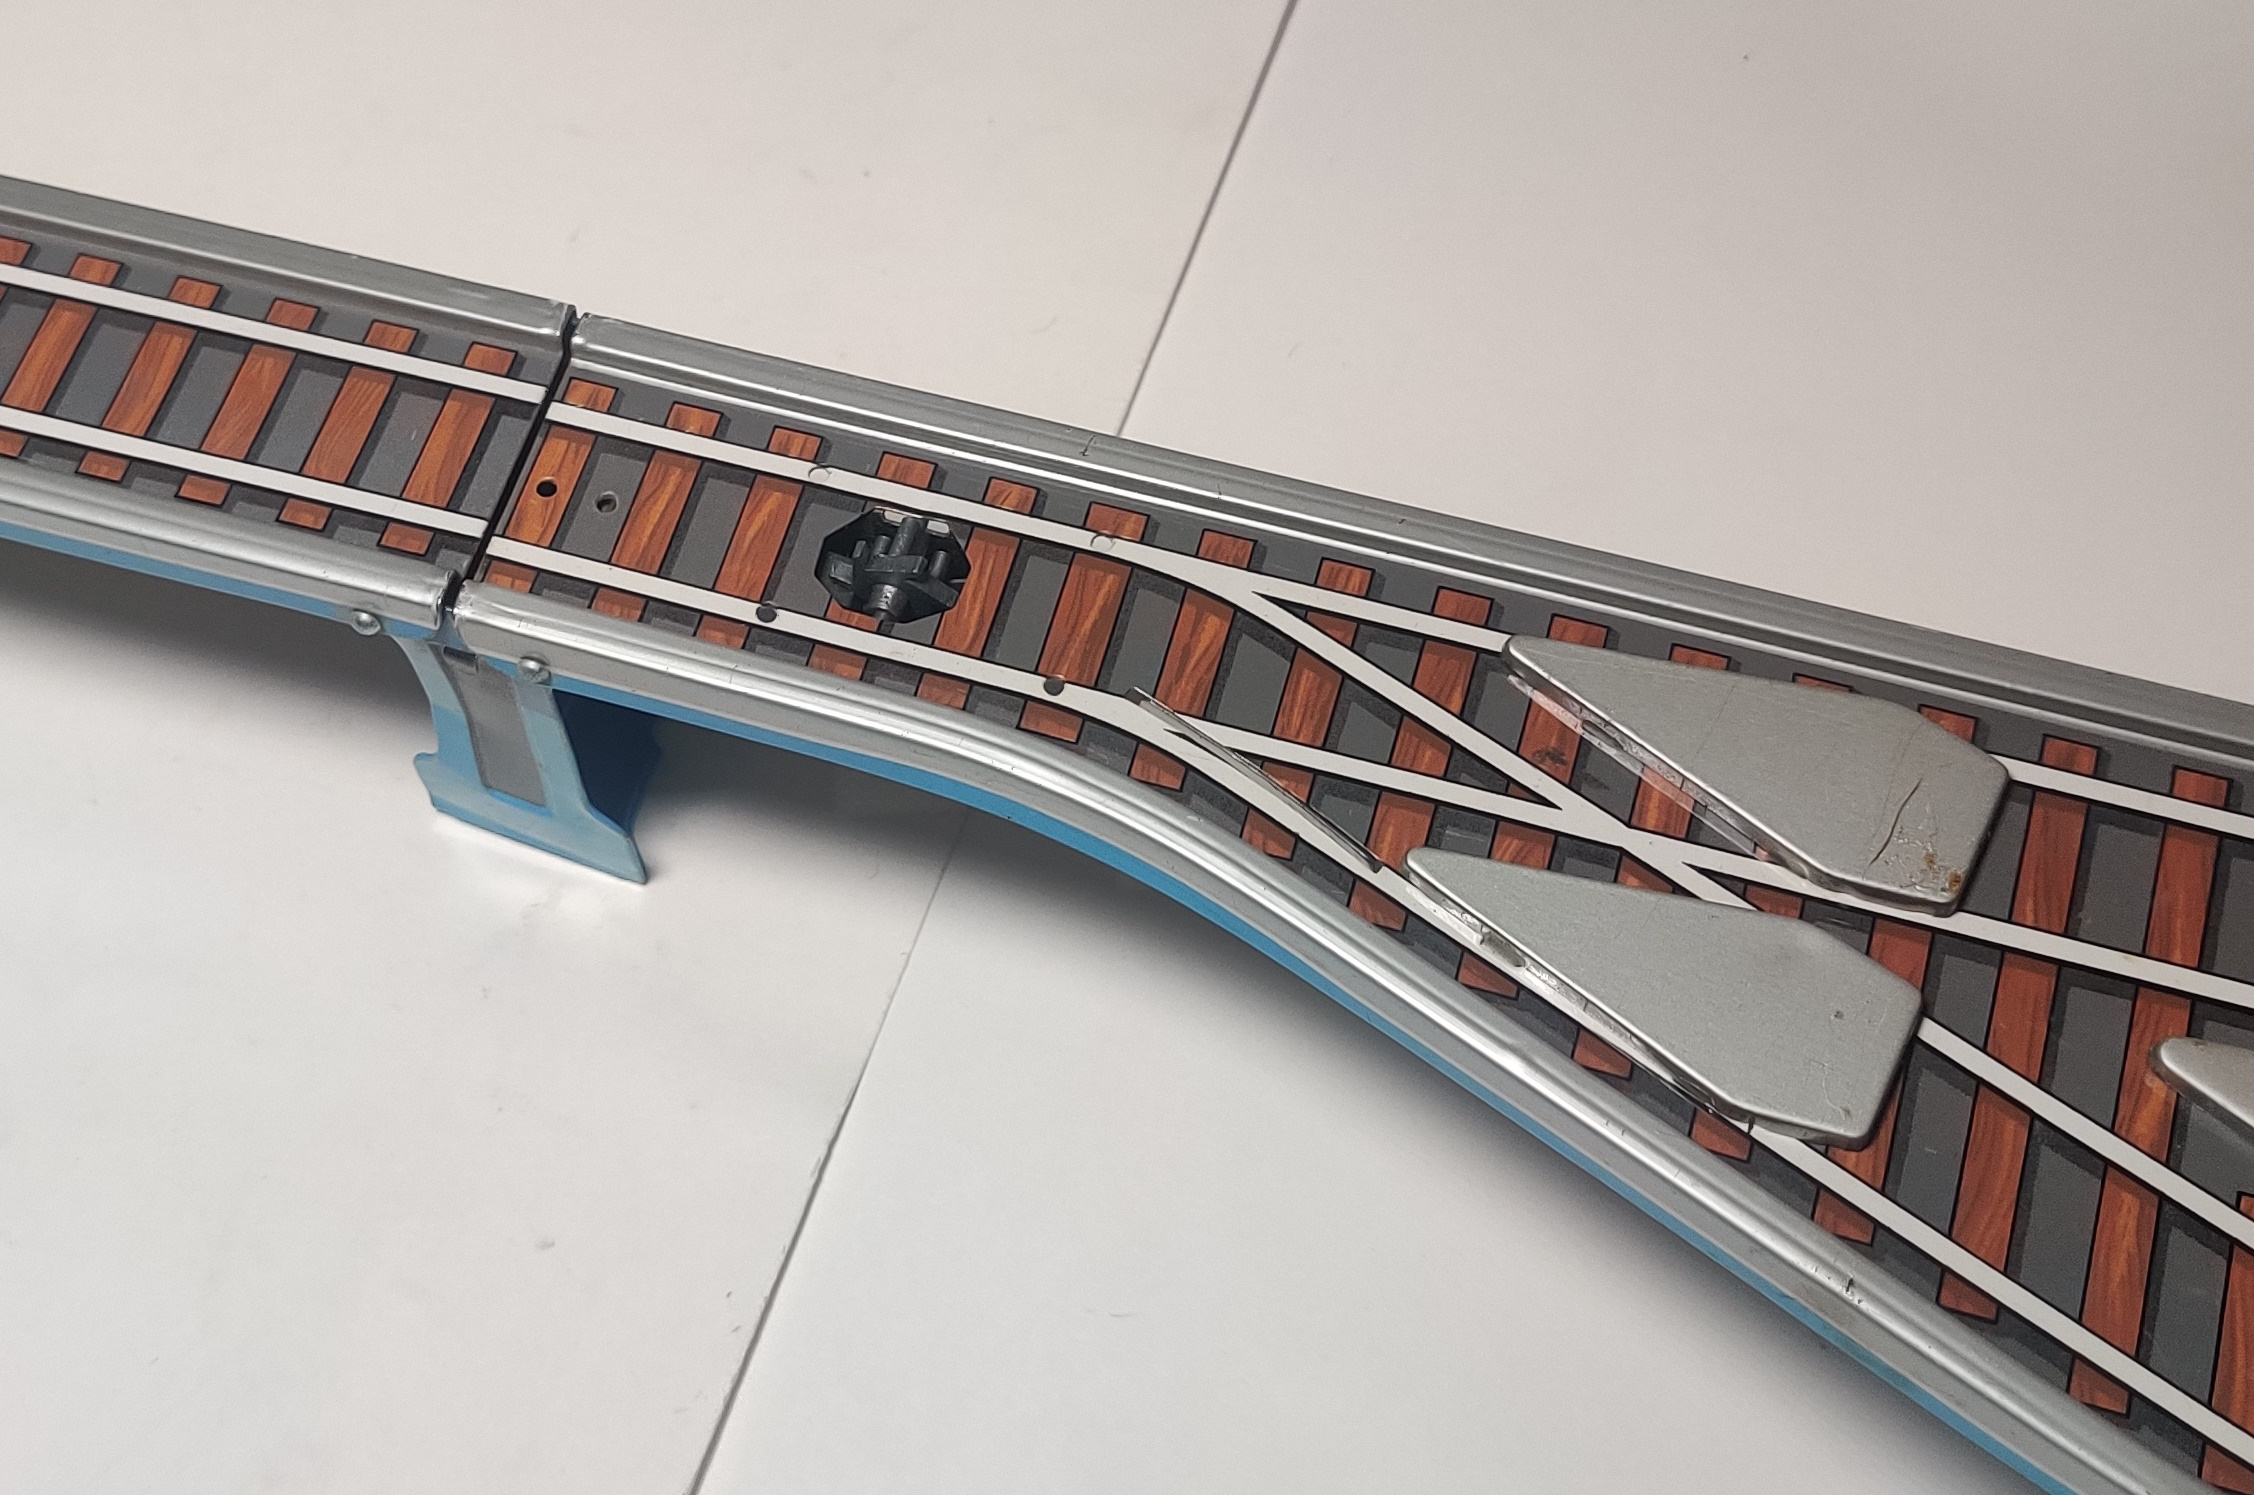
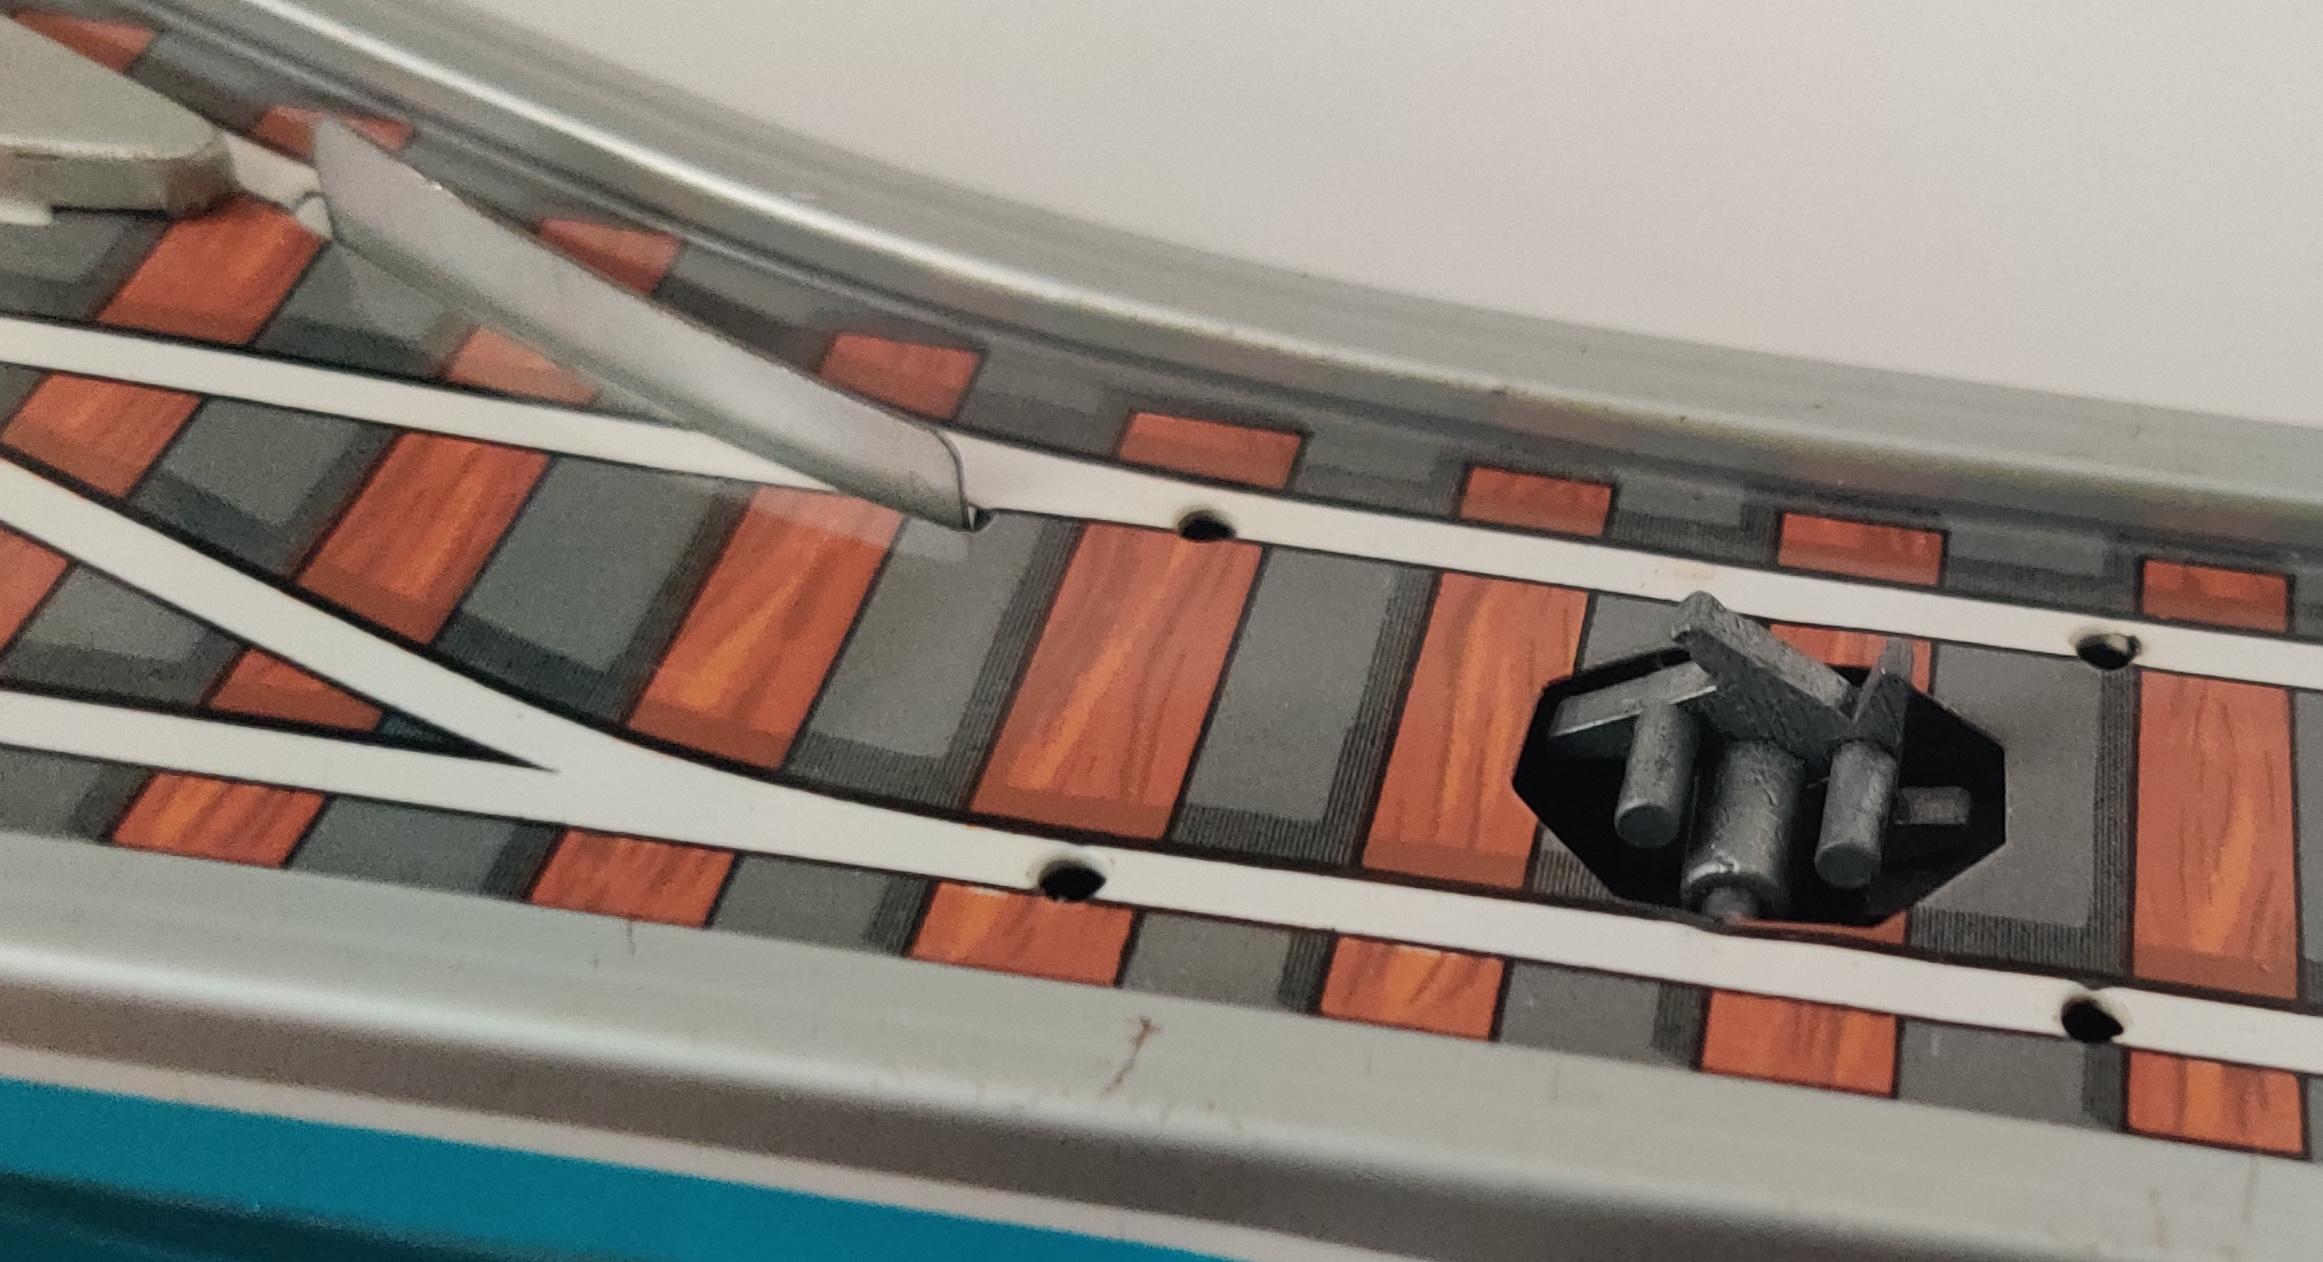

A spring-loaded ratcheting catch mechanism in the switch raises and lowers the actual switching rail. The catch has six positions with three pegs present to raise the deflecting rail in every other position. As the dumper car passes the switch in reverse it engages with the catch and moves it a sixth of a turn to switch the deflector either up or down (whichever one it previously wasn't) to send the train off in the other direction when the engine hits the reverser soon after.
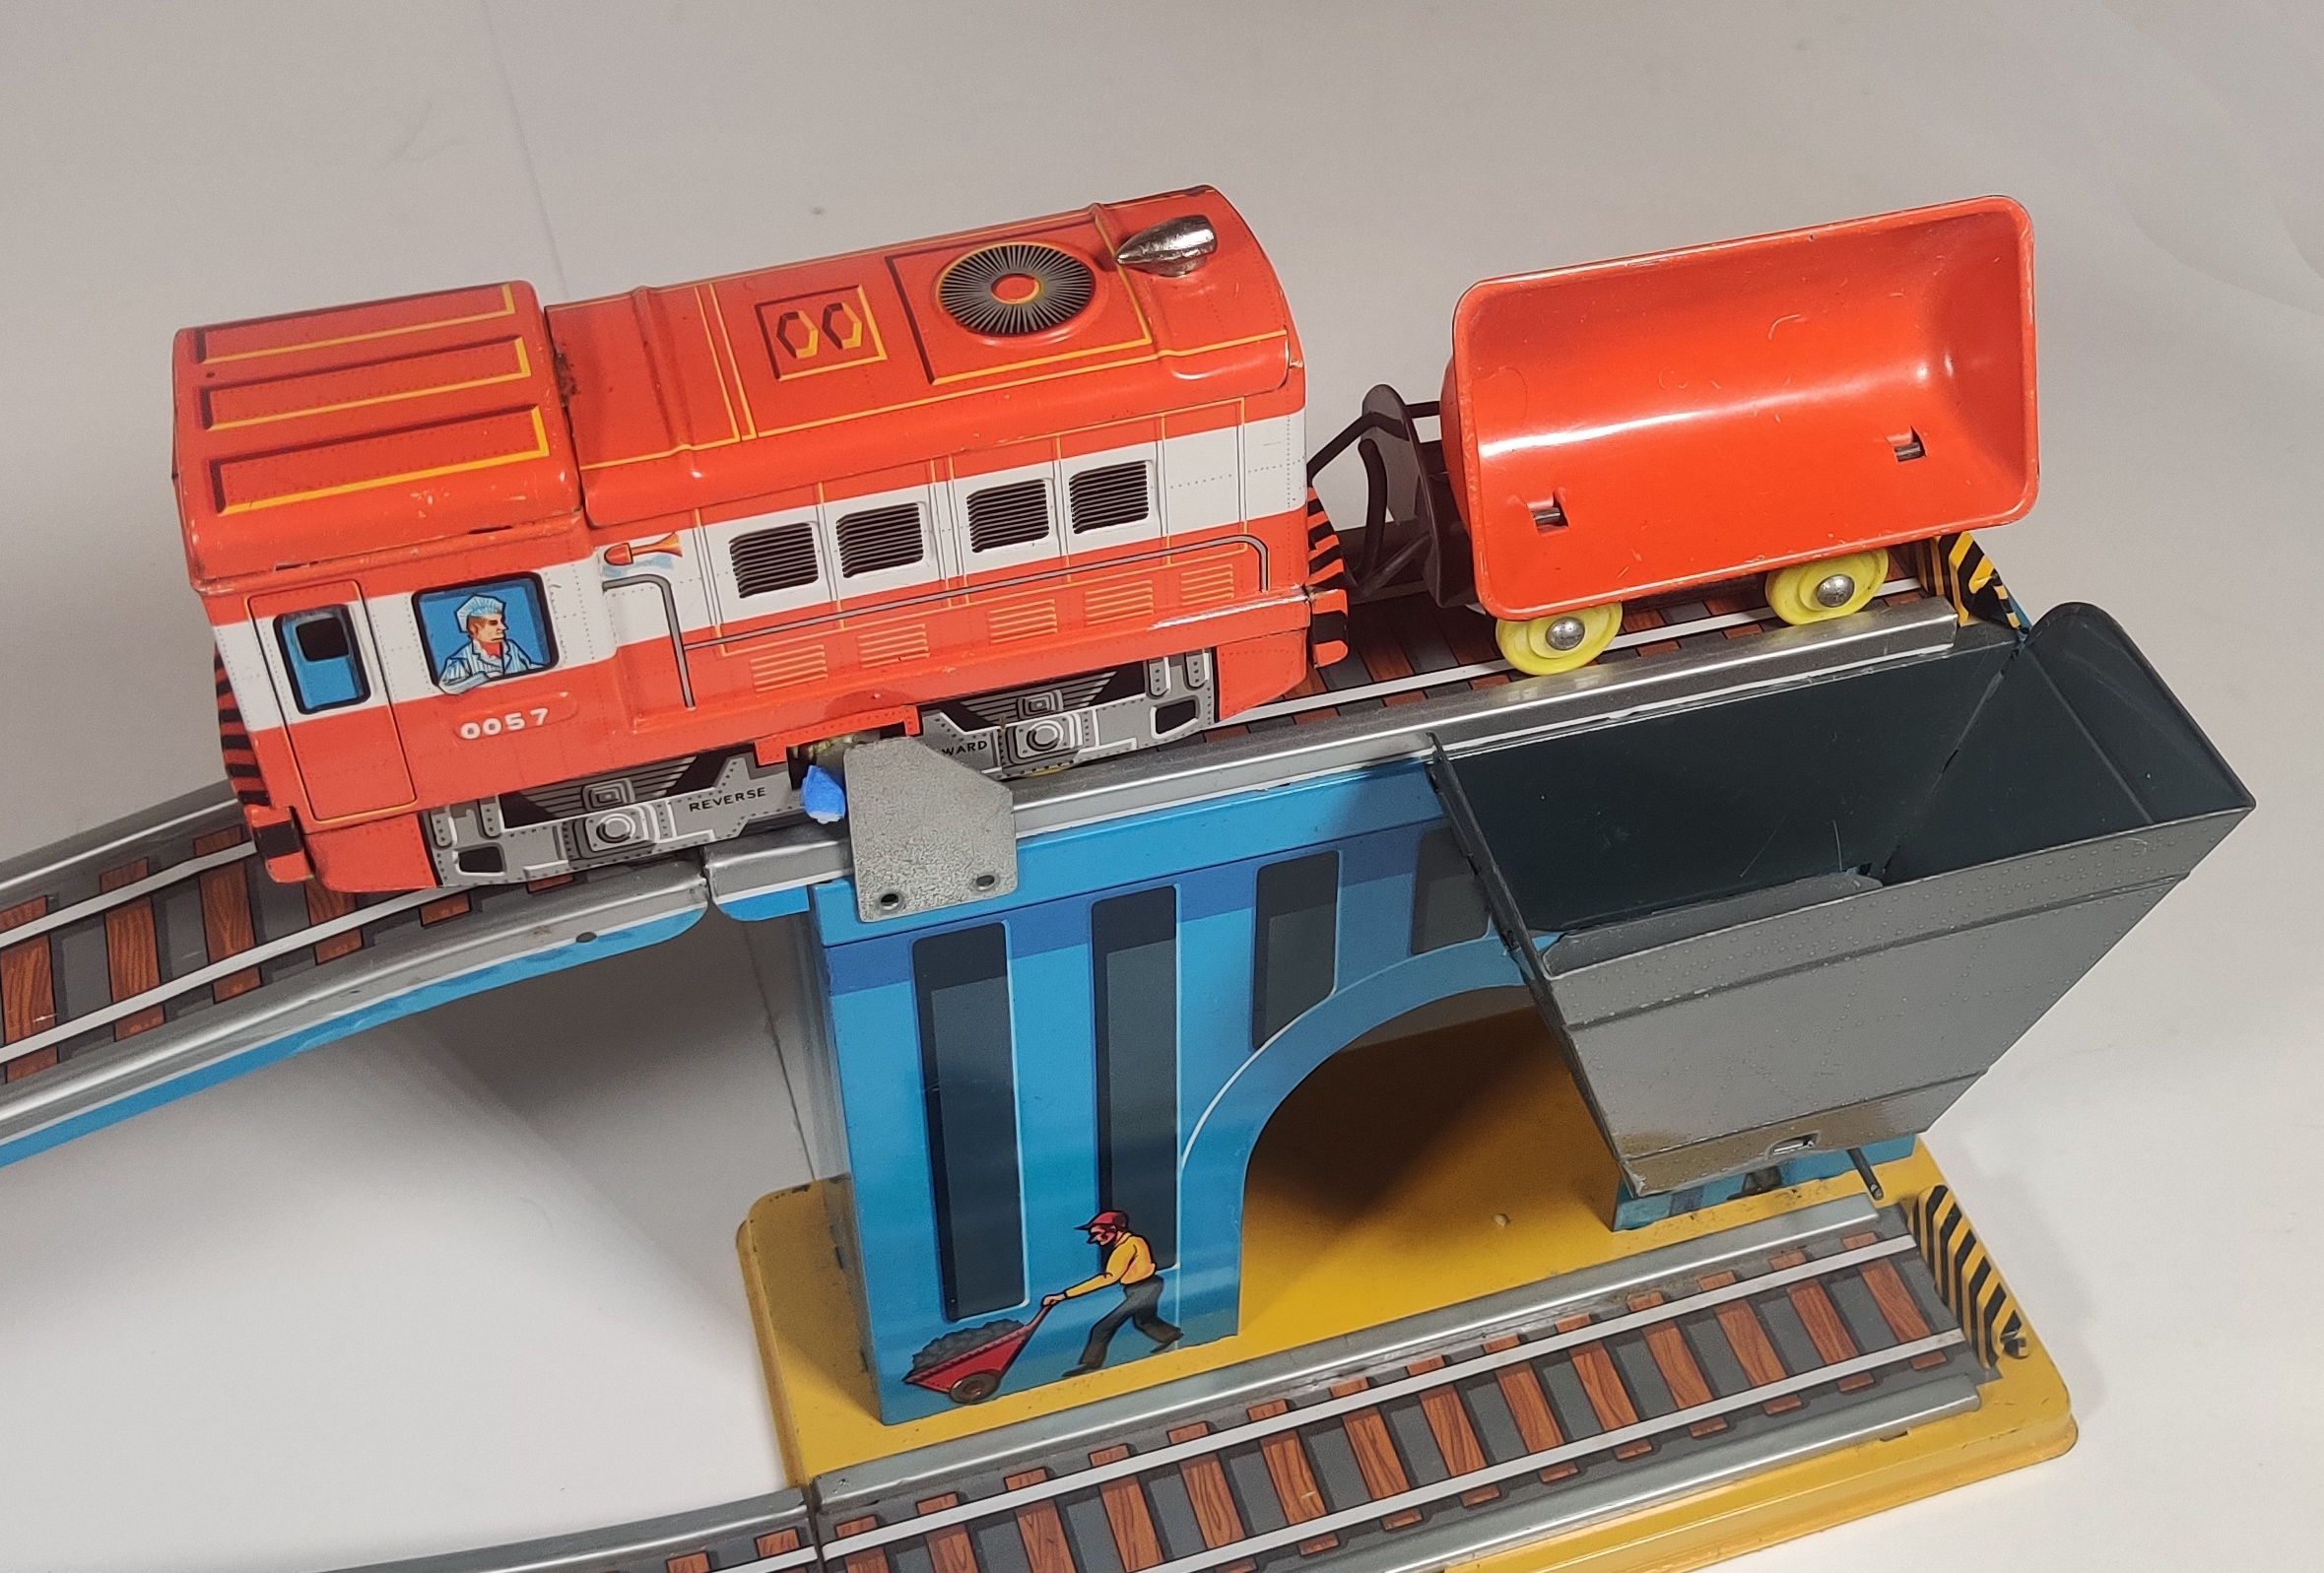
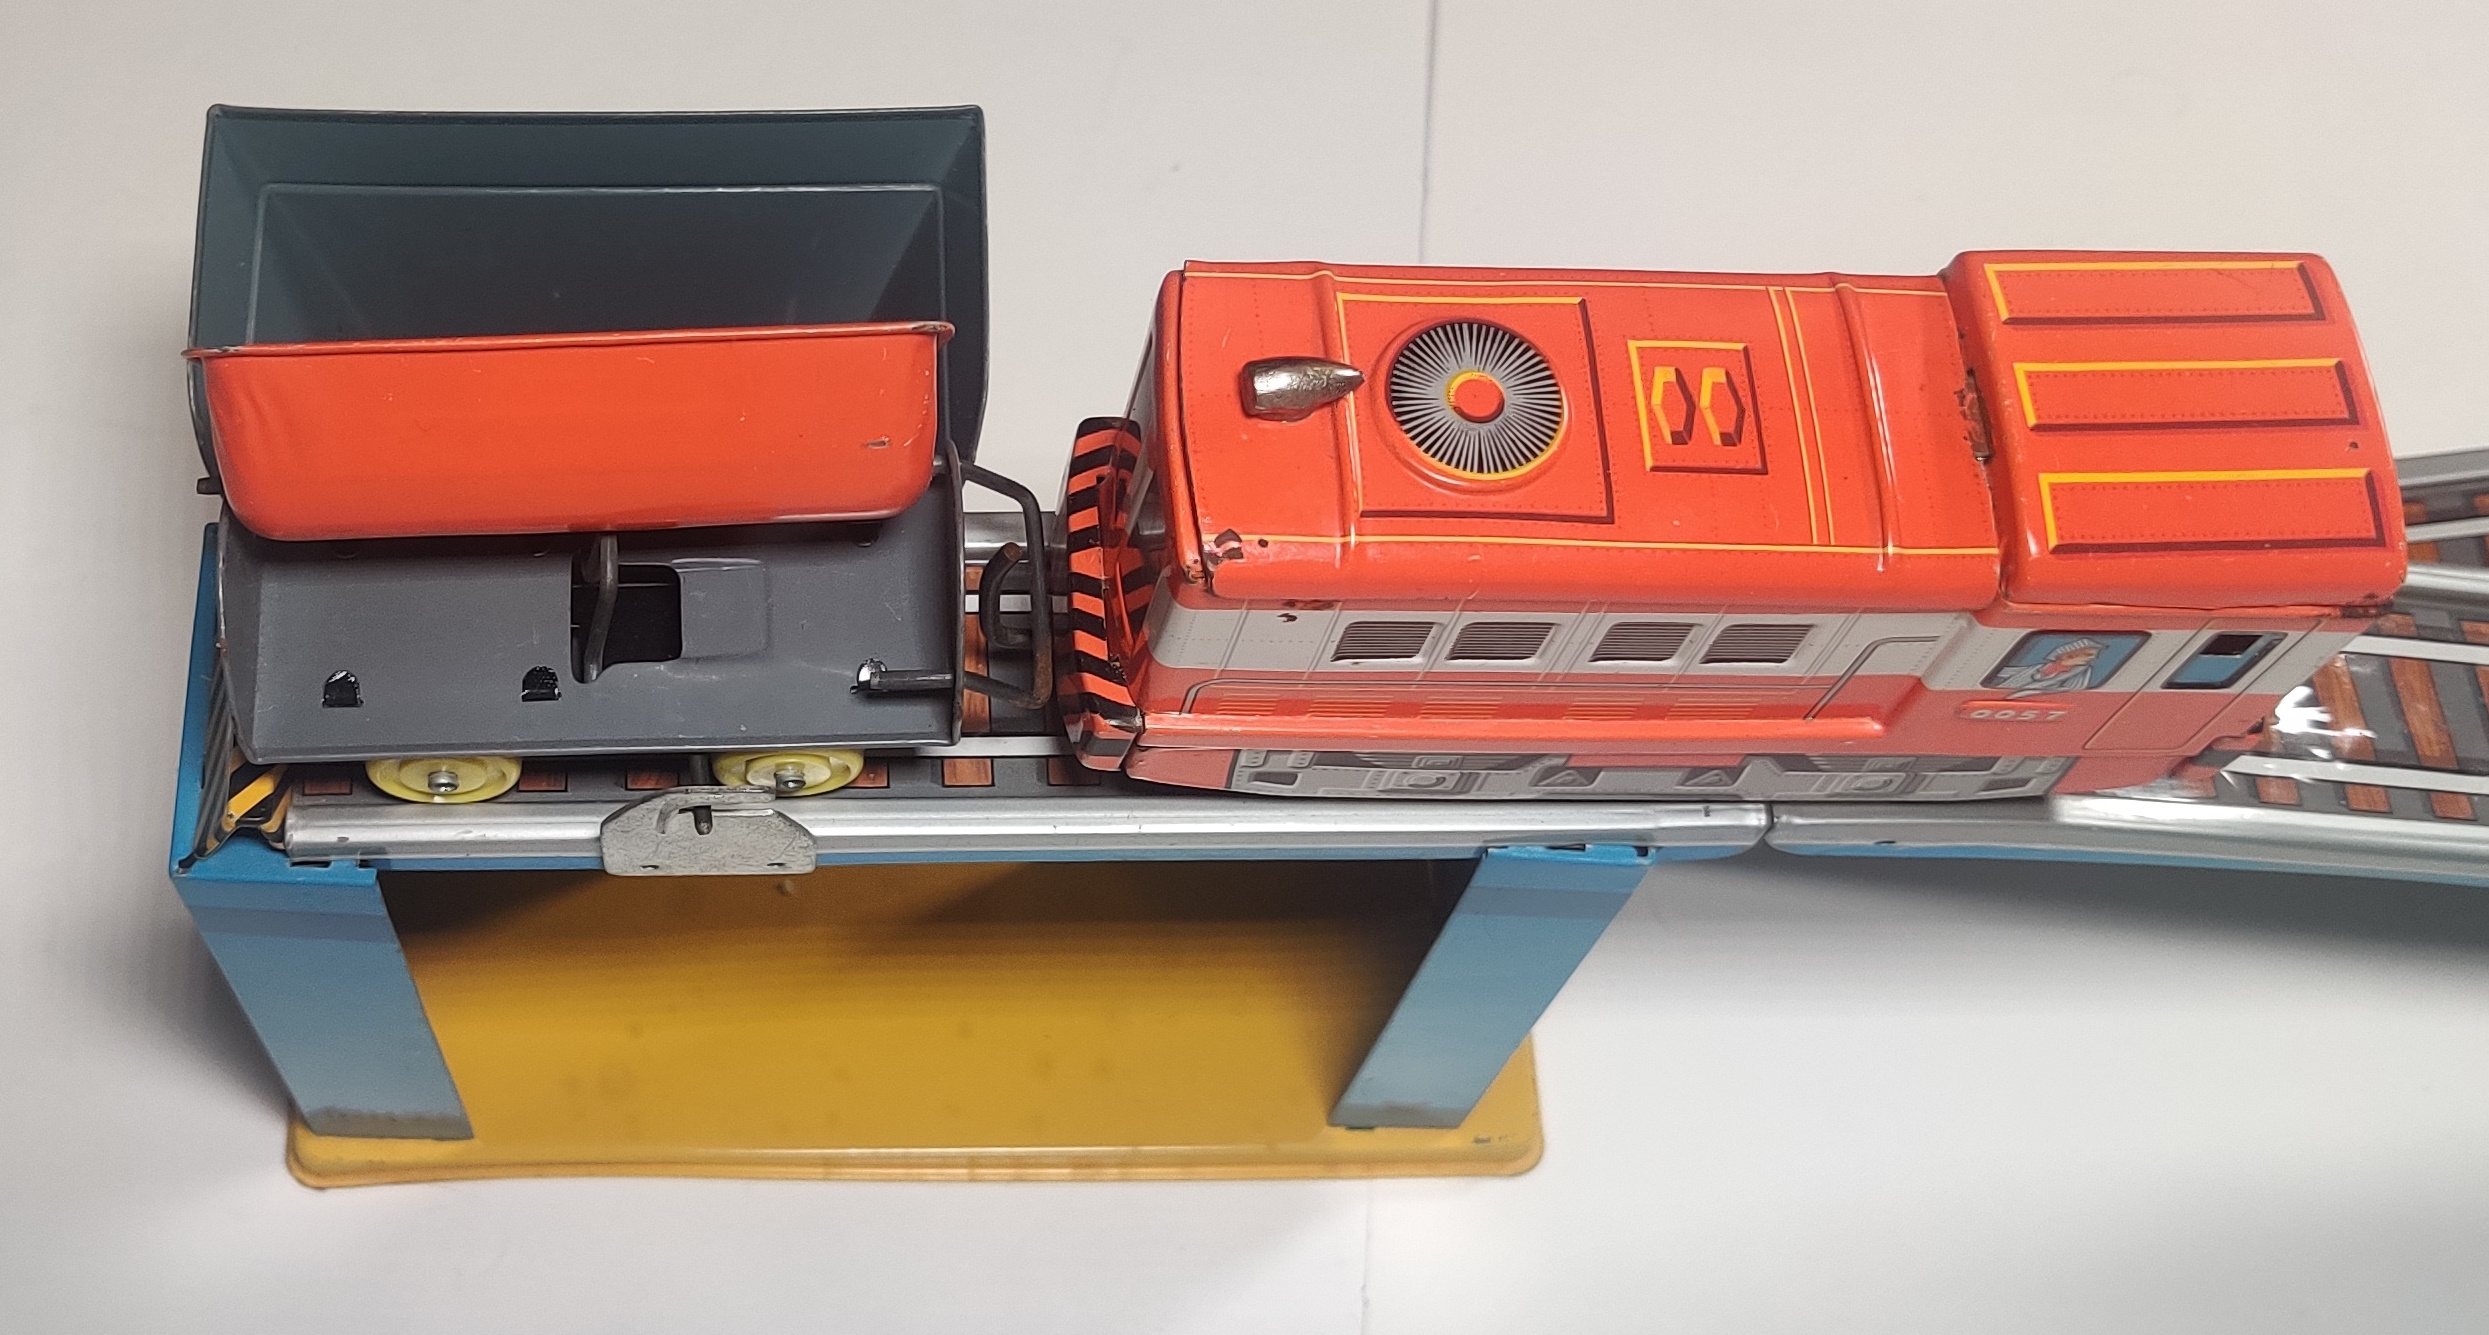
When the train reaches the top of the chute the dumper's switch engages with a metal catch sticking up on the rear side and tips the coal into the chute. Shortly after, the engine's directional switch hits a catch on the front of the chute and reverses the train back down the hill.
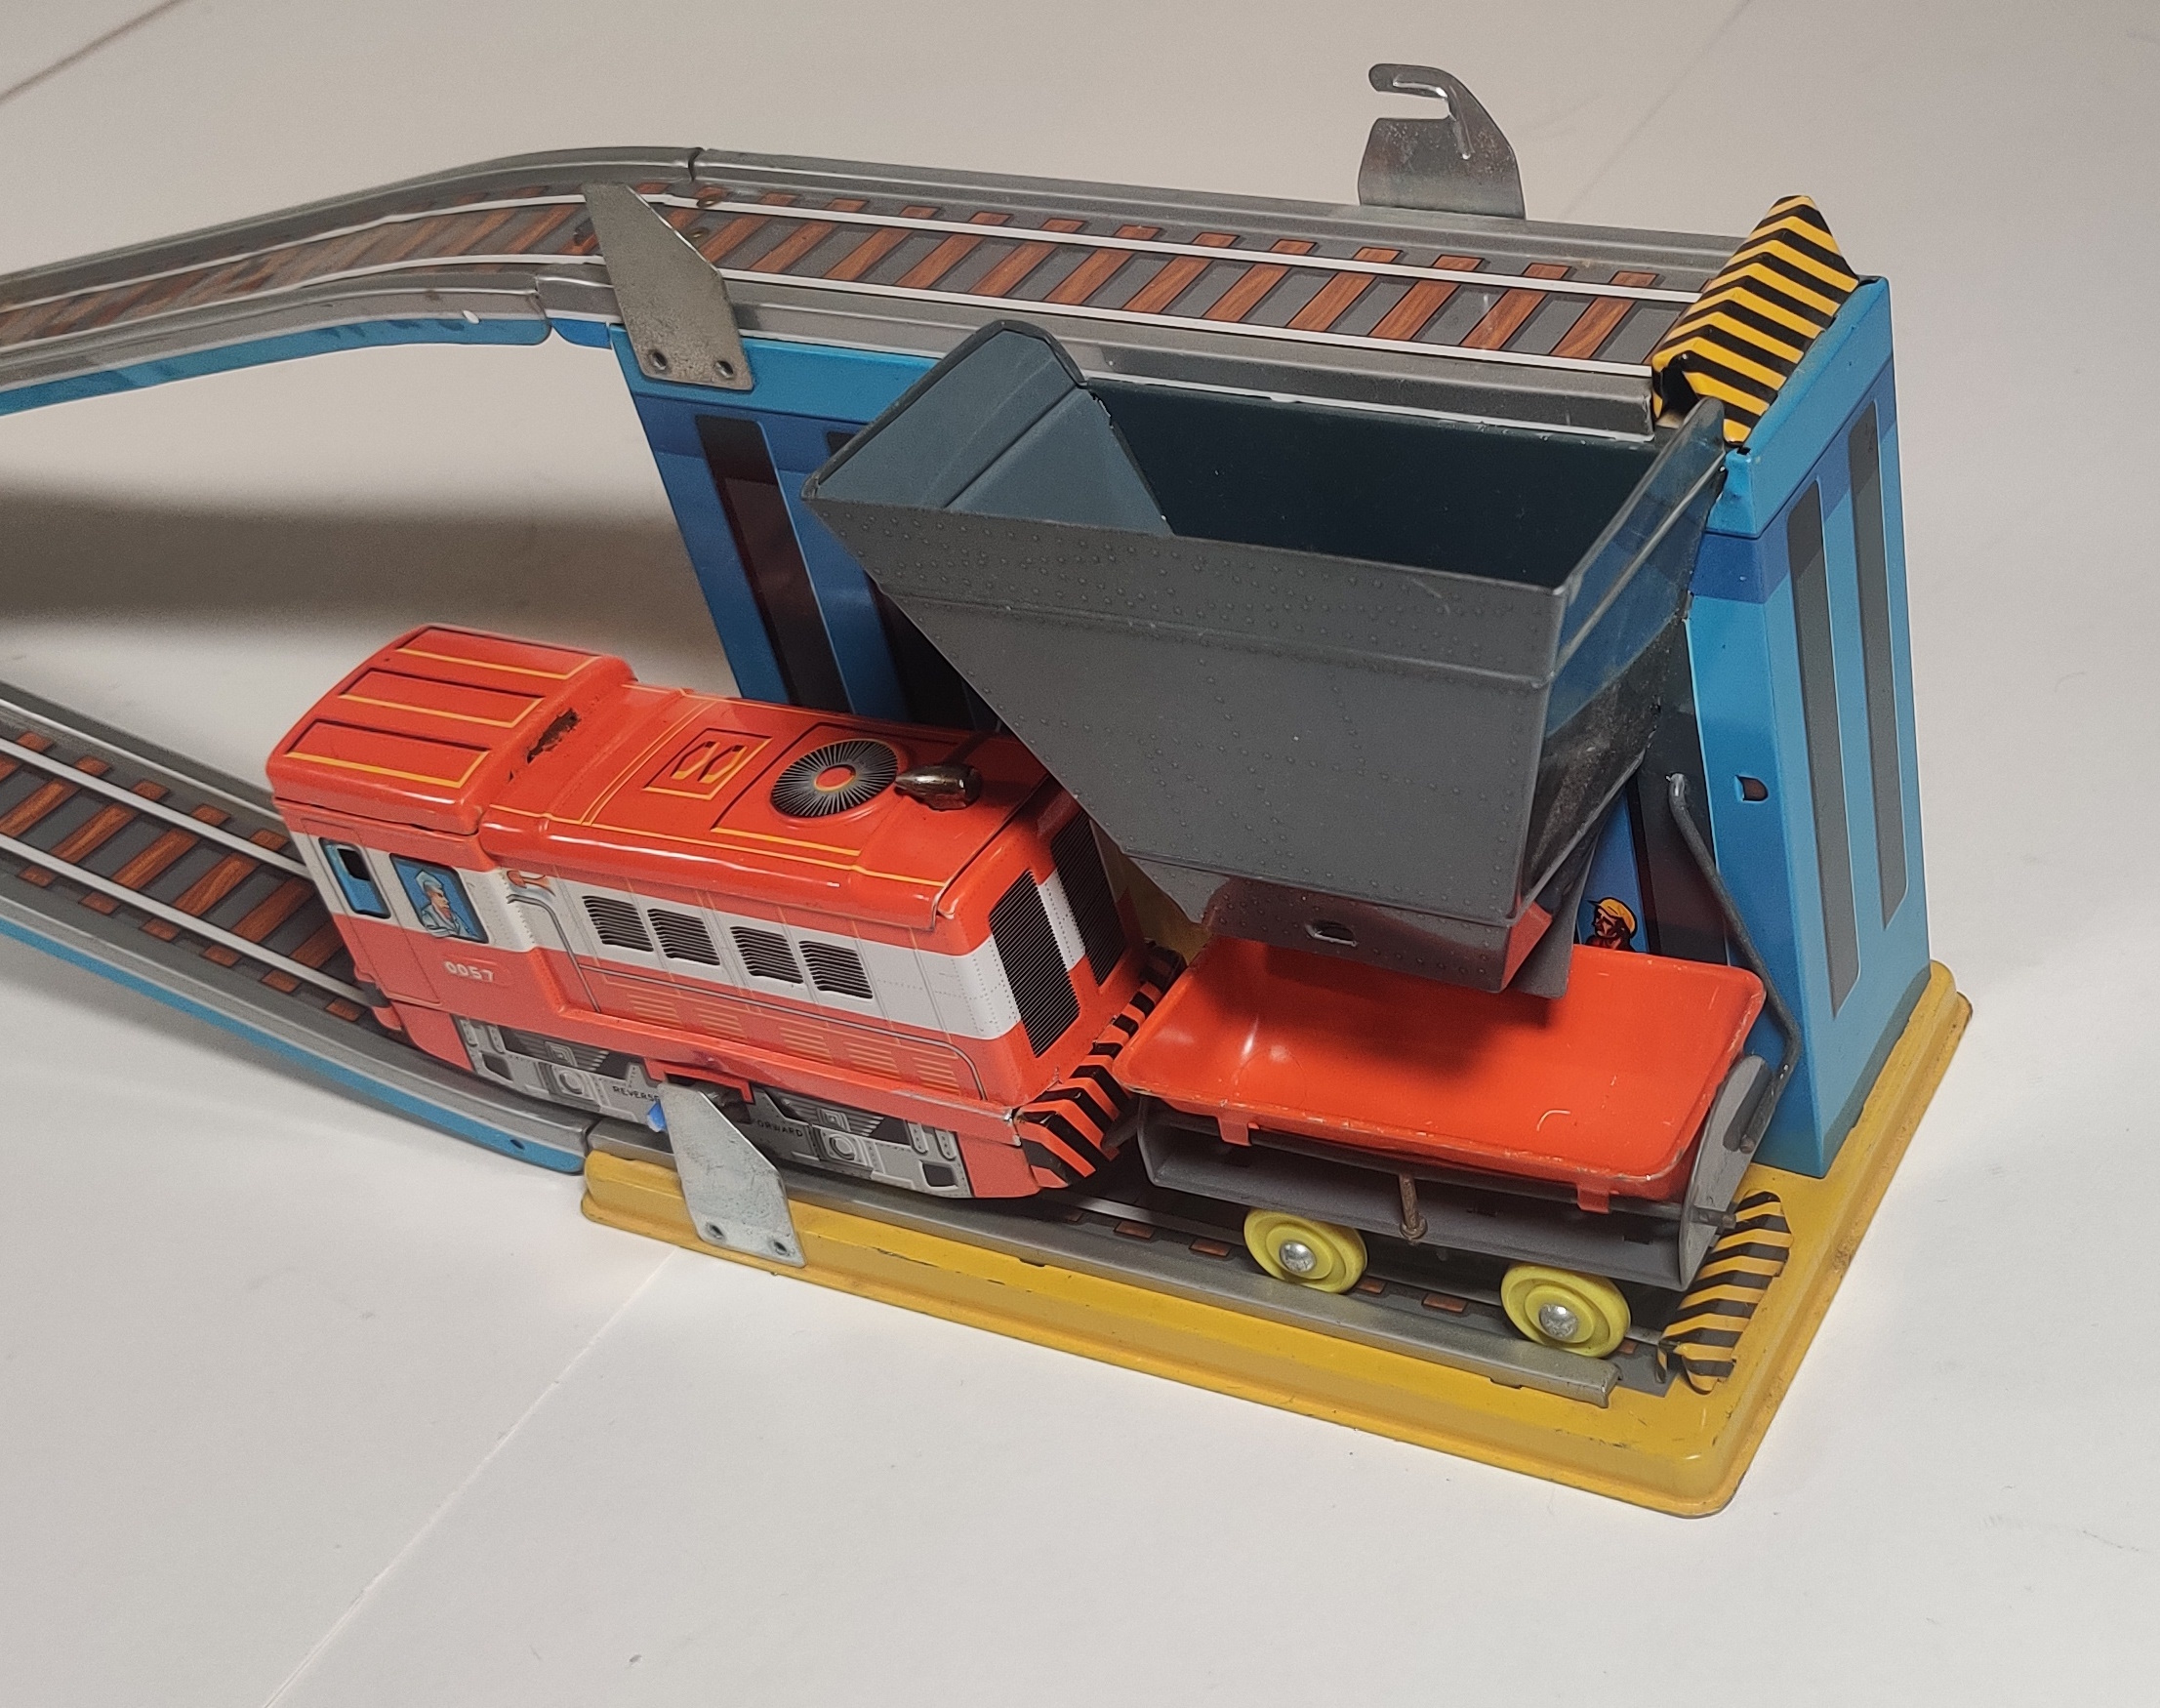
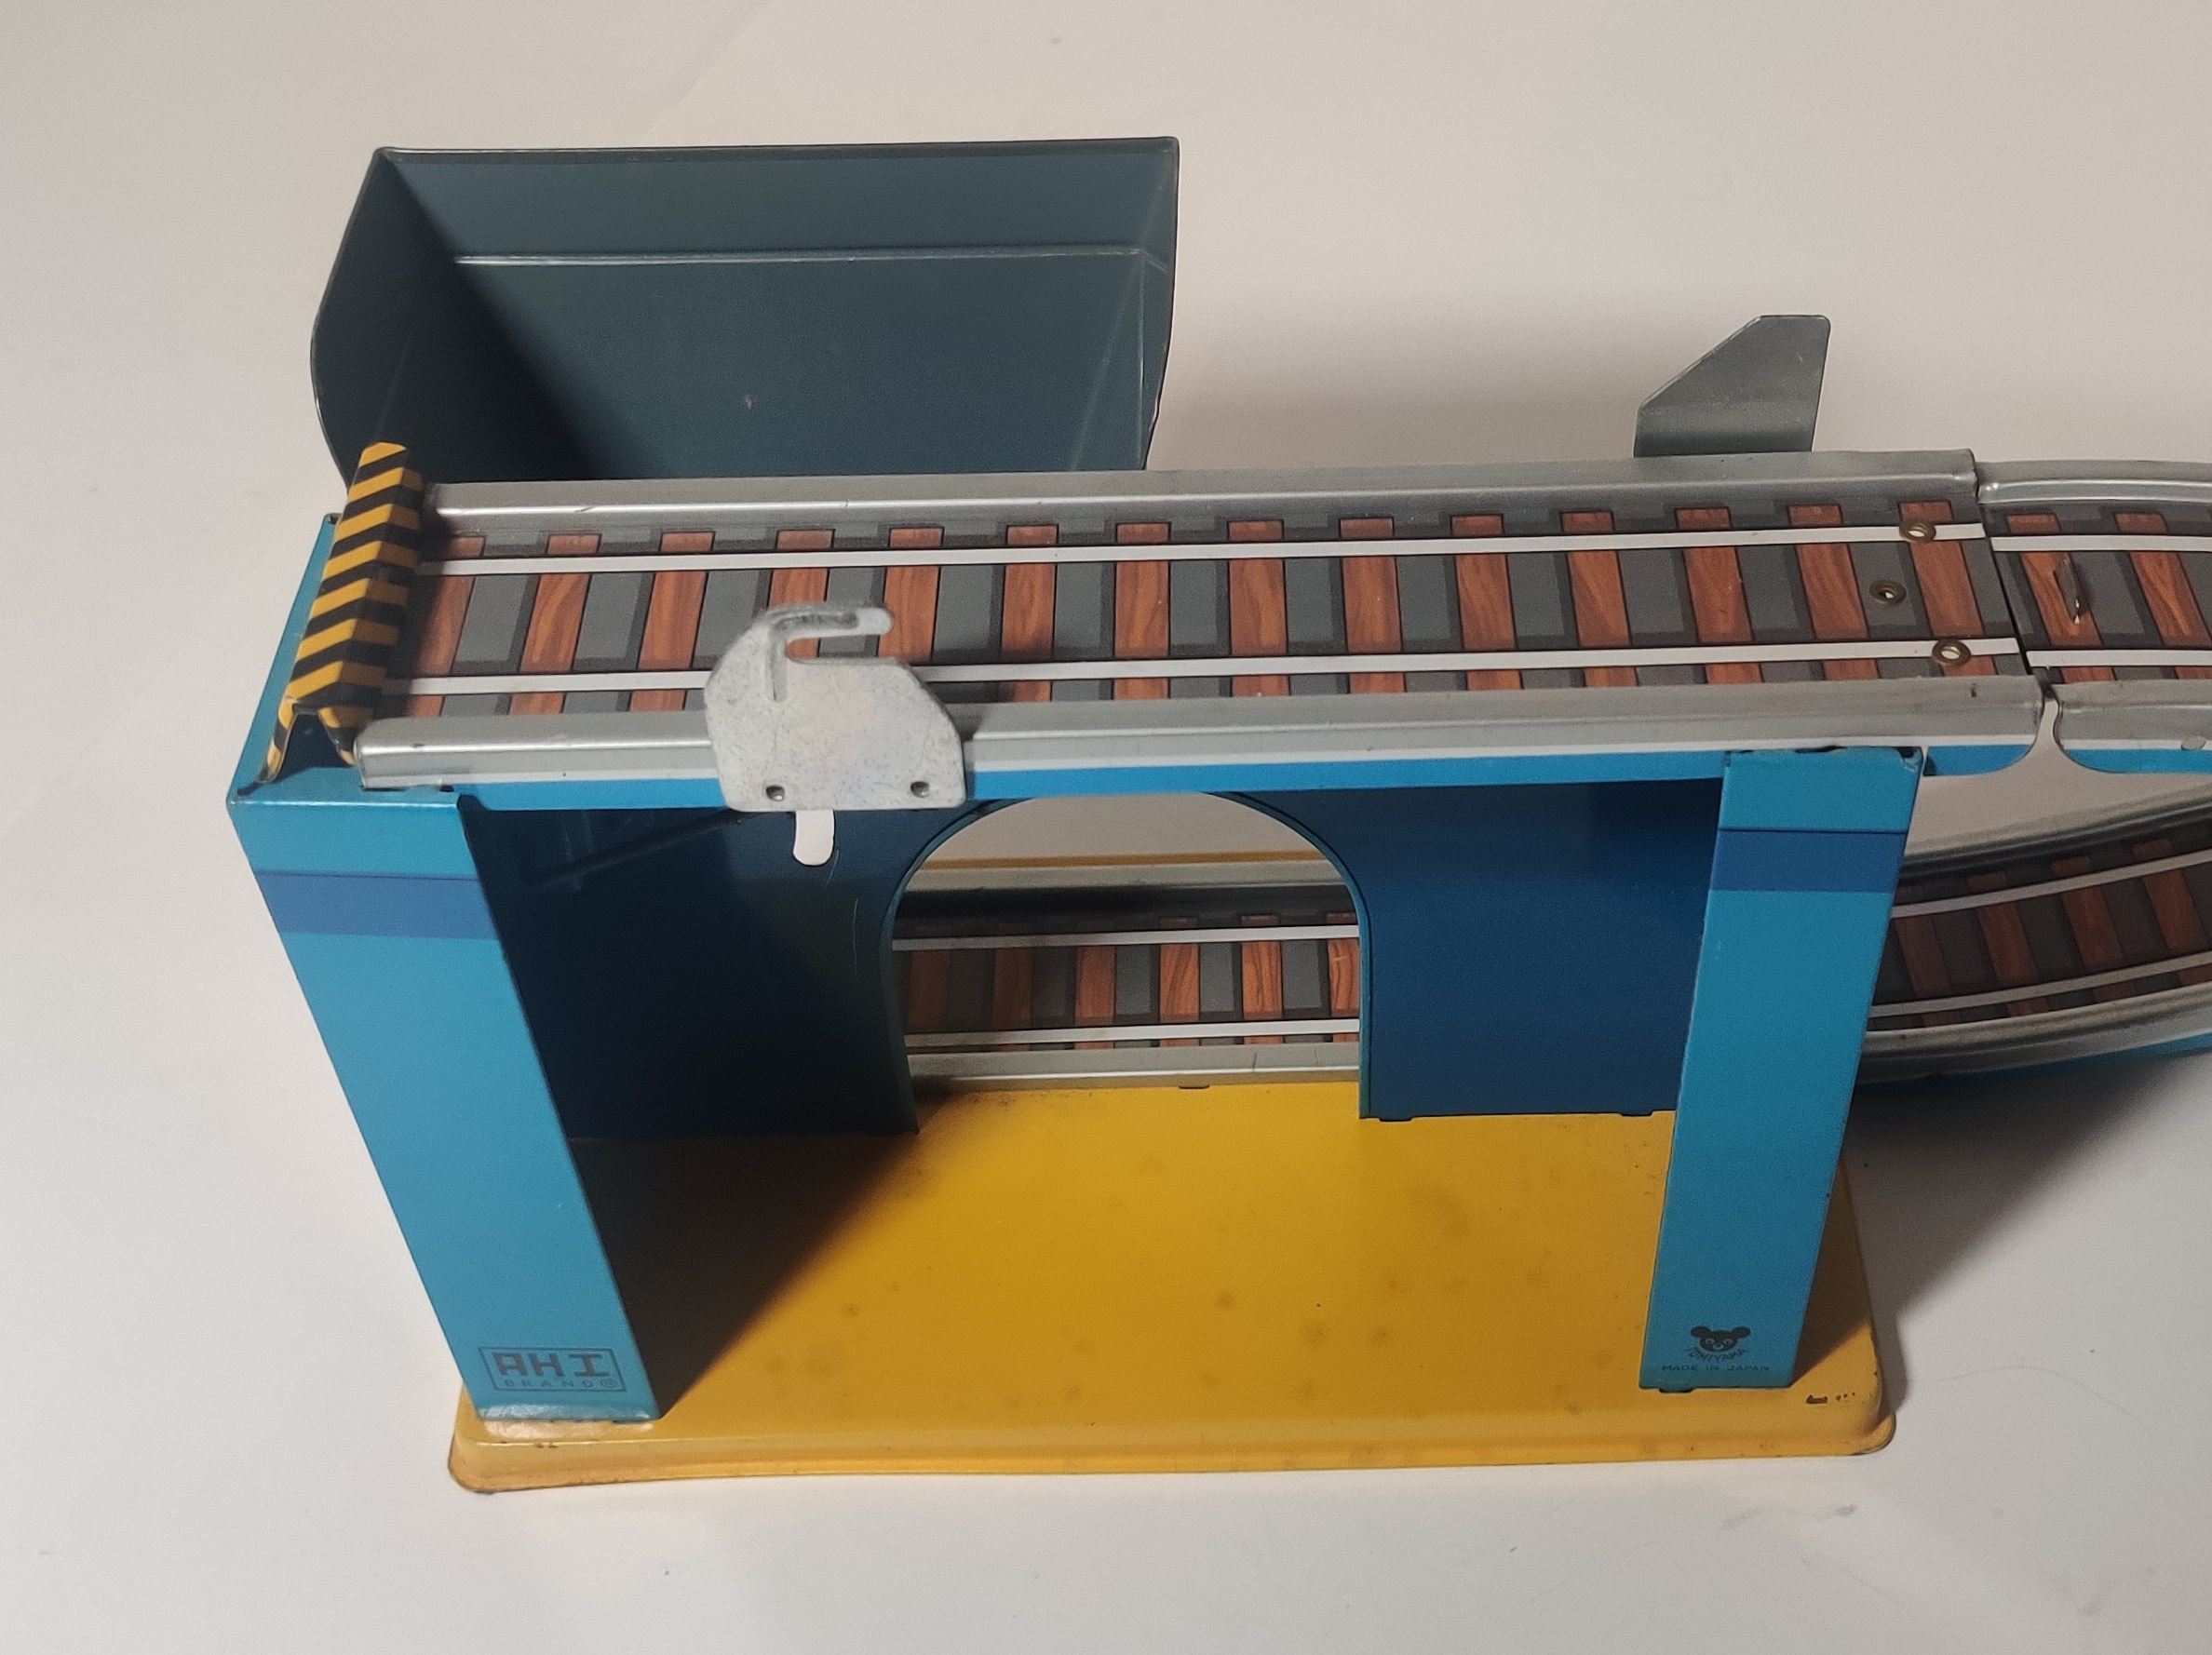
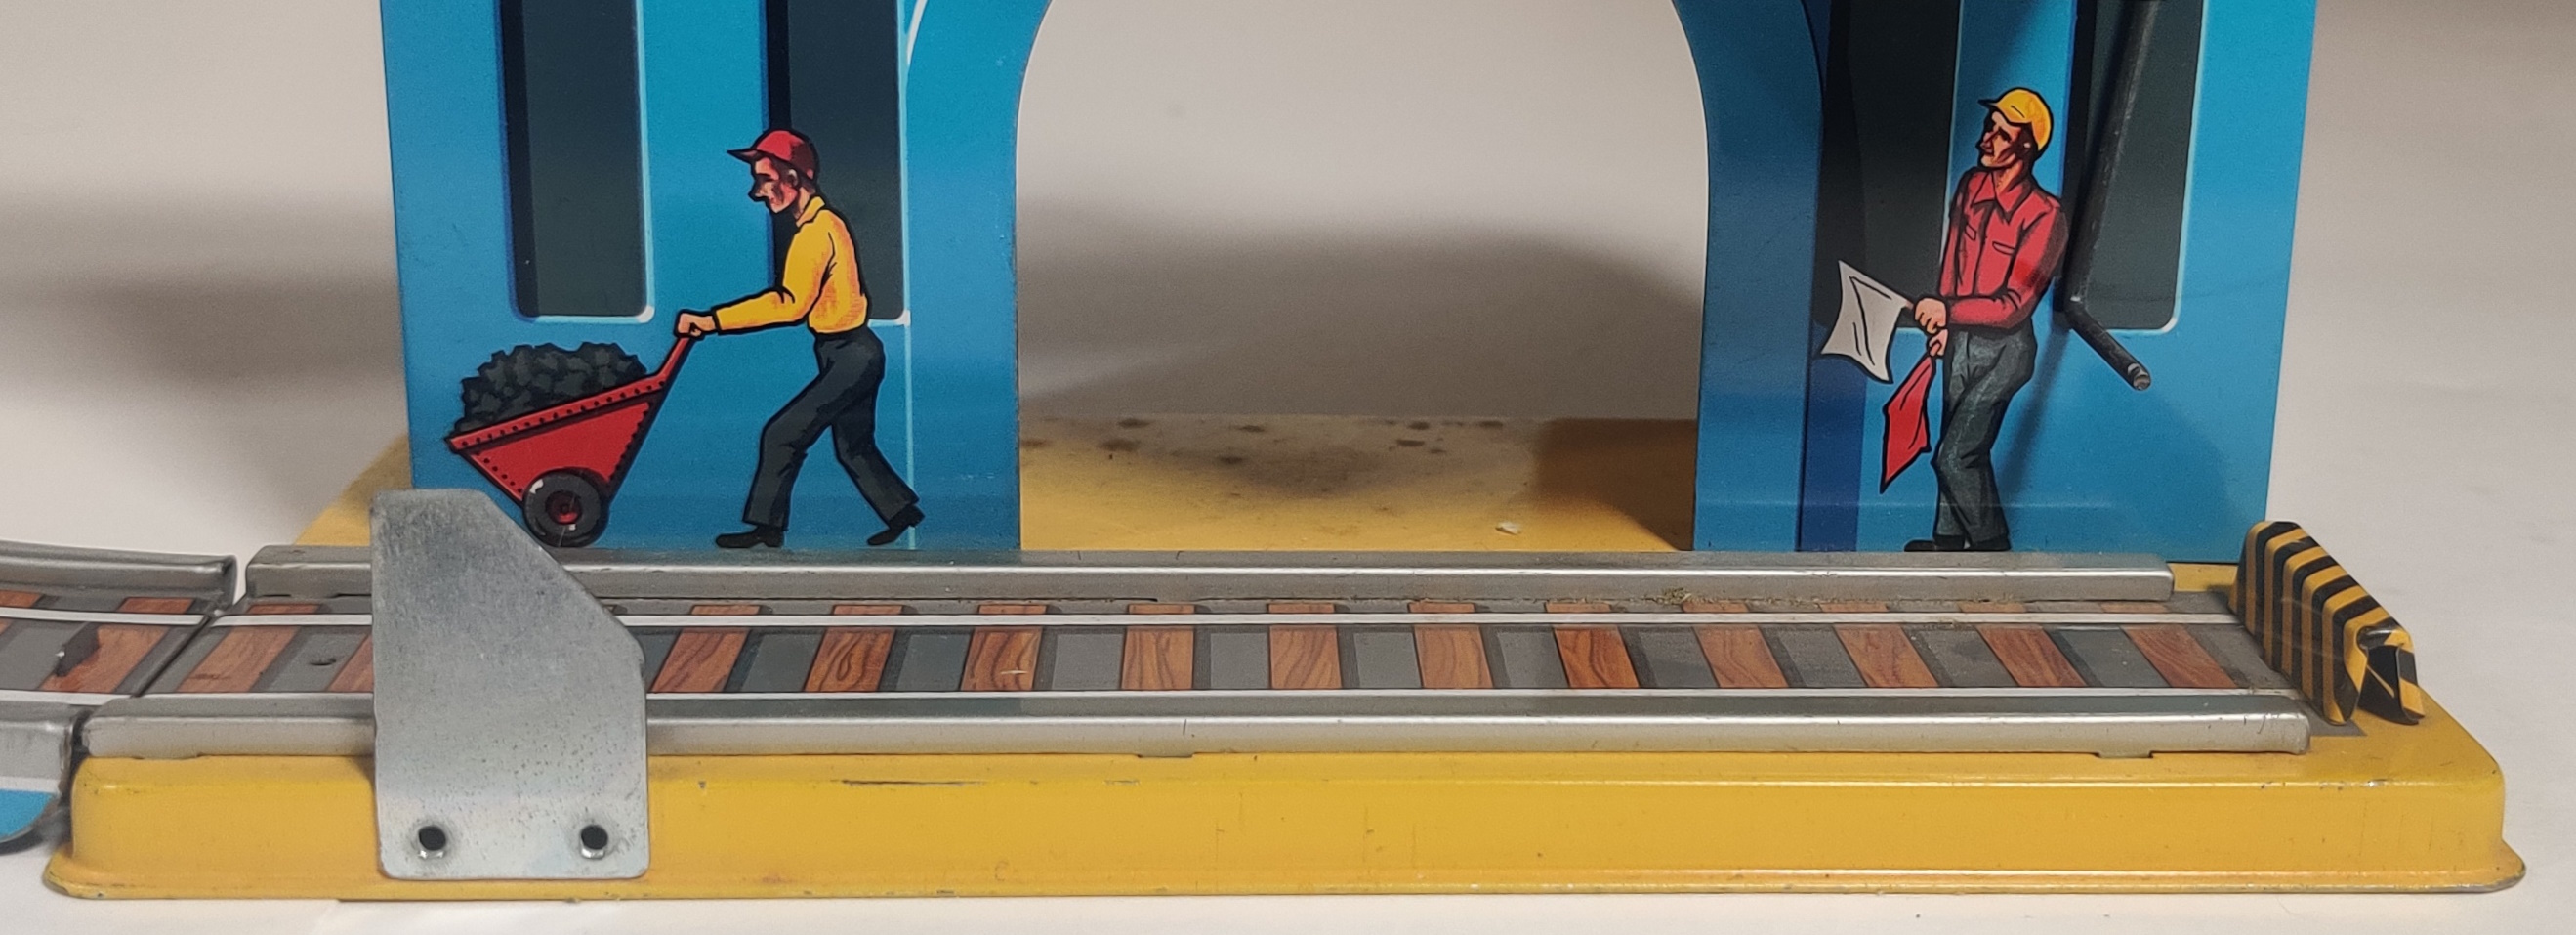
At the bottom of the hill the tipper truck pushes a lever on the side of the chute outwards, causing the chute to dump into the tipper wagon. Soon after, the engine hits the reverser and heads back up the hill to the switch, now full of coal. I am missing the original coal from my set, but it can be seen in this video of the Shuttle Train. (The version of the engine in that video is slightly different - it has a vertical power switch just in front of the cab section. Mine has to be balanced in "neutral" to be shut off with a battery installed.) The chute is nicely detailed on all sides and has two workers around the front. The rear is marked Tomiyama and AHI.
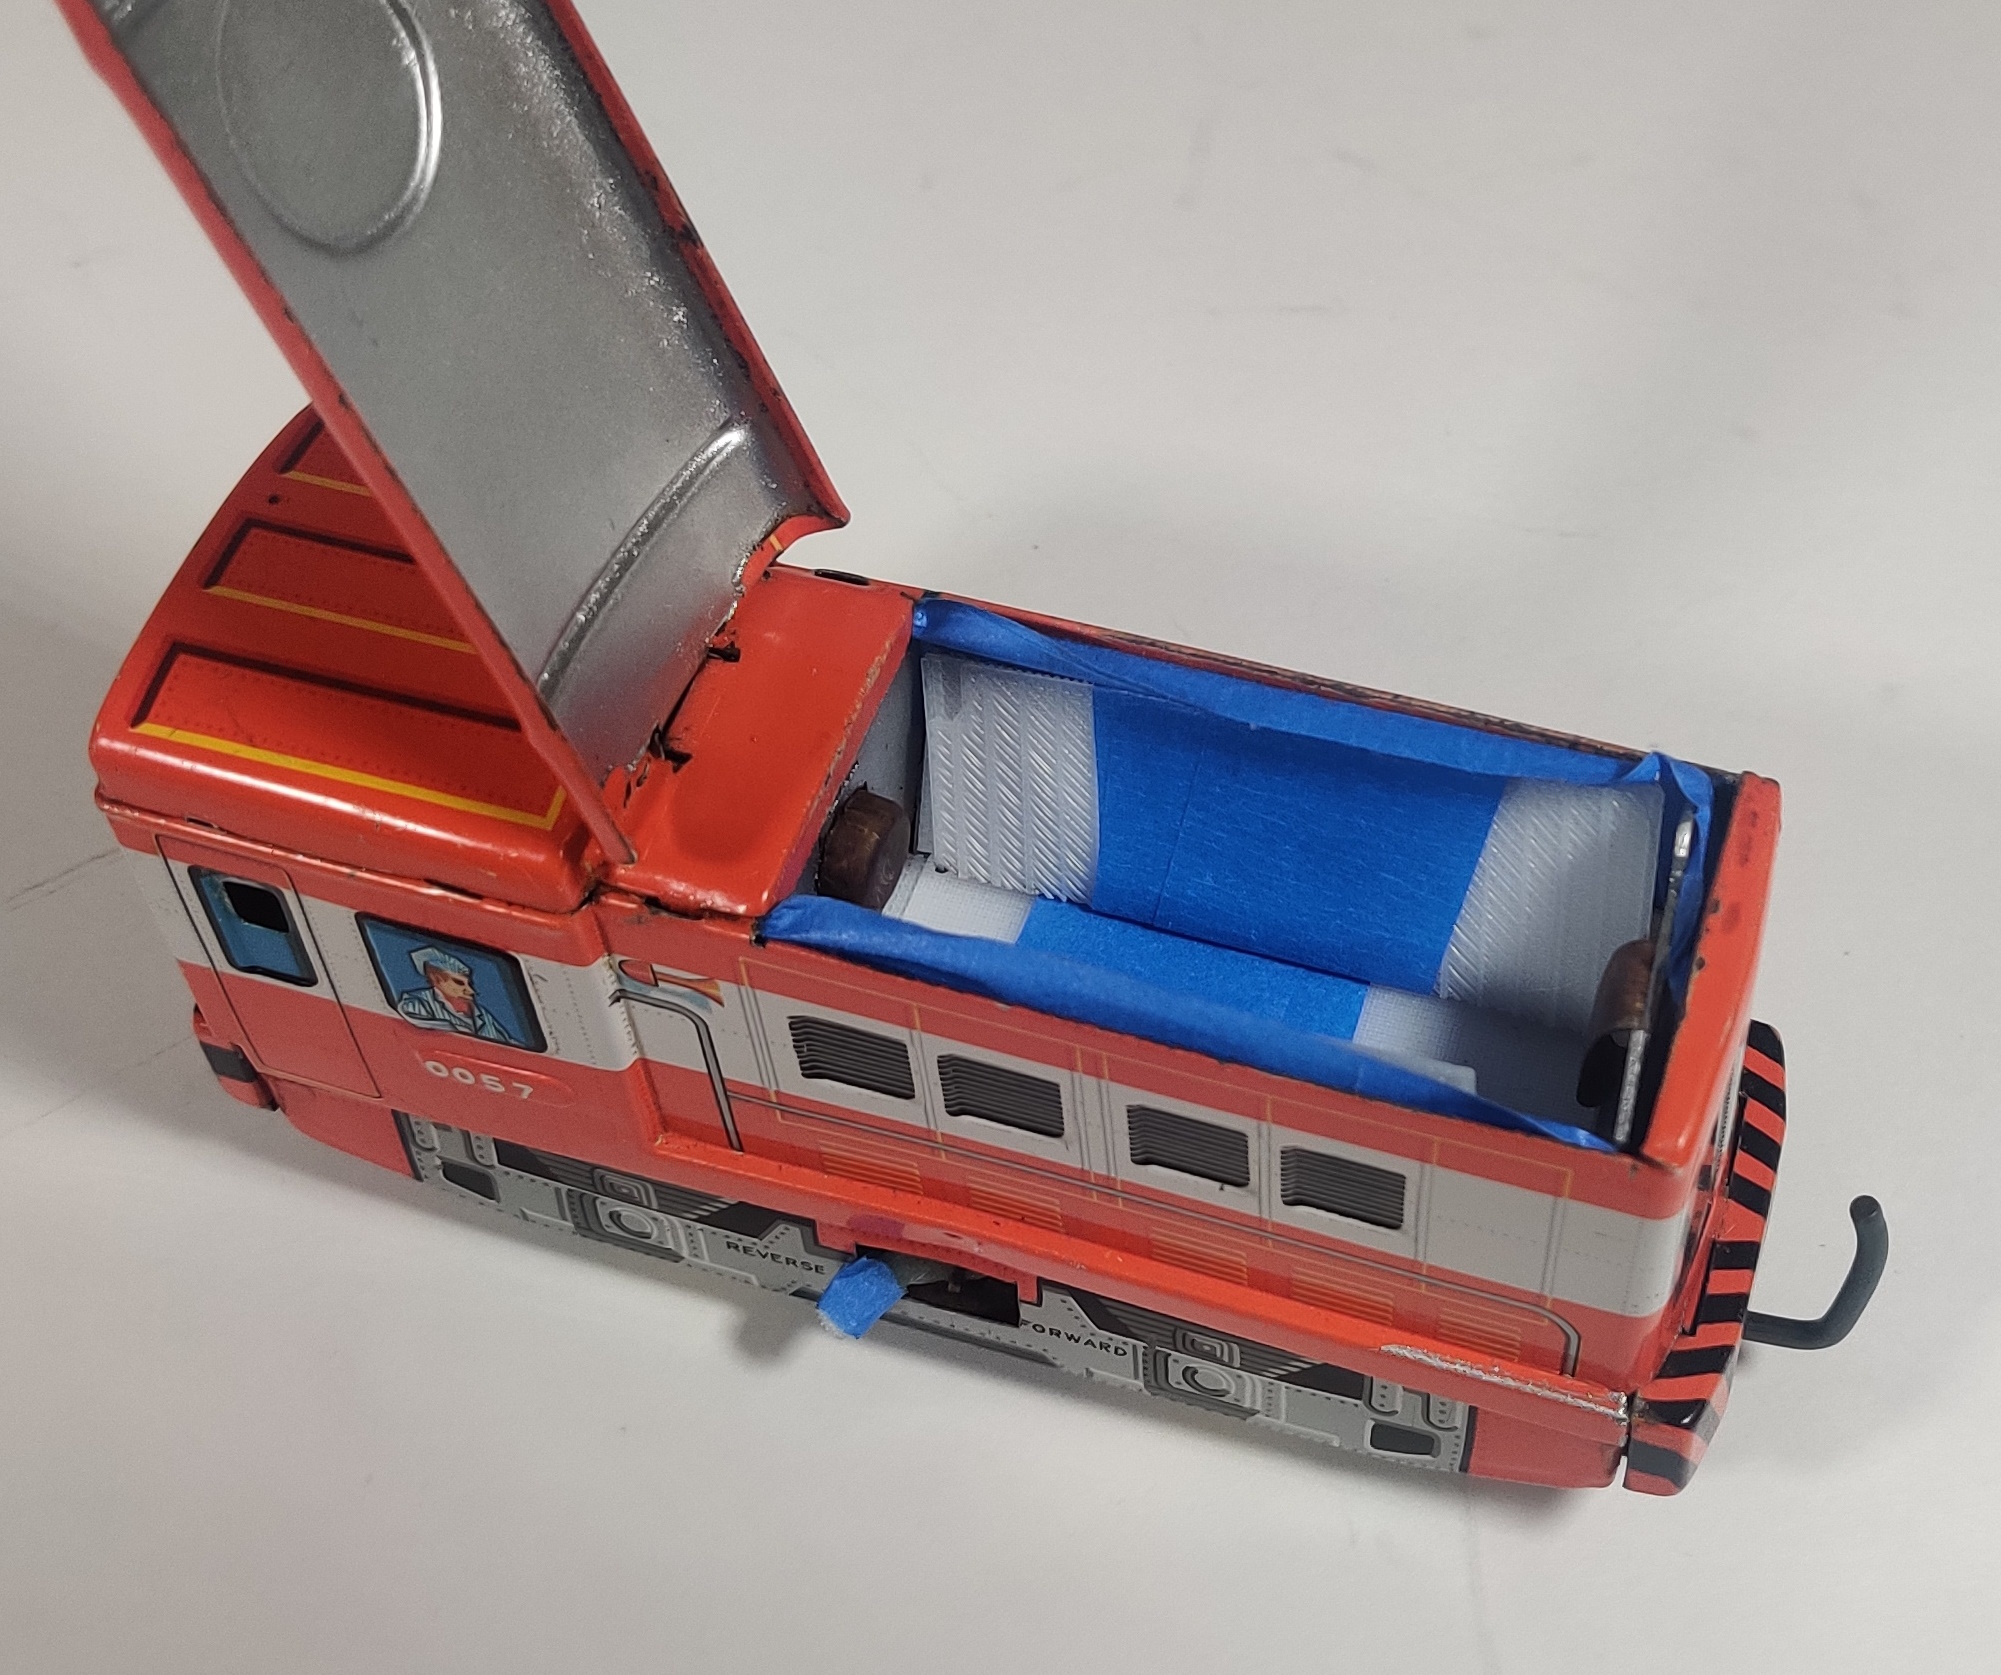
I have had to do a handful of repairs to my Shuttle Train. The tip of the reversing power switch was broken away when I got my shuttle train in 2020 and it was repaired with some 3D printer sprew and painter's tape. This was not meant to be a permanent solution but I have not had the time to fully disassemble the power switch wiper and make a completely new switch lever. I initially also used some 3D printer raft cutoff and painter's tape to fill in some parts of the battery box so that the engine would run on a C battery instead of a D battery. I removed this modification when servicing the engine while taking these photographs (September 2023).
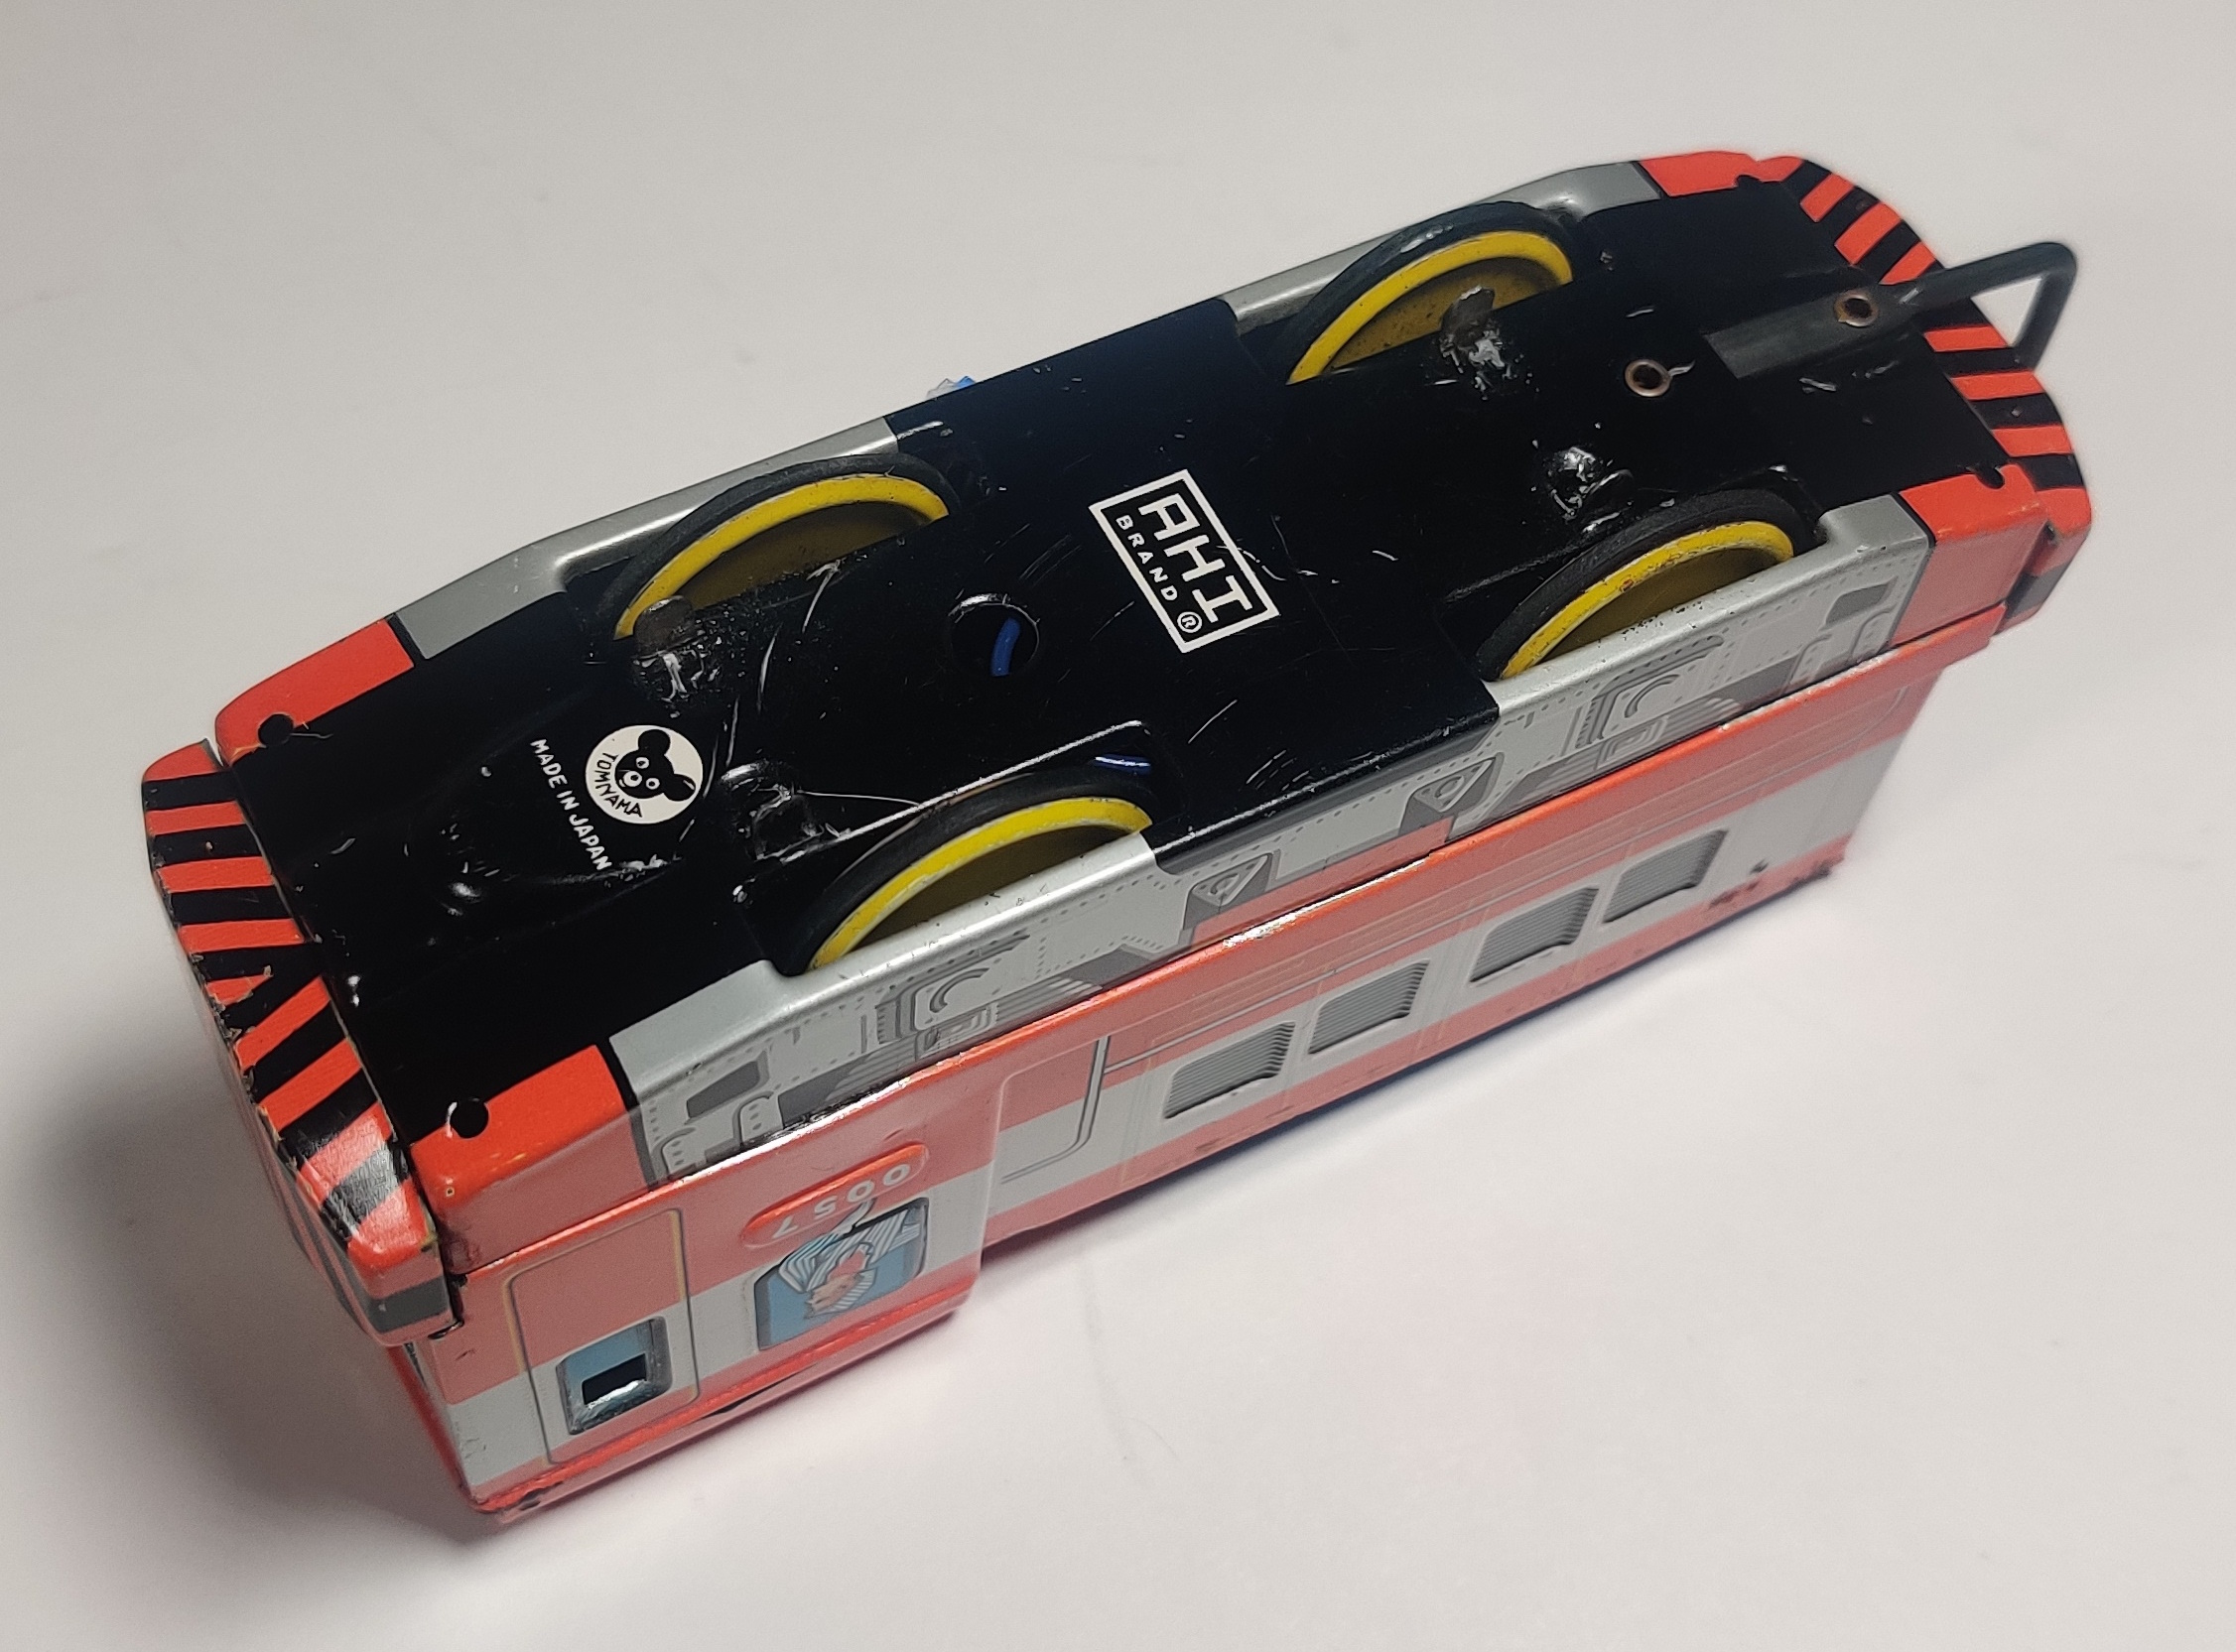
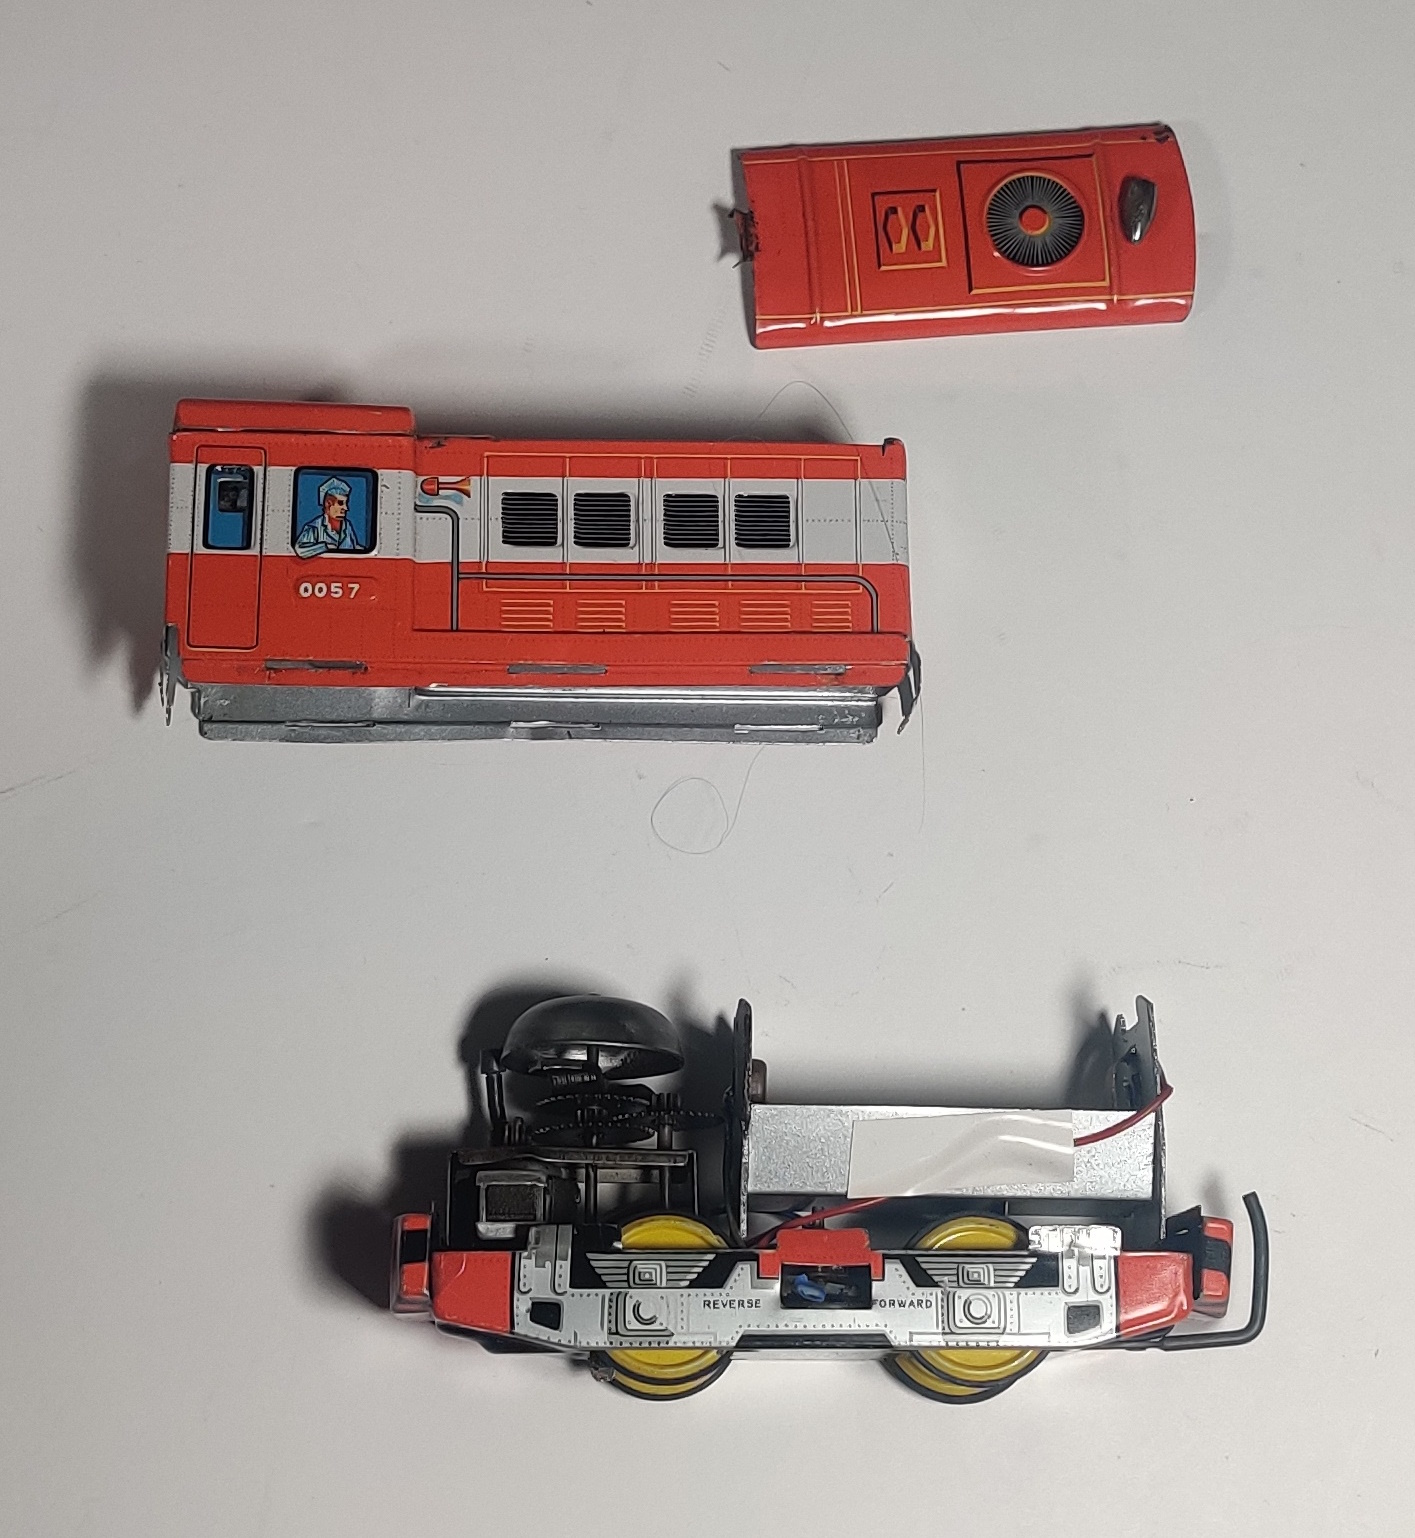
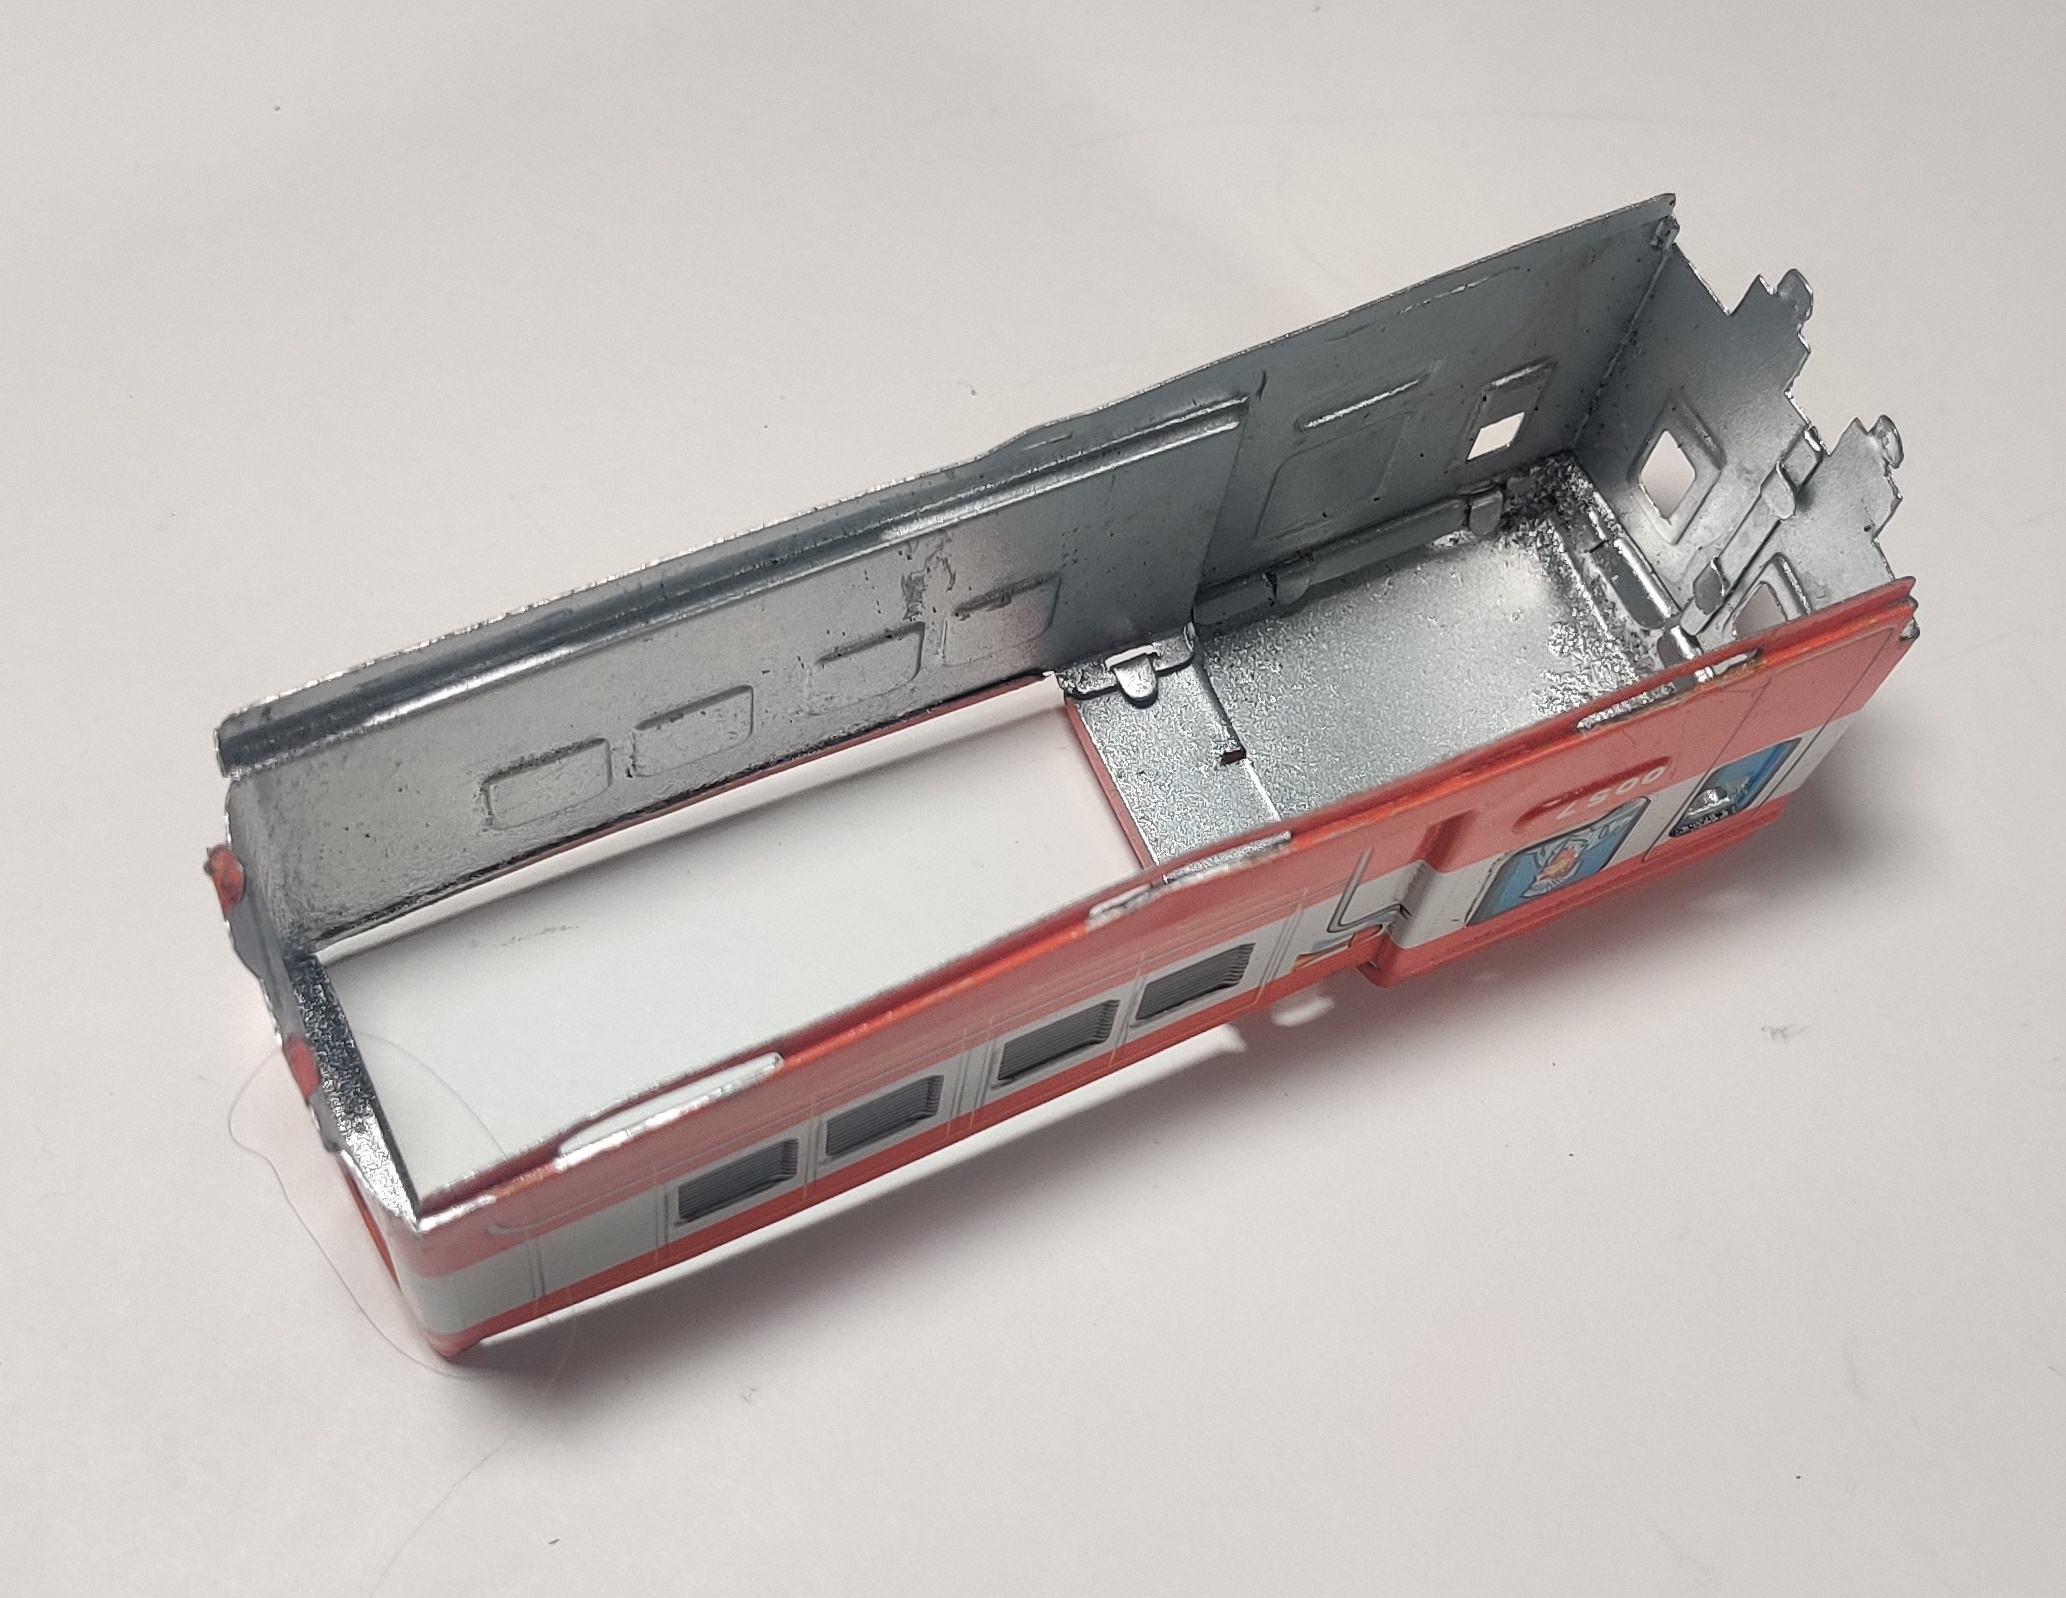
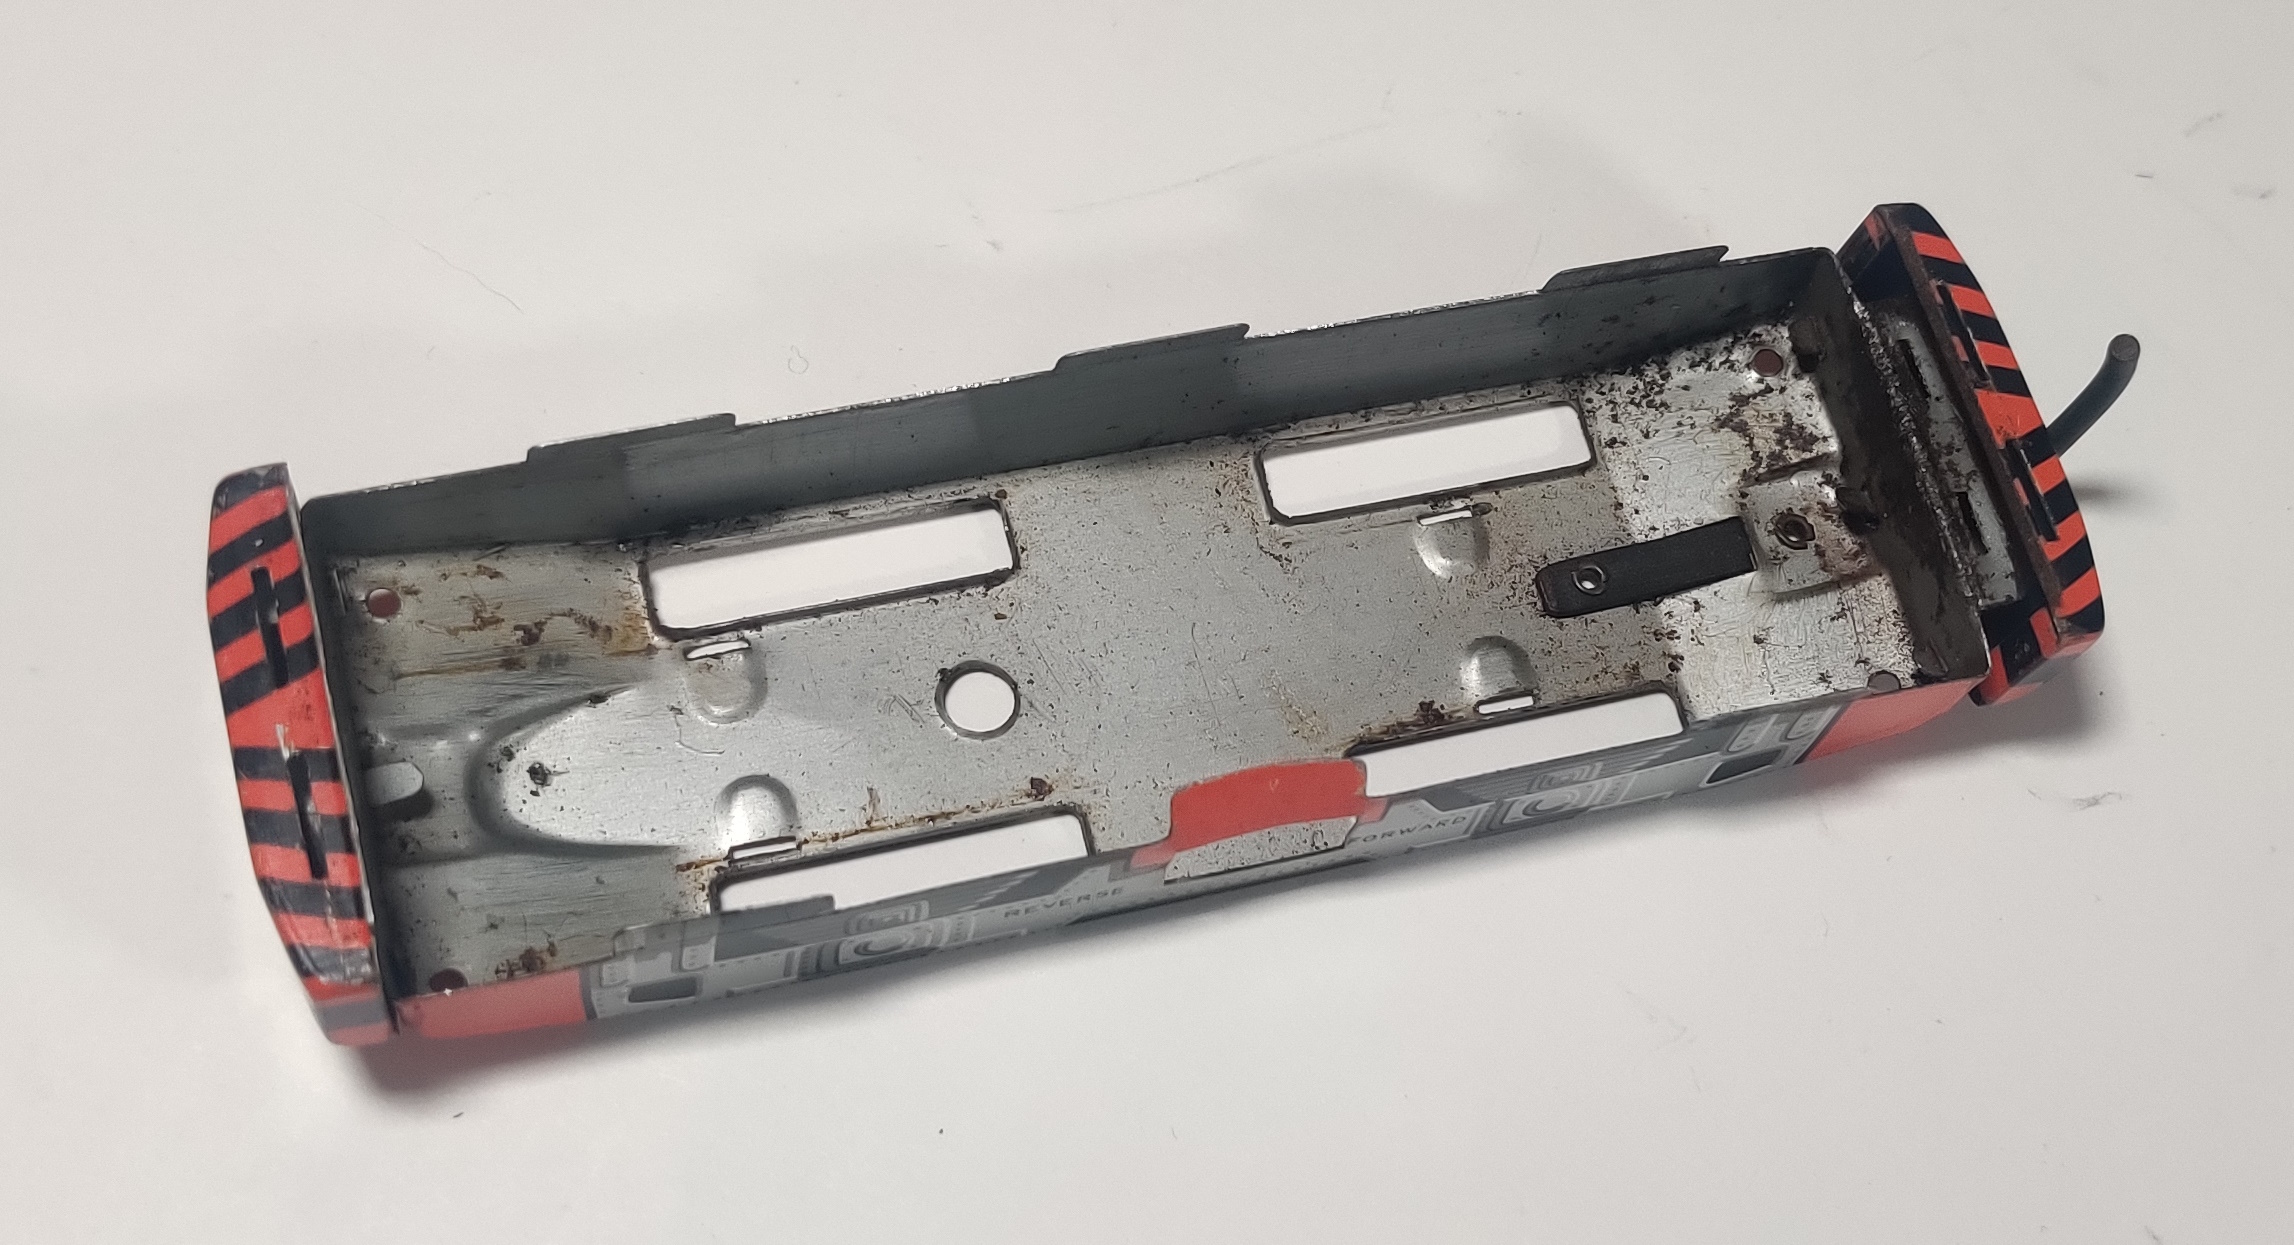
Four tabs in the bottom of the chassis hold the majority of the locomotive together. The body shell can then be lifted up and off - the orange and black wasp stripe bumpers on either end tend to stay stuck in the lower carrier plate. The battery cover can be removed.
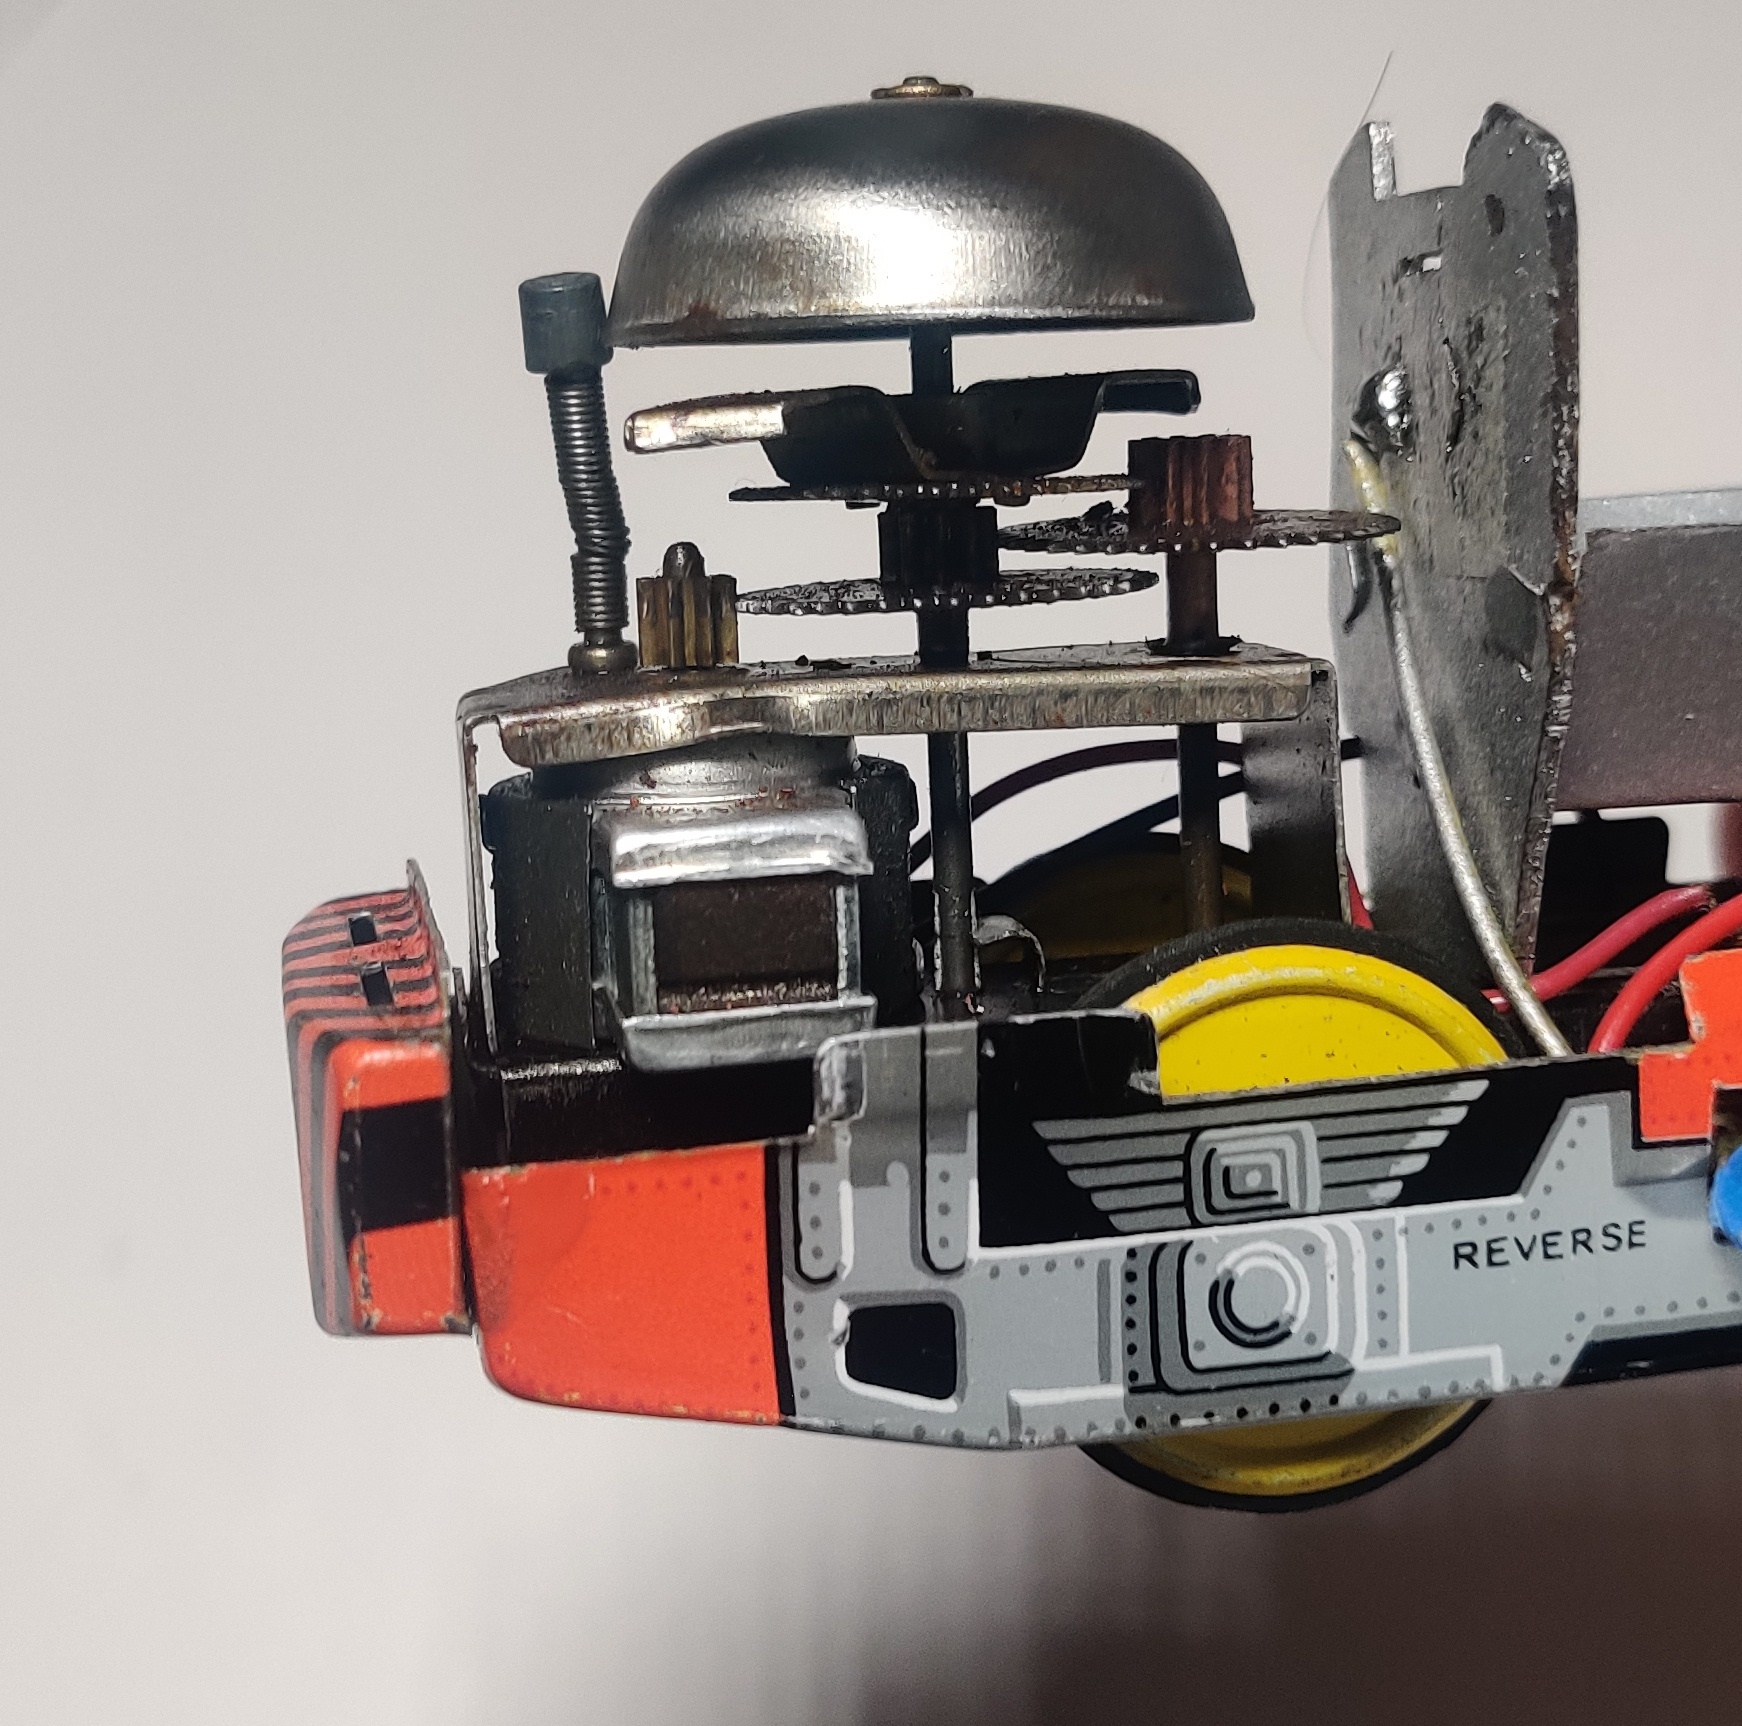
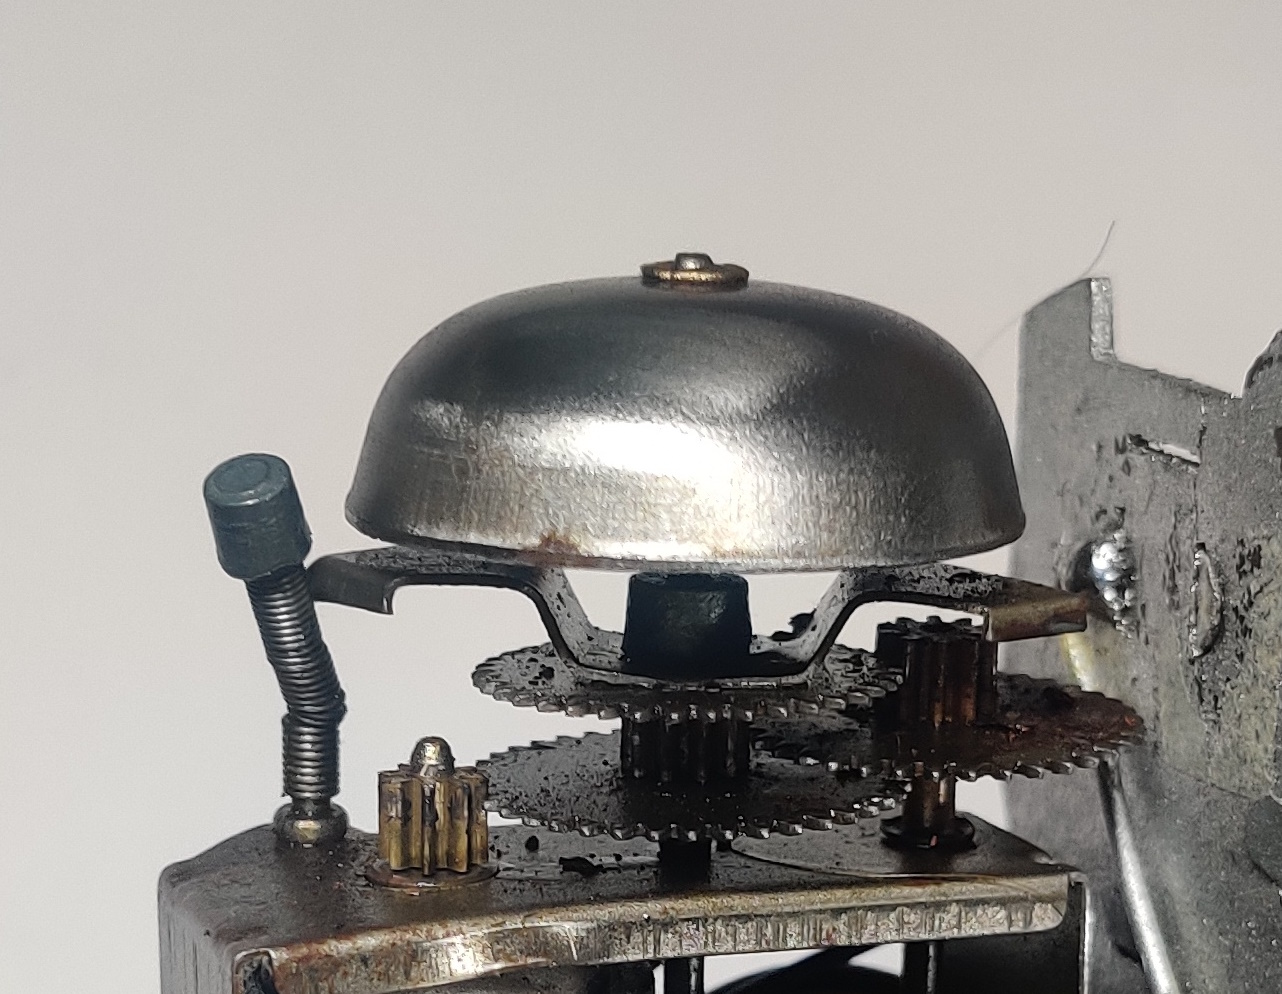
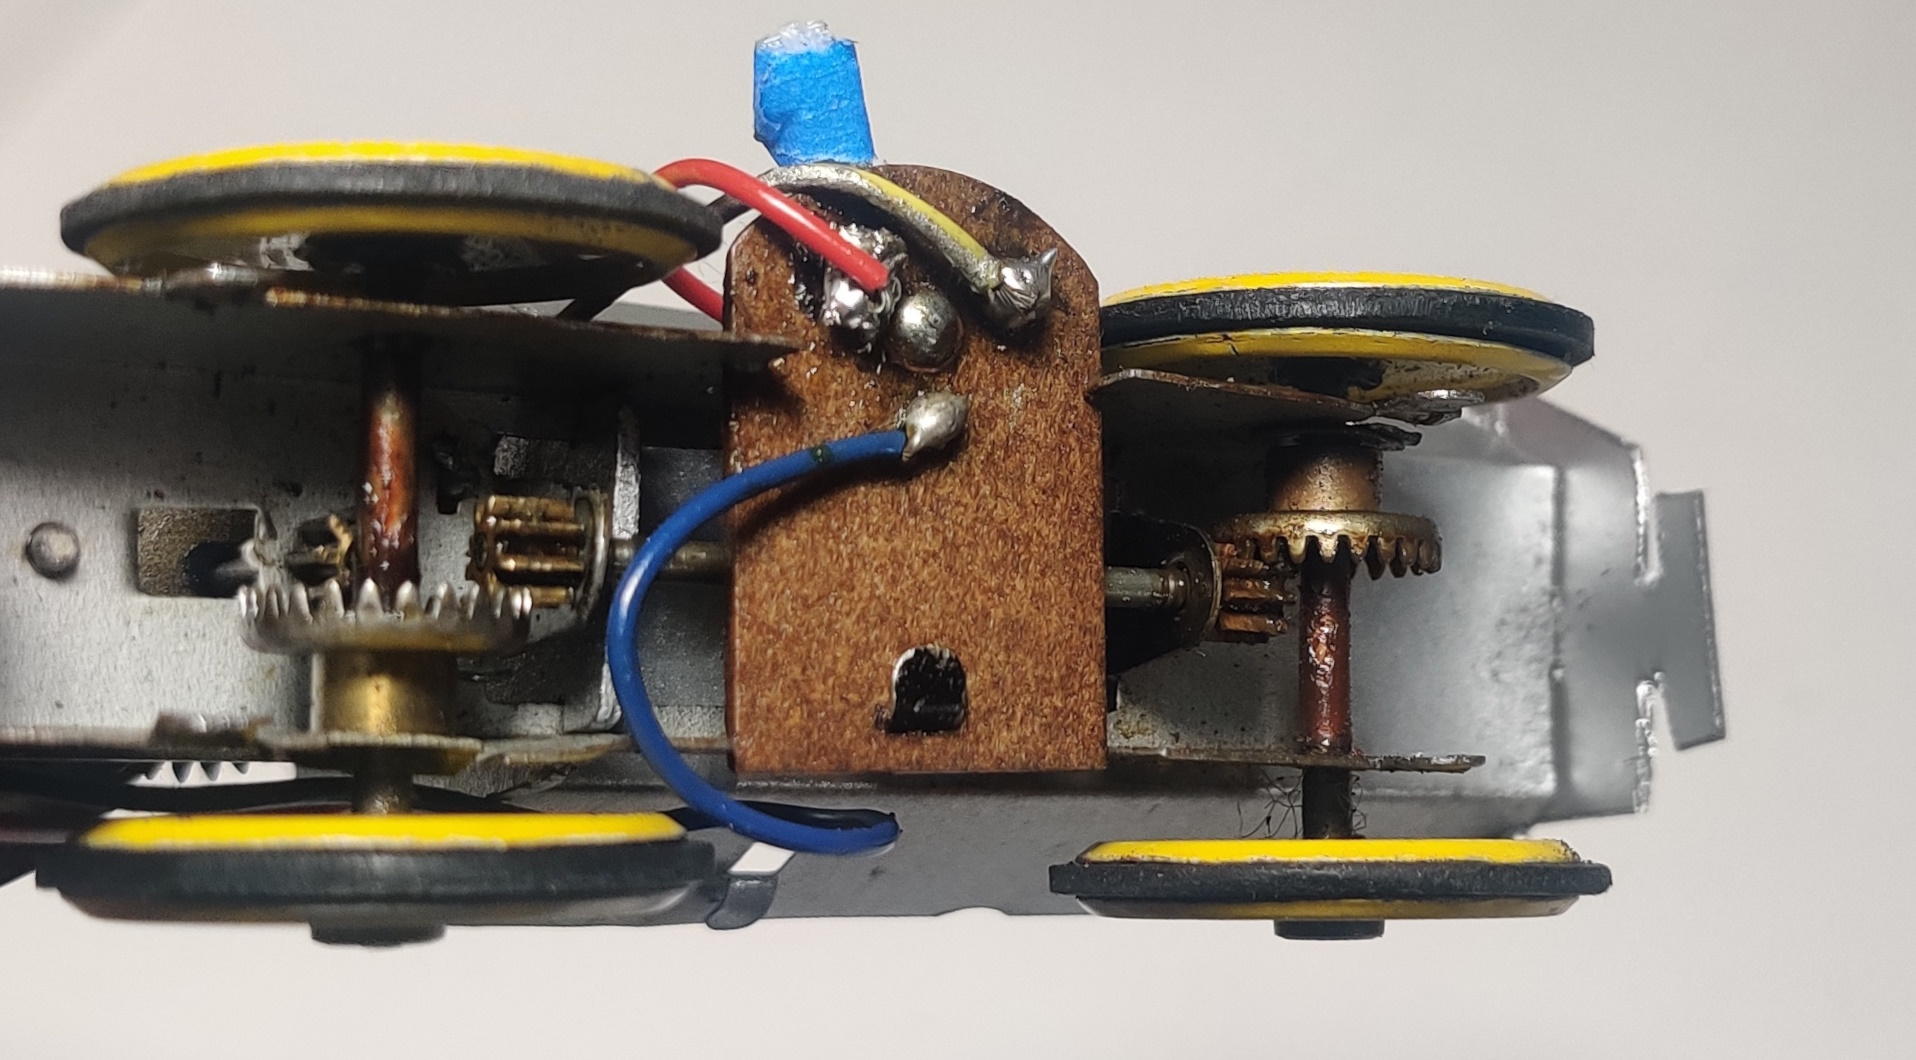
The cab portion of the engine holds an old style of DC can motor with large external permanent magnets and a series of gear reductions and the striking mechanism for a bell. Three reductions drive a spinning arm that swings a small spring back so that it strikes against the bell. The shaft forming the output of the second gear reduction and the input of the third also extends down to the rear drive shaft to drive a contrate gear. A gearshaft runs up the chassis and engages with the front axle for four-wheel drive.

The tires on my engine's wheels are worn out and not particularly rubbery. It does have some trouble getting enough traction to get up the hills in the set. I roughened the rim of the tires and that did help, but at some point a fresh set of rubber tires would be ideal.
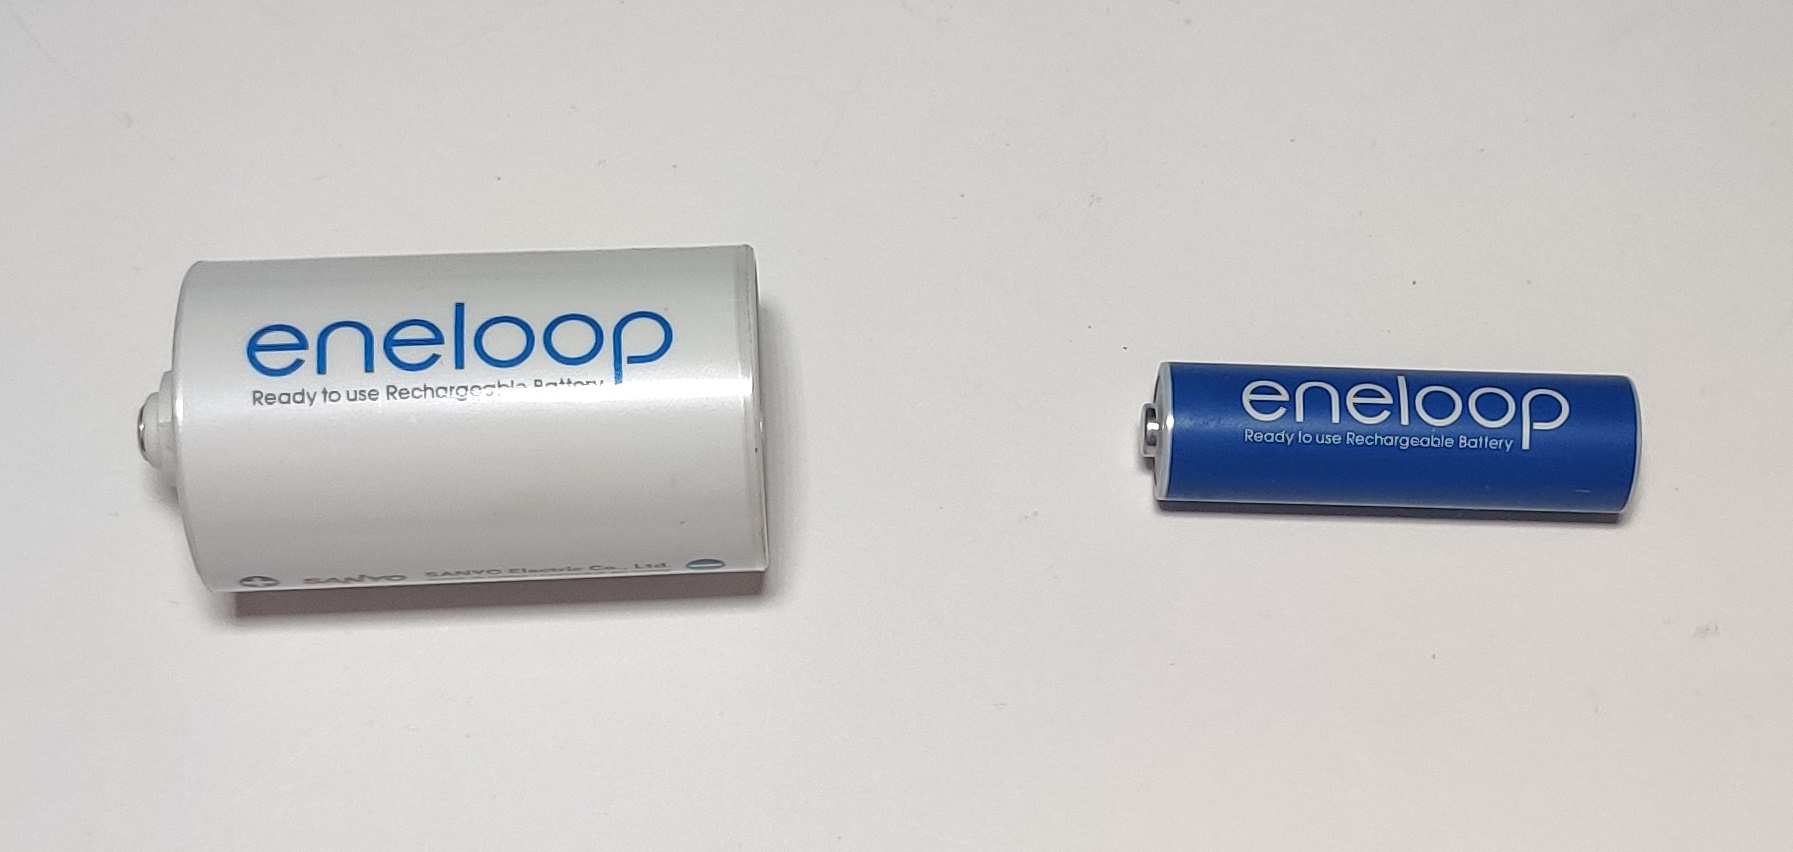
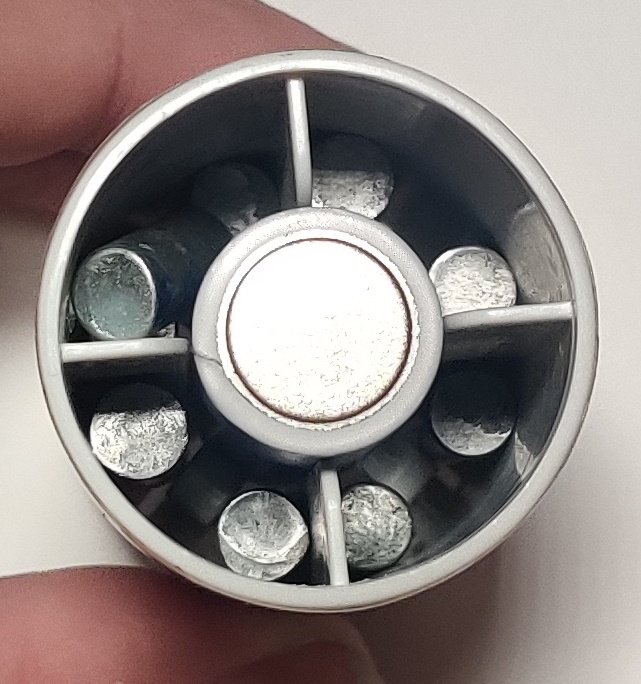
I do not generally keep D batteries around, which is why I originally padded the battery compartment out to use a C battery instead. For several years now I have been using nickel-metal hydride (NI-MH) rechargeable batteries whenever possible (I do have a small stash of conventional C batteries, mostly for Plarail, as well as some AA and AAAs), and these AA style rechargeables often come with adaptors to make them fit into the space of C or D batteries. This obviously ends up with less capacity than a real C or D battery but more relevant for this use it also weighs a decent bit less. Between the degraded tires and less weight to provide downforce the engine could not make it up the inclines. I filled the mostly hollow adaptor with a bunch of weights out of my Plarail parts box and this gave the engine enough grip to run with the rechargeable AA.

Click for longer video with sound
As my set is missing the original coal, I used a set of white plastic gears that I had to hand for repairing Plarail. The engine hits slightly weirdly on the switches because I completely forgot to bend the little metal tabs back up against the chassis and was running with them hanging down! I don't think they scratched up the track but they did hit against some portion of the switch mechanism (I think they might have interacted with the raised directional changing rail itself).
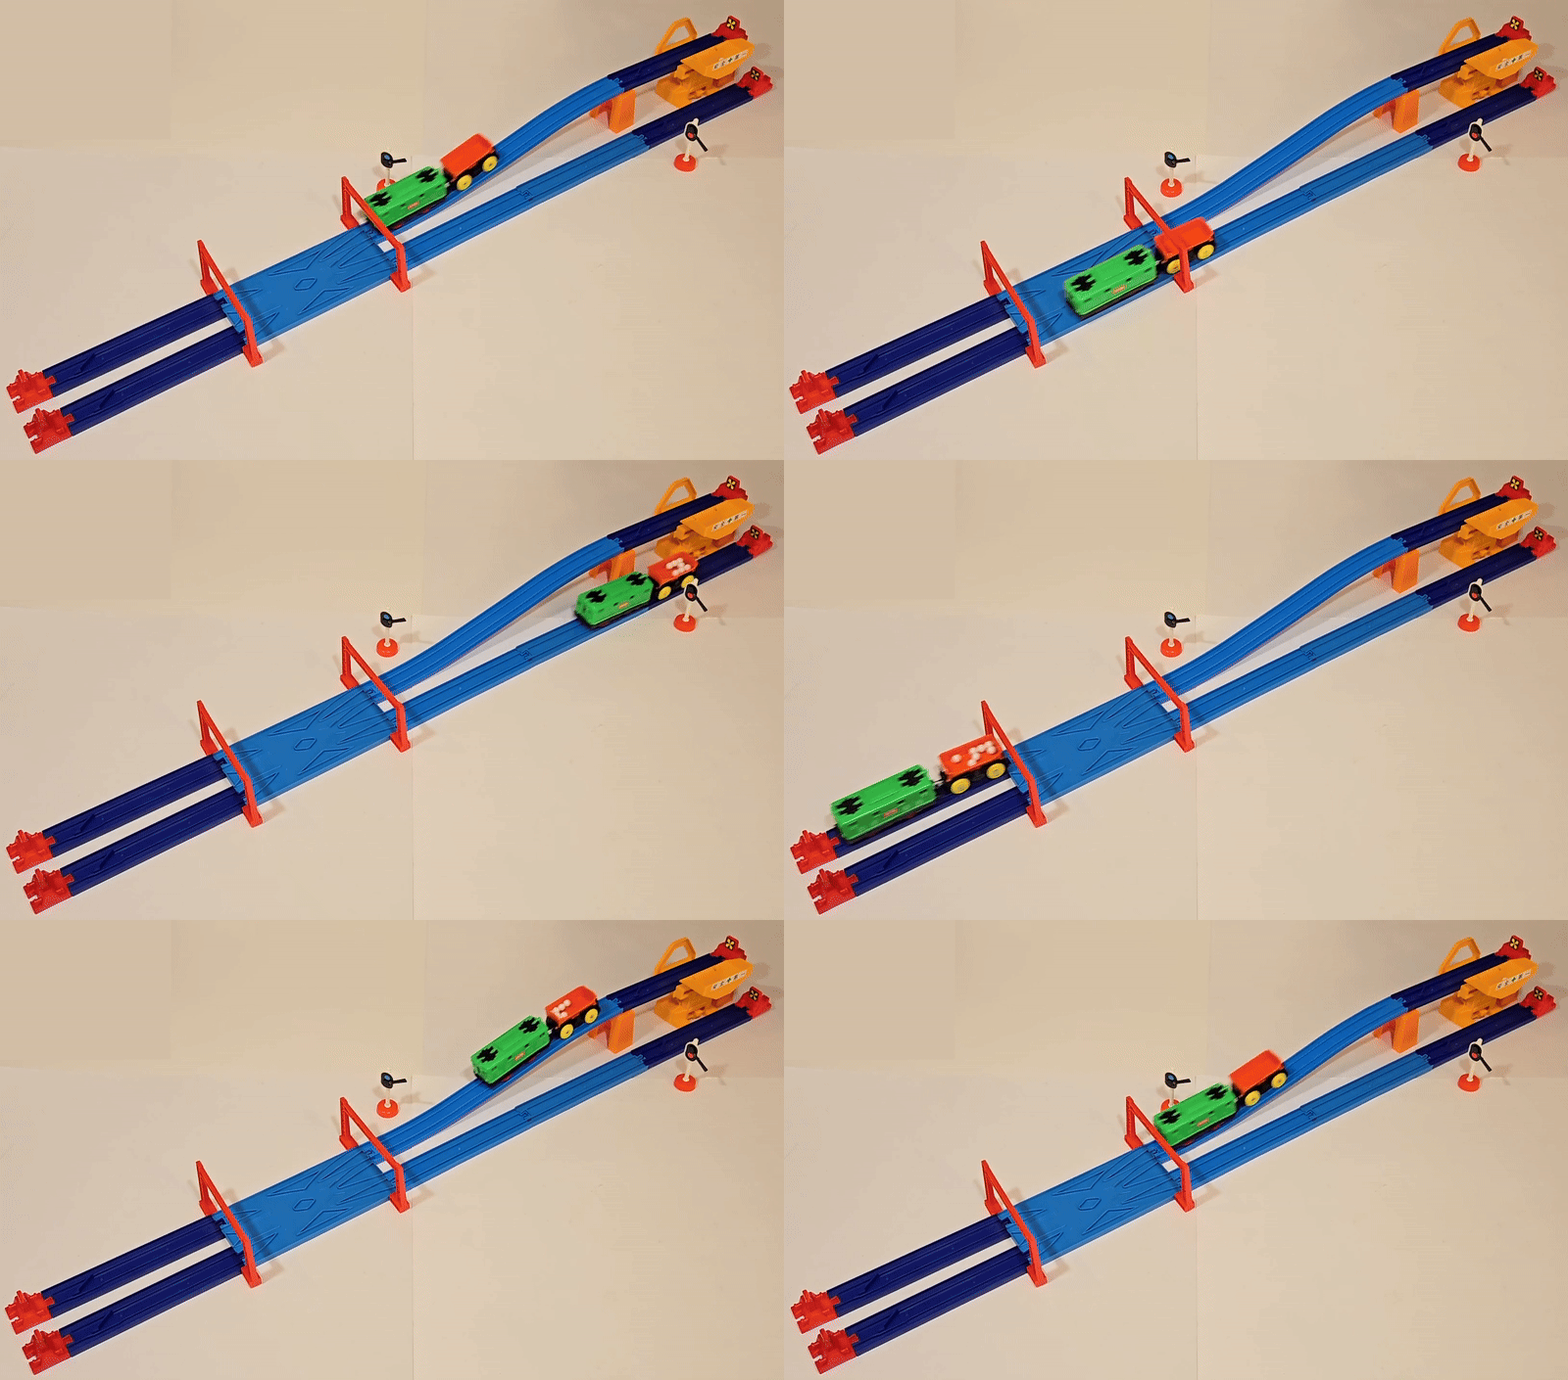
This was, from what I can tell, one of Tomiyama's first electric train toys and displays the electro-mechanical genius Tomy would go on to build into many, many toys. Tomy would later work on many similar toys including the Child Guidance Motorized Shuttle Train, the Big Loader series of reversing state-machines-turned-toys, and the Round-Trip Plarail series of reversing Plarail trains. The first Round-Trip set, the Round-Trip Plarail 3D Loading and Unloading Set, resembles the operation of this shuttle train in Plarail form, with an ED-70 shuttling a tipper wagon around.
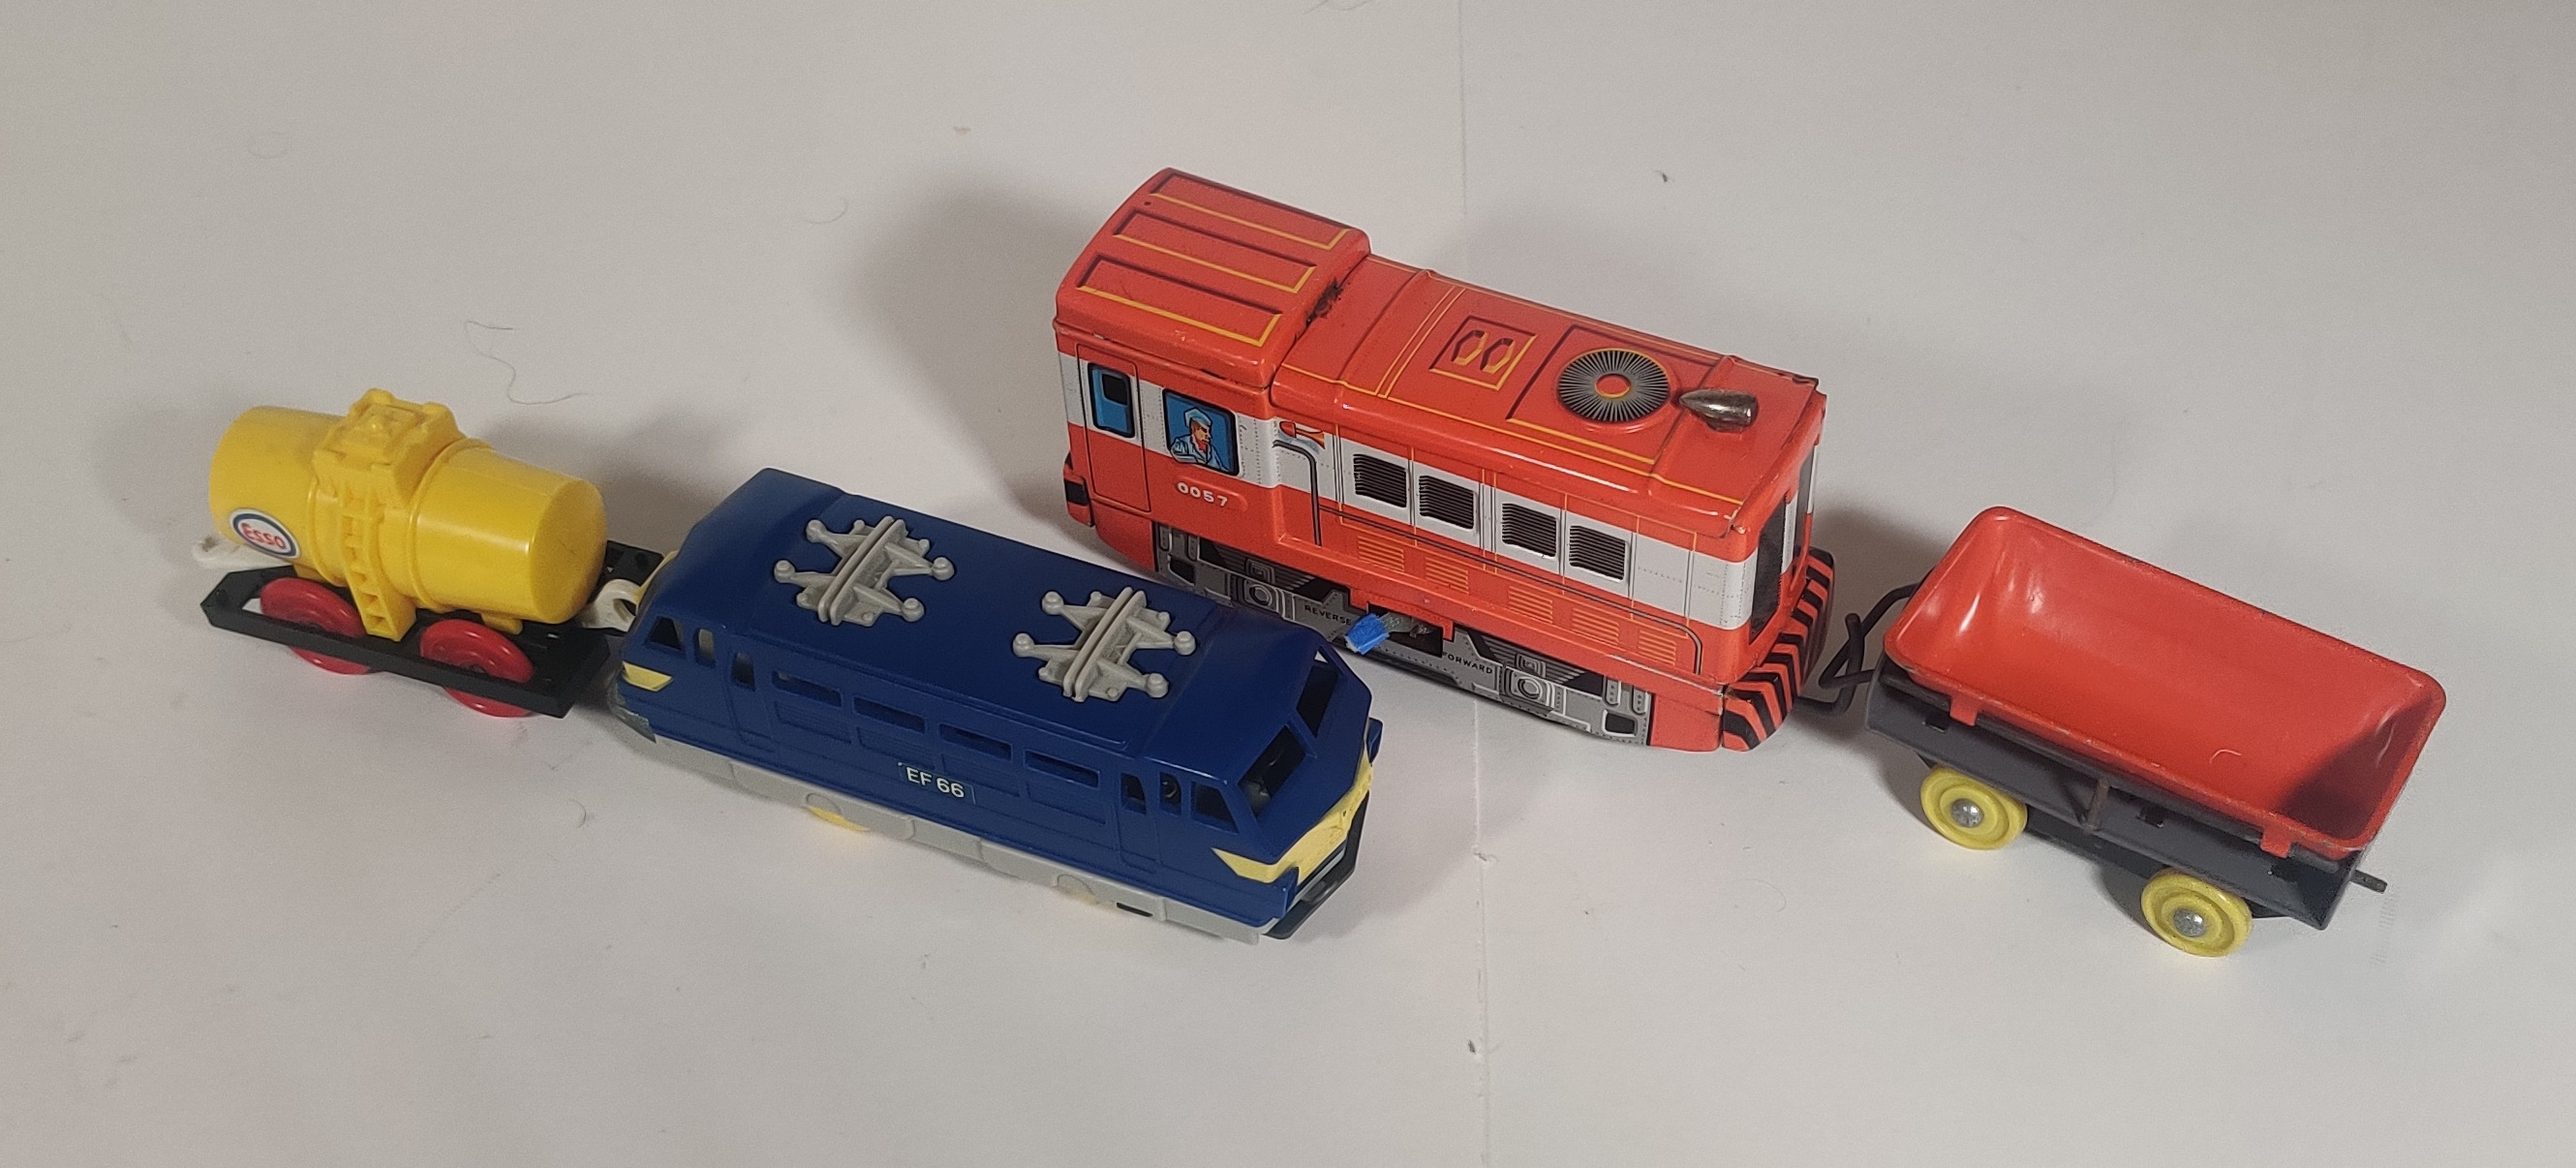
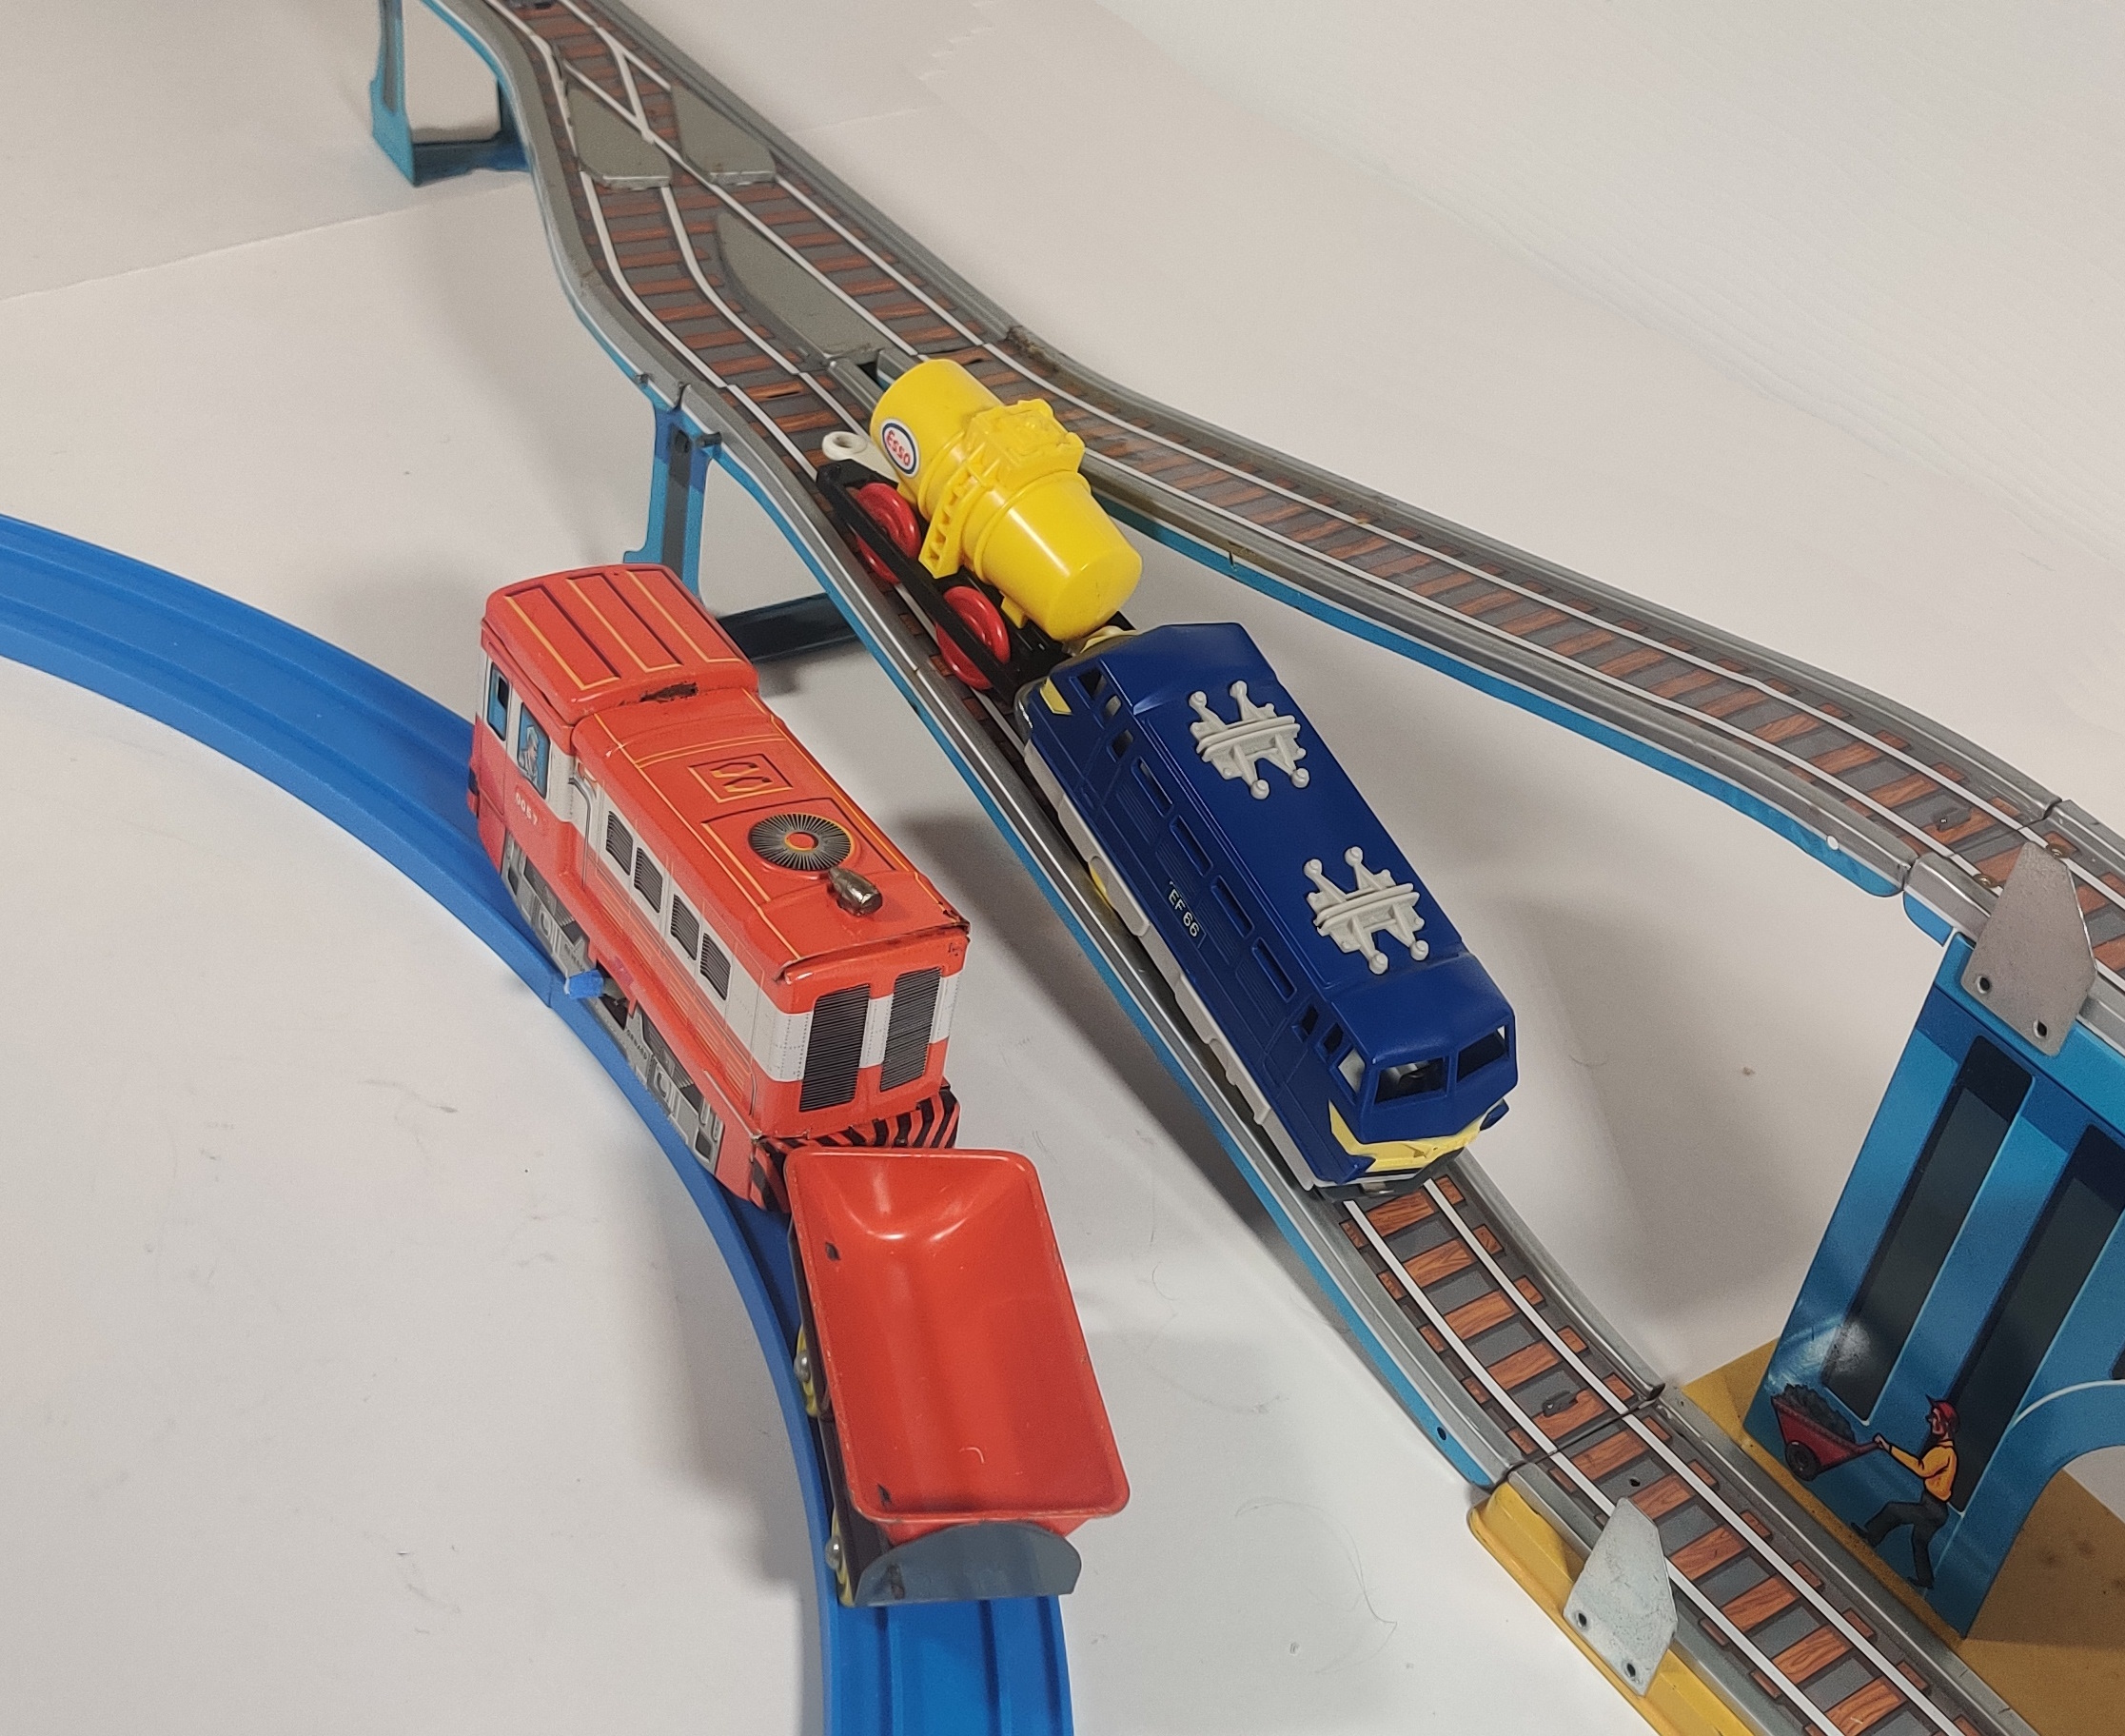
On the note of Round-Trip Plarail, here is the Shuttle Train next to a Plarail Round-Trip EF66. The track gauge is approximately similar but the Shuttle Train has a much larger loading gauge and neither runs very well on the other's track, although the EF66 would fare okay on an actual set of track and not the switchback system that it can not properly engage with.