fall inside a hole
Regular Plarail Repairs
Any used or even new Plarail that has been sitting for some years will likely not work when turned on for a variety of reasons. Most commonly, motor will not start, gears will be split, or rubber components will have hardened, softened, or otherwise perished.
Motor not running
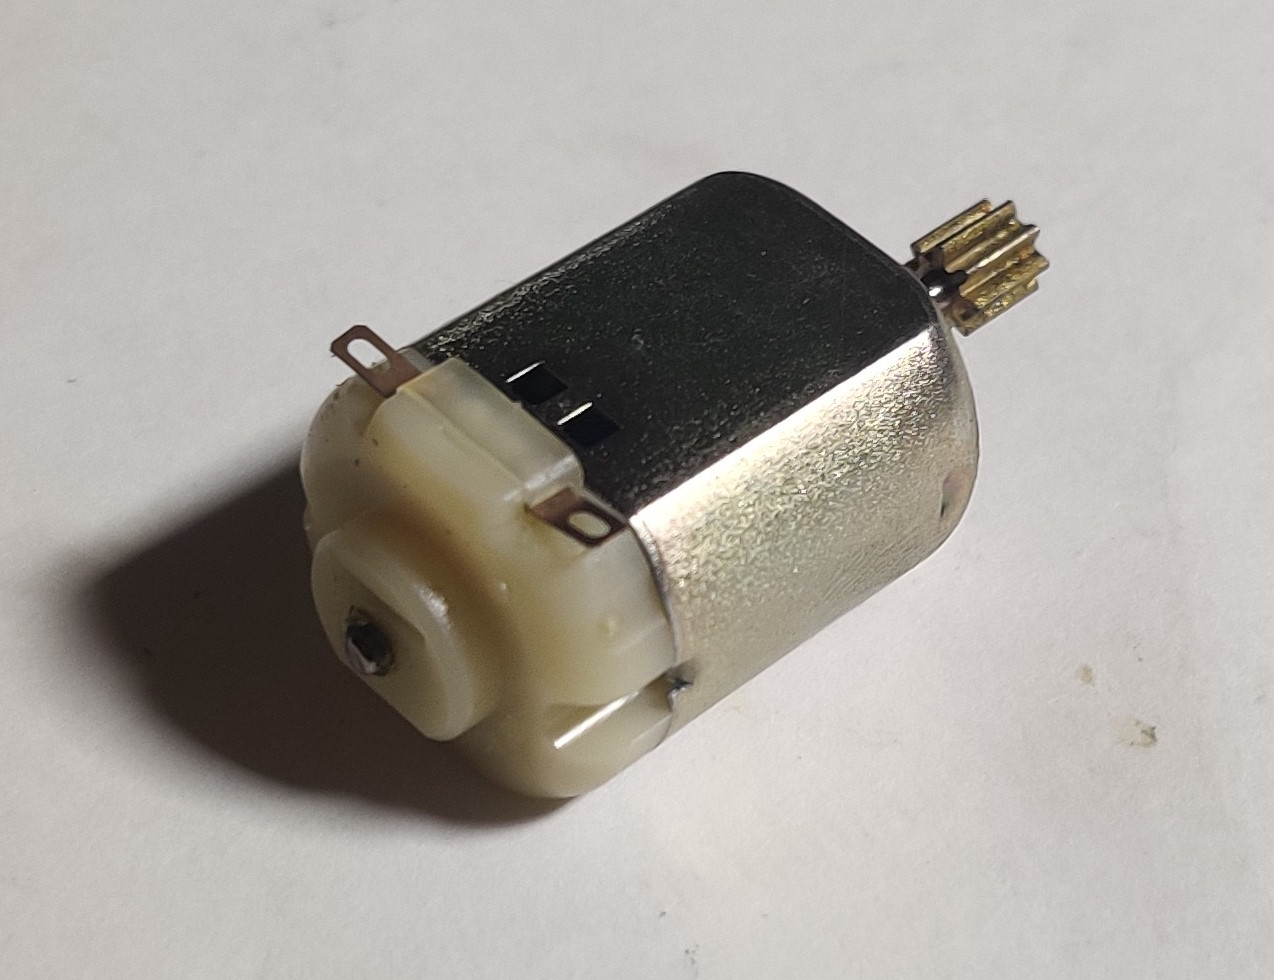
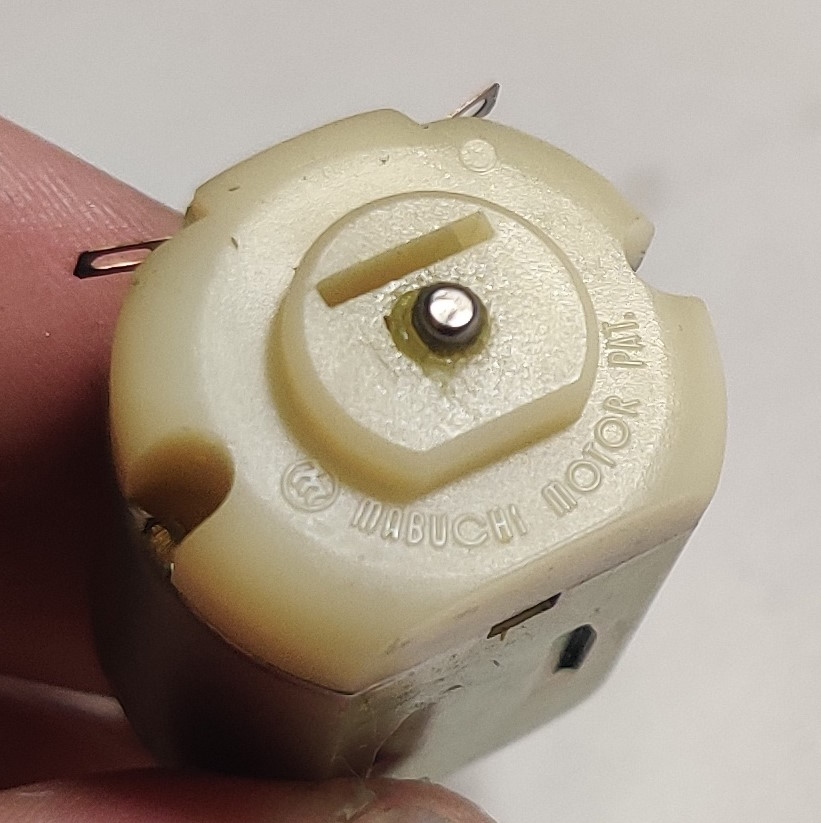
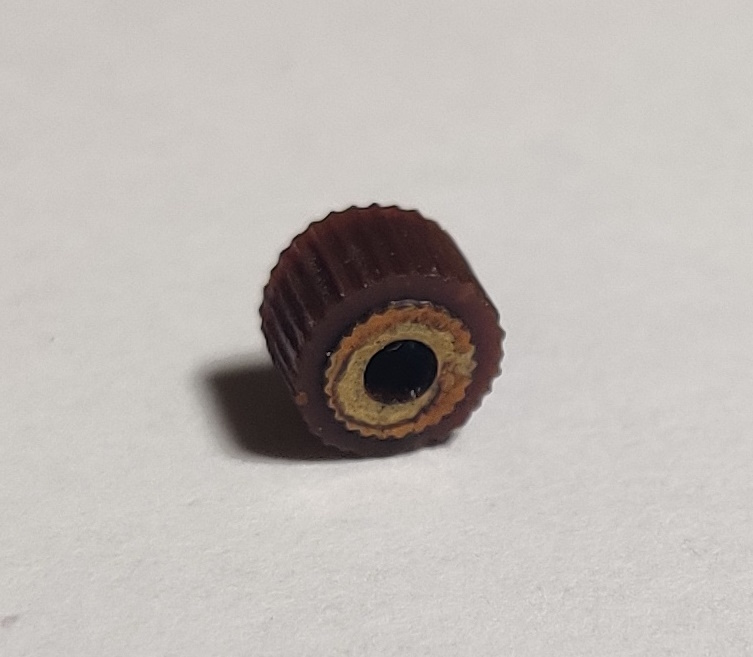
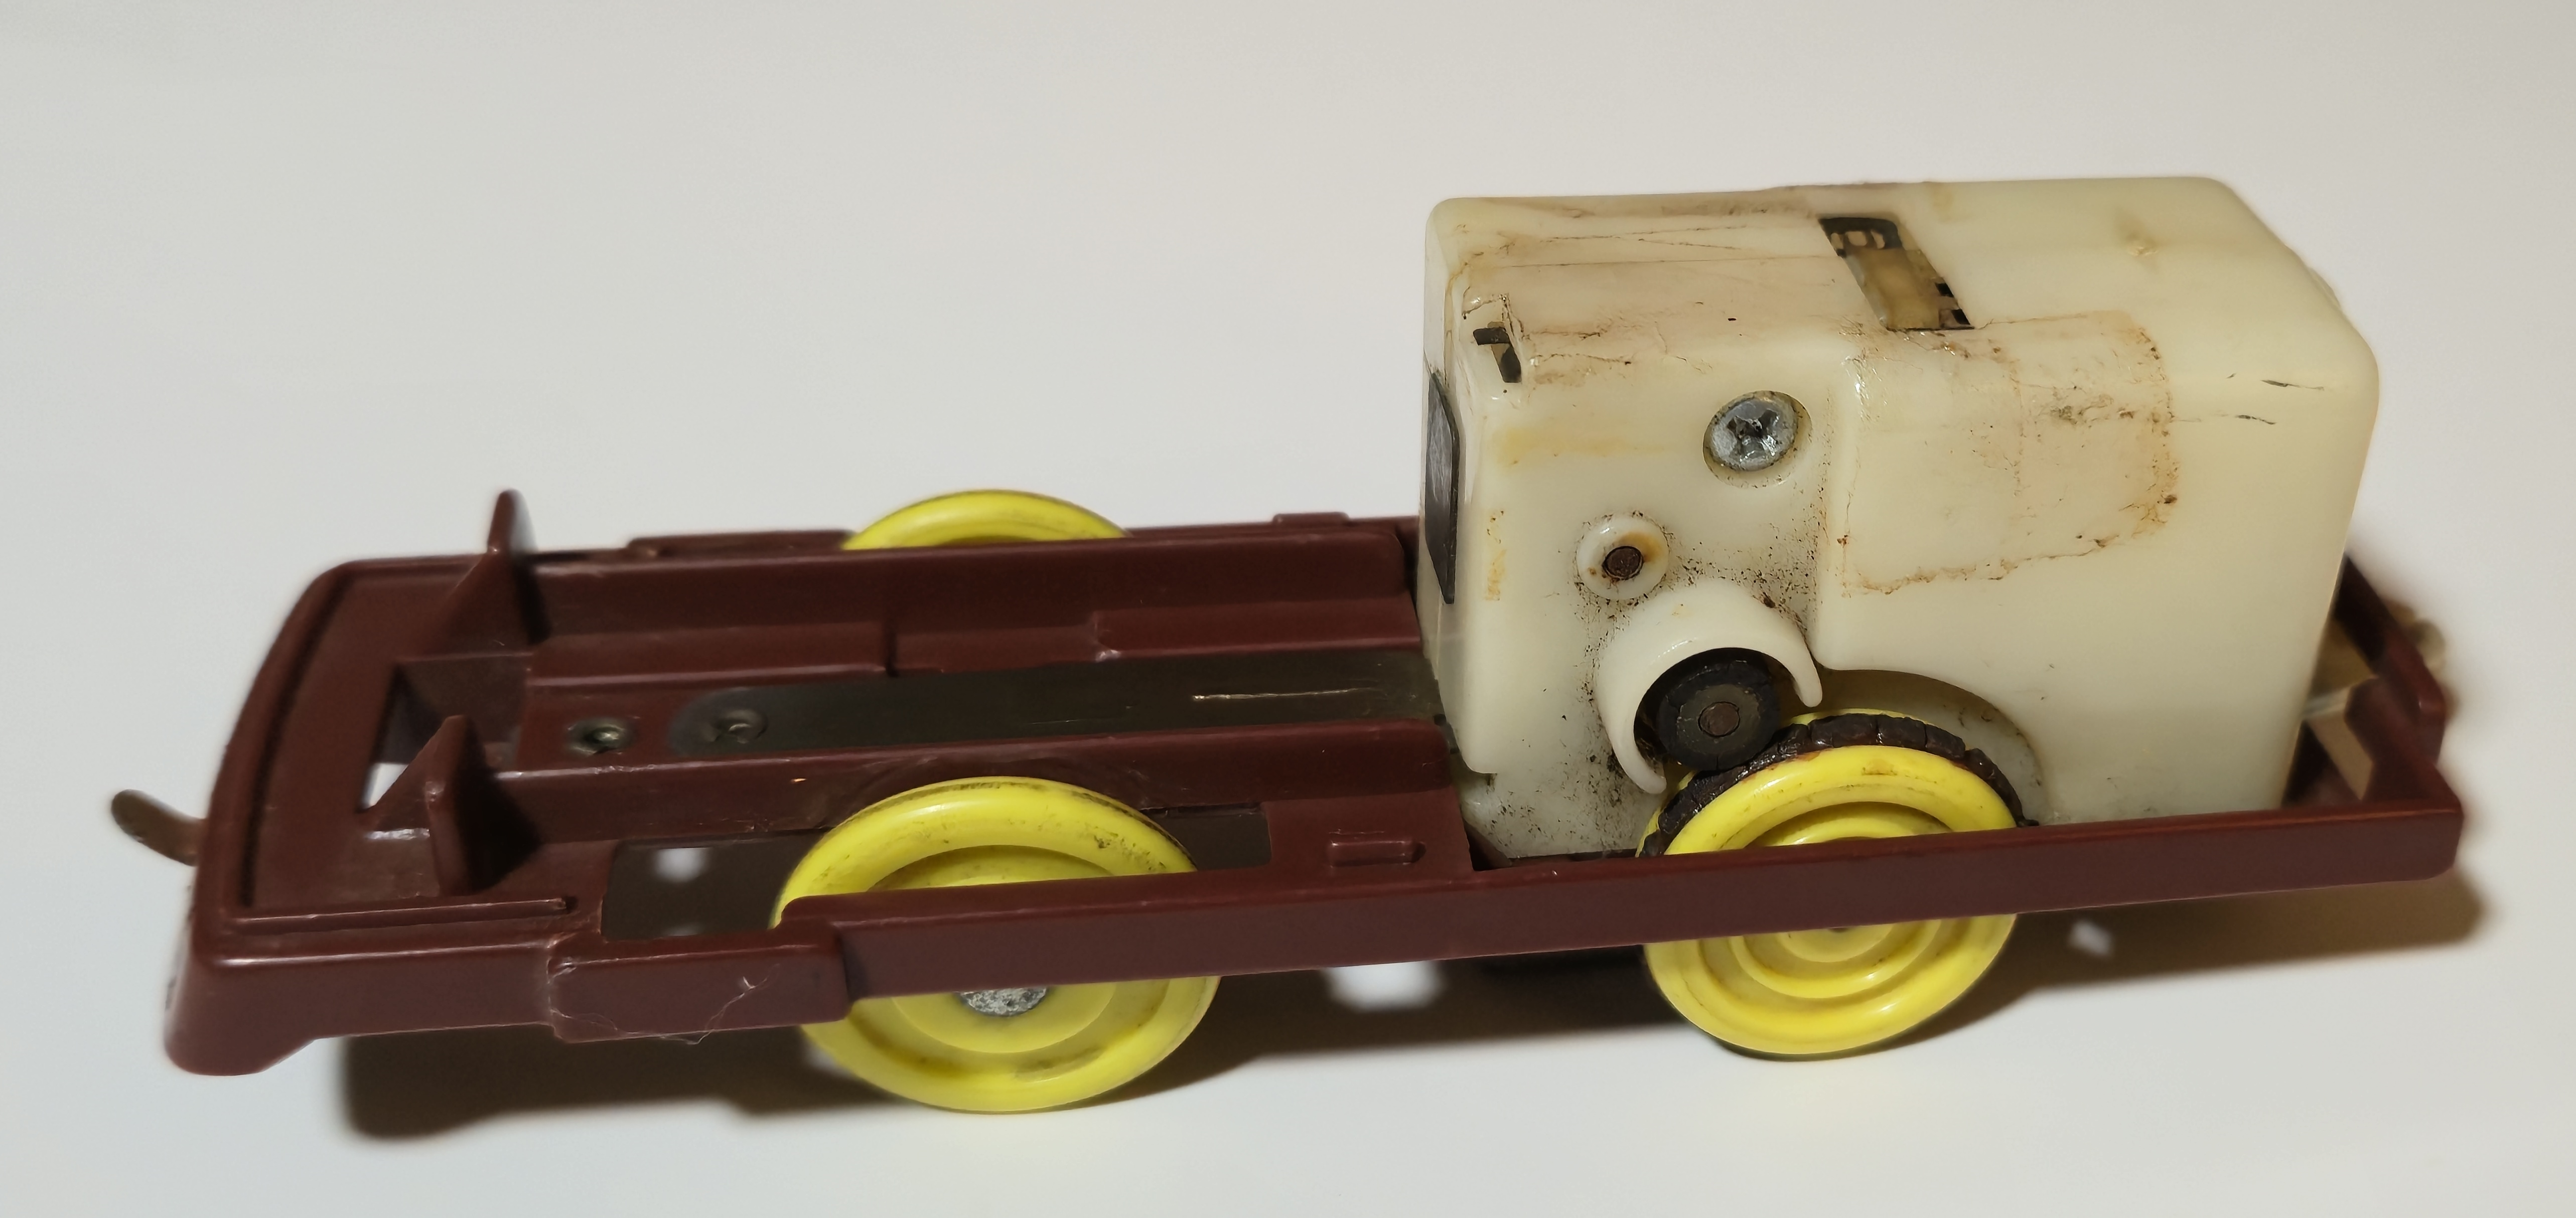
Let us first investigate the standard Plarail motor for many decades - The Mabuchi Motor Company FA130 brushed can-style motor. Brushed motors operate on a fairly simple principle that takes advantage of the interaction between magnetism and electricity and uses the rotation of the motor itself to keep the electromagnets inside switching between attracting and repelling the permanent magnets. Two bent metal tabs hold these motors closed. Let's take a closer look inside...
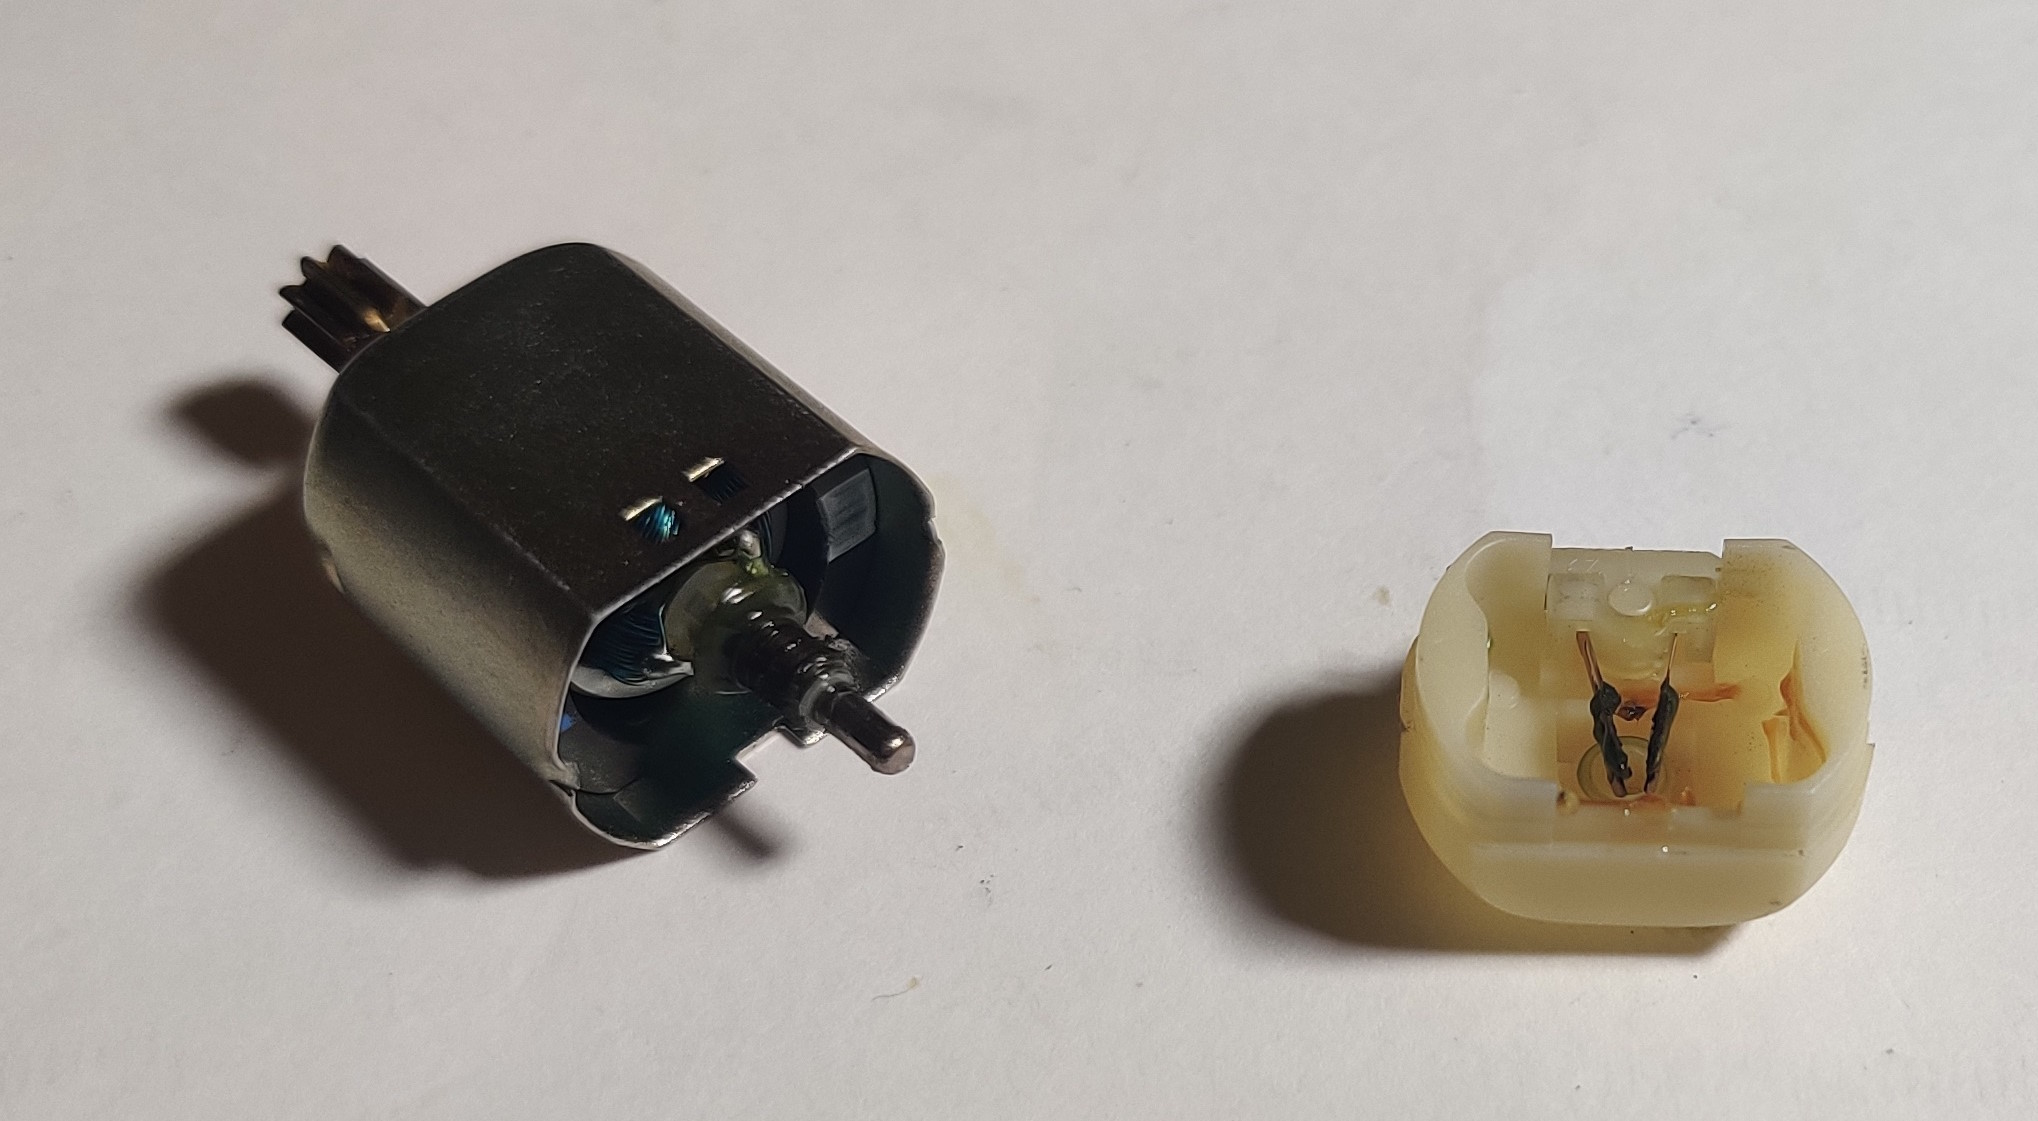
Inside the metal casing are two stationary permanent magnets that form the stator. One is a north pole and one is a south pole. The other stationary component of the motor is the plastic housing which holds the motor contacts where electricity is supplied on the outside and taken to the formed brushes at the other end inside the motor. These two brushes swipe against the commutator on the shaft.
The commutator is the key to the operation - the traditional "three-pole" motor has a commutator split into thirds. Each third of the commutator is wired into one end of each of the two adjacent motor windings, and the three large motor windings on the rotor form three electromagnet "poles" (hence the three-pole name) that will be energized in turn. When the motor is first energized, the two brushes will (most likely) be contacting two of the three contacts on the commutator. If a positive voltage is being supplied to the contact aligned with the south pole stator magnet with the ground on the north pole side, the positive voltage applied to the third of the commutator near the south pole magnet will energize the poles of the coil on the armature past the swipe of its rotation
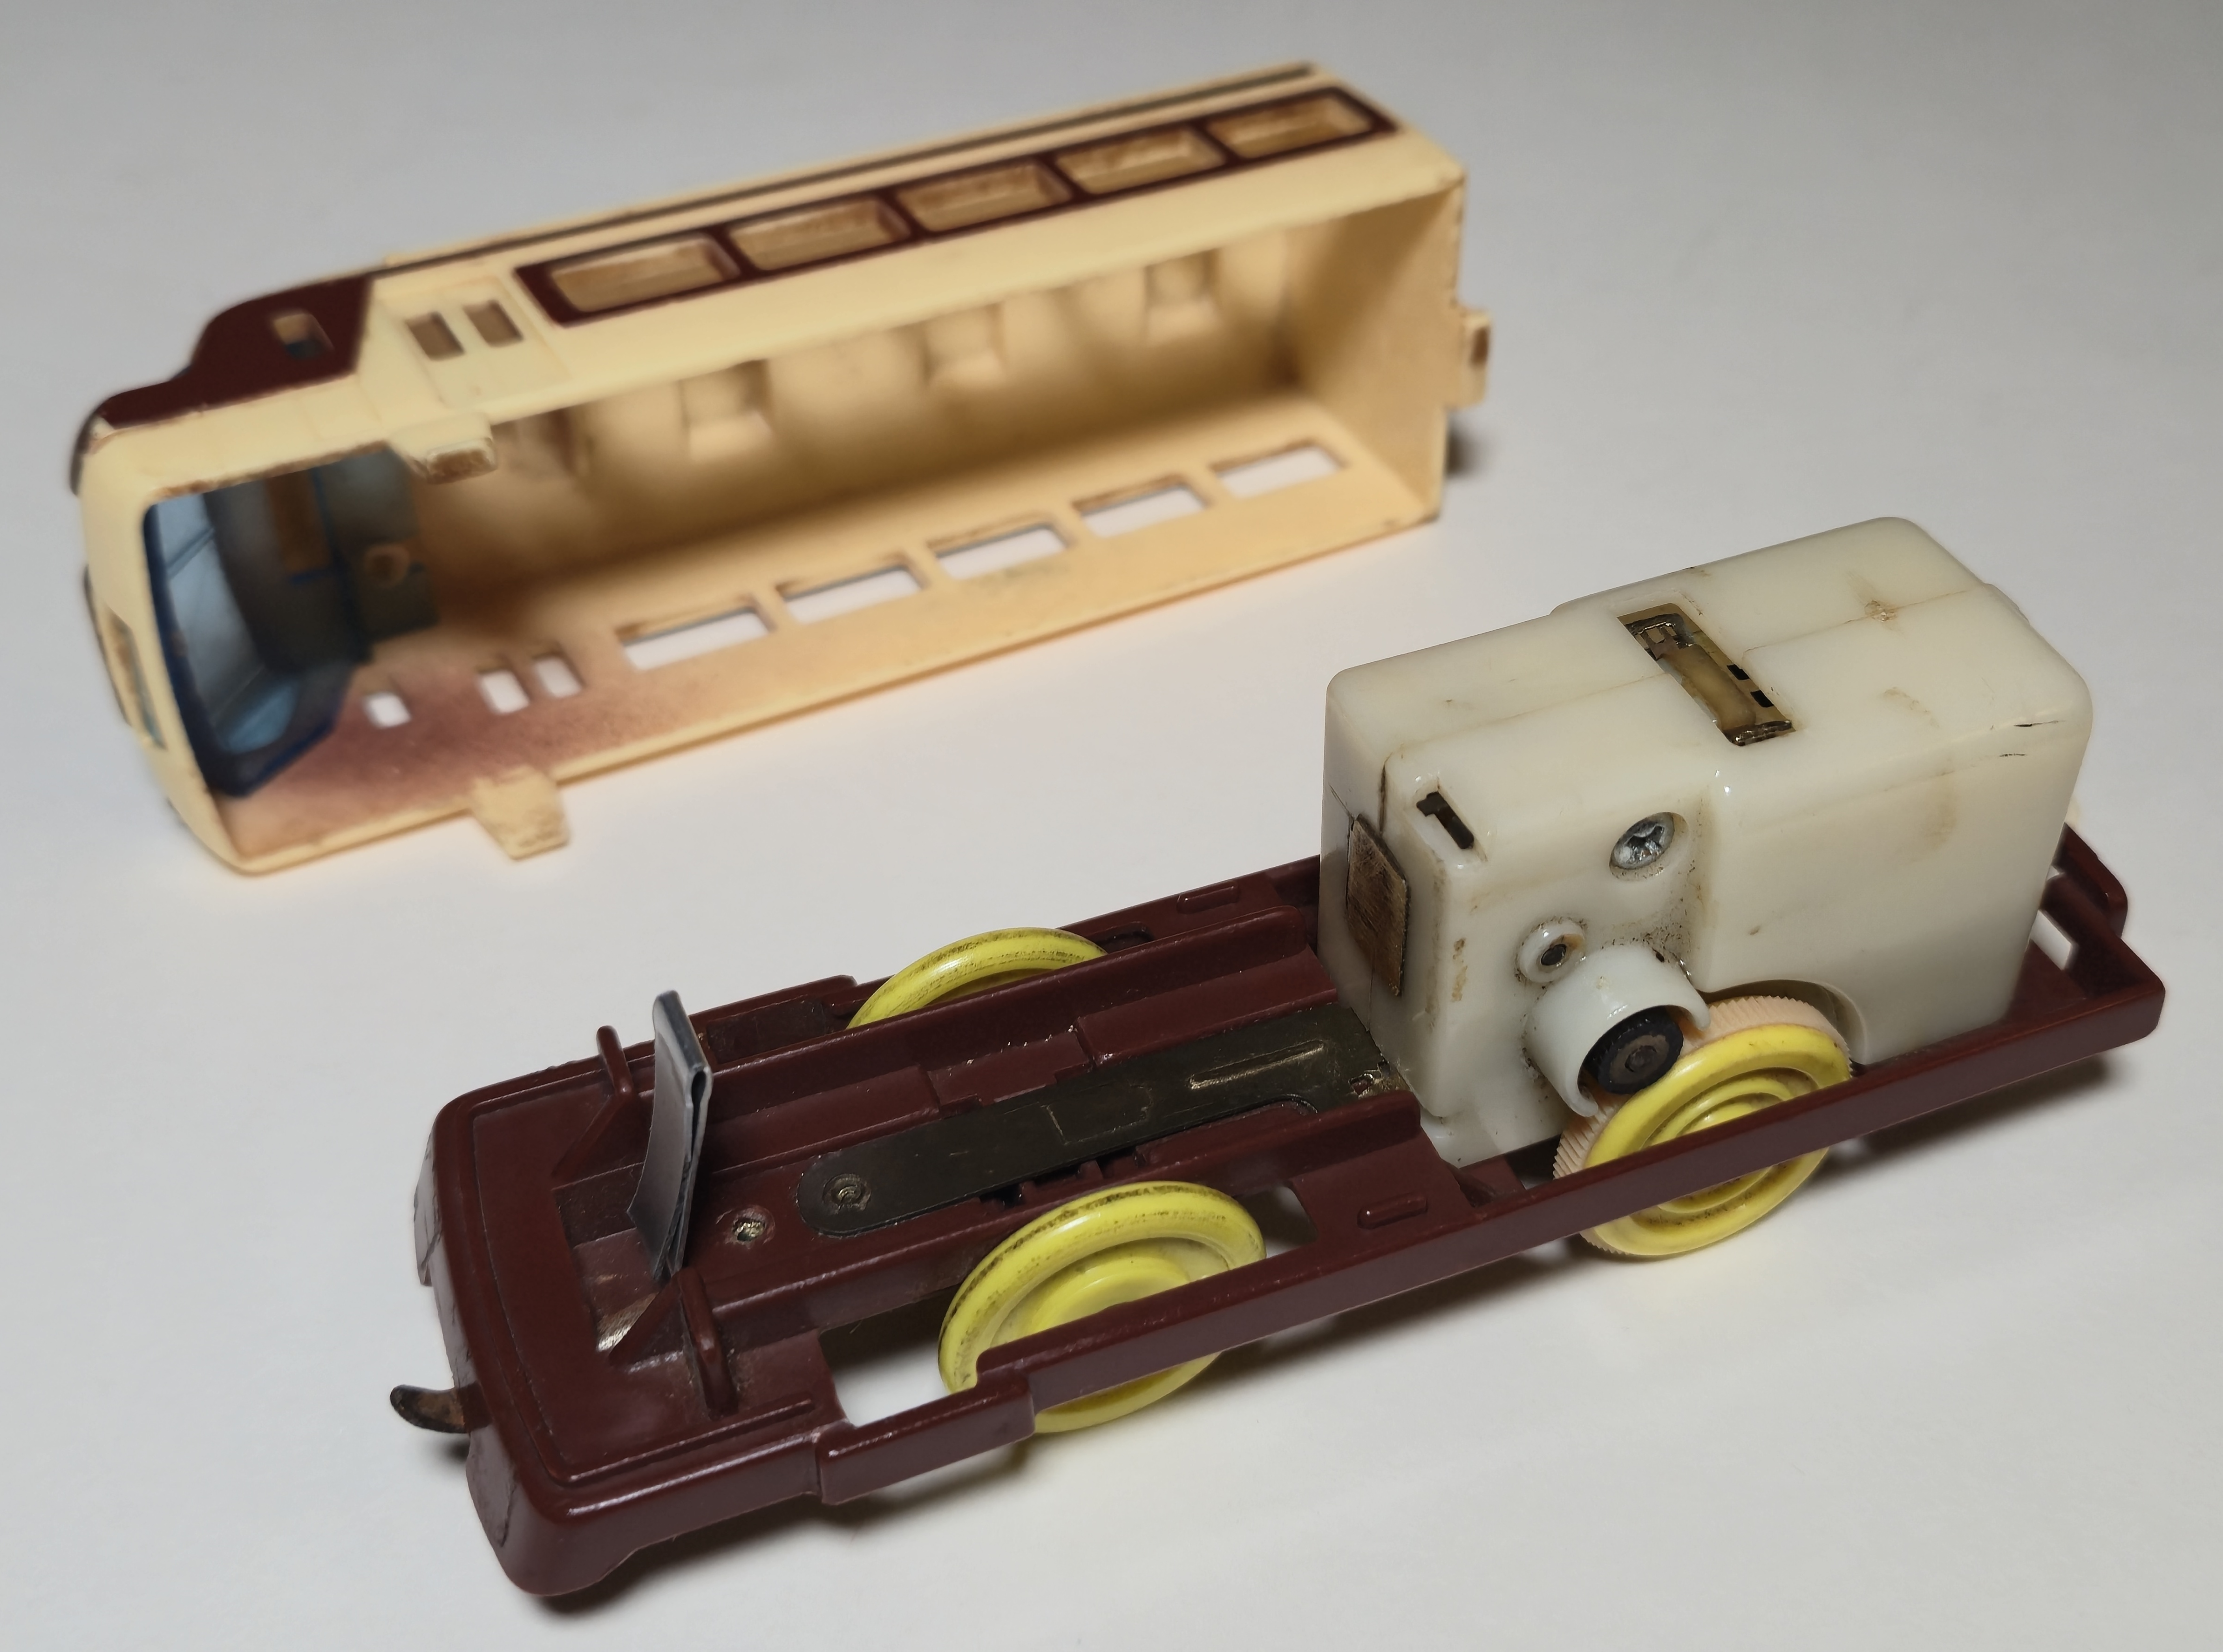
A fairly typical symptom of having sat is that the motors of power cars will not turn on when the power switch is thrown.
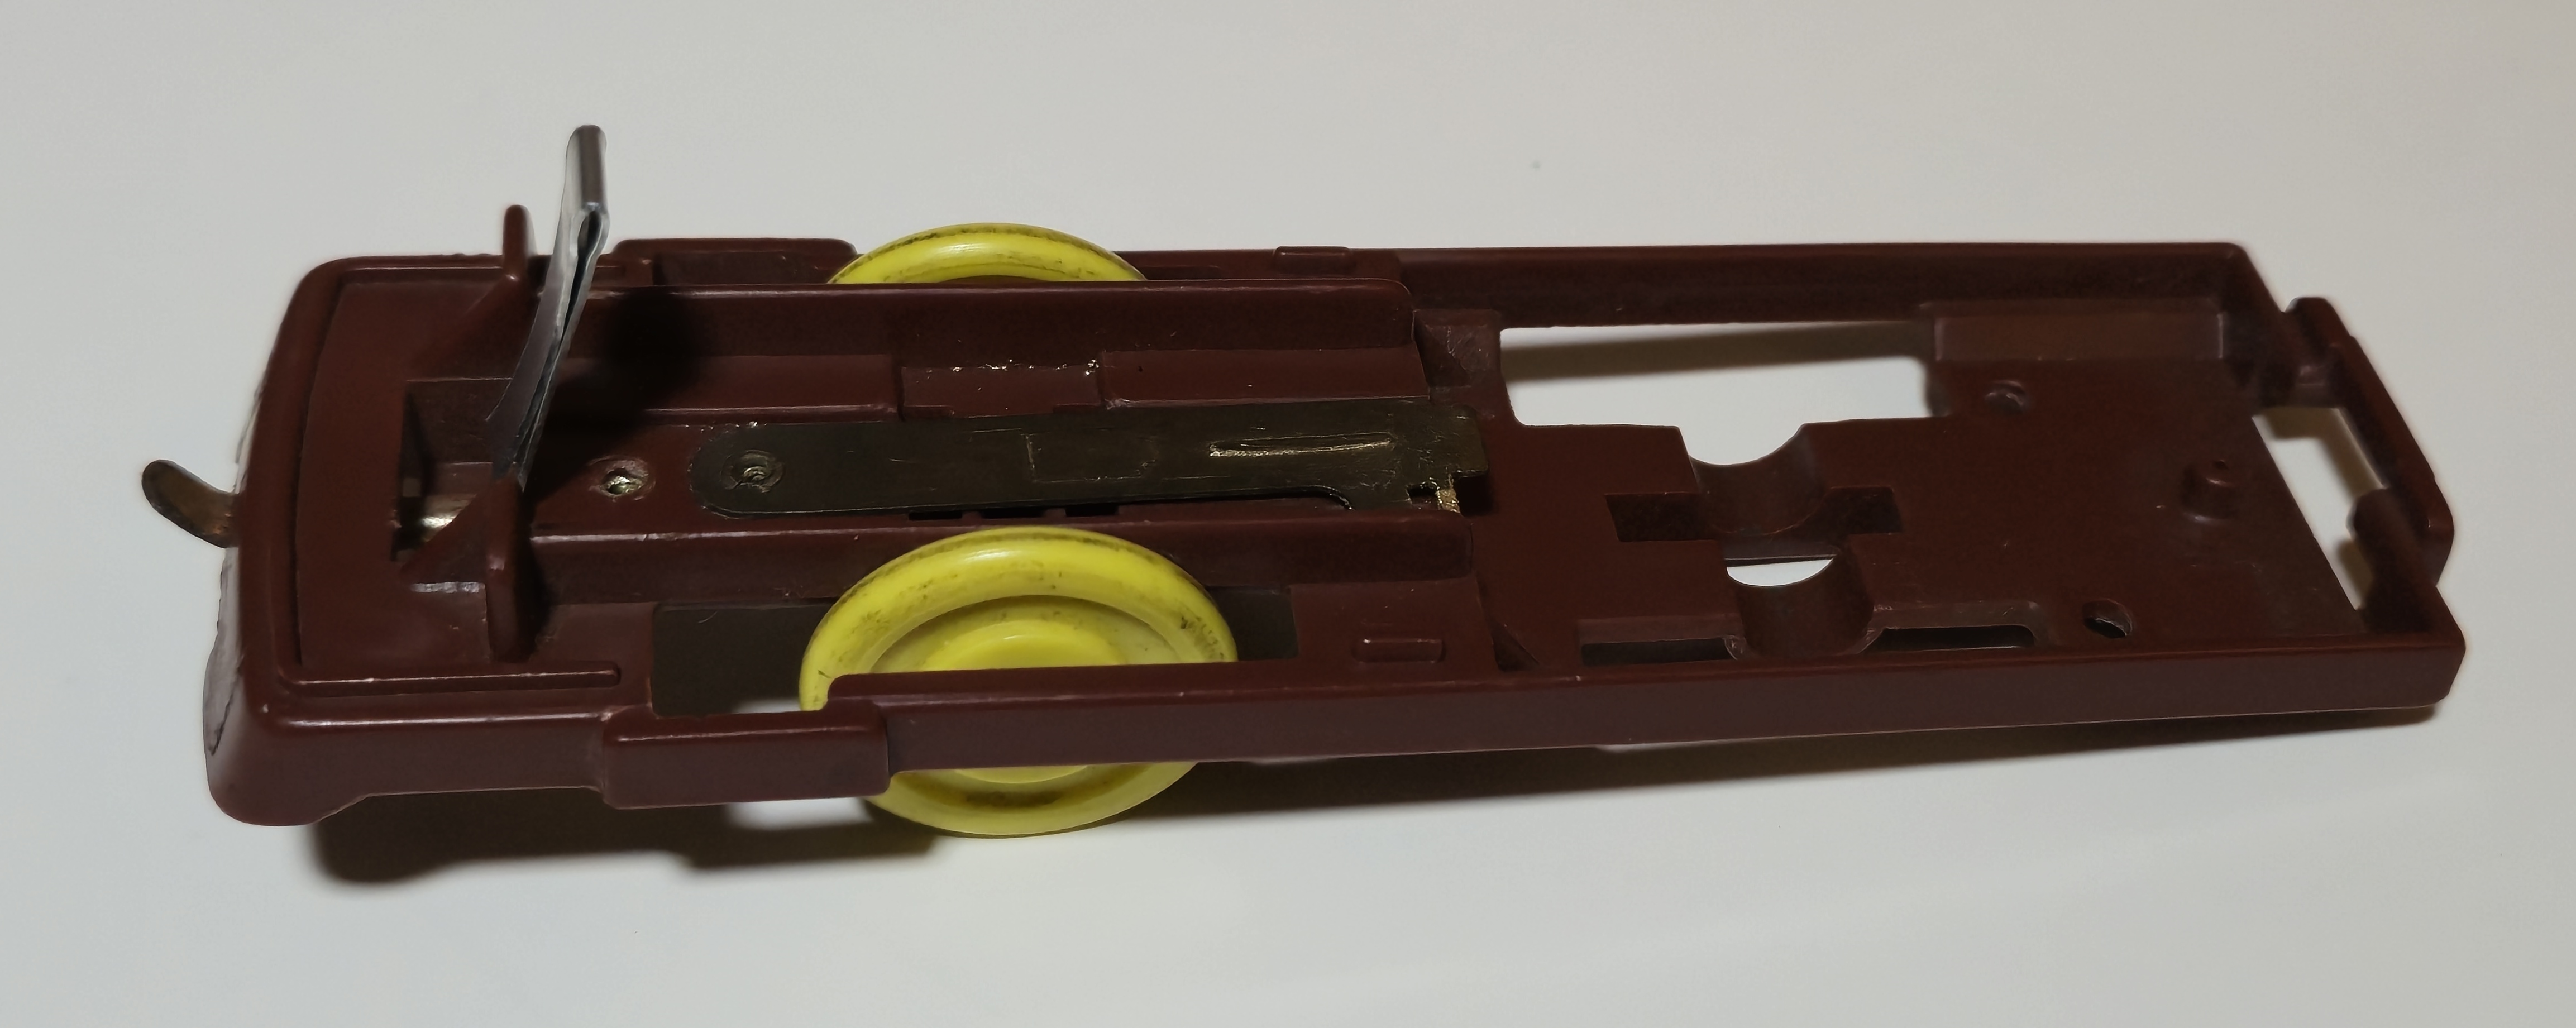
If there is visible corrosion or battery acid in the battery compartment/on the metal contacts it will need to be neutralized and cleaned off and the contacts will have to be inspected for electrical continuity and structural soundness (they like to crack along the weak point in the bend where the contact goes into the chassis).
Also clean contacts that are tarnished or darkened (older brass contacts particularly like to do this). Contact points between the motor and contact strips or around the power switch may also be tarnished. Crucially, the contact point between the motor brushes and the commutator also "set up" over time. A sharp tap or, if the gearbox can be backdriven or the motor shaft or earlier gears can be turned directly, turning the motor's shaft can get the brushes contacting new areas of the commutator and, as it starts to spin up, will help scrape away built-up tarnish on the commutator. Spraying a small amount of an electronics contact cleaner into the slots in the housing near the brushes can also noticeably improve motor performance, often without requiring disassembling the gearbox or motor.
Another solution is to overvolt the motor. Often, these Mabuchi FA130 style motors are installed in 3 volt applications, so if you take two AA or C or other 1.5v sources (or a 3 volt source) and connect it to the battery or motor terminals it often "jump-starts" the motor to life, with the increased power able "push" its way past any accumulated tarnish or corrosion. A 9 volt battery for a short time also works.
If a motor begins to squeal shortly after regaining motion it is typically the result of a lack of lubrication in the bushings at either end of the motor - seemingly most commonly the plastic housing side. A little bit of lithium grease or other lubrication is often able to be applied without disassembling the gearbox and quiet this squealing down.
Rubber component replacement
Most Plarails that are more than 15 years old will need new tires because they have either softened or hardened, but pretty much any train made since the 80s will be able to use the modern replacement packs of tires that Tomy still sells. The less easy rubber component to replace is the small rubber friction-drive tire used on old-power gearboxes - see the rim-drive gearbox tire replacements page for my solutions.

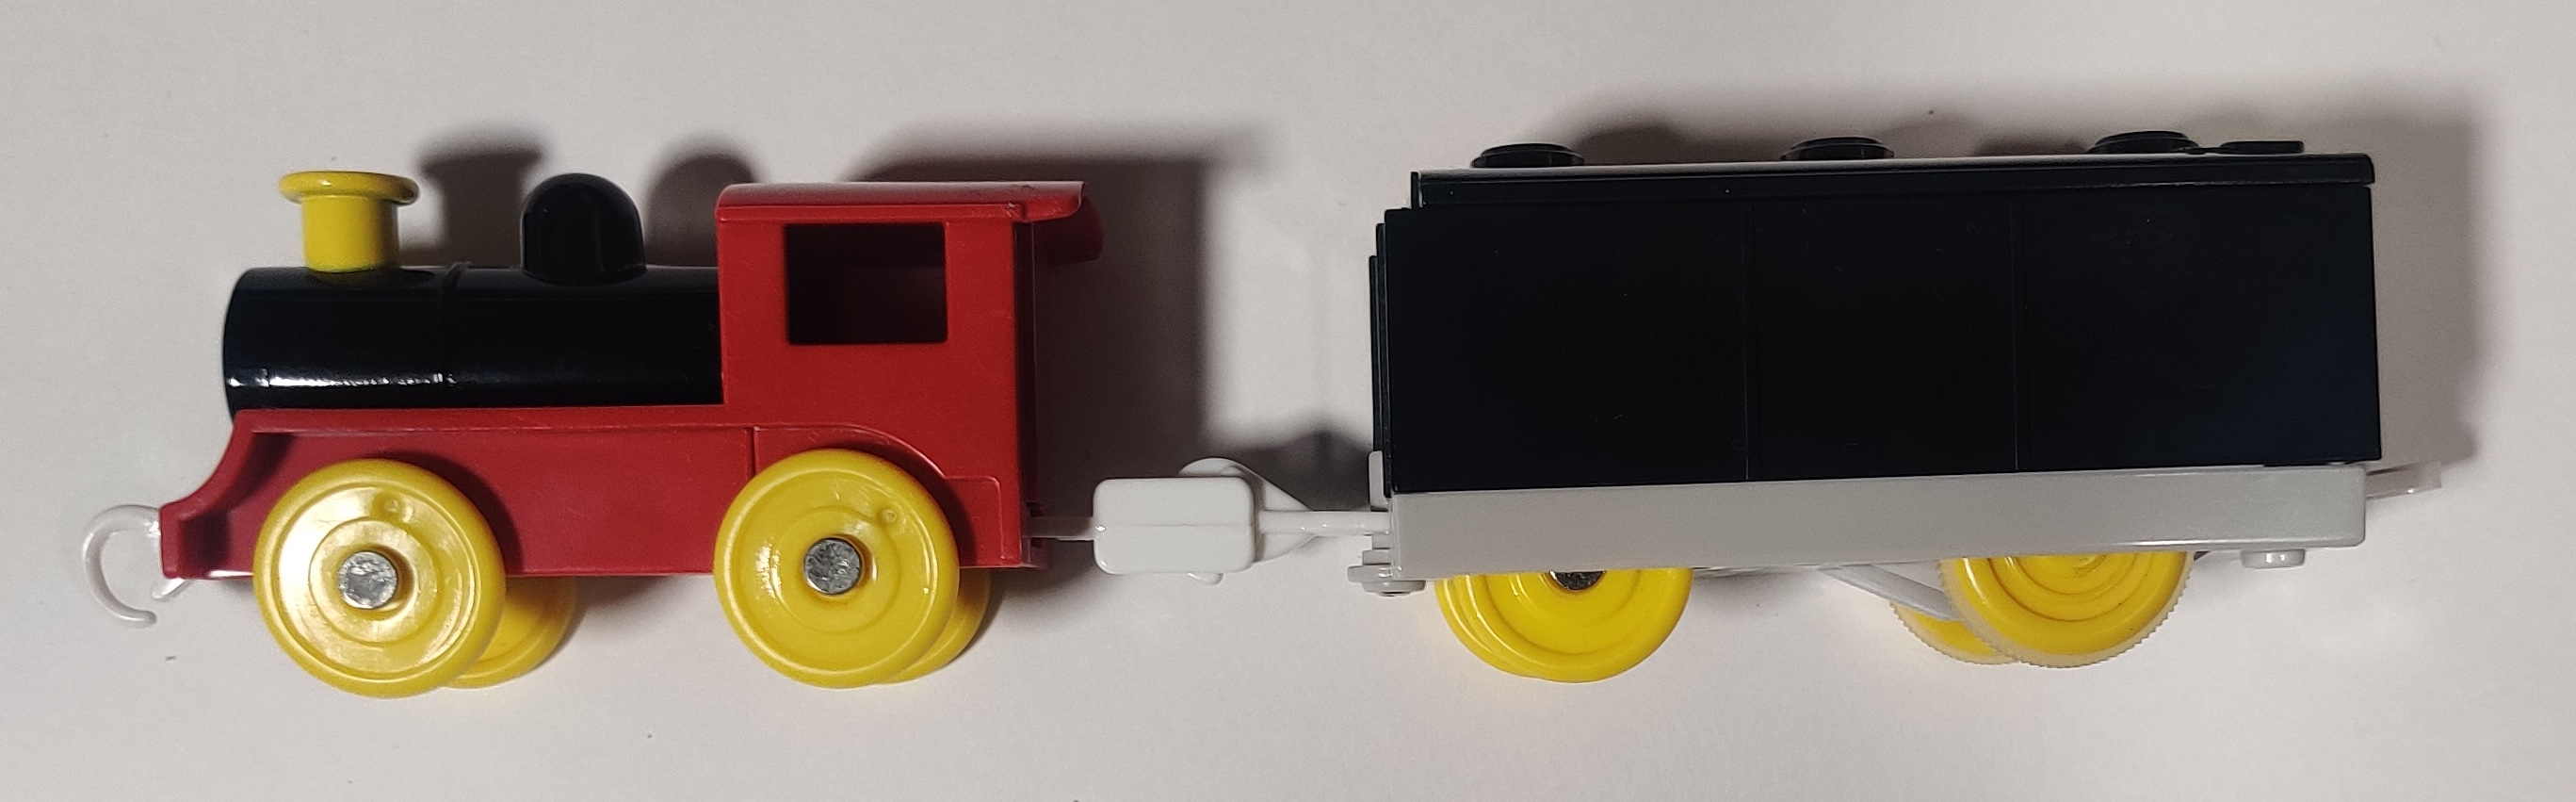
Coupling replacement
Like traction tires, Tomy still sells (and has sold for many decades) replacement coupling pieces of both the "hook" and "loop" type. If you need a particular vintage of coupling, you will probably have to scavenge one (or see if you can find a vintage pack of couplers, but I believe they started selling them in the early 80s when the coupling standard was already the nearly-modern single-split type.
The bulkier "push" type couplings used on the rear of unpowered lead cars with powered intermediate cars were sold at one point (I think Fisher-Price even sold a version when they ran classic TrackMaster), but are not any longer. The cheapest way to get more in the States is probably to harvest them from tender-drive Thomas engines (Emily is probably the longest-produced and easiest to get).
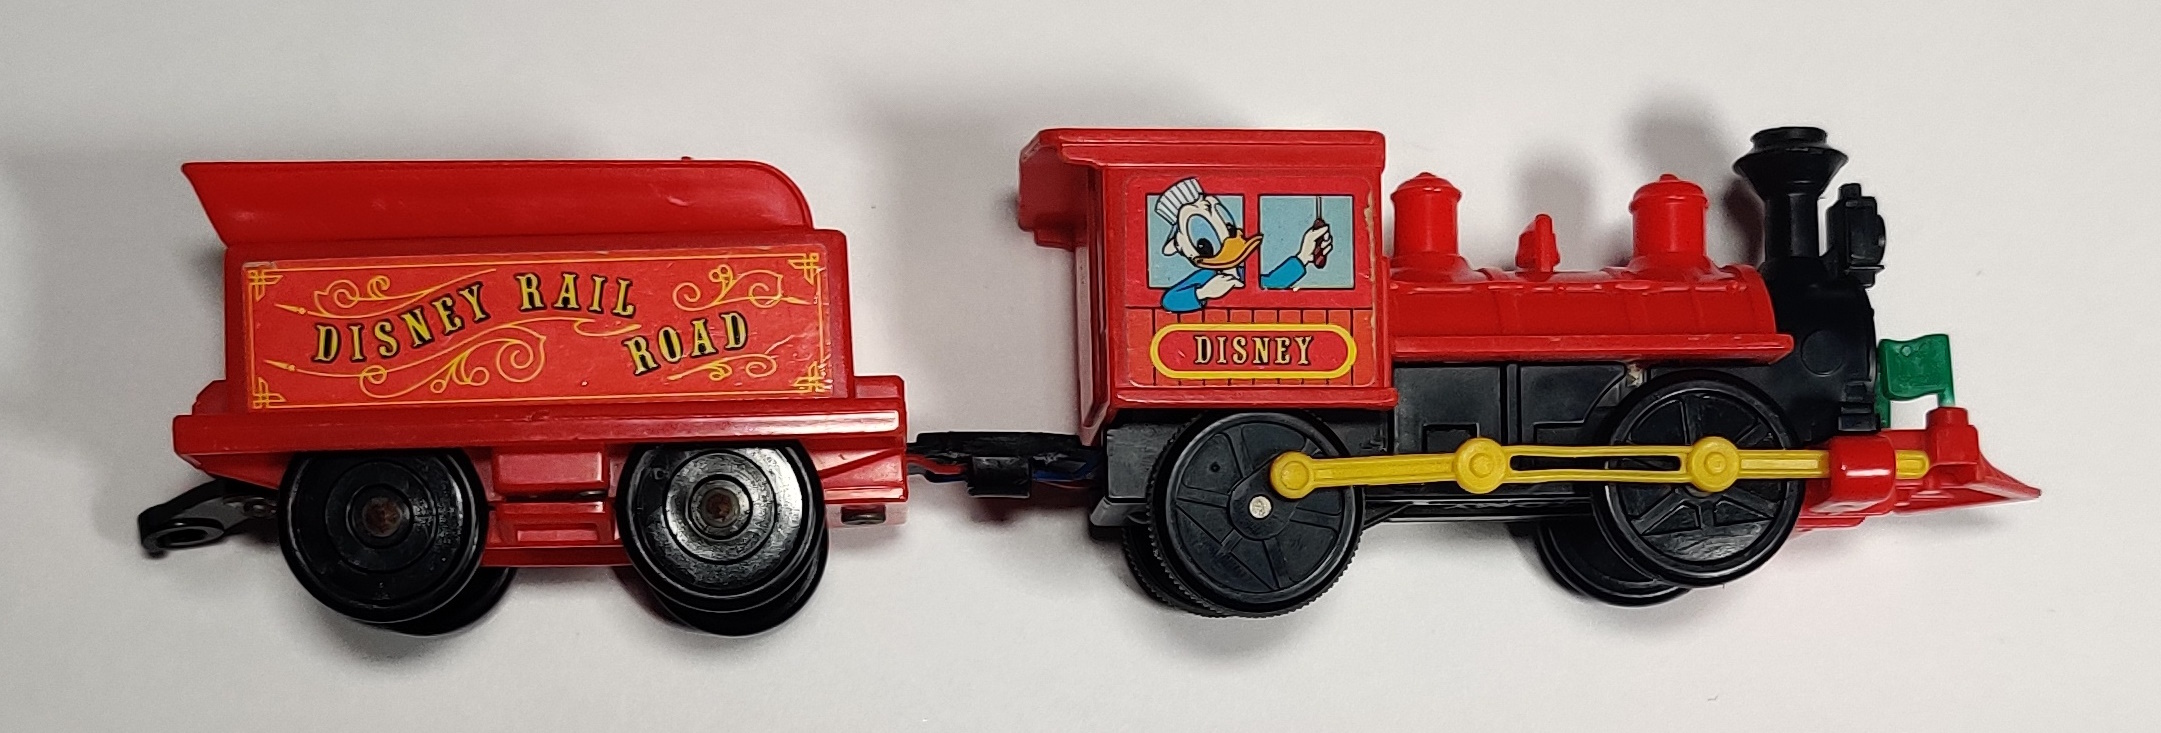
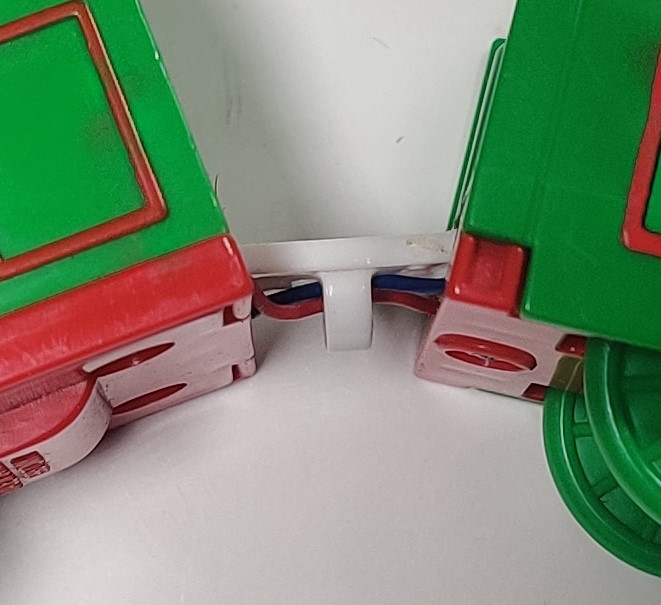
The drawbar-style connectors are generally harder to come across. The earlier "taller" Mickey Poppo-style connectors and the stiff Japan and early Thailand Thomas drawbars were, as far as I know, not ever really sold individually, and I generally try to glue these couplings if they come in broken but in serviceable shape. A version of the later more flexible type of drawbar was sold as replacement parts for some years I think by Fisher-Price but it is not a direct replacement, it has an odd shape and the bottom of the loop in the connector is actually open so that end-users do not have to desolder wires to install the connector (although the cars still need to be disassembled to get the coupler in place).
The "longer" style of coupling used on some engines like the DD51 was also not sold individually, I do not believe, although I have made a 3D-printable file replacement available here.
Electrical contact replacement
Broken or corroded and weak contacts often present no other option than to replace the metal battery contact.
One temporary solution is to simply use a folded strip of tin foil to make up whatever shape and thickness you need to get a toy working. This is not really a good long-term solution however.
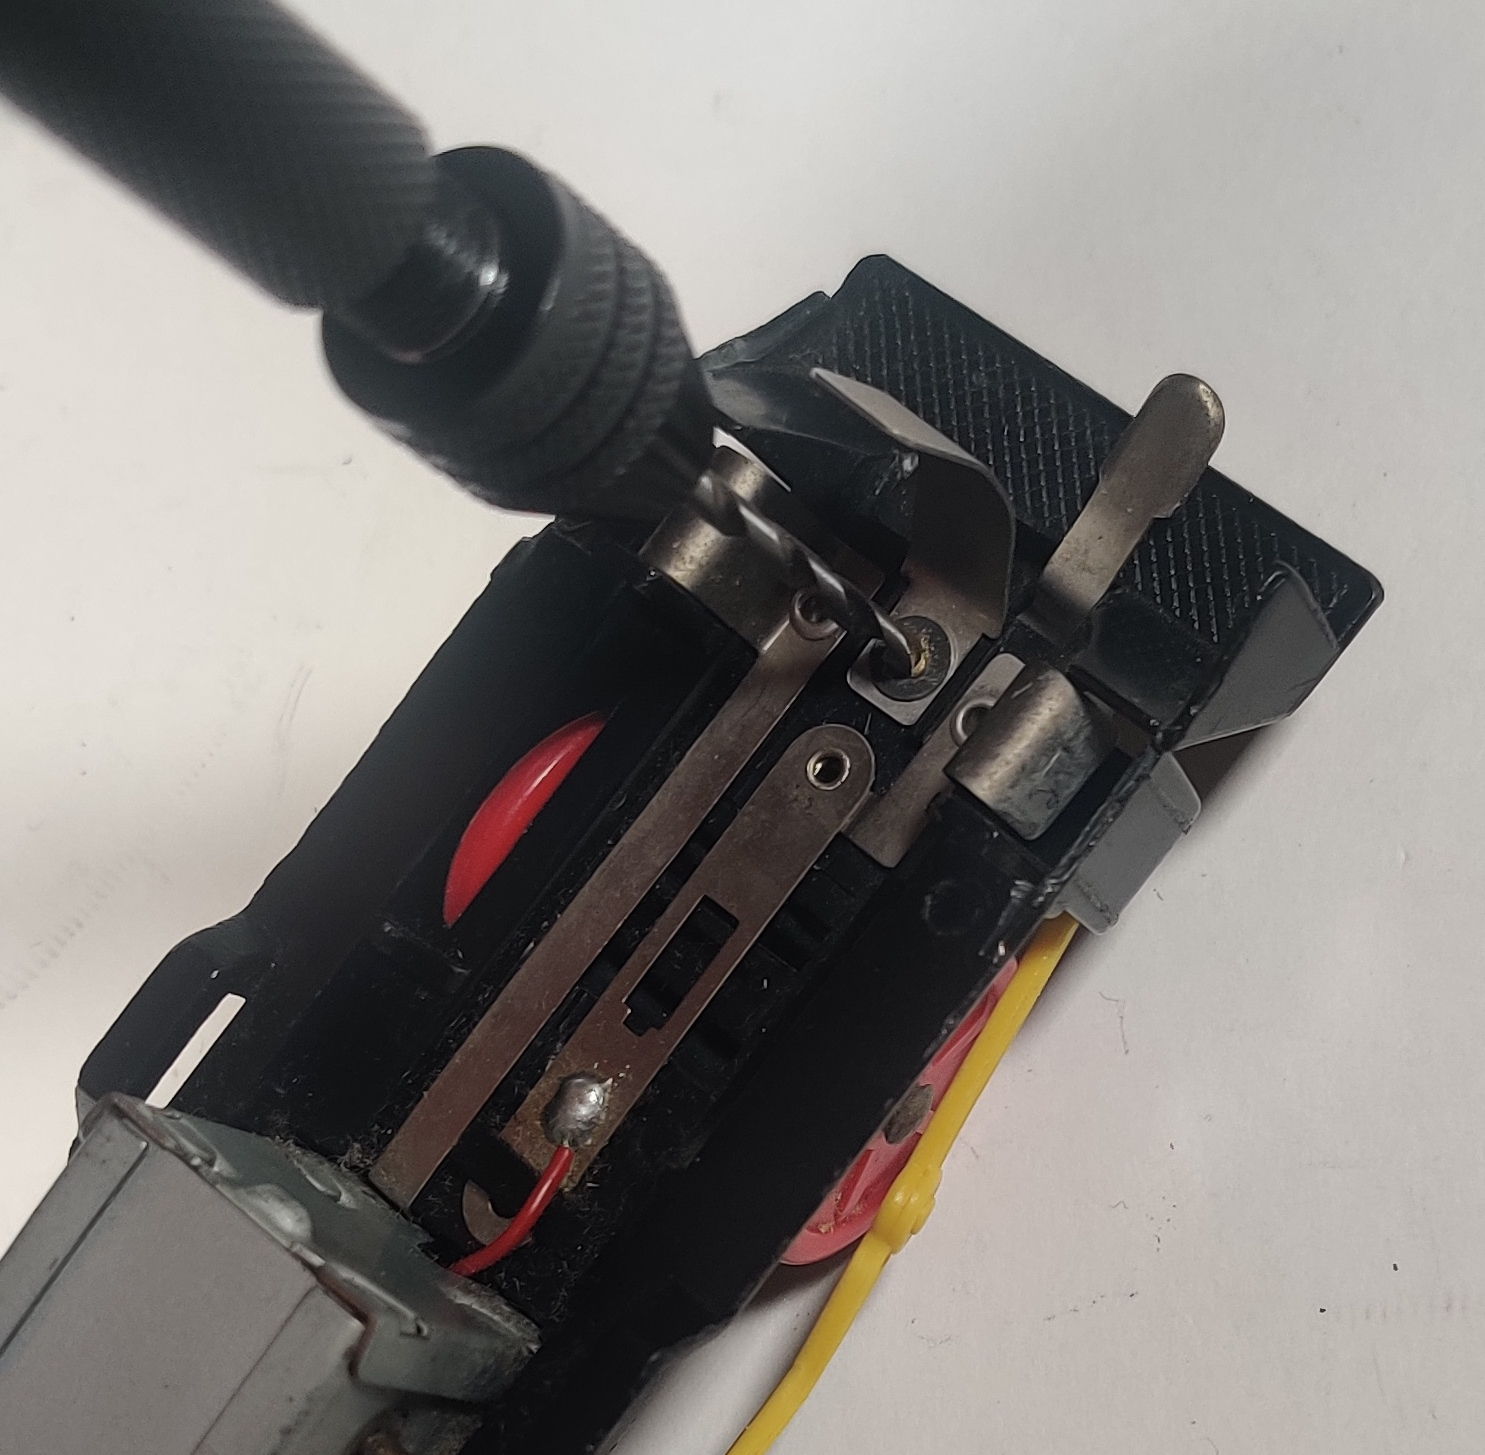
A better long-term solution would be to manufacture replacement contacts, drill out the small rivets holding the original contacts in place, and then replacing the contact and rivet. This is a somewhat more involved process and presents some chance of injury as you may use power tools and/or significant force in the process.
I generally try to avoid using a power drill to take out these small rivets, mostly because I usually do not have a good way to brace the plastic structure behind the rivet. I use a small hand drill and bits to drill out these rivets, which can take a little bit of time but works fine in my experience.
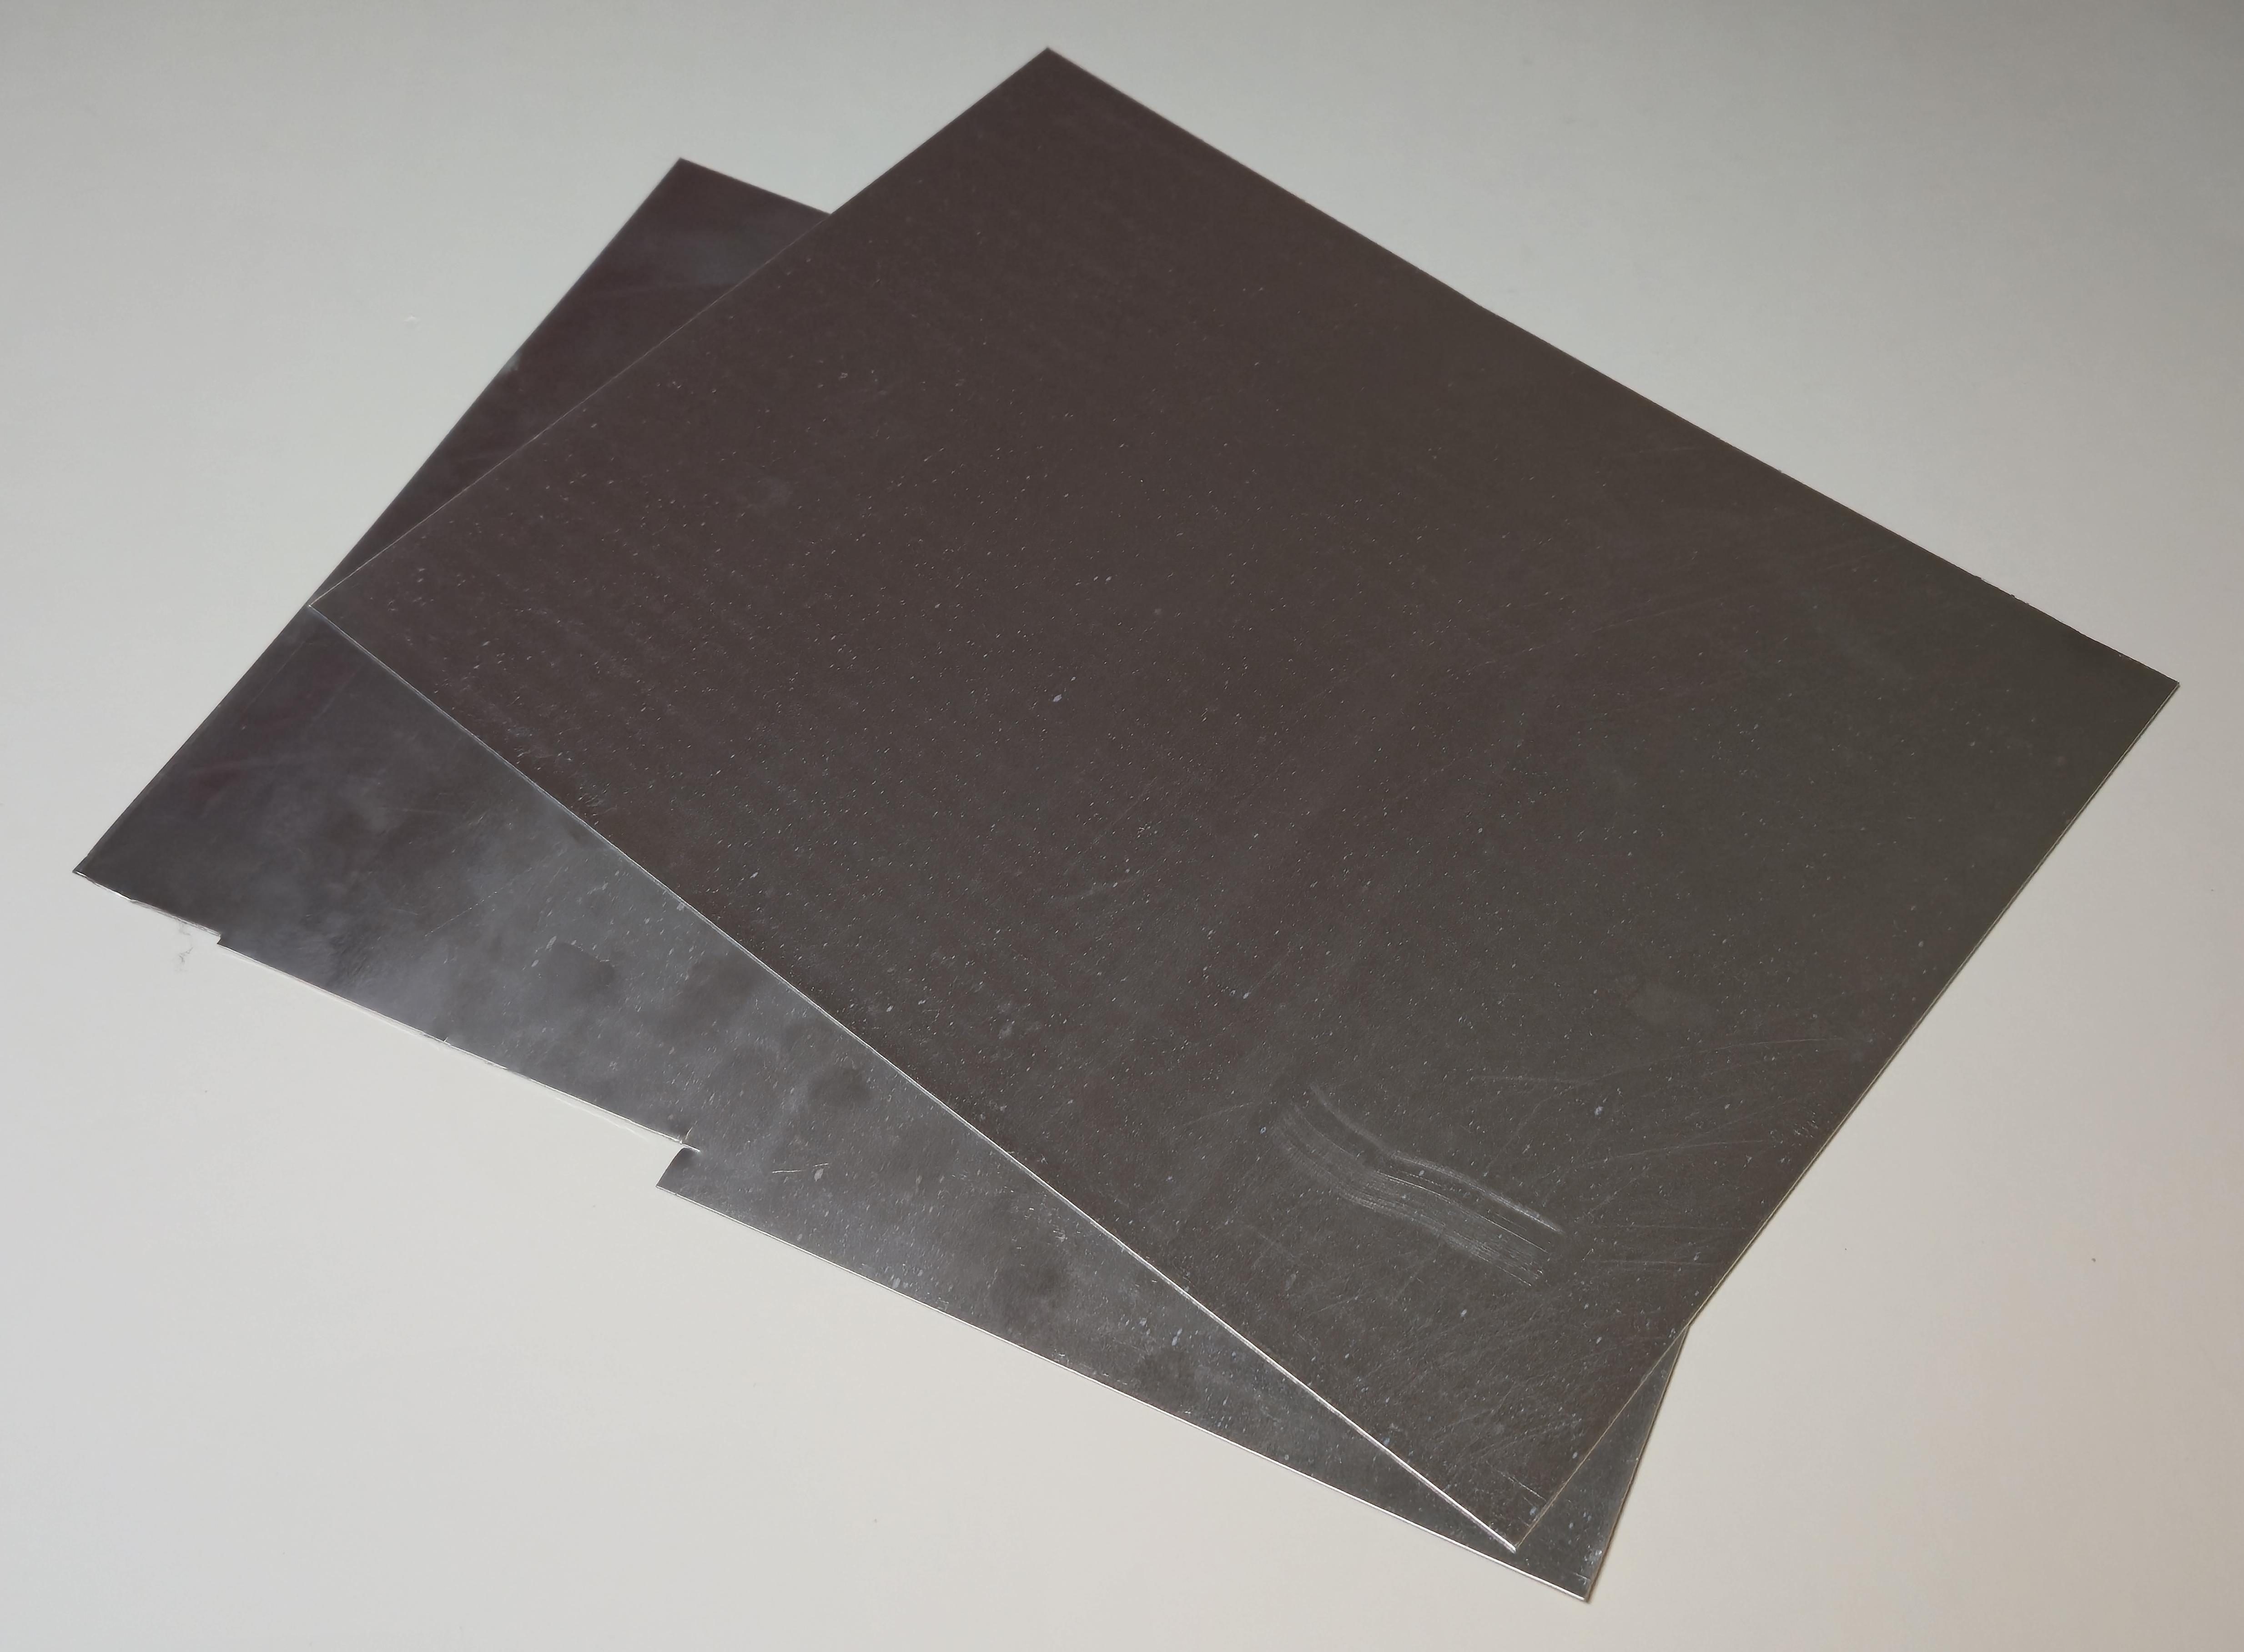
I bought some relatively thin aluminum sheets that can be easily cut and bent into arbitrary contact strips. They can be filed down and shaped to make relatively nice replacements, and can have holes drilled or punched in them to rivet them in place. Soldering to aluminum is quite hard which makes replacing contacts in wired trains more annoying - I cut a notch into one side and wrap the wire around the strip at that point, twist it tight to itself, and solder the twist in place.
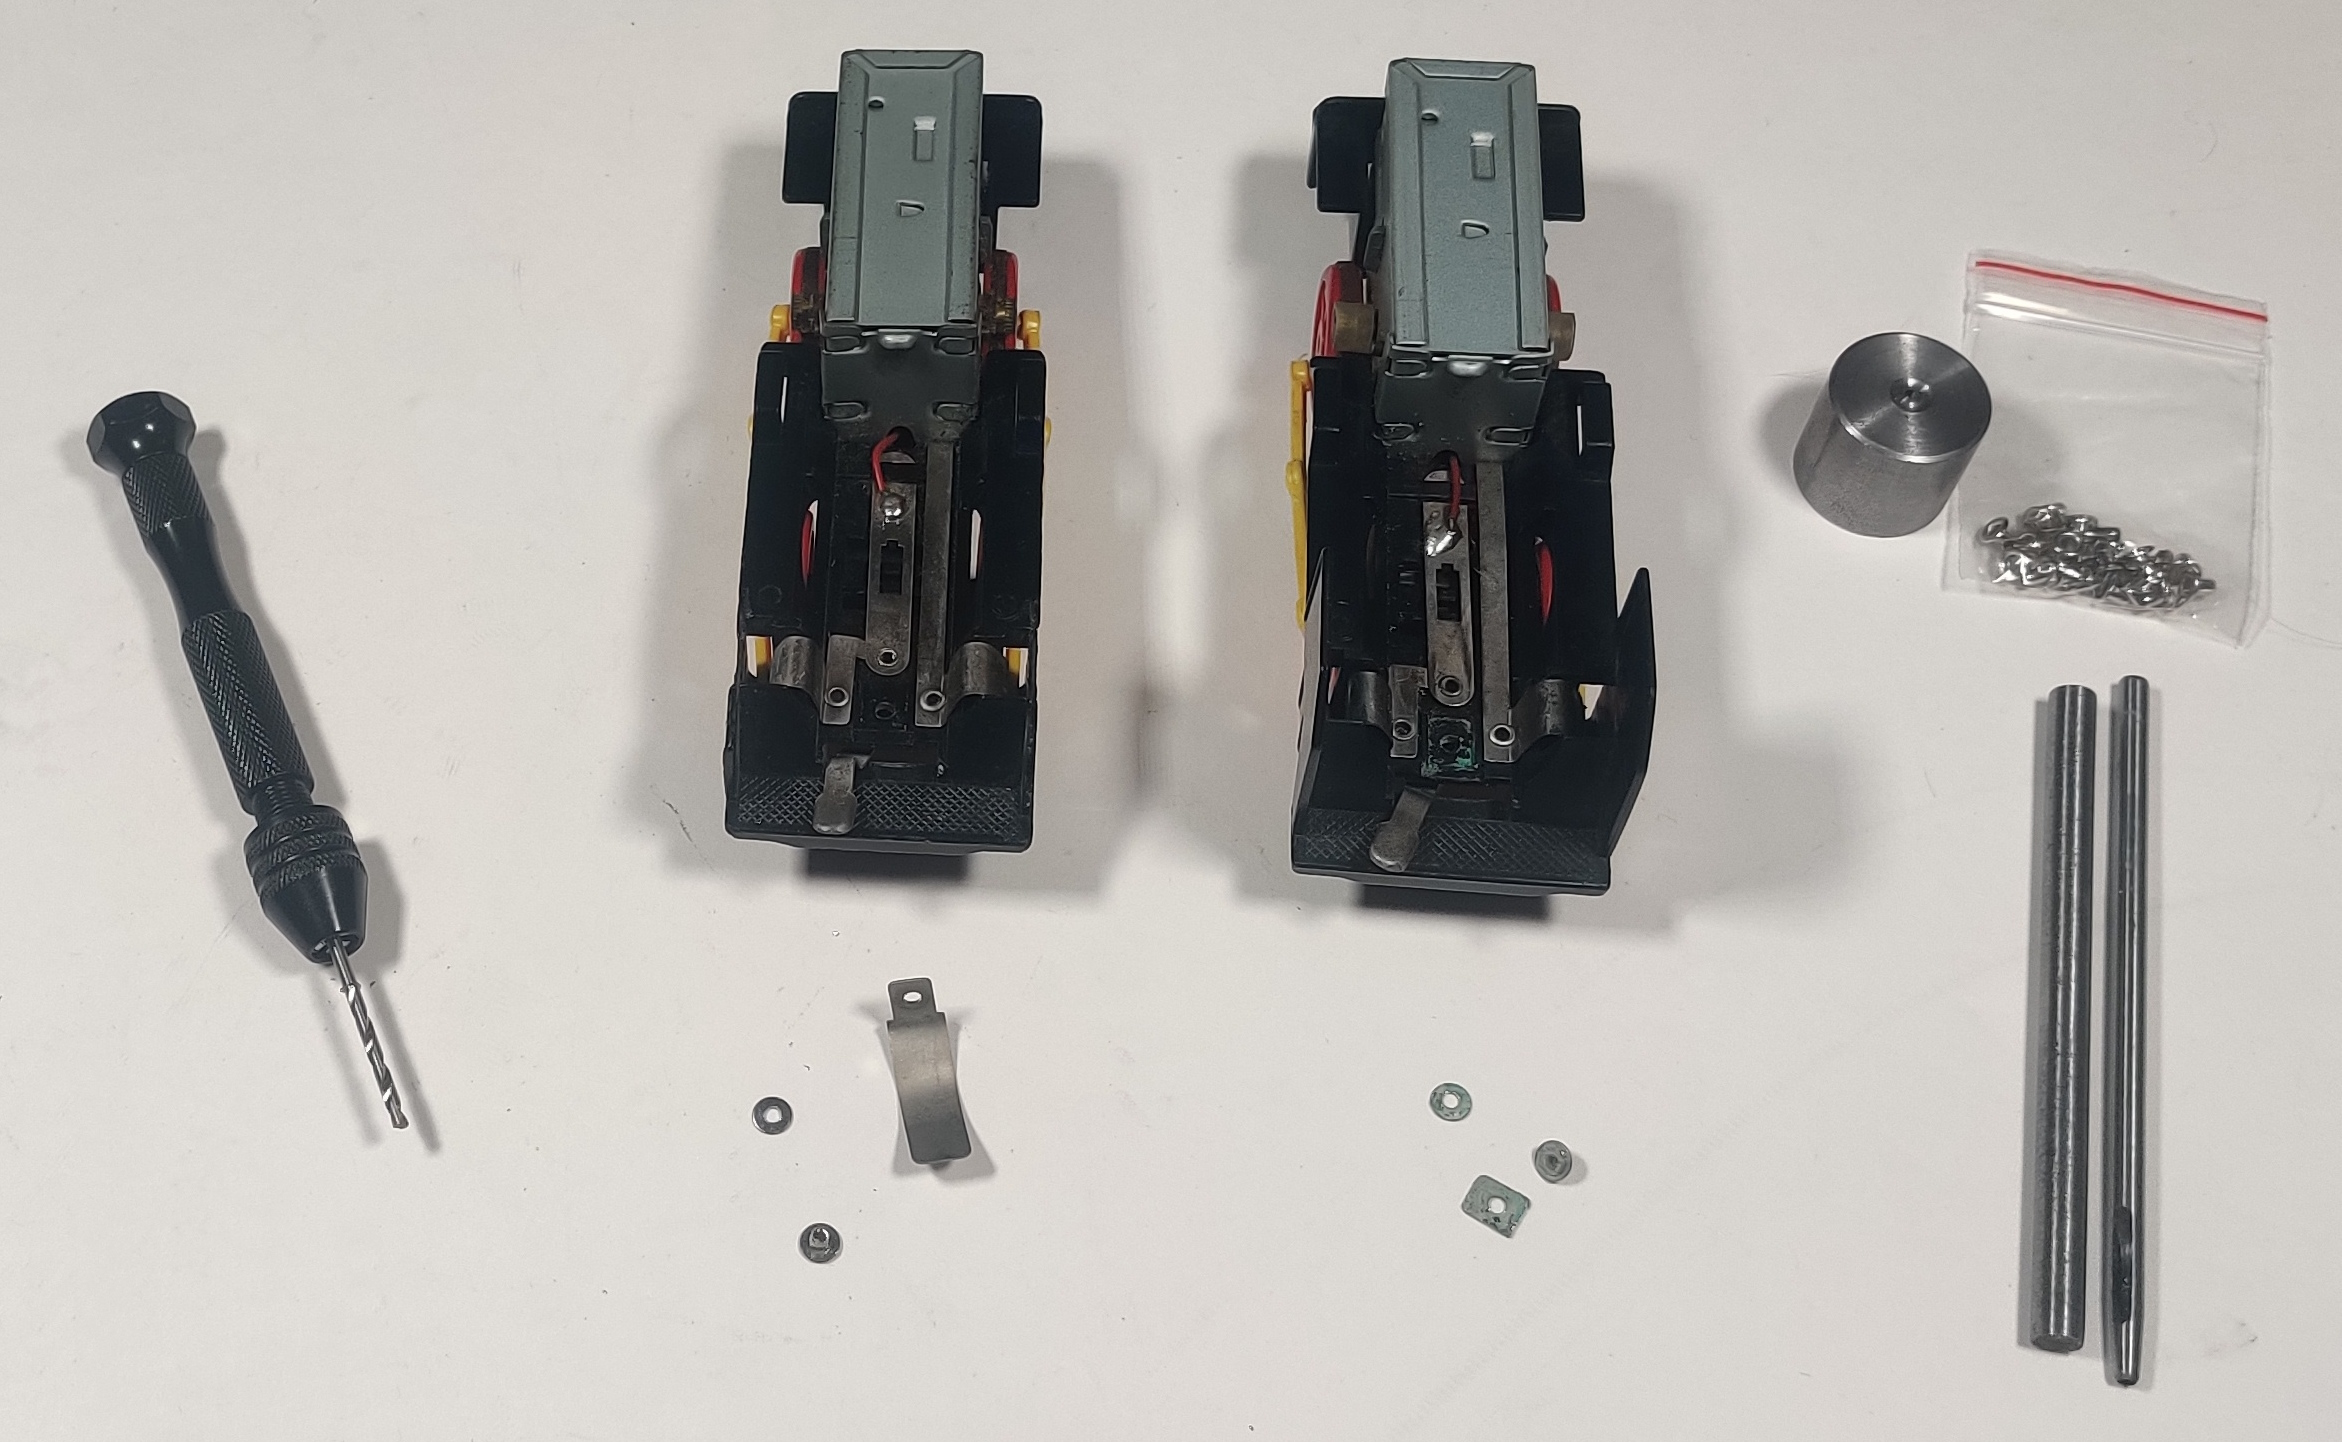
I have experimented a few times now with swapping good contacts from aesthetically blemished toys into nicer condition ones with wrecked contacts. I did this with a Thomas chassis just to see if I could do it and then with two later Thailand-made old power D51 with Light chassis, one with a broken front contact and the other with broken smoke deflectors to take an original contact from. The most annoying part is getting the new rivets in place, especially the older front-power-switch trains with the power switch hanging right under the front battery contact.