fall inside a hole
Plarail resources
| Directory | Sets | Trains | Rail | Accessories | Catalogues |
| Thomas series | Thomas exports | Tomica | Tomica World | Exports | Repairs |
Plarail carbon-dating
There are a number of production and design changes that have occurred to Plarail which can help you to figure out approximately (or even exactly) when a Plarail train or accessory was produced. A page outlining the trends I have identified and use to date the manufacturing of trains can be found here.
Useful Japanese
I have compiled some of the Japanese phrases that I run into and use in conjunction with collecting Plarail here.
Plarail catalogues and manuals
Scans of many of my Tomy catalogues, manuals, and other printed things can be found here.
Plarail repair information
The repair guides and photos provided here detail some of the methods I use to repair engines and I take no responsibility for any injury to persons or Plarails when attempting to perform any procedure detailed here. Your mileage may vary.
Tomy still sells, as Plarail spare parts, traction tires that will fit the majority of Plarail and adjacent trains released since the late 1970s. These can be bought on online retail sites and will work for Plarail, Tomica World, "Merry-Go" sets, and Thomas Motor Road & Rail and TrackMaster trains.
Repair guides and pictorials
|
Title |
Description |
Photo |
|---|---|---|
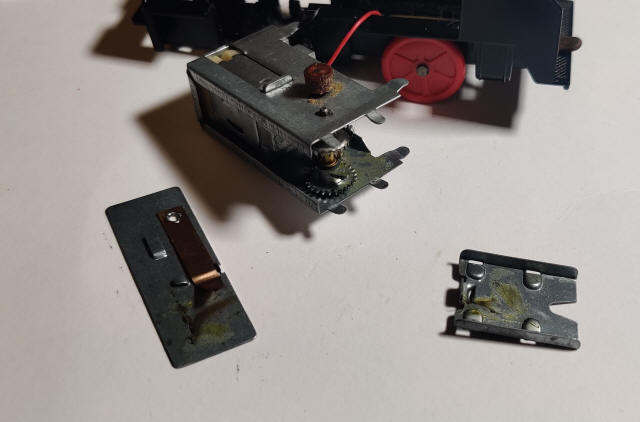
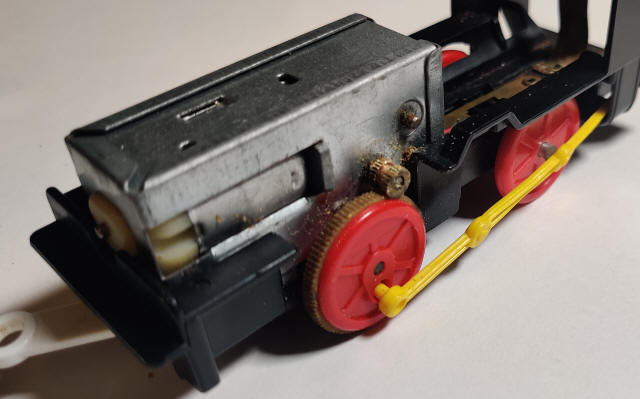
| Common power car repairs | Jump-starting motors, replacing battery contacts, and more | |
| Metal
"old power" rim-drive gearbox disassembly |
Disassembling older all-metal gearboxes. I do
not usually find this is necessary |
 |
| Plastic "old power" rim-drive gearbox disassembly | Disassembling older milky white plastic gearboxes | |
| Rim-drive
gearbox tire replacements |
Ideas and methods for replacing the smaller traction tires on older rim-drive trains |
 |
| Round-Trip Plarail gearbox repairs | Repairs of both the internal and external rim-drive gearboxes used on Round-Trip or Reciprocating Plarail |
 |
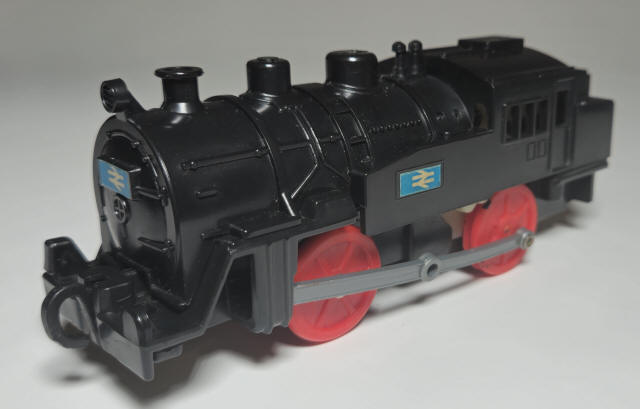
| Hong Kong C12 gearboxes | Odd gearboxes used in Hong Kong-made C12s for export in Palitoy and Stelco sets |
 |
| Mickey Poppo repairs | Disassembly and repair of both old and new power Mickey Poppo locomotives |
 |
|
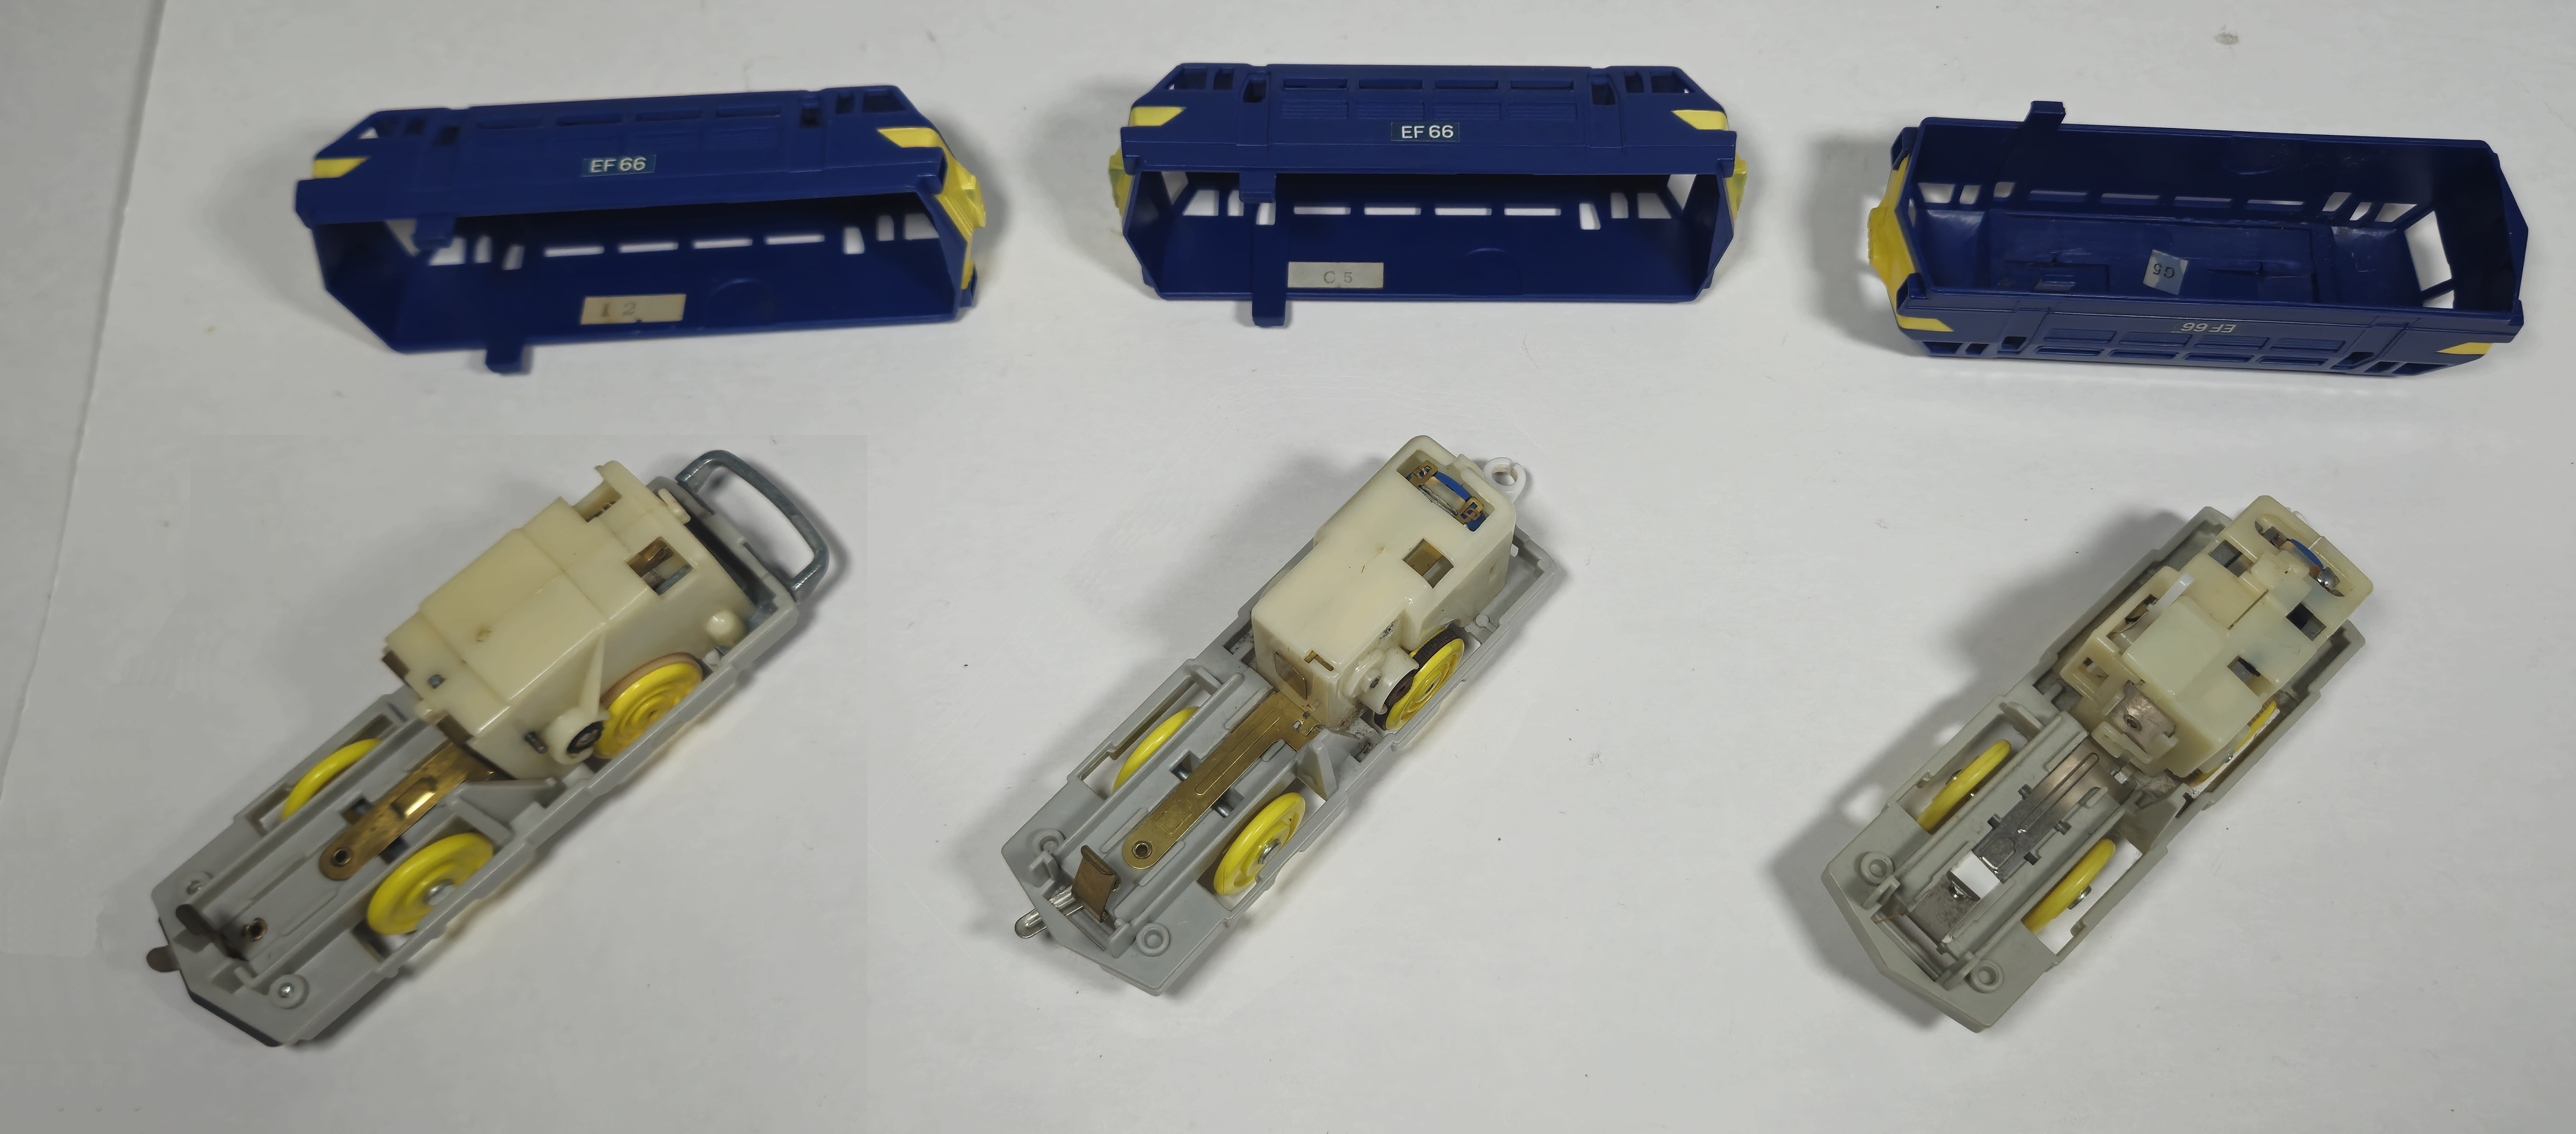
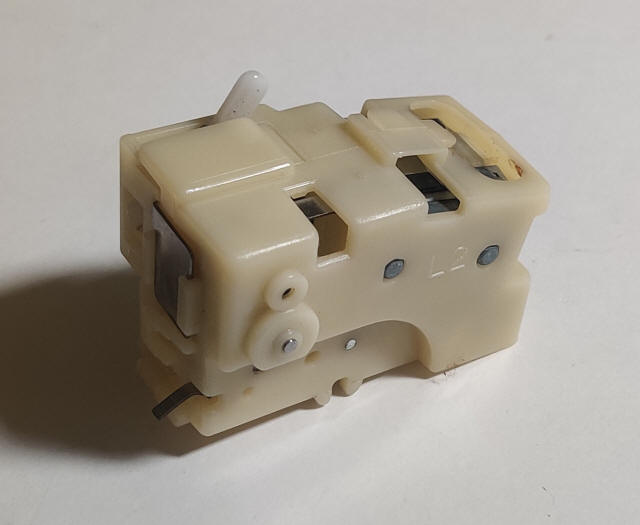
1987 "new power" and two speed
gearbox repairs |
Descriptions and pictures of some of the different versions of the original "new power" gearbox introduced in 1987 (including the two-speed variant) and which gears go bad over time |
 |
| Thomas-style gearbox disassembly and repair | ||
| Tomy Train repair | Reversing Tomy Train gearbox disassembly and other tips to get trains running again |
 |
| Amusement Park train repairs | Repairing the Plarail "Yuuenchi" and Child Guidance Kiddie Land amusement park locomotives and accessories |
 |
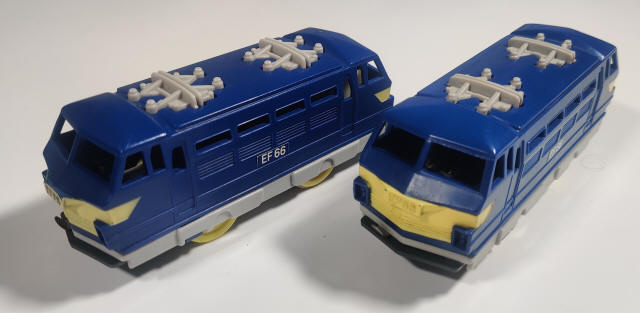
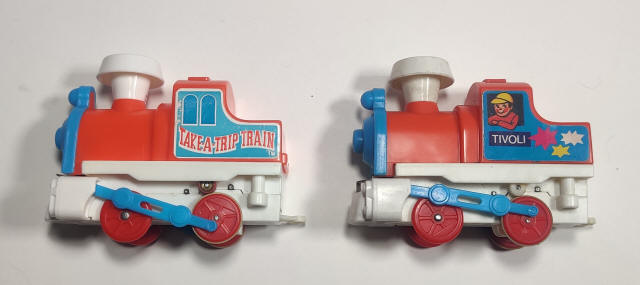
| Merry-Go/Plarail Land gearbox repair | Pictorials and tips for the various gearboxes I have seen for the Plarail Land sets and their international exports like the American Playrail and British Palitoy Merry-Go sets and the European Tivoli Trains |
 |
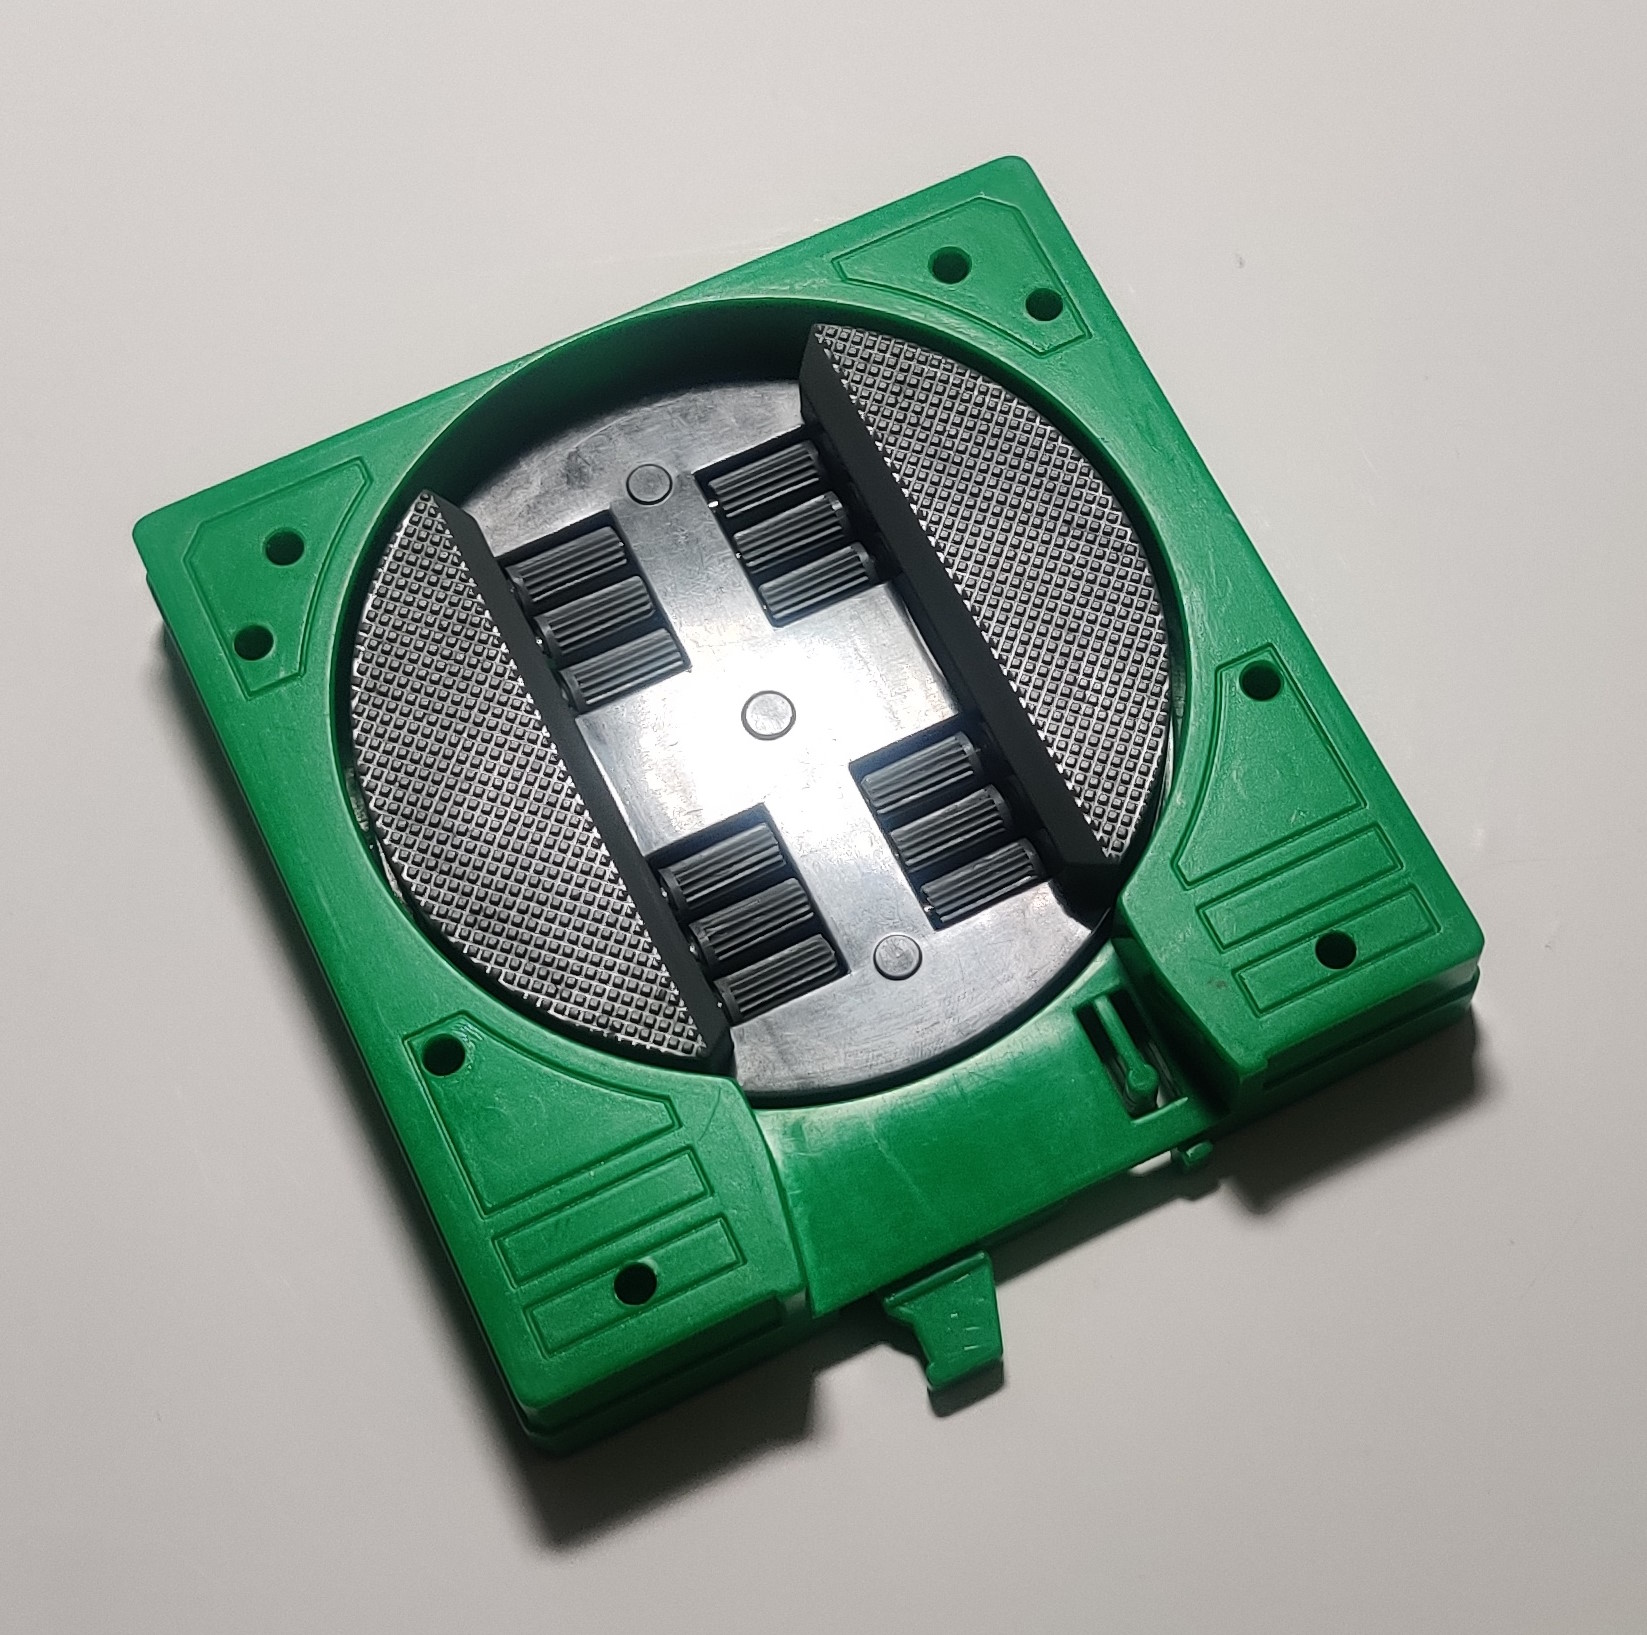
| Tomica/Plarail automatic turntables | Road turntables released as part of B/O and Motor Tomica which were later adapted for rail in the Chuggington series. There are many small gears on metal shafts that like to split apart |
 |
Modifications
|
Title |
Description |
Photo |
|---|---|---|
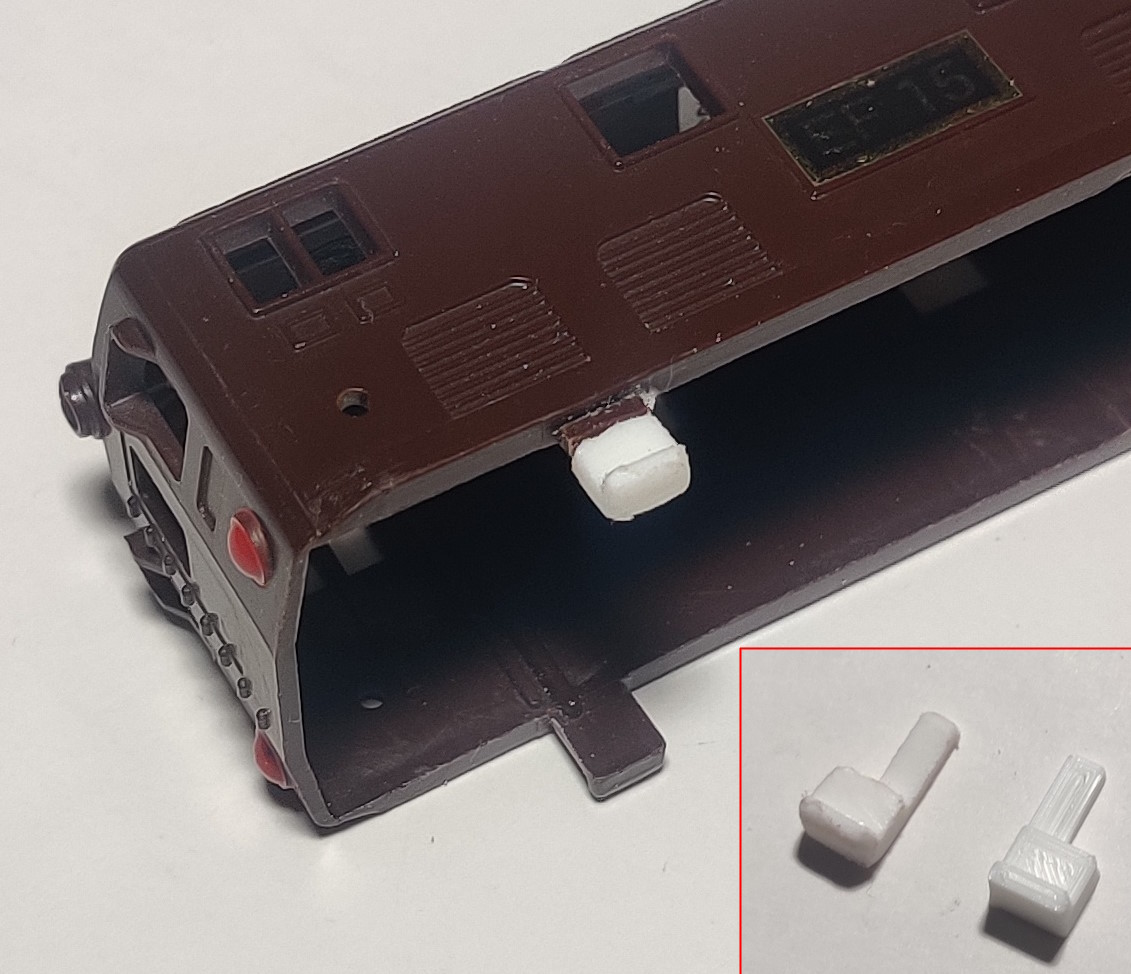
| Grain of wheat lights | Adding a small "grain of wheat" type bulb to an EF15 locomotive. The same concept can be applied to nearly any Plarail train |
 |
3D printable replacement parts
A variety of 3D printable STL files for commonly lost small
accessory pieces and the like.
My 3D printer is an Ender 3 Pro
purchased in the summer of 2020 and I can not speak to how in-spec it is
after several years of use, failed prints, and repairs. Any notes about
settings I used are in the file's description.
|
Name |
Description |
Photo |
|---|---|---|
|
B/O Tomica/Motor Tomica/Plaroad connecting clip replacement |
Replacement clip for the common
Tomy road used in the 90s and 2000s. Over time the clip that catches
on the protrusion of the connecting road can snap off. This drop-in
replacement clip provides a decent grip, even when used on both
halves of a road joint. The clip is slightly oversized and is meant
to be filed down after printing to fit a particular joint. They are
a little bit loose of a friction fit inside the original plastic
molding around the joint and should probably be glued in place for
long term use. I printed my test pieces at the default "standard quality" settings in Creality Slicer 3.8 and then did the final prints in "super quality." The print time was about four minutes at standard and nine minutes at super. |
 |
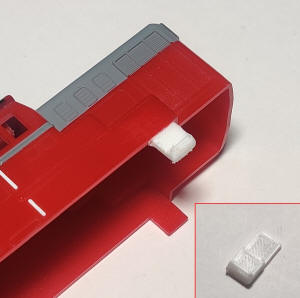
| DD51 body shell clip replacement |
Small
replacement clip that should fit all variants of the DD51 with
clip-on shell. Sand down the thinnest portion of the clip on the
"top" side and apply glue on the same area and then hold it all the
way forward in the protruded portion of the molding inside the DD51
shell in the same position as the original clips. I printed these at
"Super Quality" with 10% infill but I think they would come out ok
at lower settings, especially if you sand down any rough corners. I use cheap paint pens to color white prints to match the body shell it is attached to after gluing (I have only ever bought white 3D printer filament). |
 |
|
EF15 body shell clip replacement v2 - left | right v3 - left | right |
Small
replacement clips for the EF15 top shell. There is a "right" and
"left" clip as the protrusion that is glued to the body must fit
around internal supports inside the shell. This internal
reinforcement seems to leave a small portion of the original clip
hanging down in some cases - v2 of the clip sits right against the
body shell while v3 fits below the small reinforced stub. A "left"
v3 clip is shown installed to the right, as well as both the left
and right clips. Like the DD51 clip, sand down at least the "top" side of the thinnest portion of the print and then glue it into the case in the same position as the original clip, with the extended support tongue nestling it between the protrusions in the molding also providing support. |
 |
| "Long" Tomy coupling | Longer style rear loop coupling used on older D51s, DD51s, and some other engines with longer chassis. I do not believe Tomy sold these as replacement parts. I print these with supports to have the coupling end be thicker on both sides like the original and then sand the supports away. |
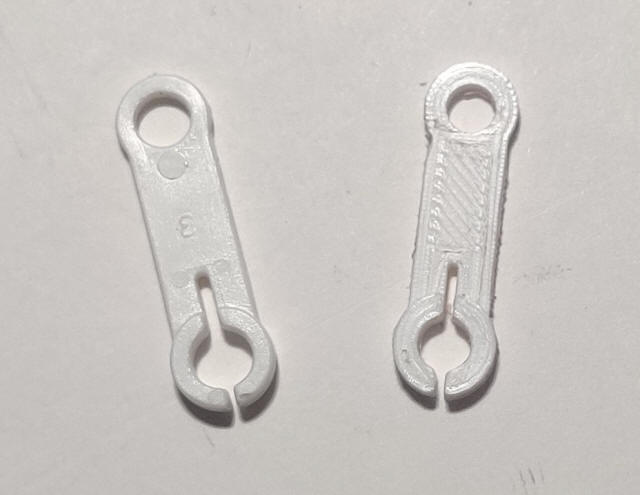 |
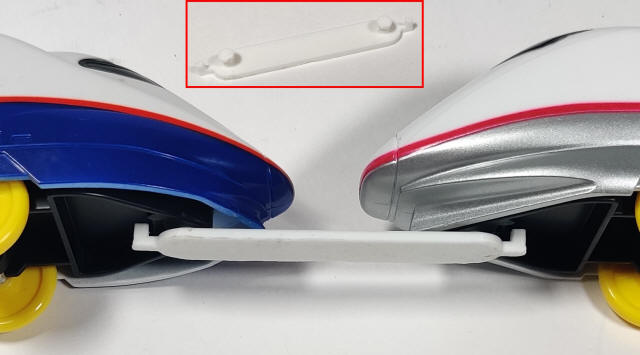
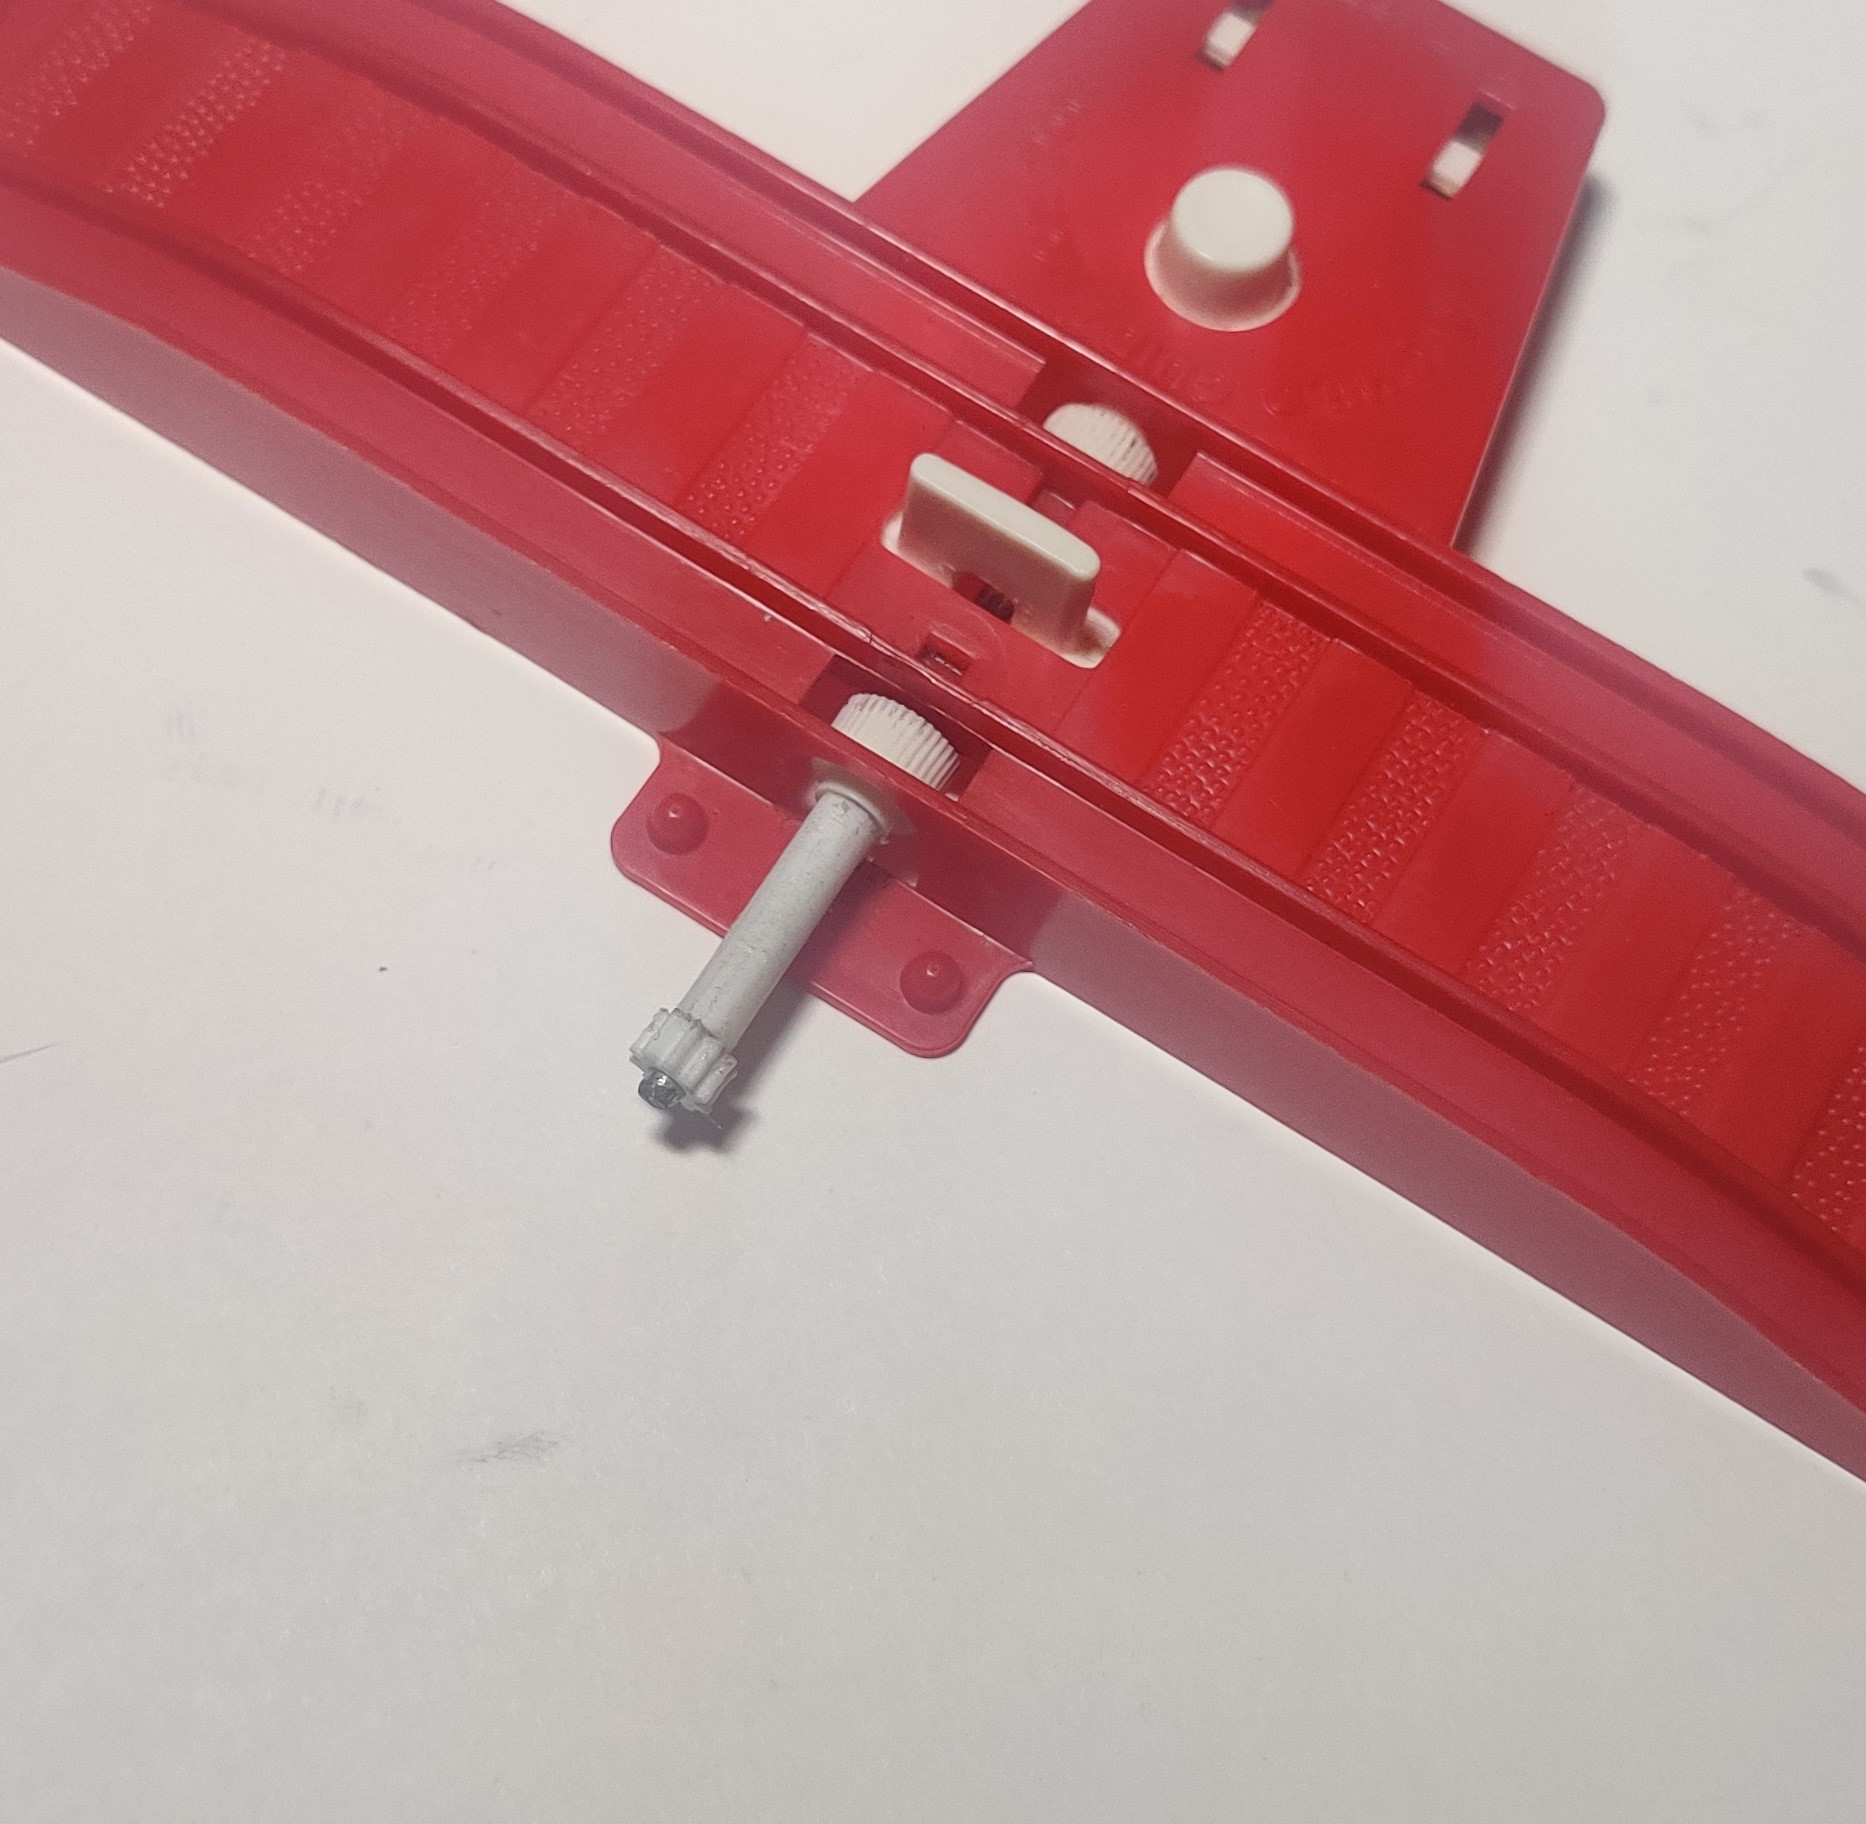
| 1997 connection gimmick coupling | In 1997 the Akita Shinkansen Opening Commemorative Set and later the Komachi & Tsubasa Three-Dimensional Loop Set used a coupling bar to connect 400-series chassis trains, and the cutout in the tooling remained and was used on all trains using the 400 series chassis. This coupling bar allows two trains that use the 400 series chassis with hole to connect. |
 |
| Mickey Poppo battery cover | Battery/tender cover for old-power Mickey Poppos. Should also work with new power types, but might need the "clips" extended downwards like the original new power Mickey Poppo variant. Unlike the small body clips, I don't think the paint pen method looks particularly good here. The proper way to make these would probably be out of a color-matching filament with plenty of sanding down for smoothness, although some of the recesses can be hard to get into. |
 |
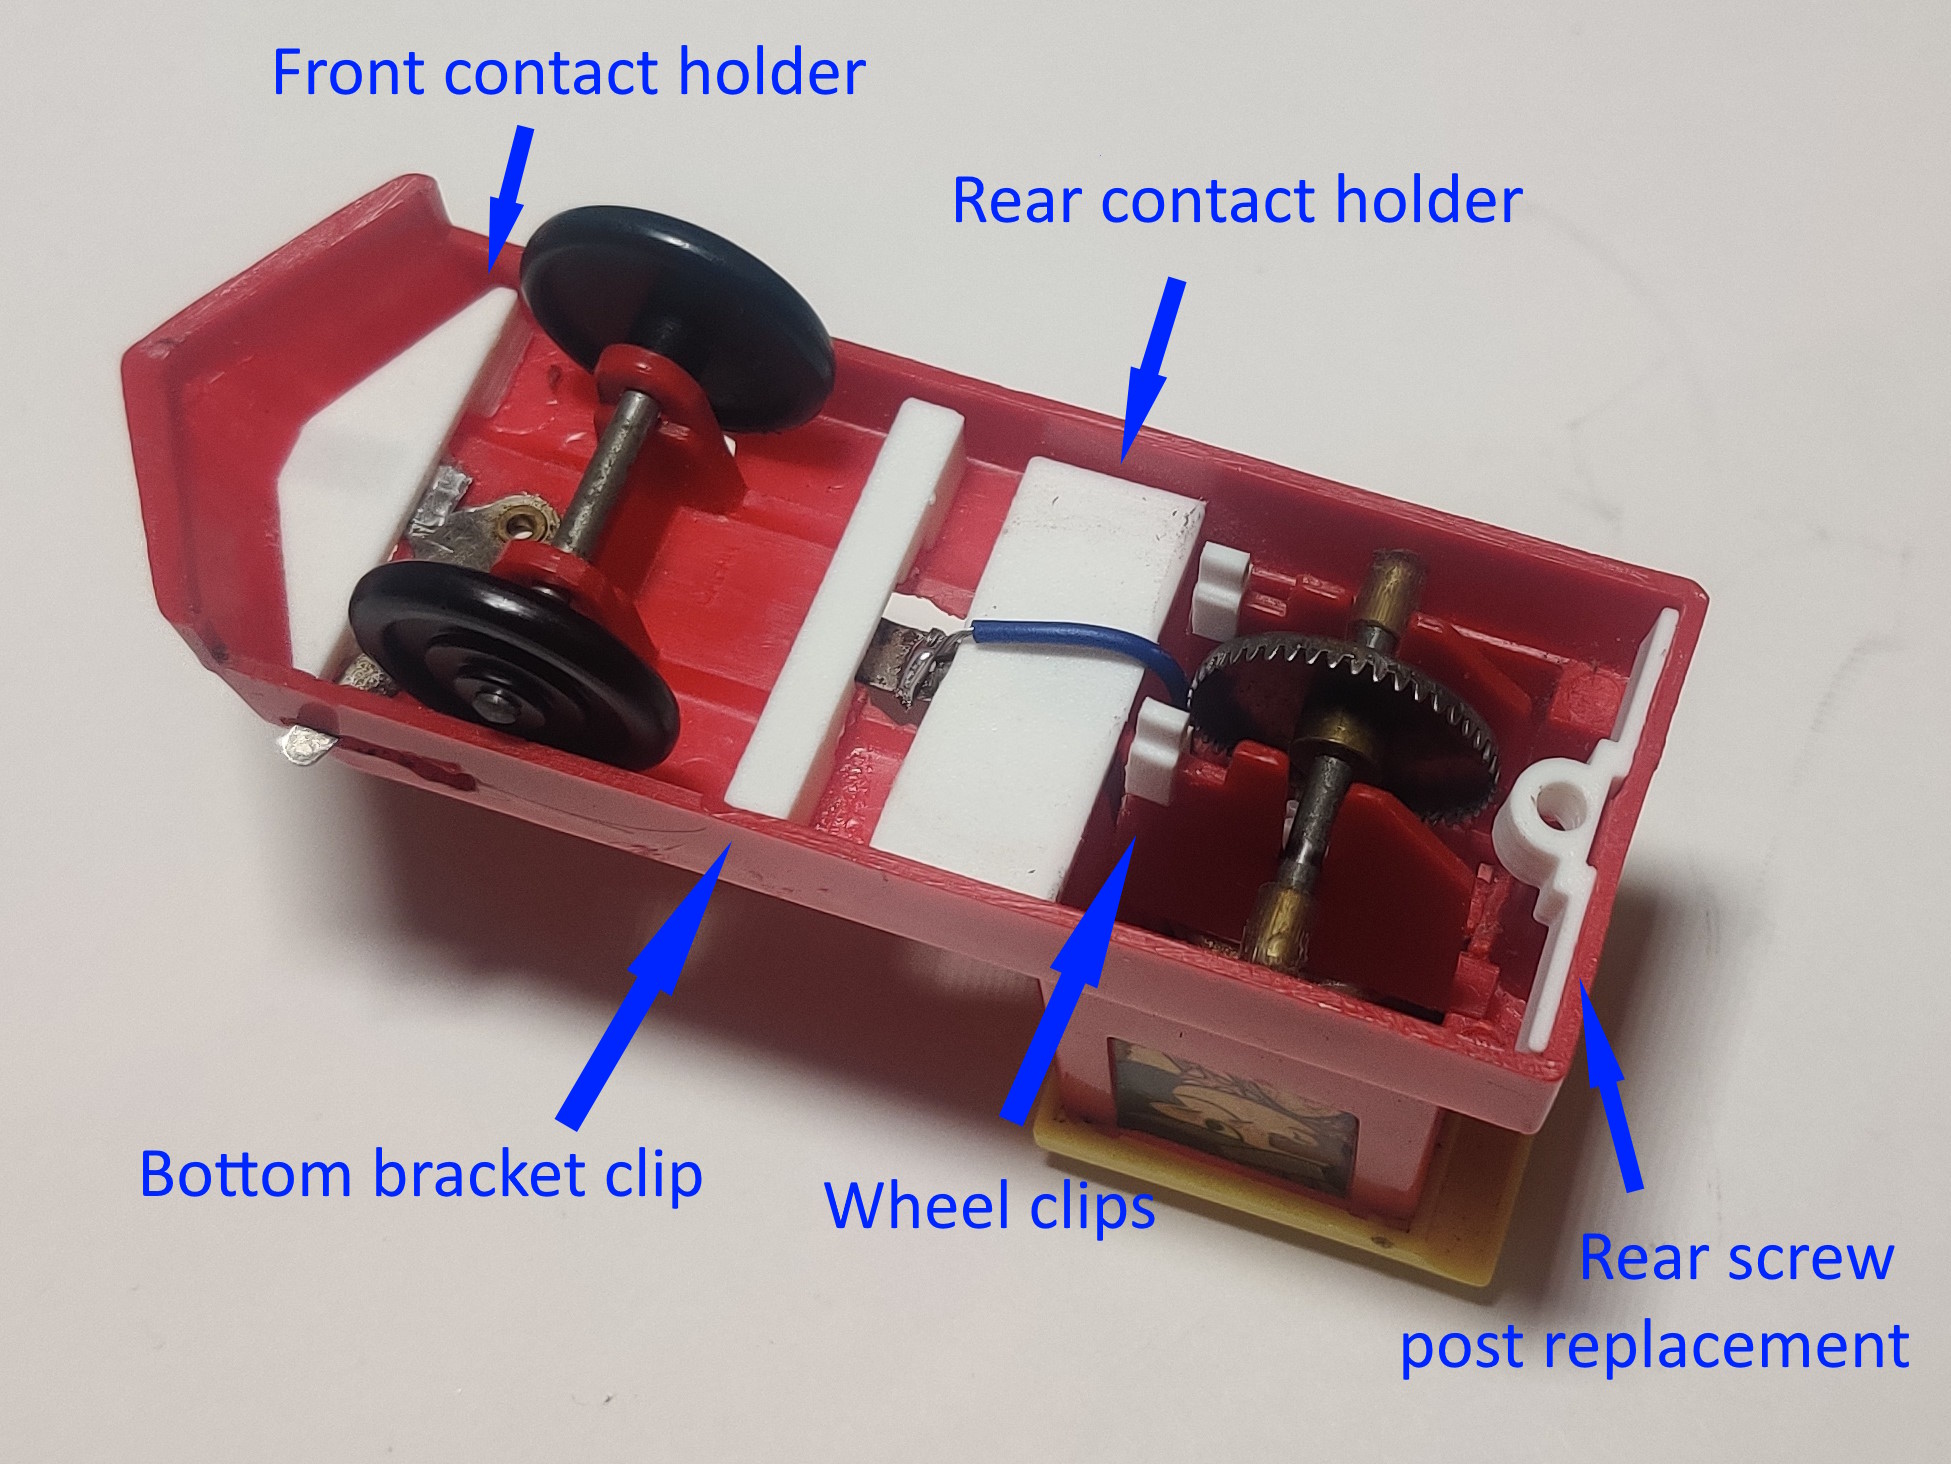
| Amusement park train parts |
A number of
pieces to replace broken components of the Child Guidance/Amusement
Park trains. Pieces work best printed in high quality and do not
take that long to print (the longest take about 20 minutes). The front contact holder can be glued into the front of the chassis and holds the front battery contact. The bottom bracket clip can be glued to the chassis and replaces the original clip that holds the activation tab bracket onto the bottom of the train. The rear contact holder is also glued into the chassis and holds the rear battery contact in place. The wheel clips replace two broken tabs on the gearbox carrier plate that are sometimes broken and prevent the rear wheels from sitting in the gearbox correctly. The rear screw post replacement piece can be glued in to the back of the chassis if the original screw post is broken. The original post needs to be cut away and filed down. More details are available on the Amusement Park train repairs page. |
 |
|
Amusement park stop track parts 20mm spacer 10 tooth gear |
20mm long
spacer and ten tooth gear for use on Child Guidance and Plarail
amusement park series stop rails. The original ten tooth gear
commonly splits and can fall off along with the plastic spacer over
time. Although I do not usually like printing gears, the shafts these gears ride on are 3mm in diameter instead of the typical 2mm and the gears are in simple and already loose gearings and can just about be managed by my printer. With a little cleaning up after printing at high quality I would describe them as working in a pinch. |
 |
|
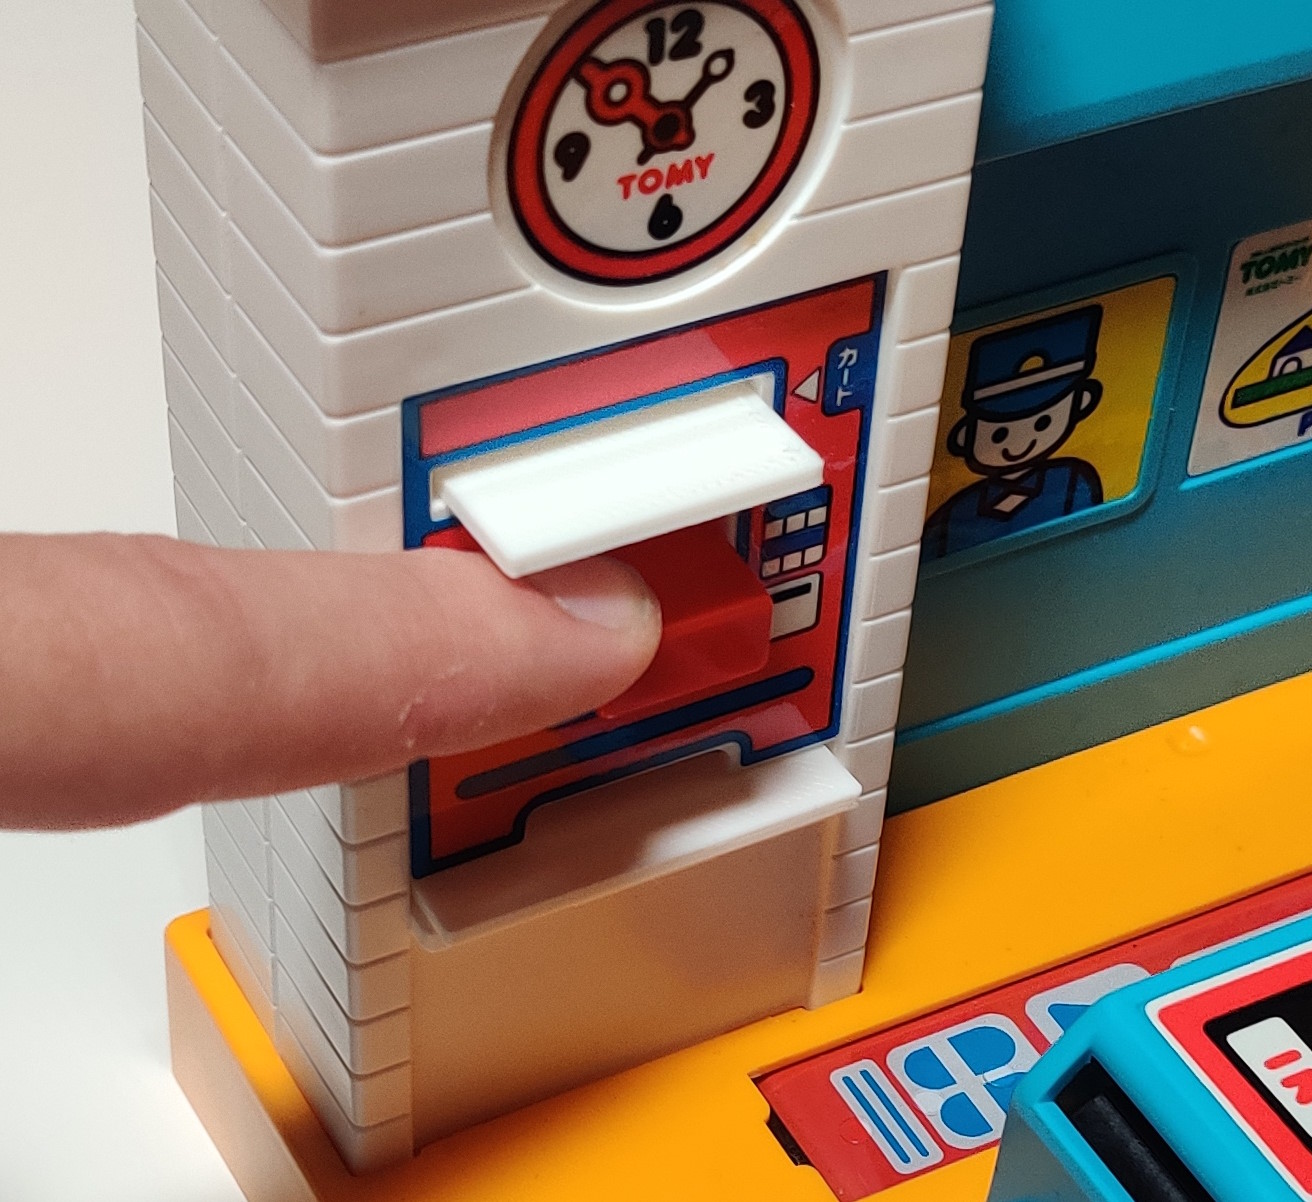
Ticket Play Station cards and tickets Orange card Ticket |
Replacement
tickets for the Plarail Ticket Play Station which was first released
in the 1993
Doll Play Ticket Play Station Set and later individually. The larger "orange card" prepaid train cards fit into the upper slot and pressing the red lever dispenses a ticket from a stack of up to six. You don't really need to 3D print these, you could just as easily cut down any decently rigid material, it was just easy to throw the dimensions into Tinkercad without having to find or cut down a suitable material. I printed mine in the "low quality" preset with 10% infill. Eventually I would like to either scan or potentially recreate the ticket design and make proper replacements with appropriate graphics and coloration, but it may be easier to just find a used but complete copy of the station |
 |
|
Talk n Action coupling |
Three pieces that can be assembled with
original components to repair Talk n Action and similar
couplings |
|
| Talk n Action Diesel 10 Pinchy | Replacement "Pinchy" for the Talk N Action Diesel 10 |
|
| Directory | Sets | Trains | Rail | Accessories | Catalogues |
| Thomas series | Thomas exports | Tomica | Tomica World | Exports | Repairs |